Summer Garden Flag from a Dollar Store Placemat
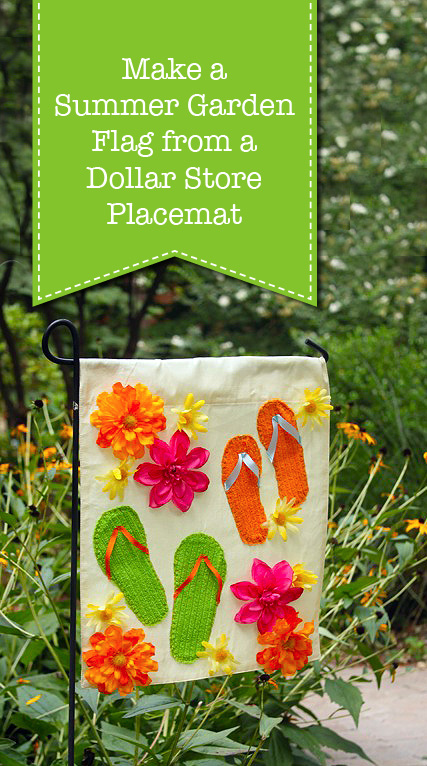
I have to admit, I’m a little addicted to making garden flags out of fabric placemats from the dollar store (The Dollar Tree to be exact.) In fact this flag was made using all materials from The Dollar Tree. I bought fake flowers, bar towels and a placemat to make this summery flag. Best of all, you could make this flag with or without a sewing machine.
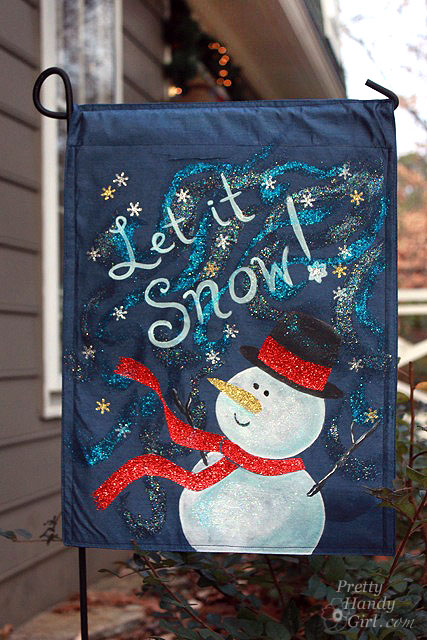
If you missed my previous flags, this was our winter flag:
and our Fall flag.

And our Valentine’s Day flag (that I’m embarrassed to say hung until this week.):

Yup, they are all made with dollar store placemats!
I finally caught up to the correct season and made this cheery garden flag!. As I like to say, “Better late than never!”

You can make this flag for a steal. Plus, the kids can help you make it (with some supervision.) Ready to make your own summer garden flag from a dollar store placemat?
Materials:
(contains affiliate links)

- Fabric Placemat
- Terry cloth bar cloths
- Scissors
- Heat n’ Bond no-iron hem tape
- Pins
- Iron
- Ribbon
- Thread
- Sewing machine
- Silk flowers
- Hot glue gun
- Hot glue sticks
Instructions:
Fold over the top of the placemat 2.5 inches and stitch across the bottom edge to create the rod pocket.
Cut out flip flop shapes out of the bar towels. (Be prepared for a shedding frenzy! Little pills will be everywhere.)

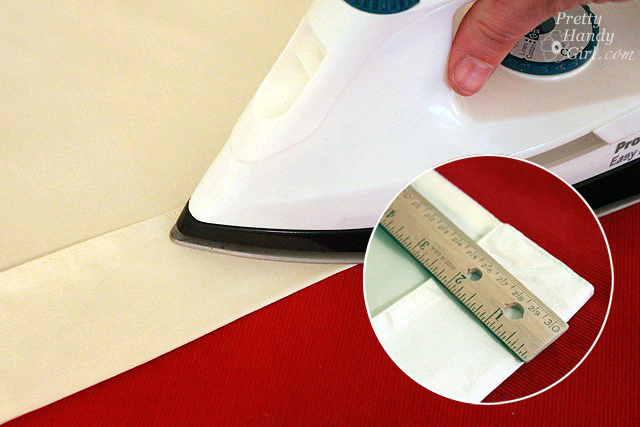
Cut strips of Heat n’ Bond tape to fit on the back of the flip flop cut outs.

Iron the tape onto the flip flops (2 seconds). Then remove the paper backing.

Flip the flip flops over and iron them onto the flag. Then flip over the flag and iron underneath the shapes for better adhesion. And if I use the word “Flip” again in this instruction I might flip!

Thread your sewing machine with a contrasting thread. Set the stitch on your machine (I used a blanket stitch, but you could use a straight stitch if you wish.) Sew around the perimeter of the flip flops.
![]()
Cut ribbon into lengths long enough to be used as the straps on the flip flops.
Pin the ribbons in place on the flip flops. Stitch at the point and at the edges of the flip flops.

Leave the rest of the ribbon unstitched so it sticks up and looks like you could slip feet into the straps.

Select a bunch of silk flowers and pull them off the stems. Cut the back off the flowers so they will rest flat.

Lay out the flowers onto the flag and pin them in place. If the flower centers fall off, hold them off to the side.

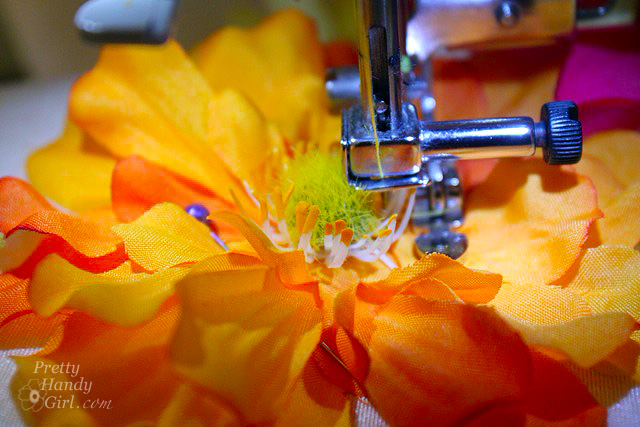
Thread your sewing machine with thread to coordinate with your flower. Stitch around the center of the flower to secure it onto your flag. Repeat for the remaining flowers. (You may choose to change your thread for each colored flower.) Alternatively you could hot glue the flowers, but they may not last as long.
Heat up the hot glue gun. Put a large dollop of hot glue into the center of the flower and press the floral centers into place.

Hang your flag in the garden and enjoy!

Happy Summer Y’all (only a little late, but better late than never!)

This is the cutest thing I’ve ever seen! Am going to try to make this for my studio door. Thank you for sharing!
Love, love these ideas. Bought my flag poles at my local Dollar Tree for 1$ this past week. Your inspiration is exactly what I’ve been looking for. Thanks so much for the ” kick start”
So cute! Where do you buy the metal post to hang the flag from and how much do they cost? Thanks!
Diane, I can’t remember exactly where I bought mine. I think our local hardware store. But, you can buy the same one on Amazon: http://amzn.to/29VnJ0I
Love this idea! I have recently thought my summer banner is showing its age and needs replacing; I want to use your idea of a $1 placemat. Thanks for sharing!
It is great way to ad bit style to your garden. How often you change those flags because rain and sun leave mark on them in couple months.
They get changed out approximately every three months. Some have faded a little over the years, but most still look good. They do hang in the shade though.
where did you find the winter snowman one or is it also a placemat? I am looking for fabric on a roll that you can make your own…is that possible to find?
Patty, it is also a DIY flag from a placemat: https://prettyhandygirl.com/dollar-tree-placemat-turned-into-a-snowman-flag-with-tulip-shimmer/