Scrap Wood Wine Holder
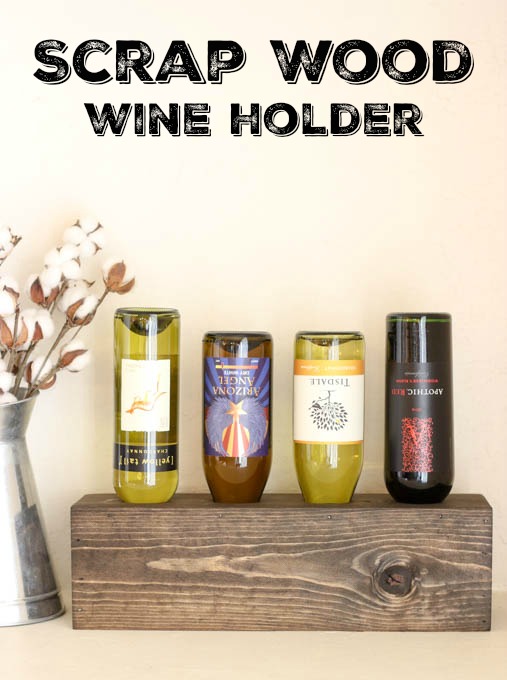
Hey everyone! Katie here from Addicted 2 DIY. I don’t know about you, but I have a hard time letting go of good scrap wood. If I think it could be used for anything in the future, I try to hold onto it. Plus, my kids love to go through the scrap bin and see what they can put together. It’s good, family fun! I dug through my scrap pile recently and built this simple wine holder. It was inspired by one that my aunt has in her kitchen that I just love. It’s simple, it’s rustic, and it can be customized to hold however many bottles you like!
Materials:
- 2 – 1×6 boards cut to 18″ long
- 1 – 1×4 boards cut to 18″ long
- 2 – 1×4 boards cut to 4 3/4″ long
- brad nailer
- 1 1/4″ brad nails
- wood glue
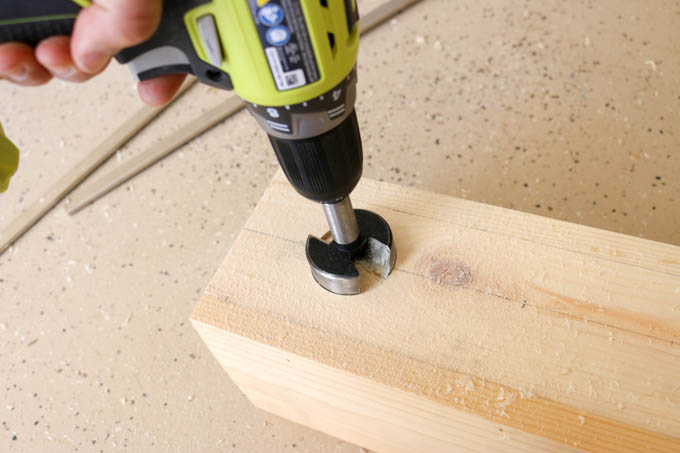
- drill
- 2″ forstner bit or hole saw
- 220 grit sandpaper
- finish of your choice (I used Minwax stain in Espresso)
Instructions:
Step 1: Dig through your scrap pile and cut your wood pieces to size.

Step 2: Glue and clamp the 18″ 1×4 board flush with the top of the 1×6 boards. Nail in place with 1 1/4″ brad nails.
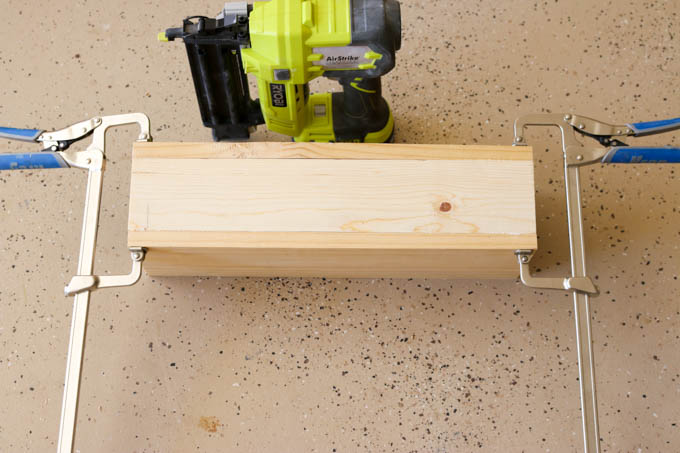
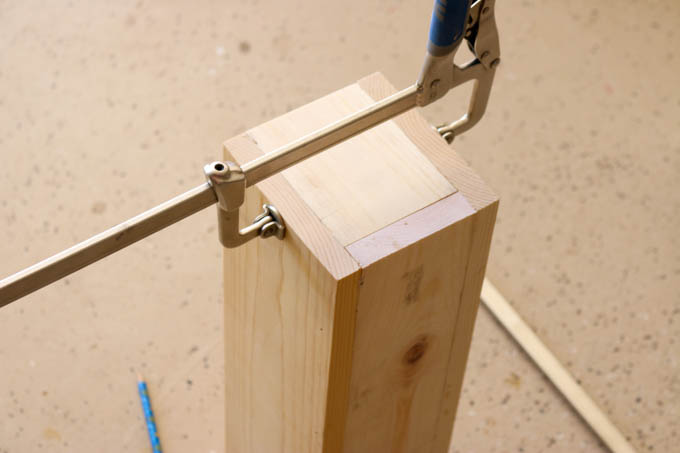
Step 3: Glue and clamp the 1×4 ends and nail into place with 1 1/4″ brad nails. This will form a box.
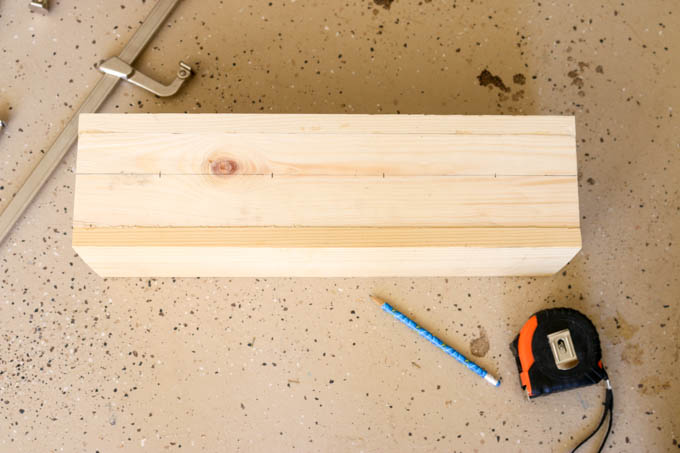
Step 4: Mark the center of the 1×4 board and then mark where your holes will go. I built this to hold four wine bottles, so I measured 3″ in from one end and then placed the holes 4″ apart.
Step 5: Drill the holes using your 2″ forstner bit or hole saw.
Step 6: Sand the entire project down with 220 grit sandpaper.

Step 7: Paint or stain in the color of your choice. When dry fill with your favorite wines!
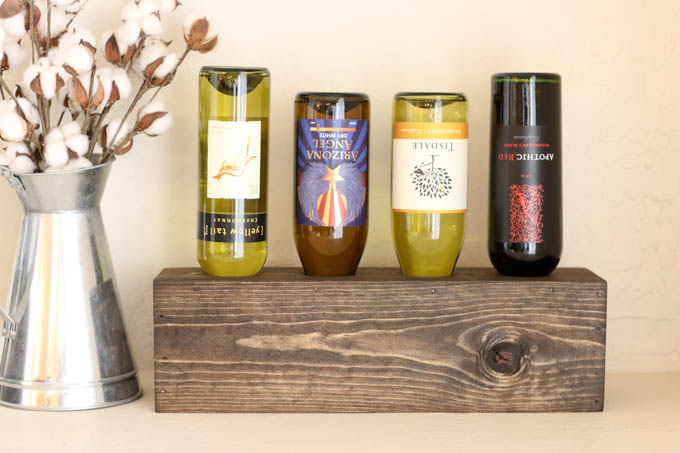
I love being able to use up wood in my scrap pile for simple and pretty projects like this. Plus, this wine holder is so versatile.
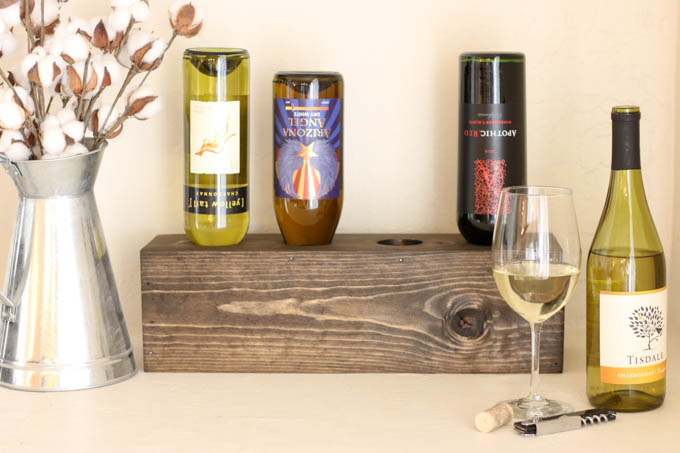 You can build it longer to fit more bottles and you can add a fun stenciled quote to the front. Can you imagine how great this would look with pallet wood? Now I think I may have to build a few more of these as gifts! Mother’s Day is going to be here before we know it and this is a perfect gift idea with a favorite bottle of wine. Do you have a scrap wood bin? What projects have you made from it?

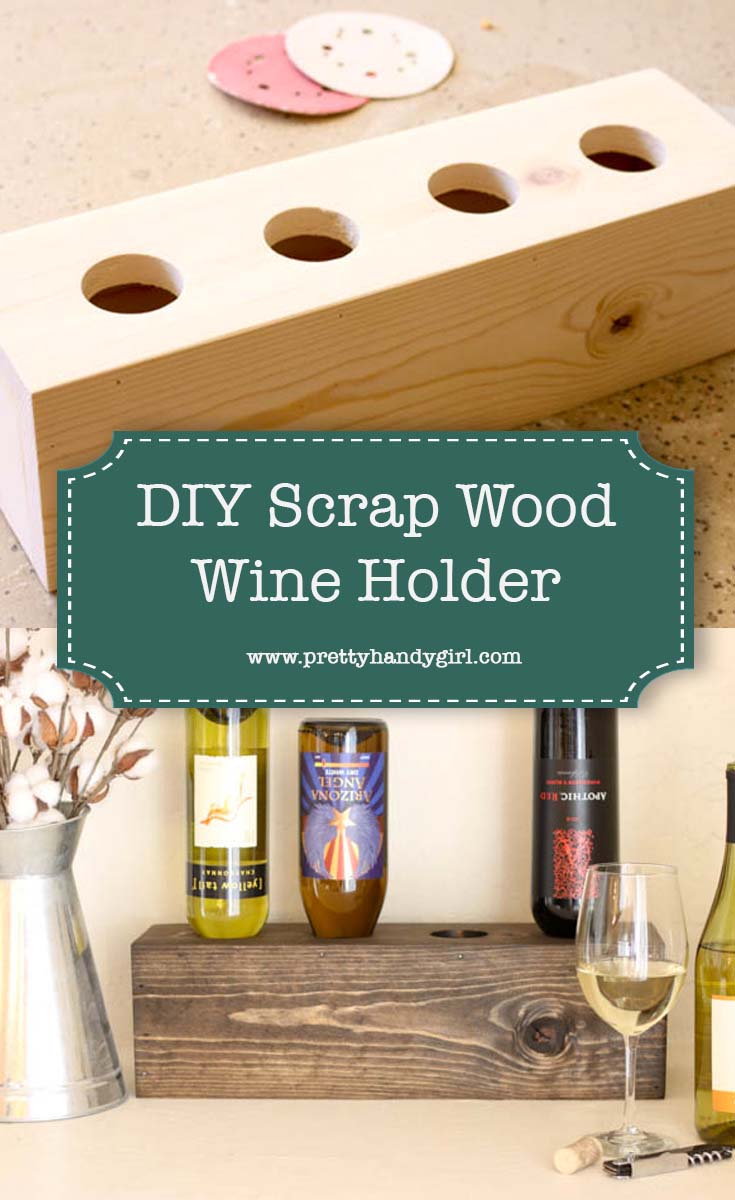
Pin for later!

Love this! I’m going to try making one that holds 6 bottles.
Hi Katie, From where did you get the cotton stems flowers?