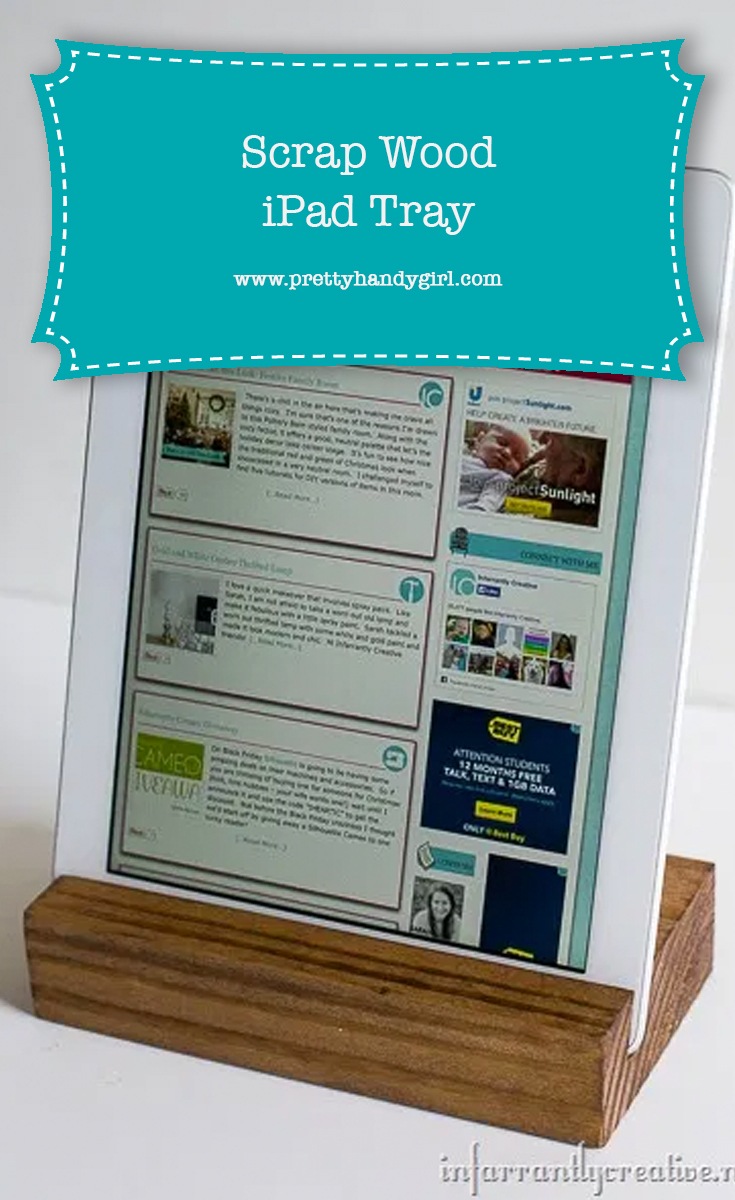
Scrap Wood iPad Tray by Infarrantly Creative

Today I have the honor of having the Queen of DIY here to show you how to build an iPad tray stand! Beckie from Infarrantly Creative is a triple threat DIYer (she manages three blogs.) I am so excited about this frugal gift idea, I can’t wait to make one!
![]()
Hello Pretty Handy Girl fans. My name is Beckie and I blog at Infarrantly Creative, Knock off Decor and Roadkill Rescue. Besides sharing a “B” name, Britt and I have a love of power tools, doing things on the cheap, and dancing…yep you should see us…we can BREAK IT DOWN! Today I wanted to show you DIY girls, or those with a DIY hubby, a most likely free gift. If you are accustomed to DIY projects, you have probably amassed quite the stockpile of leftover wood. In August, I made some hanging beds for my son’s room and had leftover 2” x 12” wood that I used for this project. Pssst…never throw out scraps, right Britt?
Supplies:
- 2” x at least 6”
- table saw
- pre-wood conditioner
- stain
- sandpaper
Instructions:
1. We weren’t sure exactly how narrow we could make our iPad tray so we started by cutting our 2” x 12” down to 8” with the chop saw.

2. Next we adjusted the table saw blade 15 degrees so we’d have a slight angle and then adjusted the fence so that the first pass was 1” from the front of the iPad tray.

3. Then we adjusted the fence 1 3/8″ and passed the wood through again. That gave us our boundaries for the channel. Then we nudged the fence over to keep cutting the middle until it was all removed. We had to make maybe 5-6 passes to get it all cut out.


Note: If your piece rocks make sure you have the flat surface up on the table saw so that the flat bottom will sit on your saw.
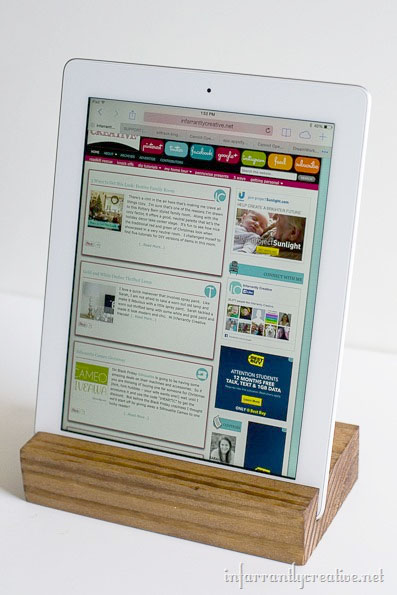
4. After the channel was cut, we cut the boards down to 4”. So our final iPad tray was 4” x 7”. You can make it wider or longer if you wish.

5. I sanded down all the edges and then went over it with 150 grit sandpaper so it was smooth and ready for stain.
6. I coated the entire thing with pre-wood conditioner which is vital when working with soft woods like pine.

7. Next I used a bunch of my leftover stains and stained it. After dry I applied a paste wax for protection.

Quick, easy and cheap gift for that iPad lover. I use mine in the kitchen when I am trying a recipe and don’t want to print it out just yet. I also make my kids use it when they are playing games so they won’t drop it.

Thanks for having me Brittany. If you are looking for more Très Frugal gift ideas I have quite a few on my site.


~Beckie~
Pin for later!


How deep were your cuts? Looks like you went about 1/2 way through your board? Great project!
What a simple & handy thing to have, looks easy enough, great tutorial as always!
What a fun and cool idea. Pretty simple to make, if you know how to use the saw, and you can use some really cool woods if you’d like.