
Saving Etta: Upstairs Bathroom Reveal
 Saving Etta: Upstairs Bathroom Reveal
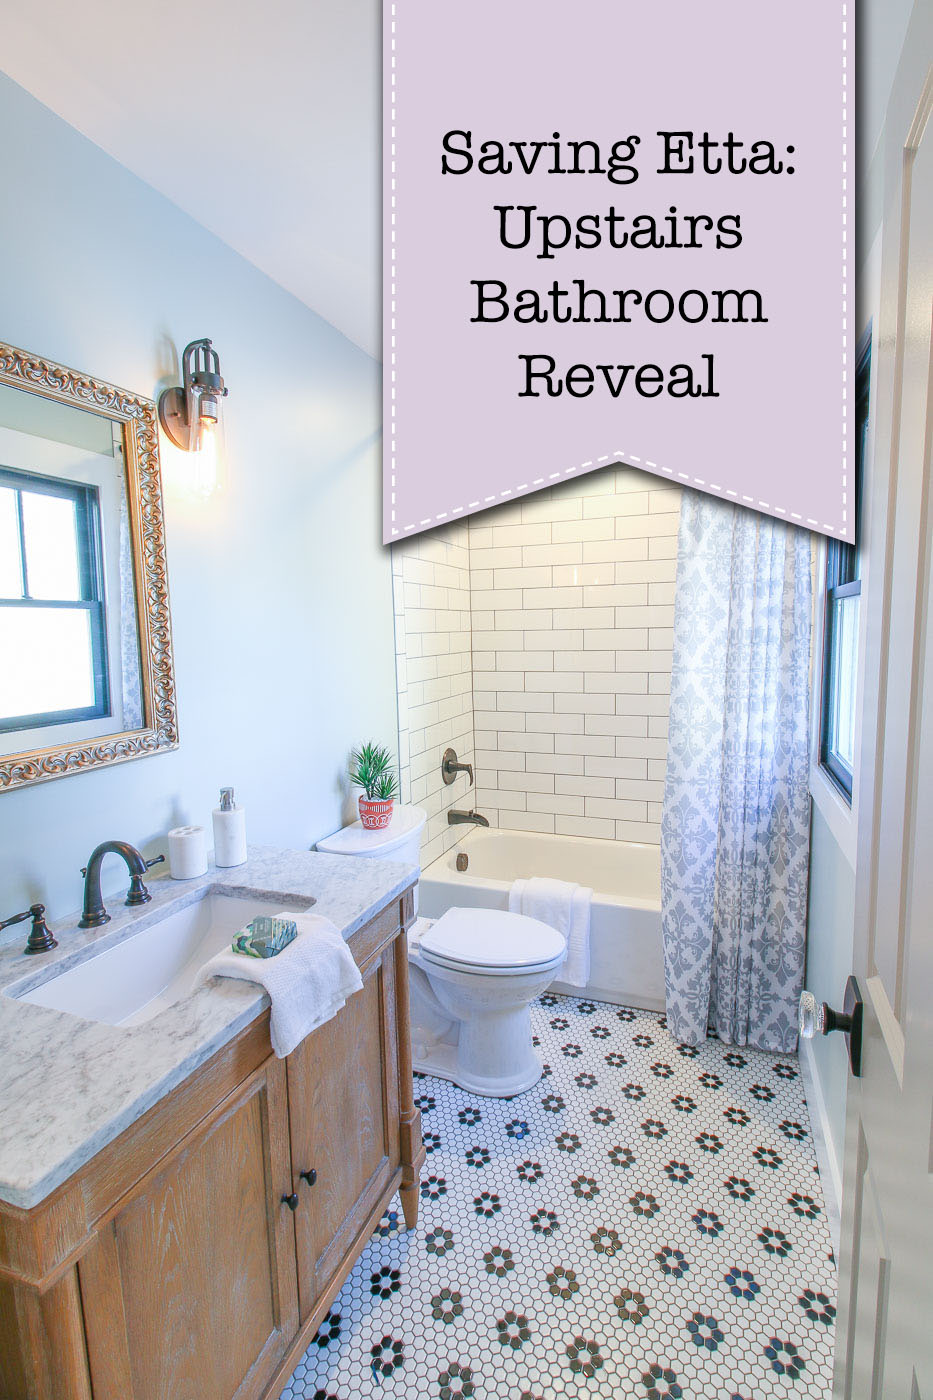
Today I’m revealing the last bathroom in the Saving Etta house. This bathroom is a departure from the more modern master bathroom and the shared downstairs bathroom. In the upstairs bathroom, I pushed the vintage look and added some feminine touches to create a bathroom I wish I could use every day!
Before I take you into the bathroom, I want to thank all the Saving Etta sponsors. As you all know, I’m very particular about the brands I work with and I can honestly say my sponsors are the cream of the crop when it comes to selling products for your home and lifestyle.

(I’ve included affiliate links for your convenience. I earn a small percentage from a purchase using these links. There is no additional cost to you. You can read more about affiliate links here.)
Progression of the Upstairs Bathroom:
The upstairs bathroom is off the second floor loft area right above the master bathroom. All the bathrooms in the house are approximately the same size.
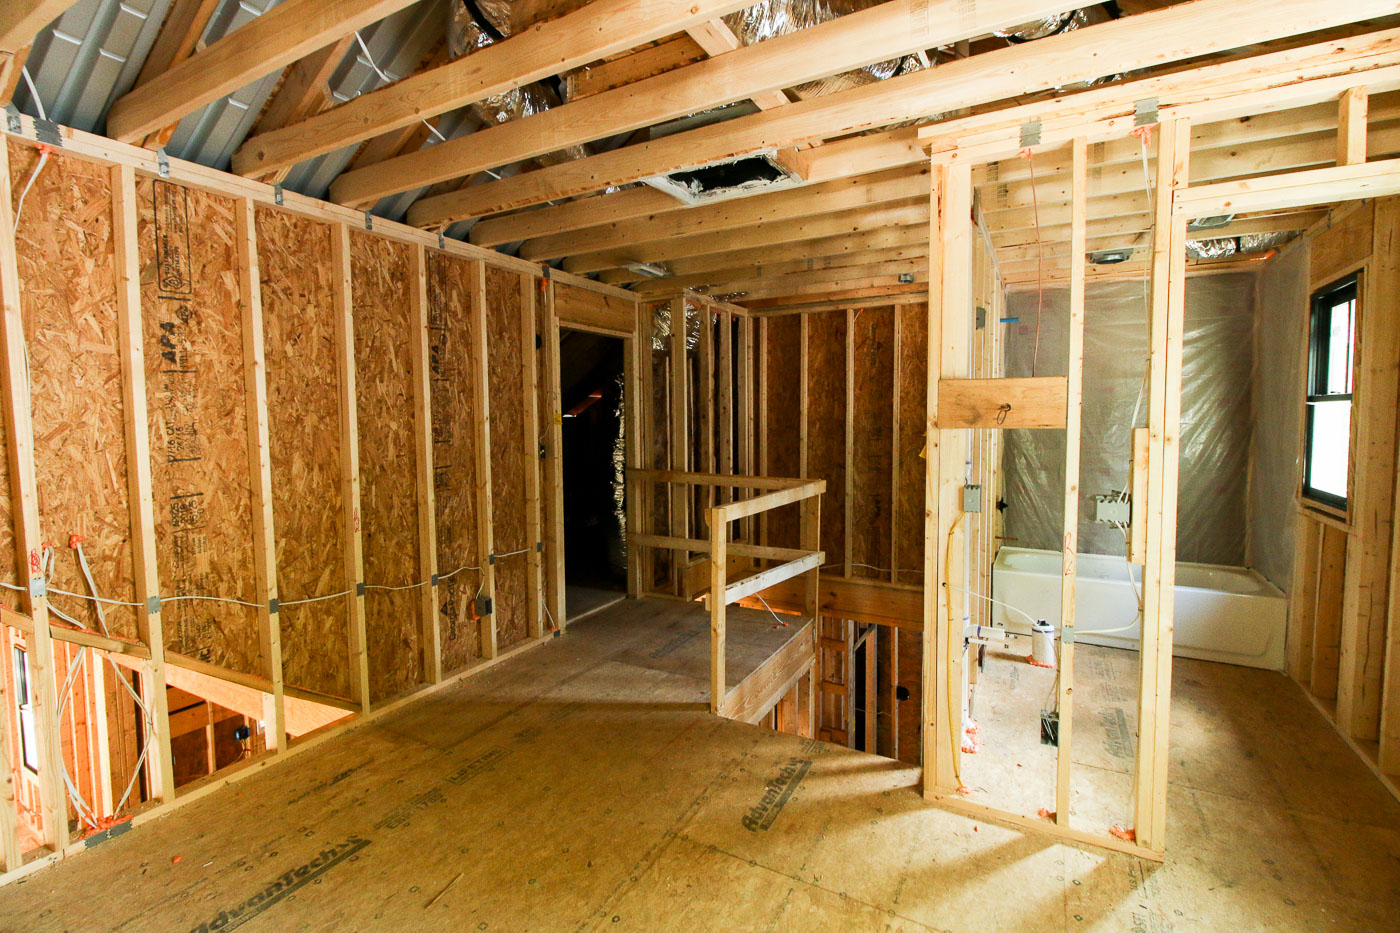
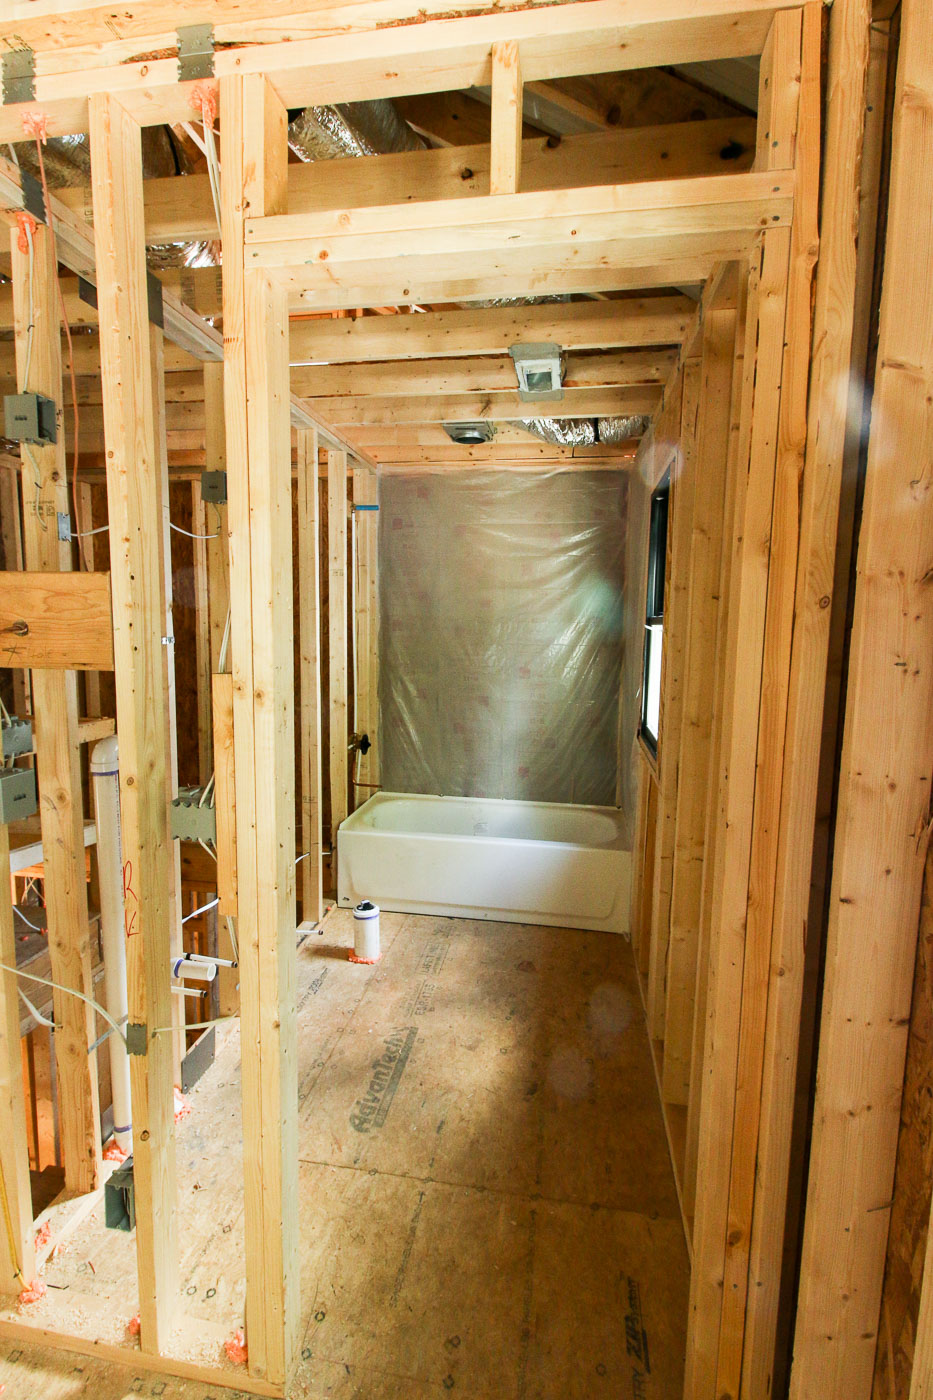
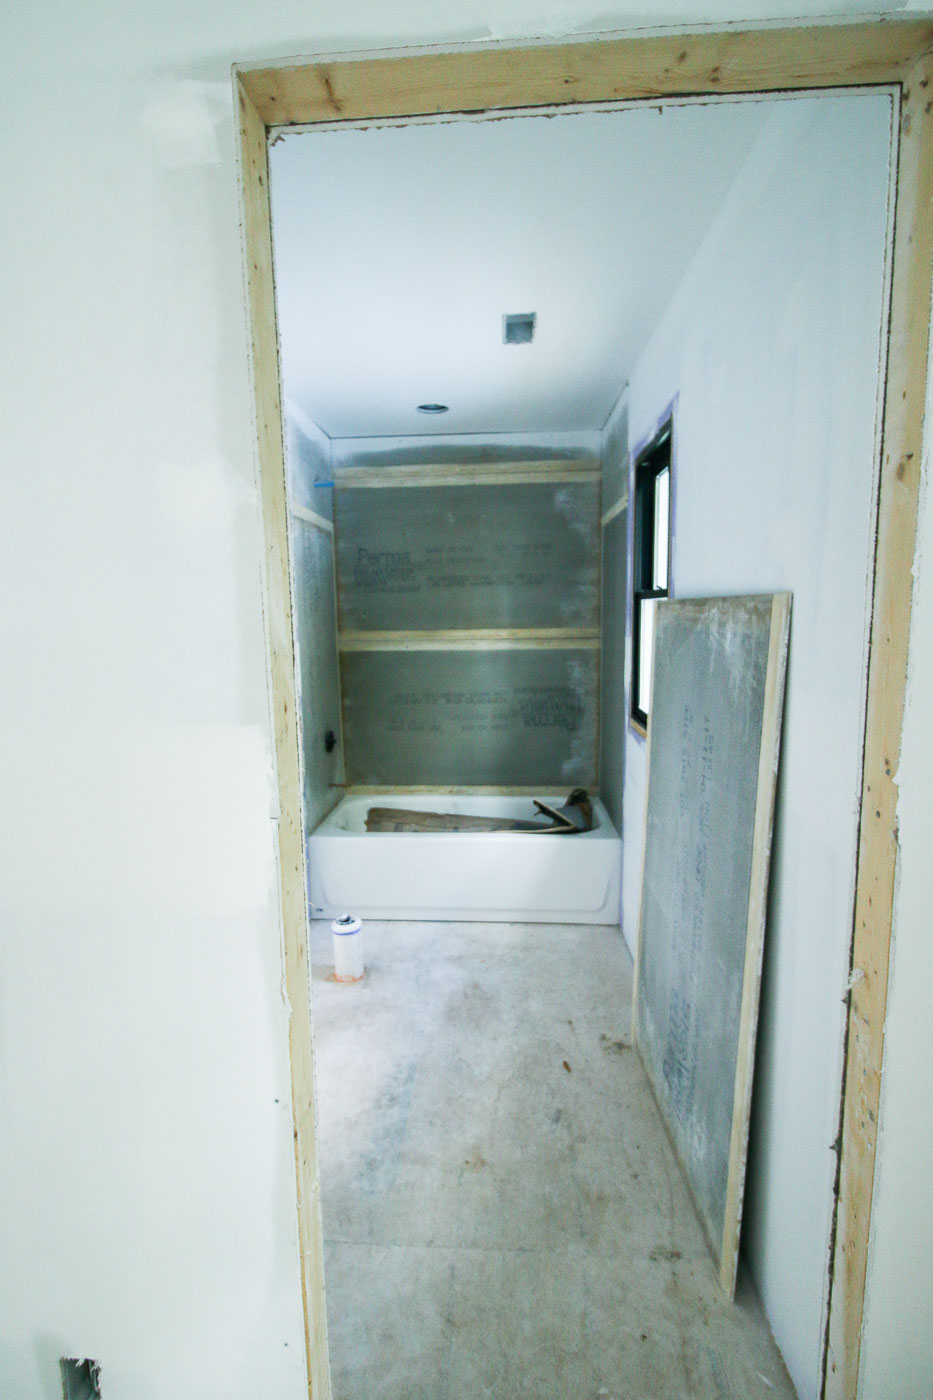
Shortly after the roof was finished, we started installing the water lines, tubs, and waste lines in the bathrooms.
Once the plumbing and electrical rough-in inspections passed, the water and mold-resistant purple drywall was installed on the walls.
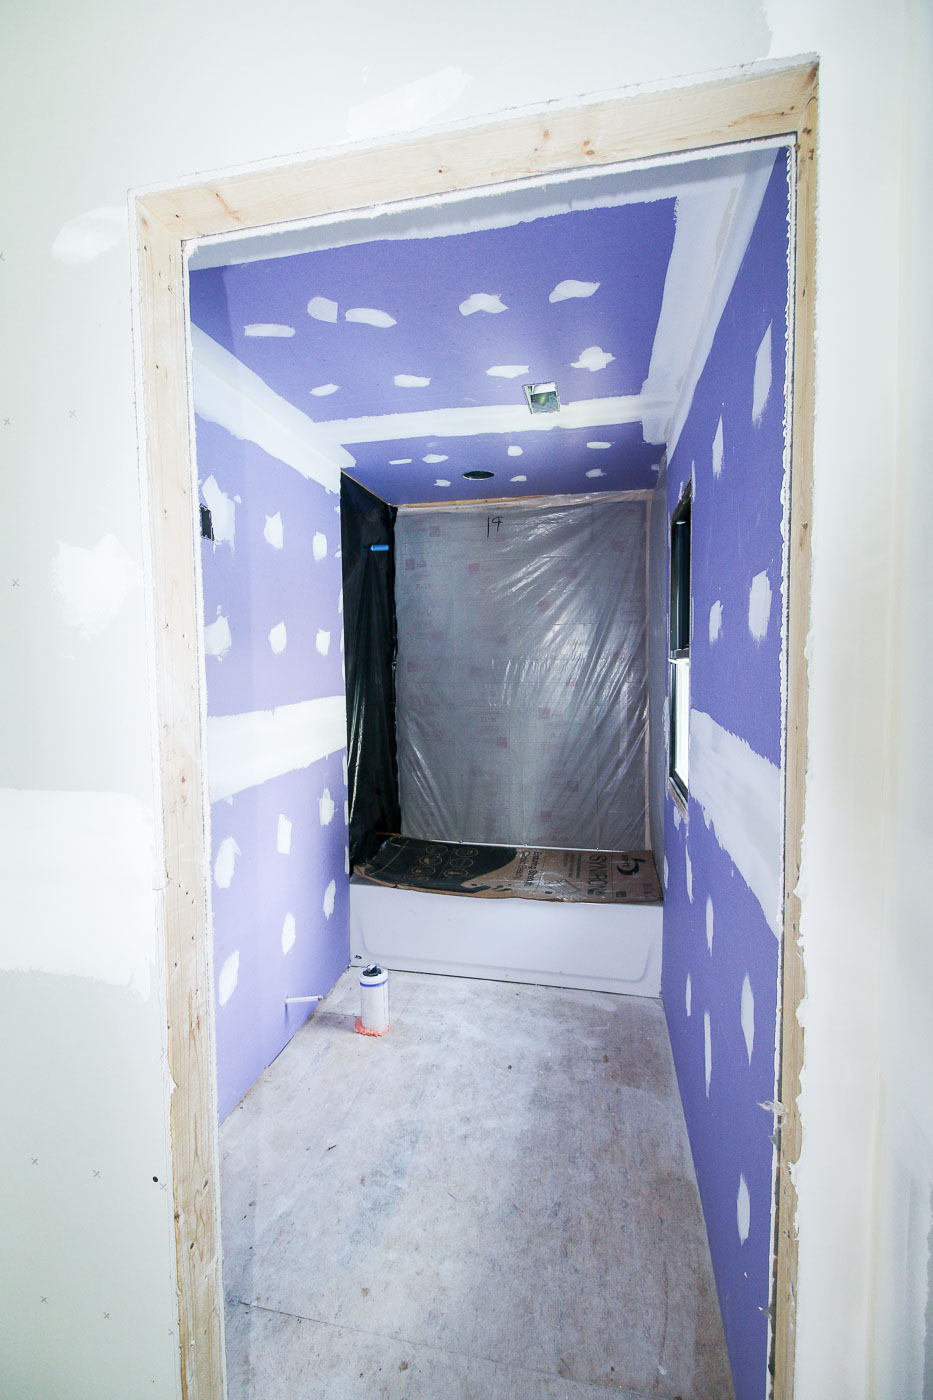
Then the PermaBase cement board was installed in the tub and shower area and it was time for tile!
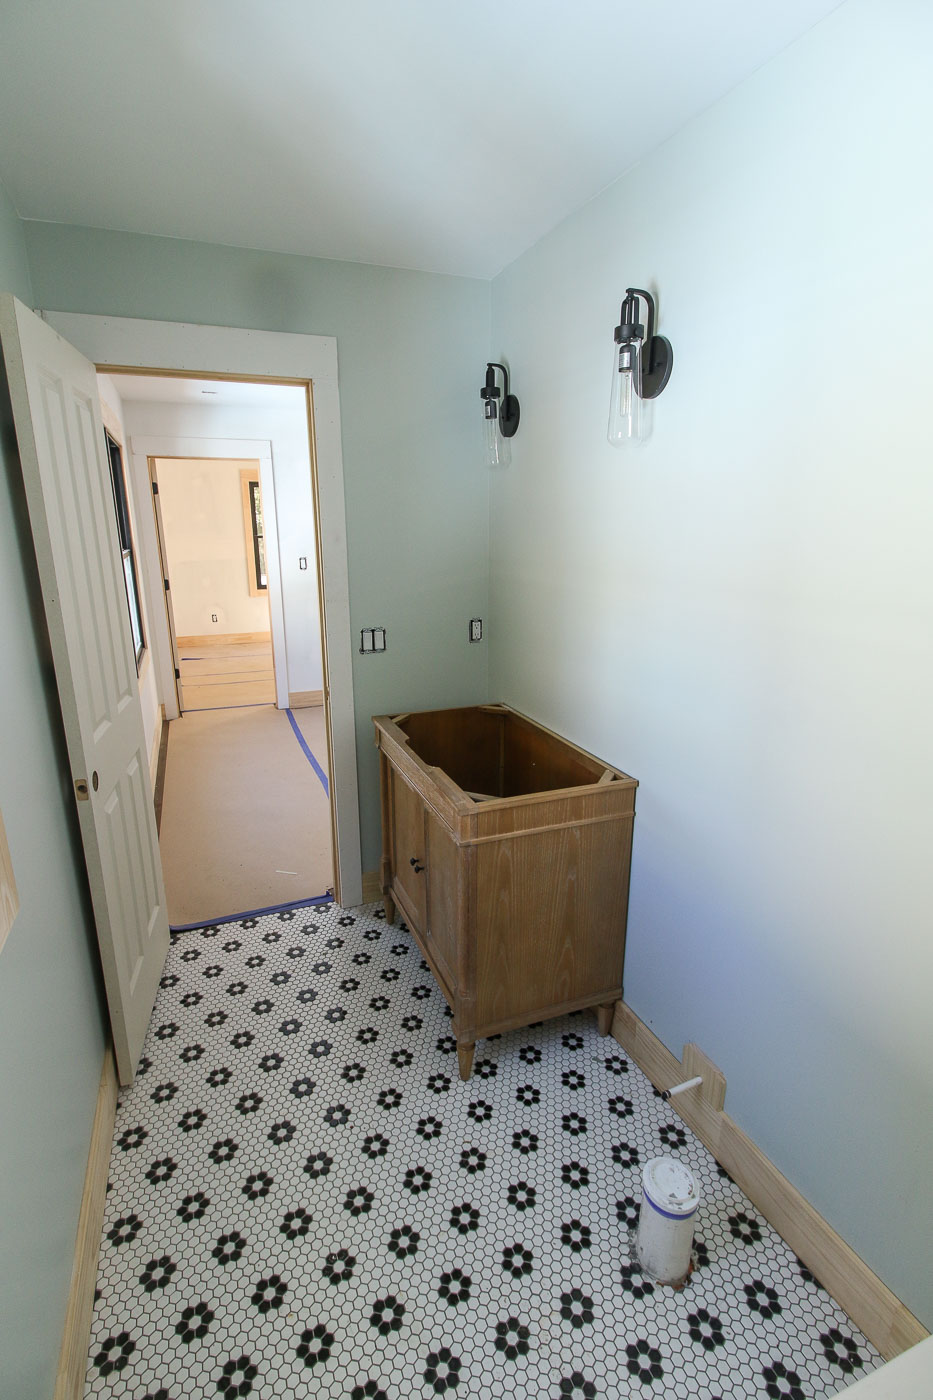
After the tile floors were installed, we began putting in the fixtures. The vanity and vanity lights were set in place.
About the Combination Light and Exhaust Fan:
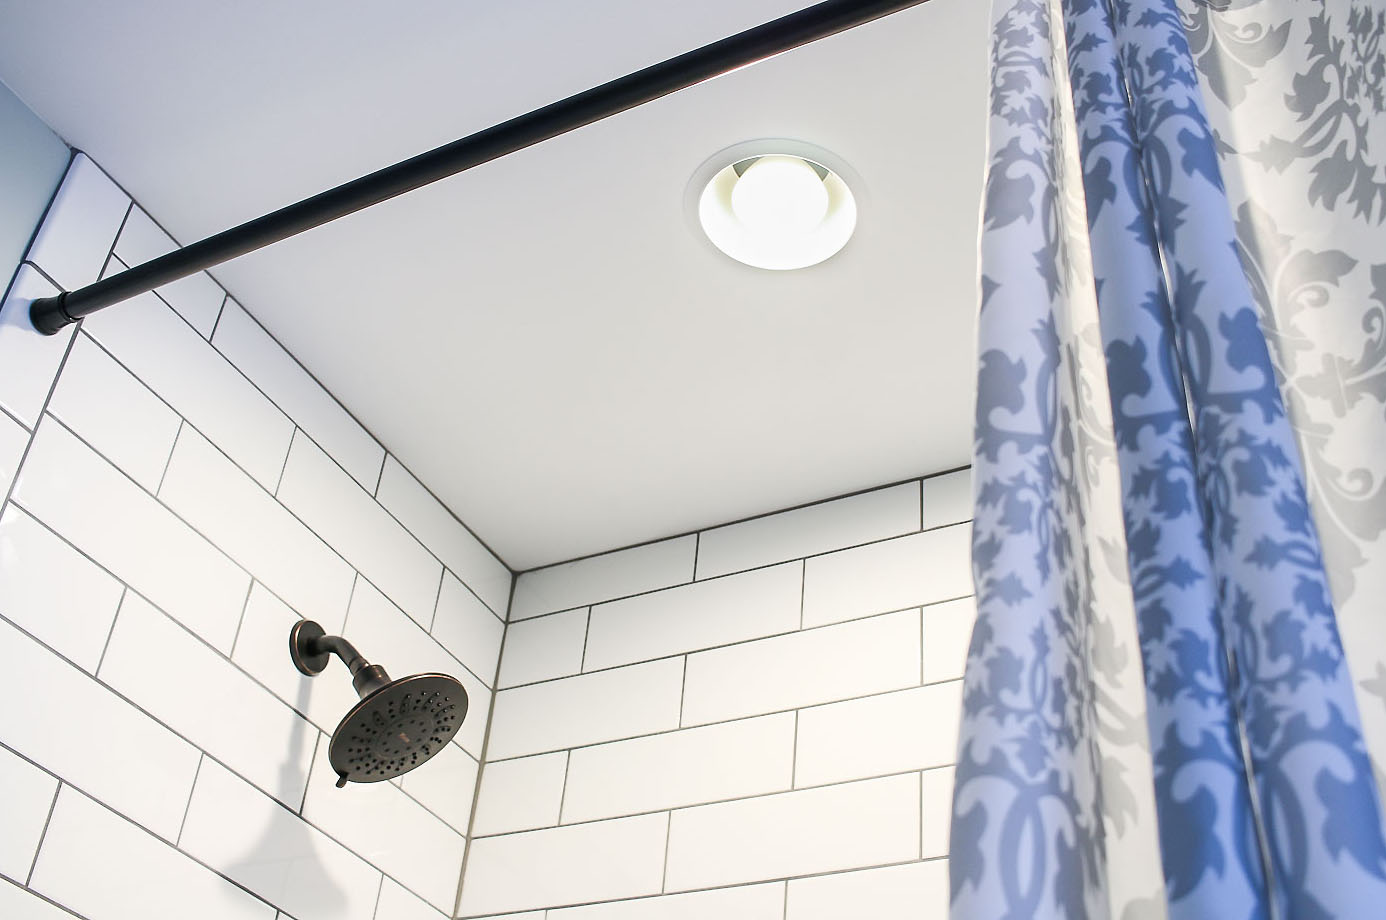
You may have seen me mention the Broan integrated light and exhaust fan in the downstairs shared bathroom reveal post. I thought you might like a few more details about this unique exhaust fan that hides in plain sight.
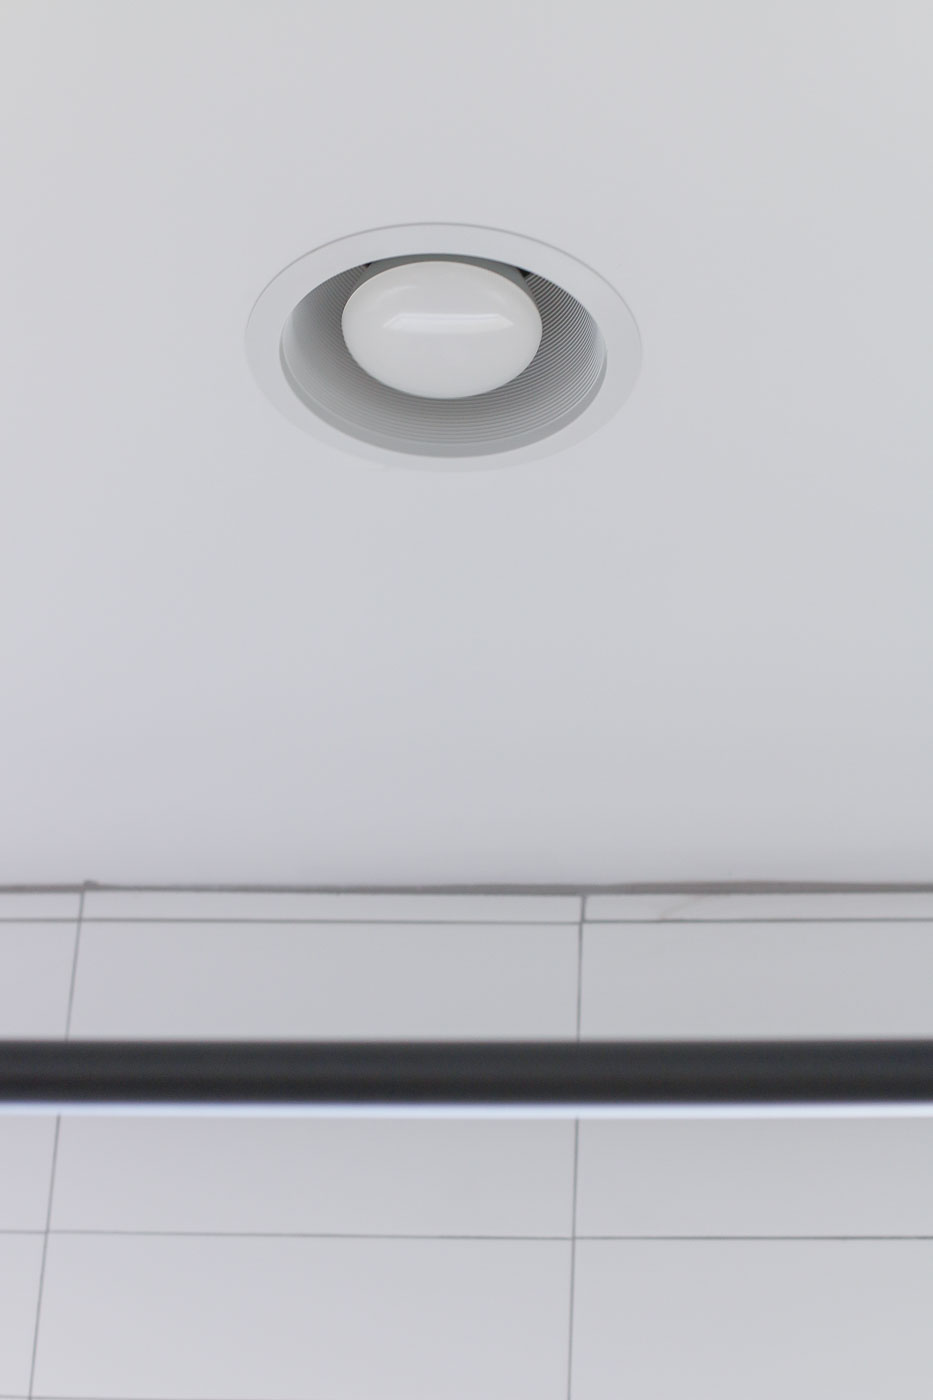
When completely installed, it looks like a regular recessed light.
If you look at the rough installed recessed light exhaust fan, you can see the housing is actually square like a standard exhaust fan.

A baffle clips inside the fan housing to hide the metal box.
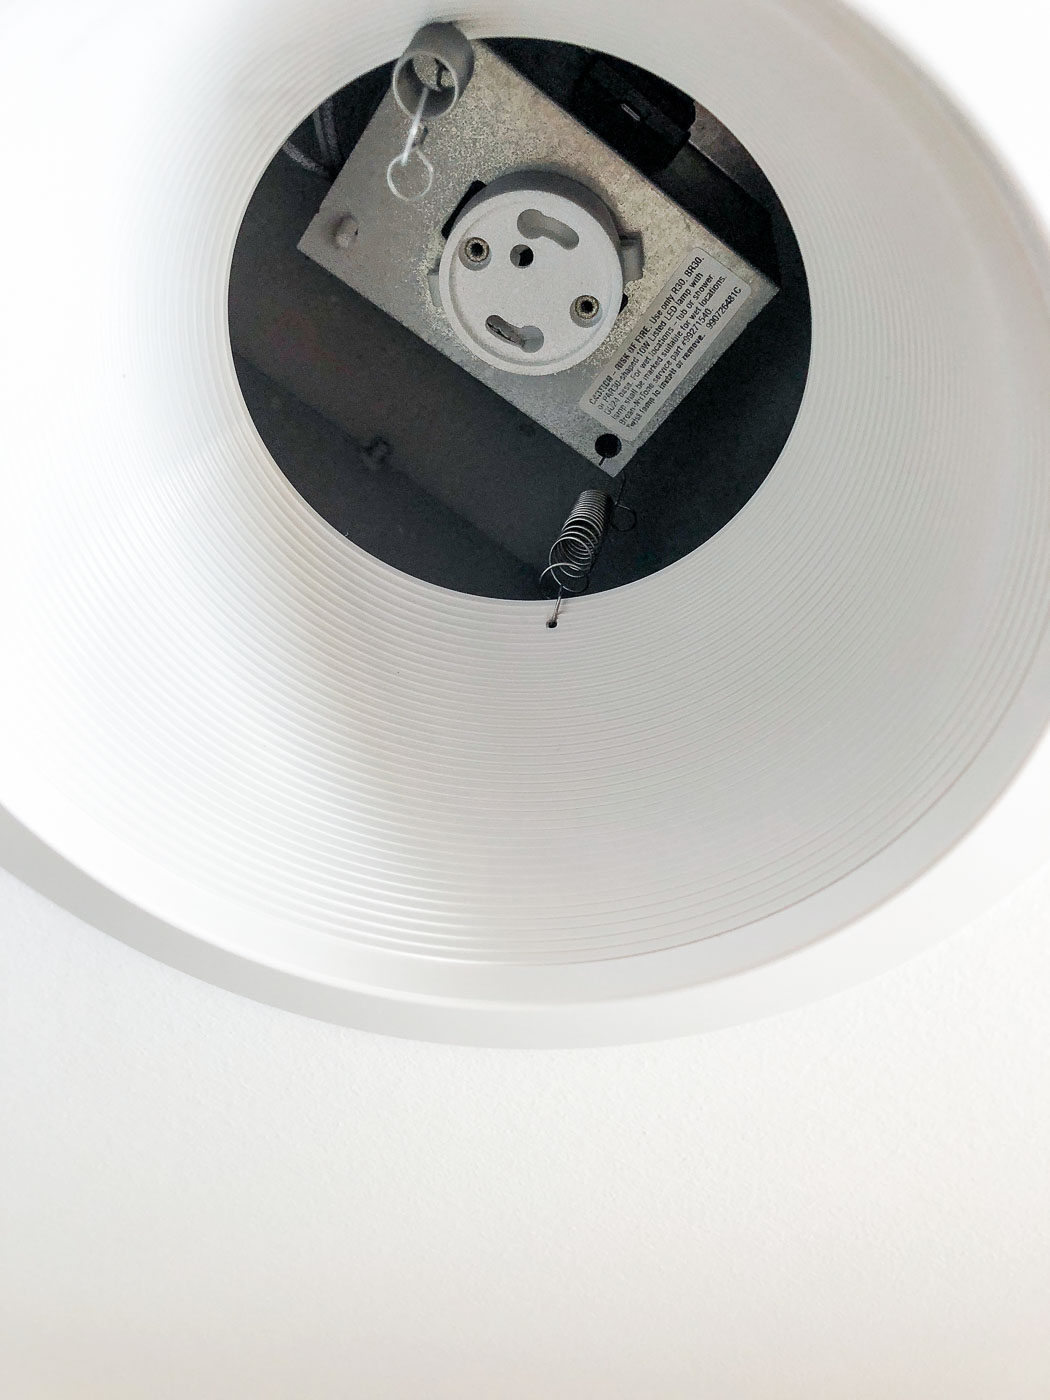
Because the recessed light fan can be installed inside a shower, it requires a special light bulb made for damp locations. (The light bulb is included with the fan/light kit.)
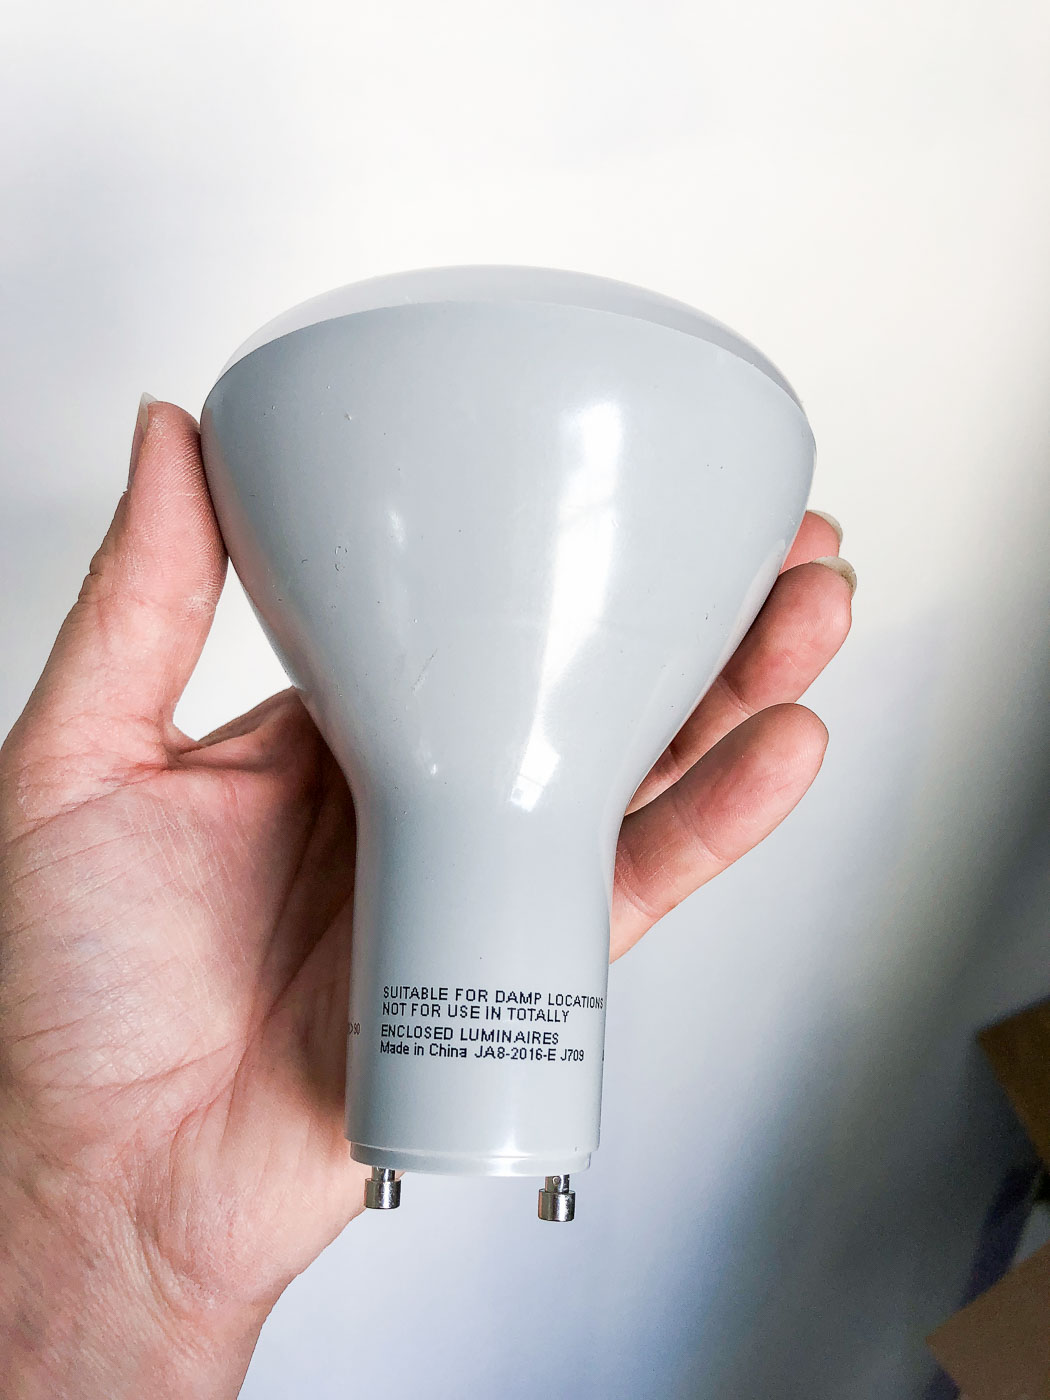
The bulb simply twists into the socket.
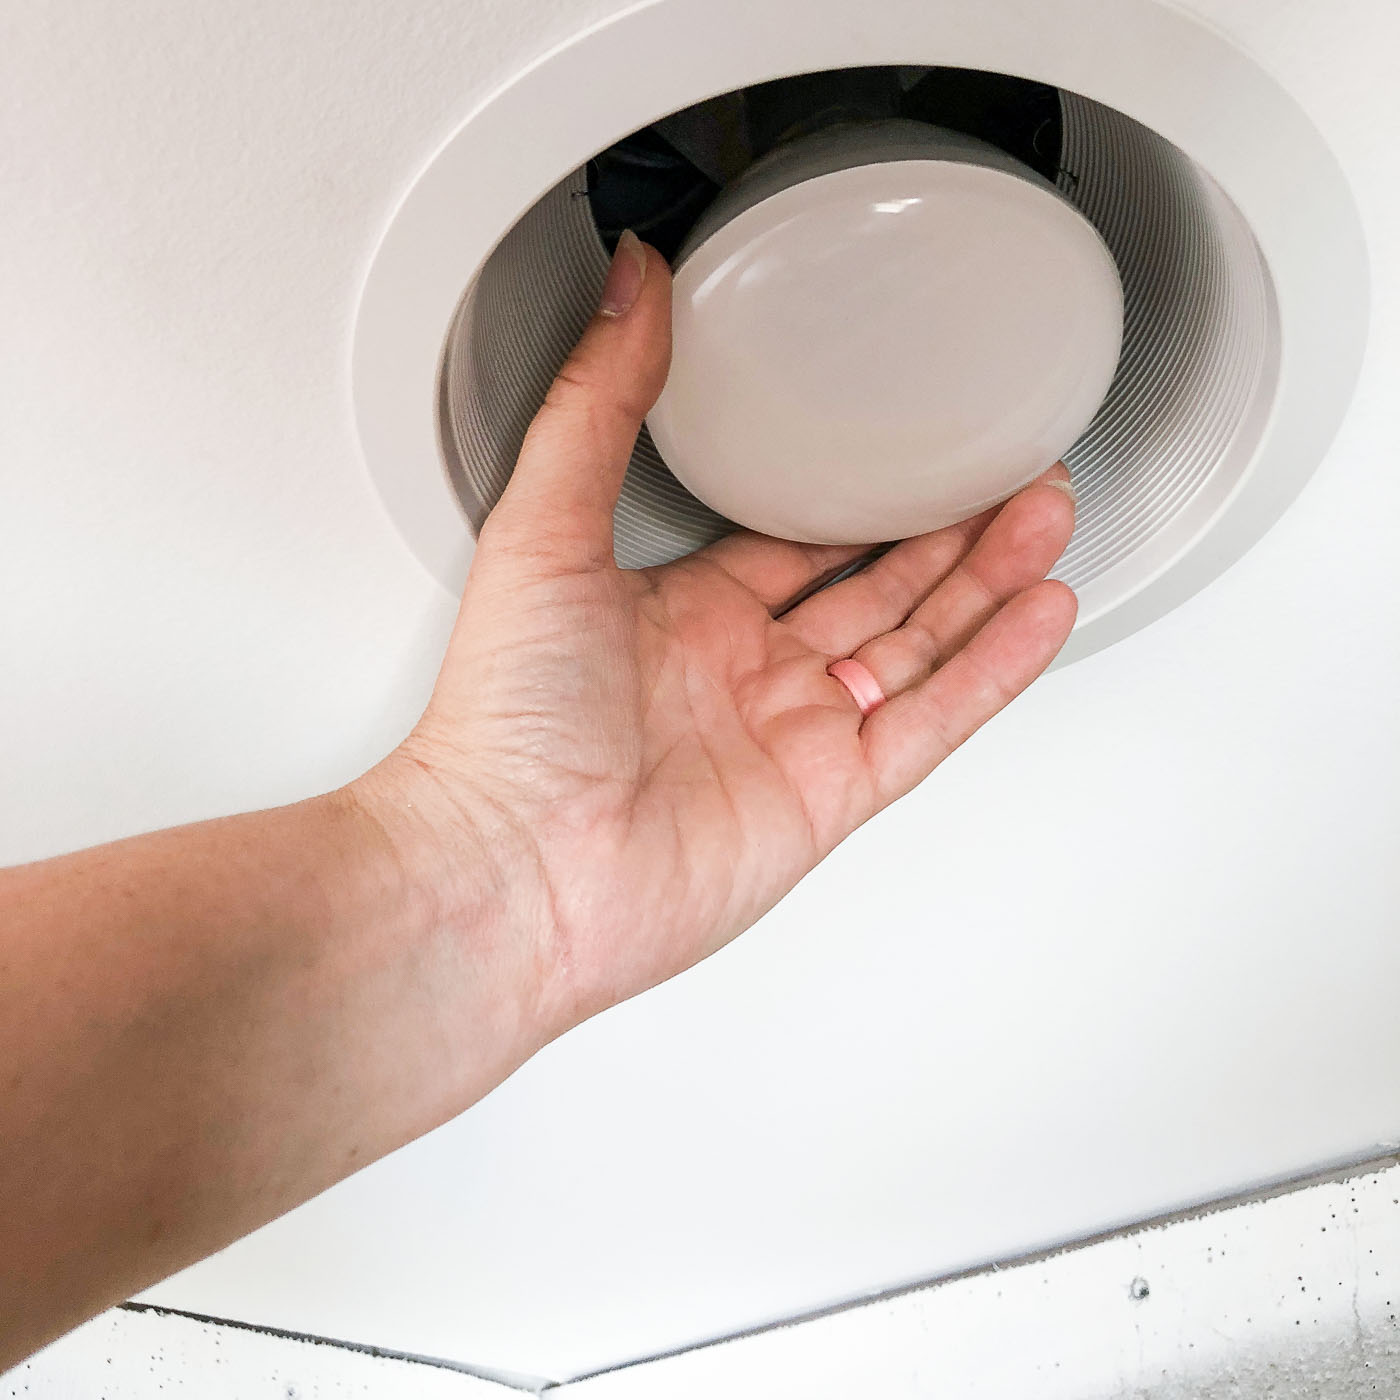
And the result is a light and exhaust fan in one. No need to cut extra holes in your ceiling!
Ready for the rest of the tour in the upstairs bathroom?
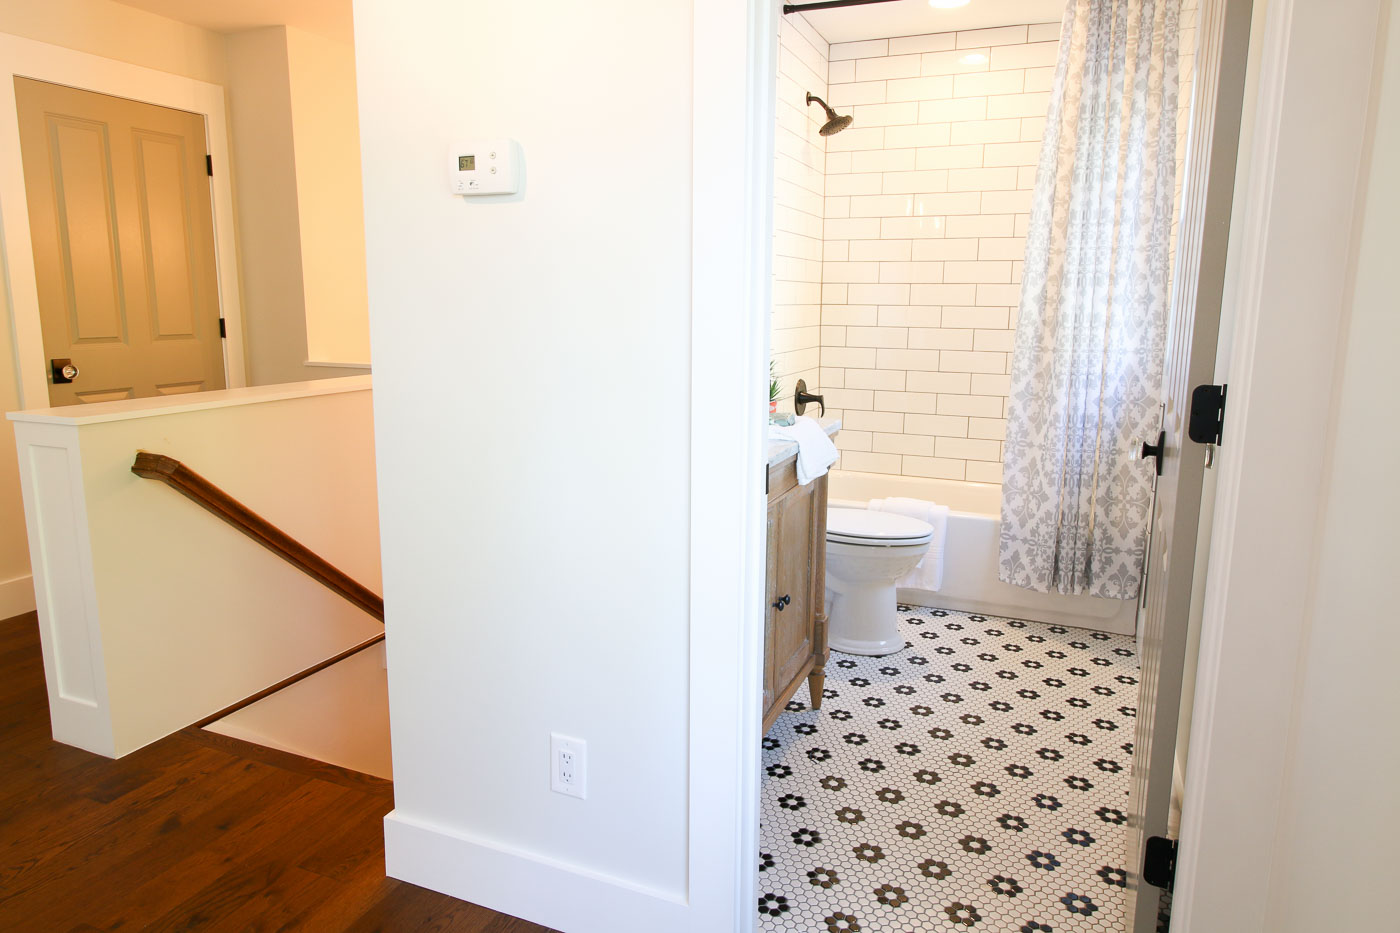
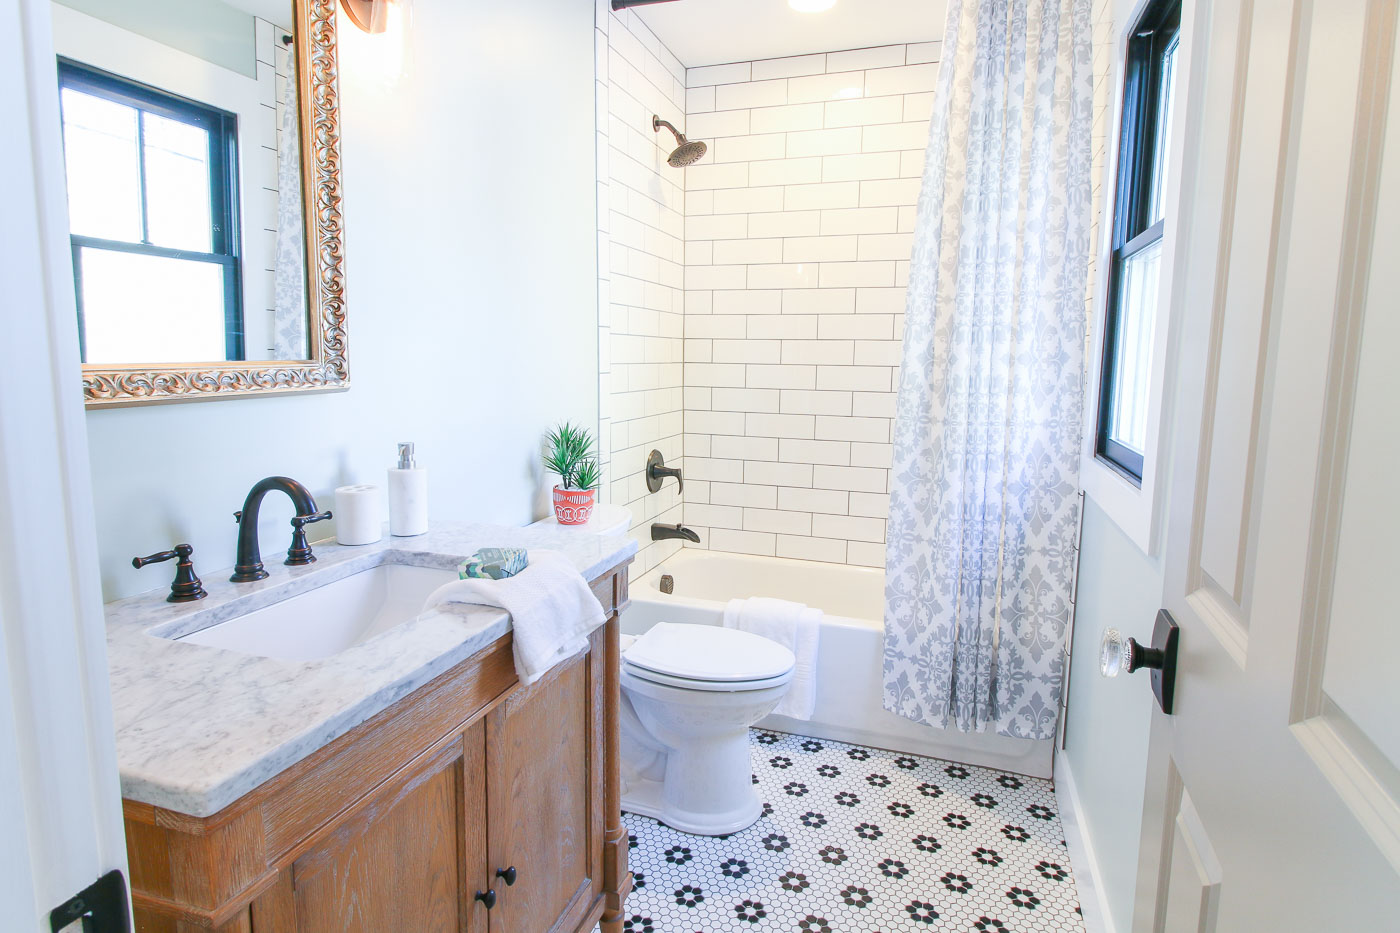
The upstairs bathroom is located at the top of the stairs one room away from the upstairs bedroom. The entire upstairs consists of the bedroom, an open room at the top of the stairs, and the bathroom. It makes the upstairs area feel like a separate apartment.
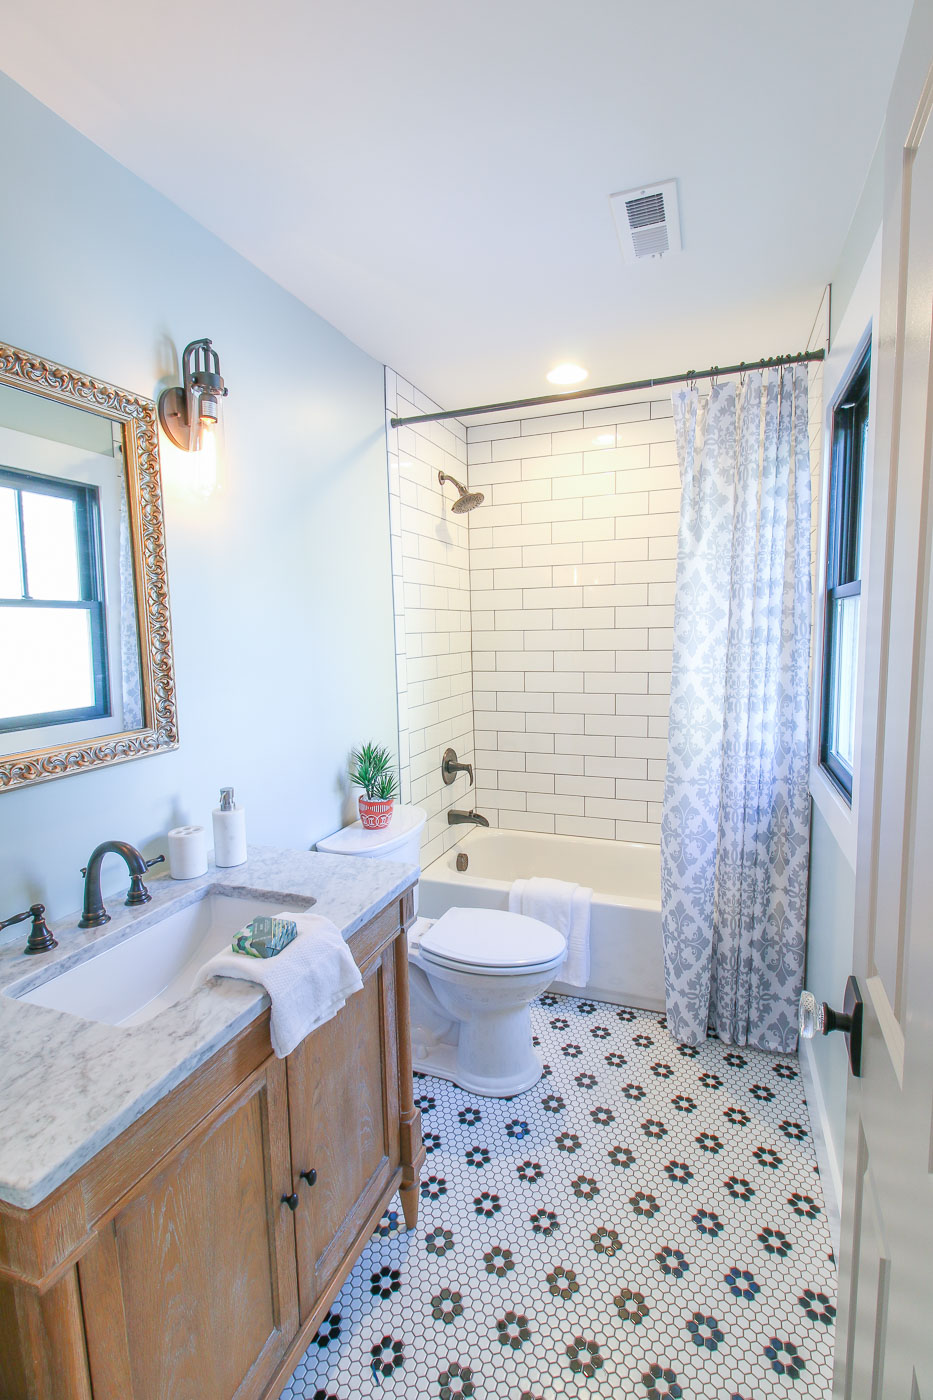
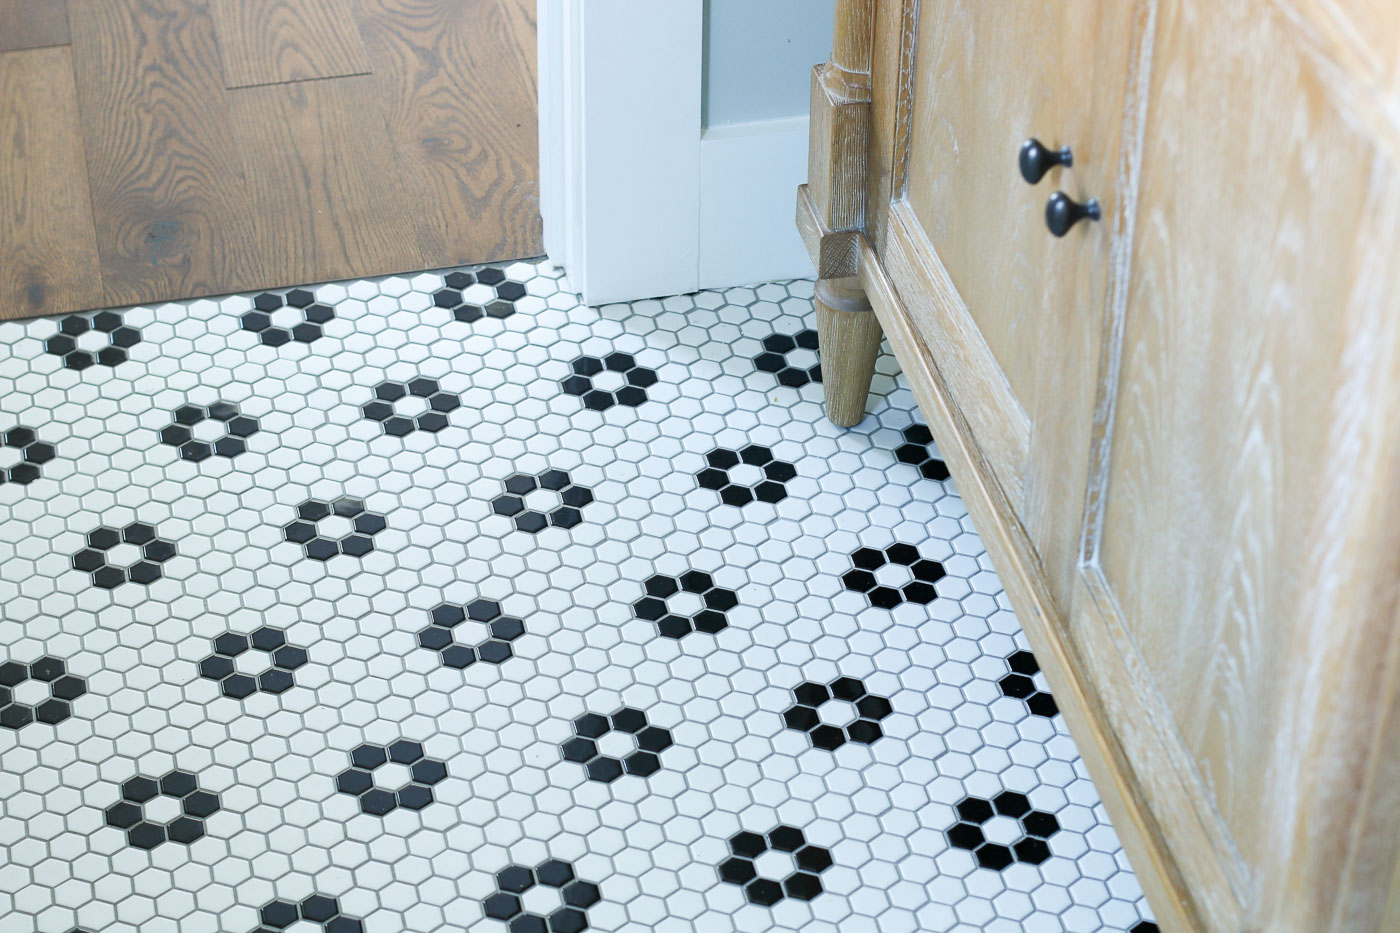
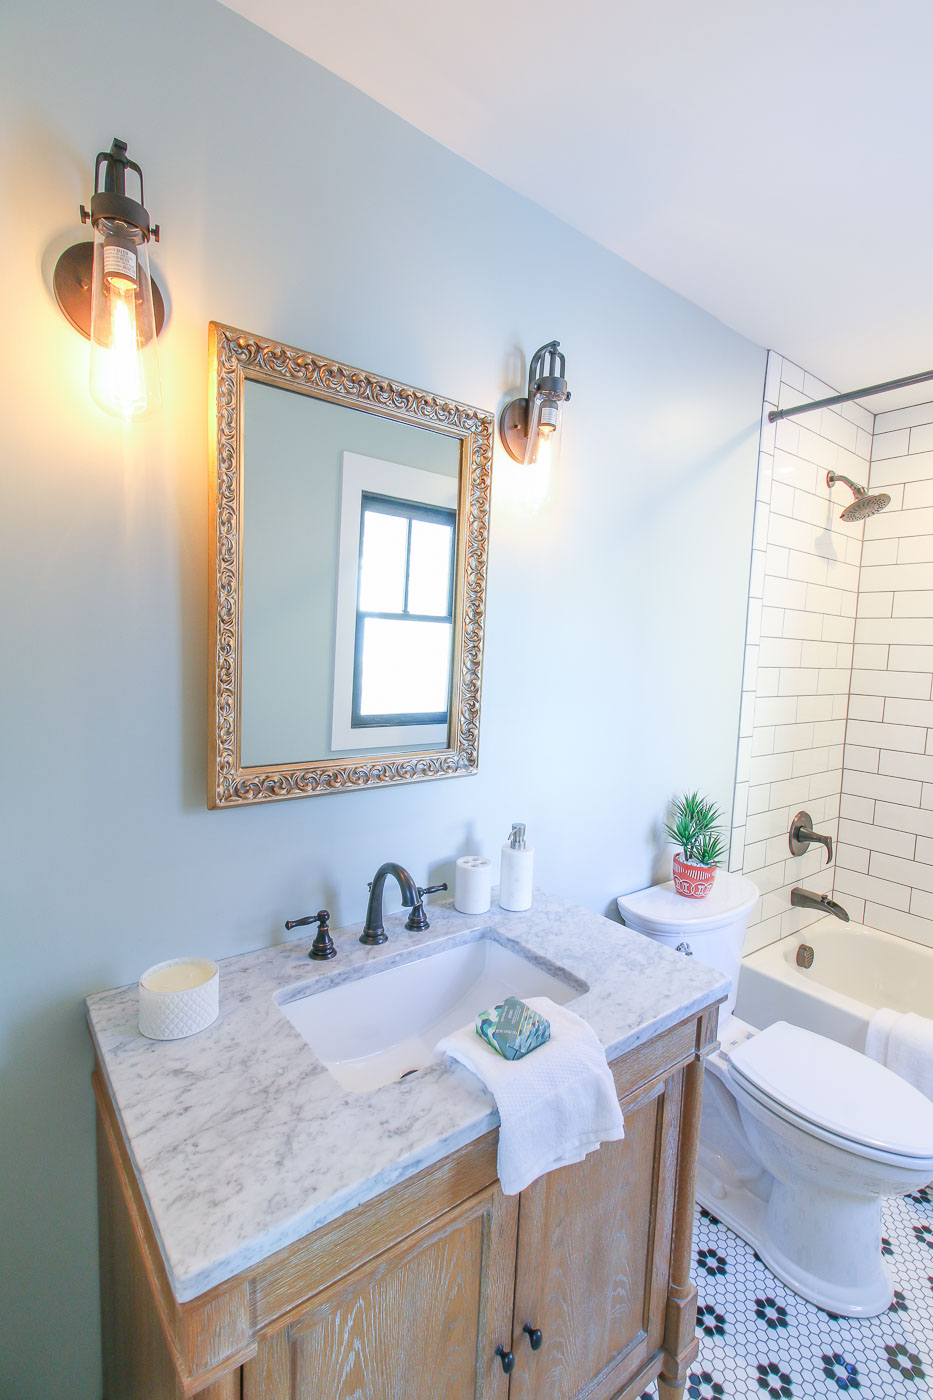
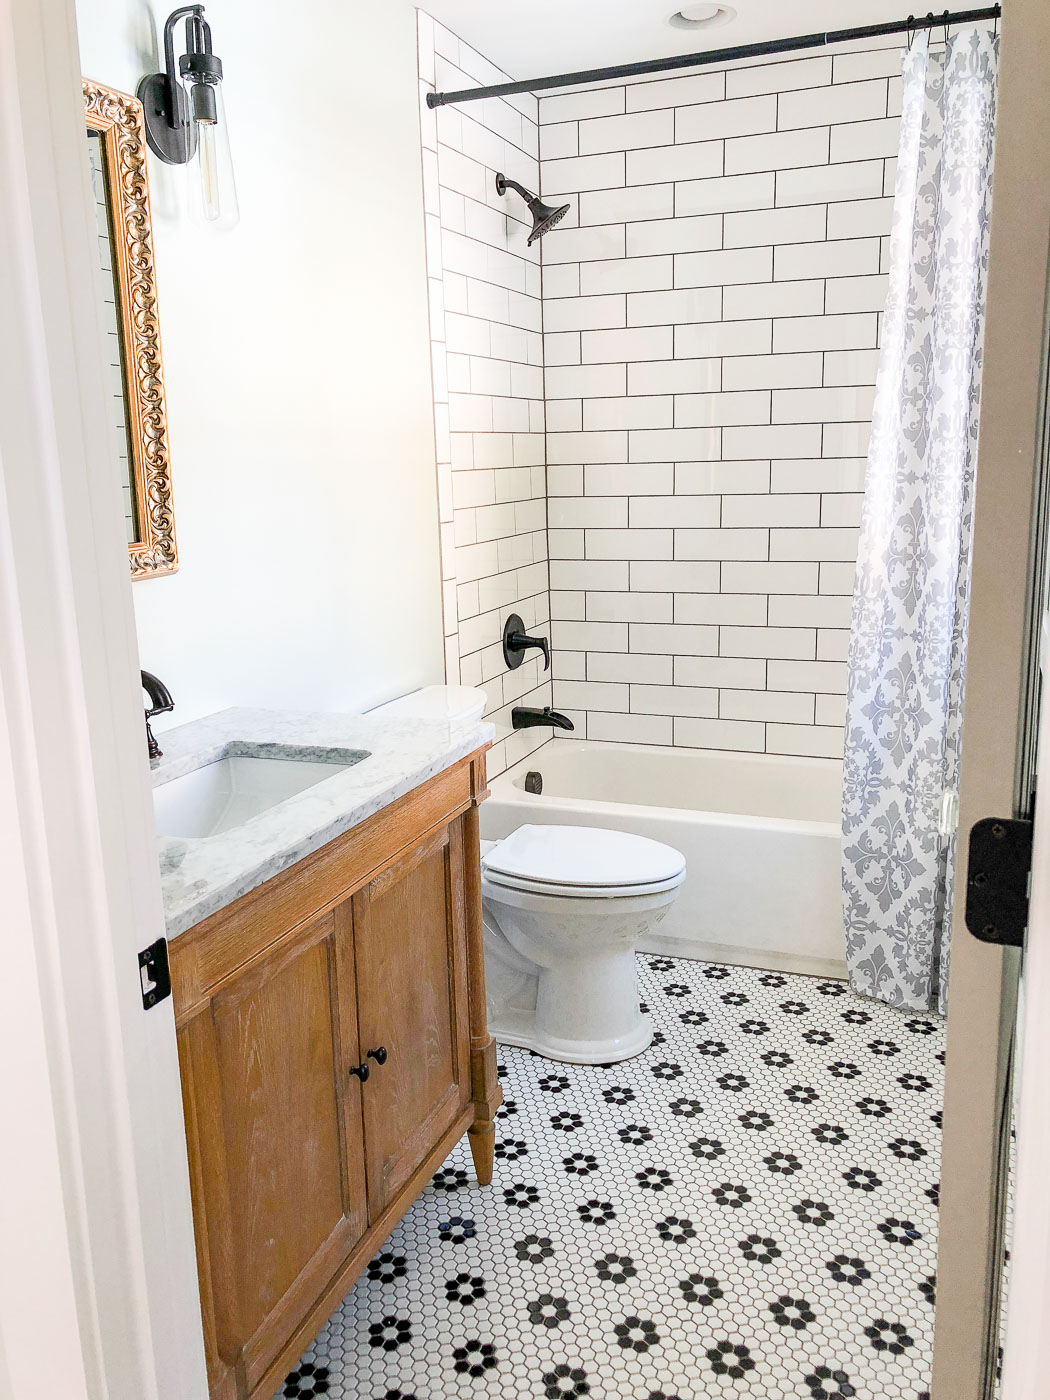
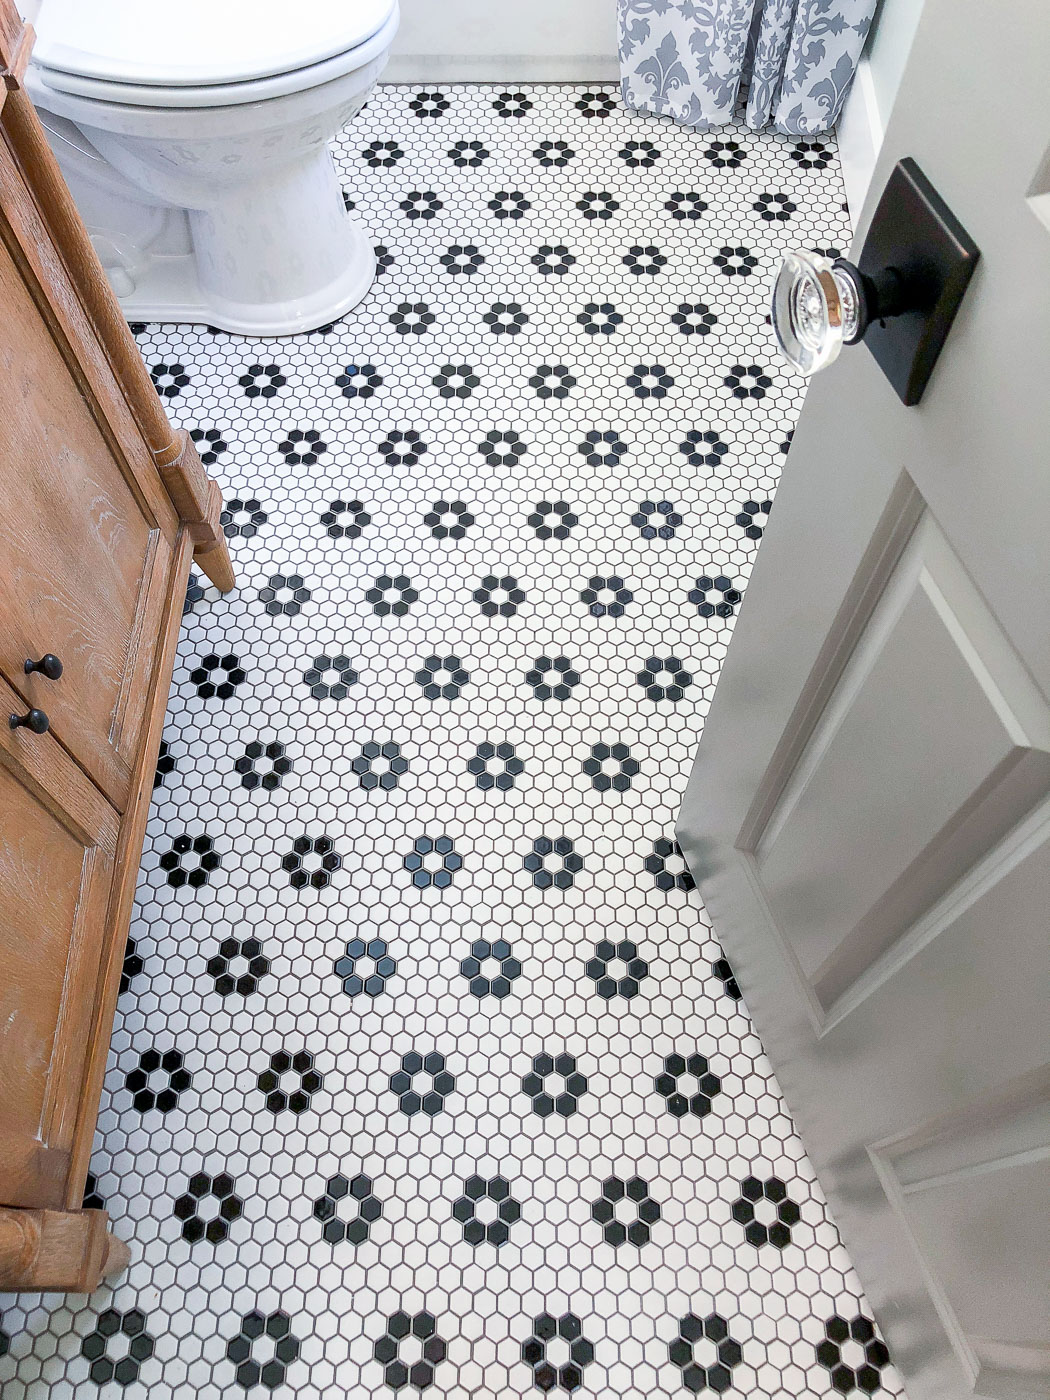
Inside the bathroom, the undeniable star is the floor. The tile I used was Jeffrey Court Floral Terrace (can be purchased at Home Depot). My tile setter was so relieved when he saw the floral pattern is already embedded into each sheet.
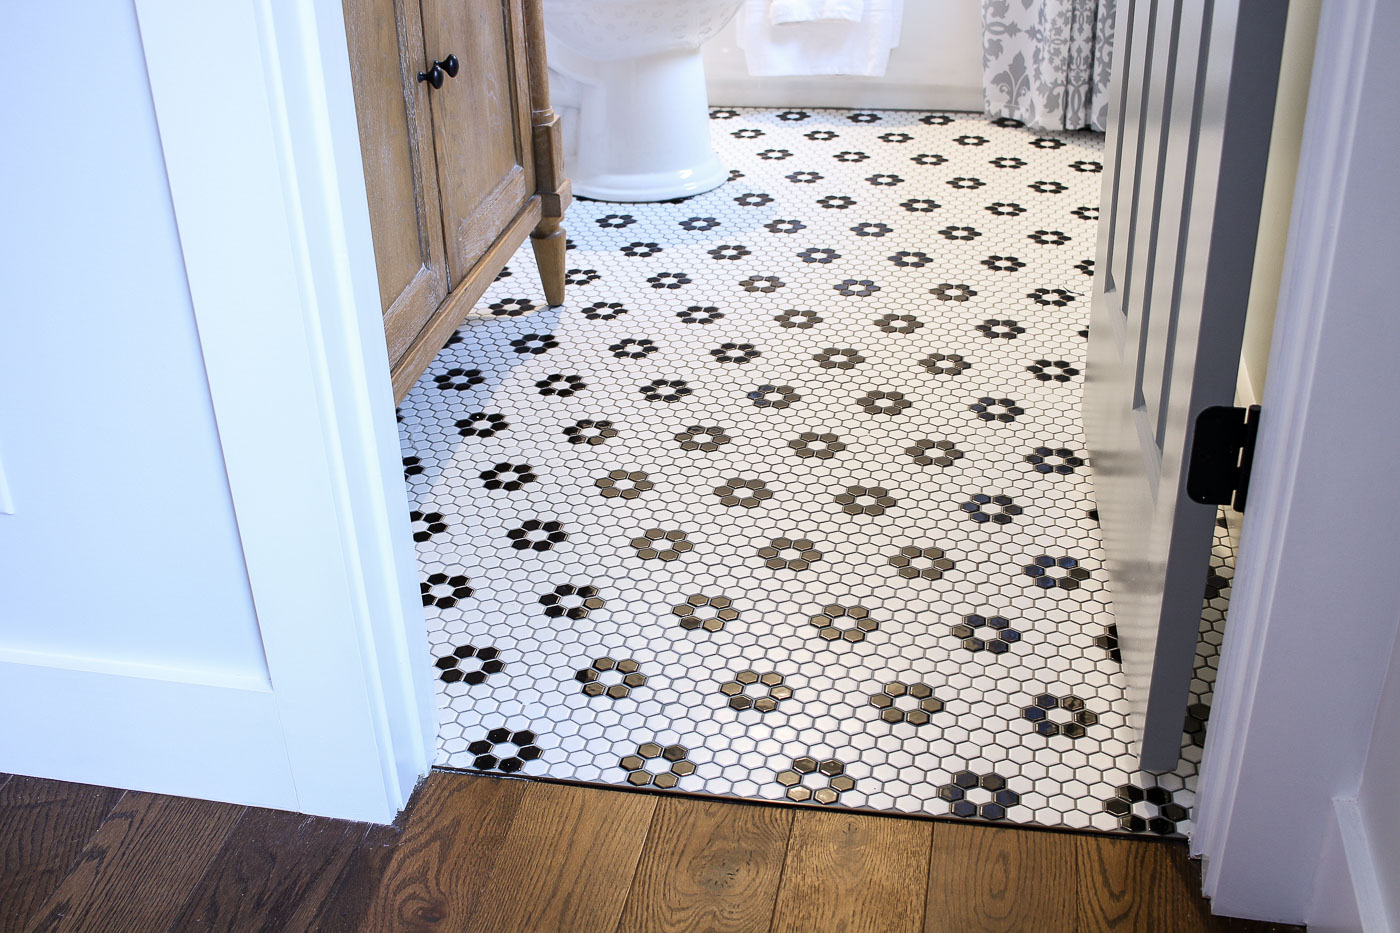
He told me about a job where the client made him pick out little white hex tiles and insert black ones for the flowers. I can’t even imagine how much extra time it would take to complete the patterned floor. Then again, based on the time Young House Love put into this beach house bathroom floor, I can image it.
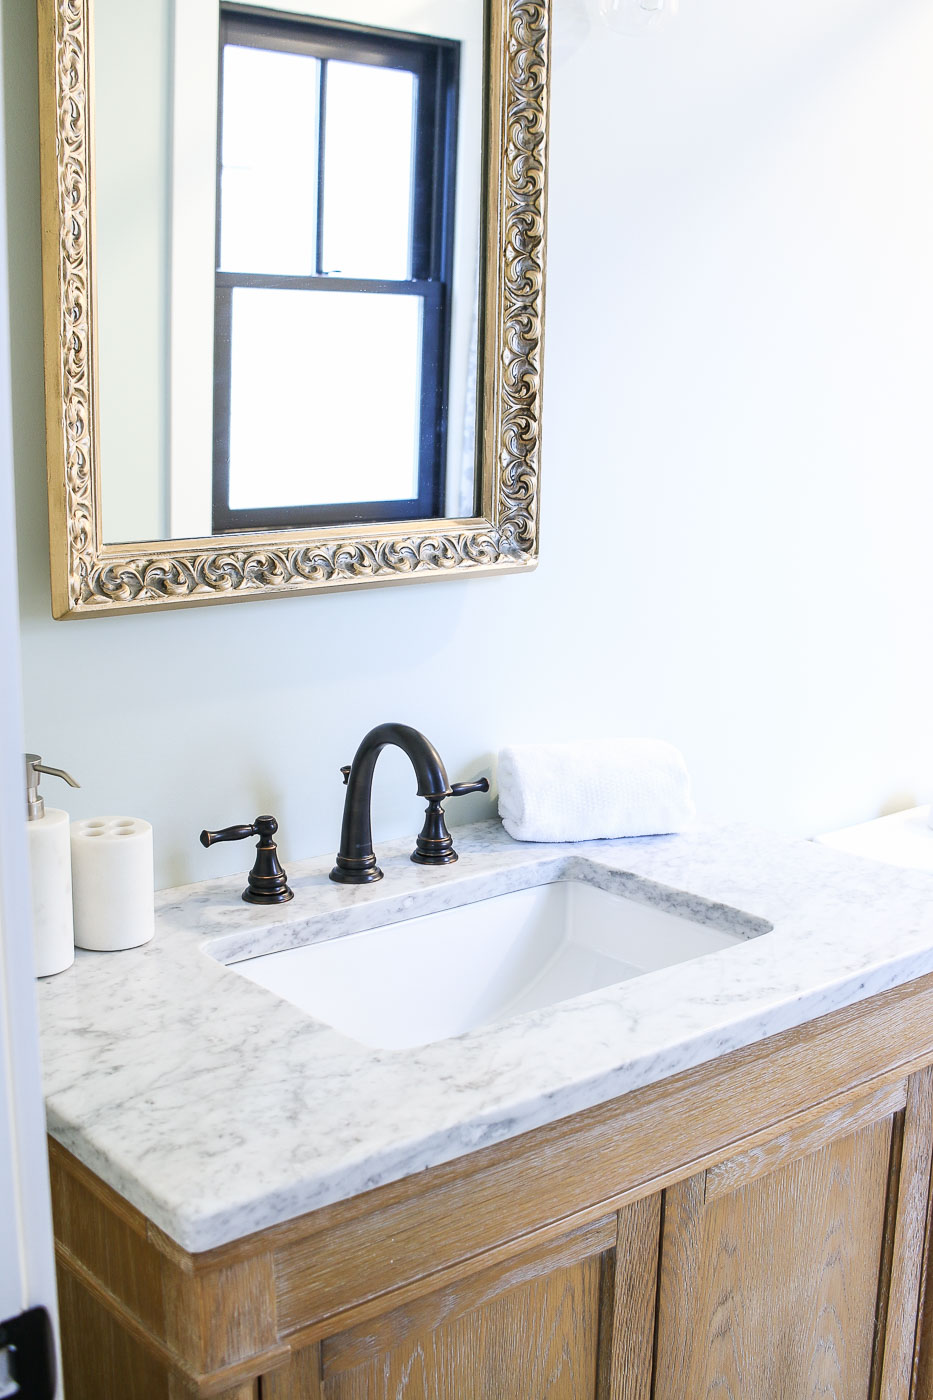
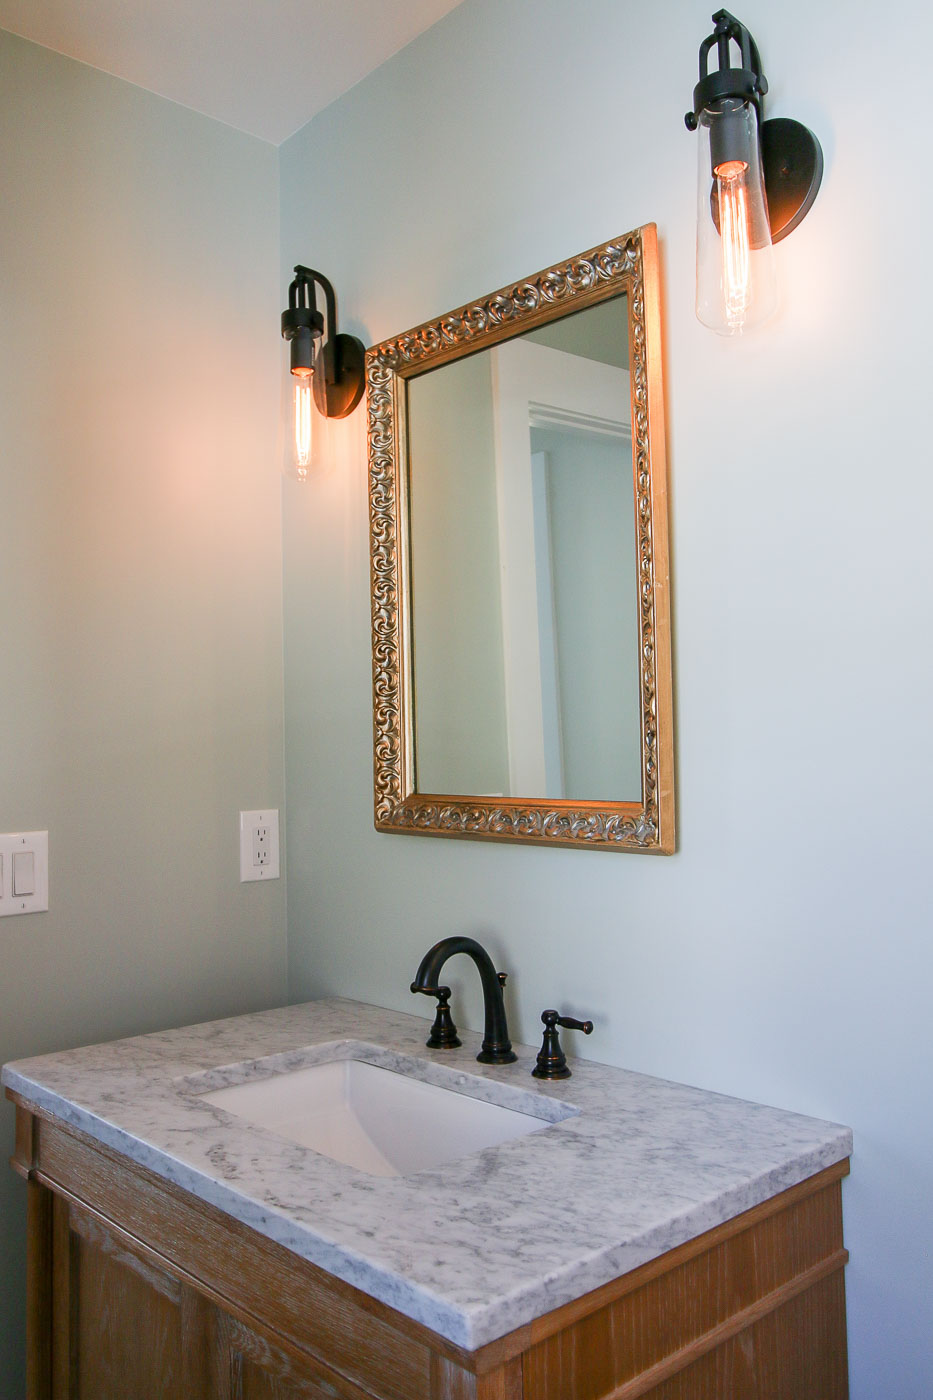
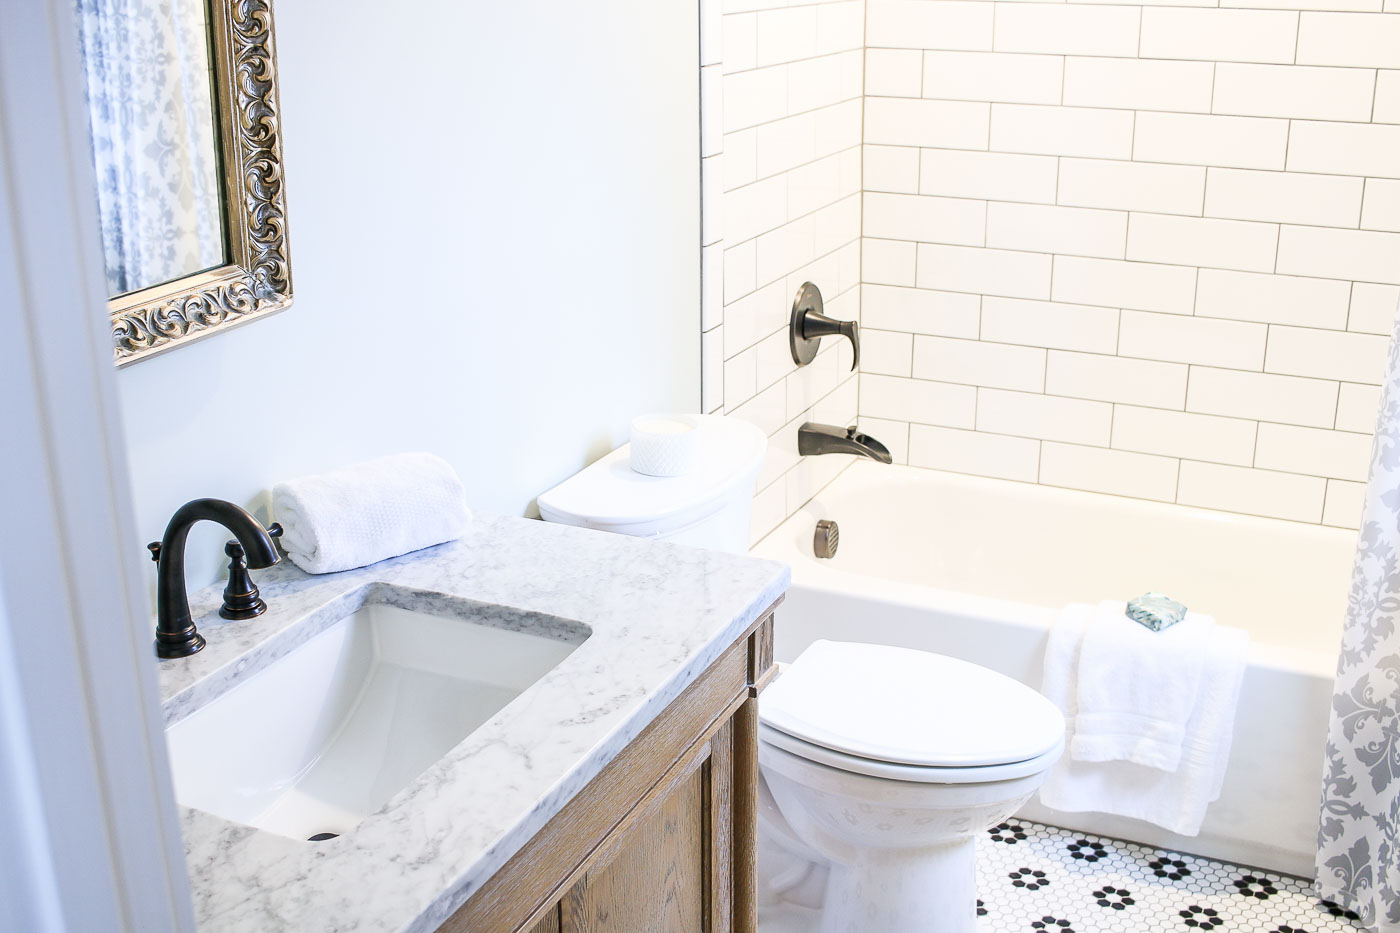
My second favorite element in this bathroom is the weathered bathroom vanity.
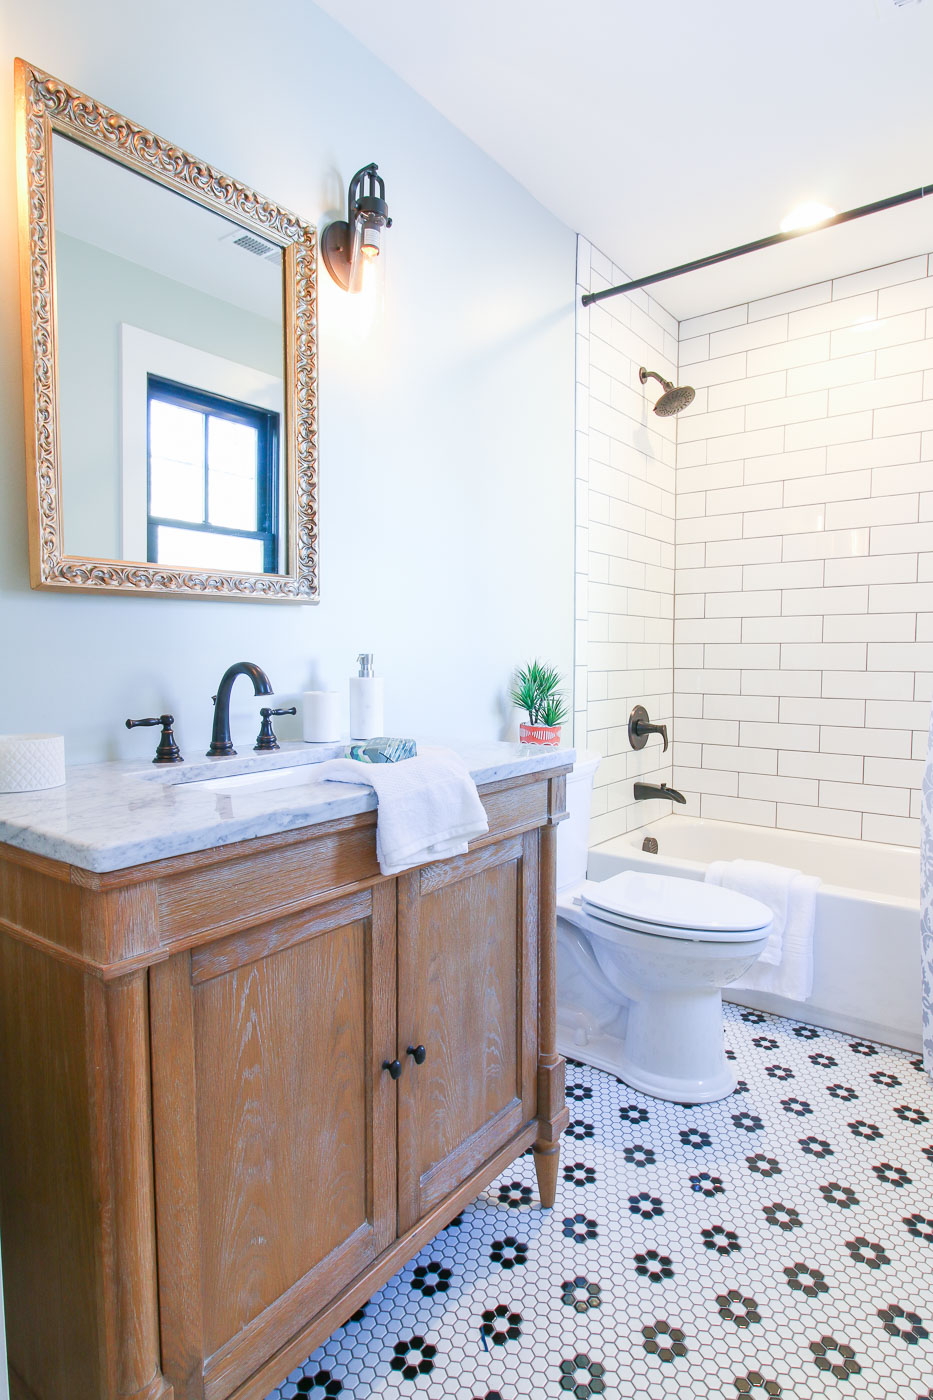
It’s the Fairmont Design Rustic Chic 36″ vanity in Weathered Oak. Lucky for me, I was able to purchase the display model at Ferguson Kitchen & Bath for a great price. The marble top had some minor scratches, but my countertop fabricator was able to buff out the scratches.
I love the weathered oak look and am hoping to recreate it for some projects in my own house. I’m thinking about making some test boards to try white wax, white-washing, and maybe even something crazy like joint compound! But, I’ll report back on this experiment at a later date.
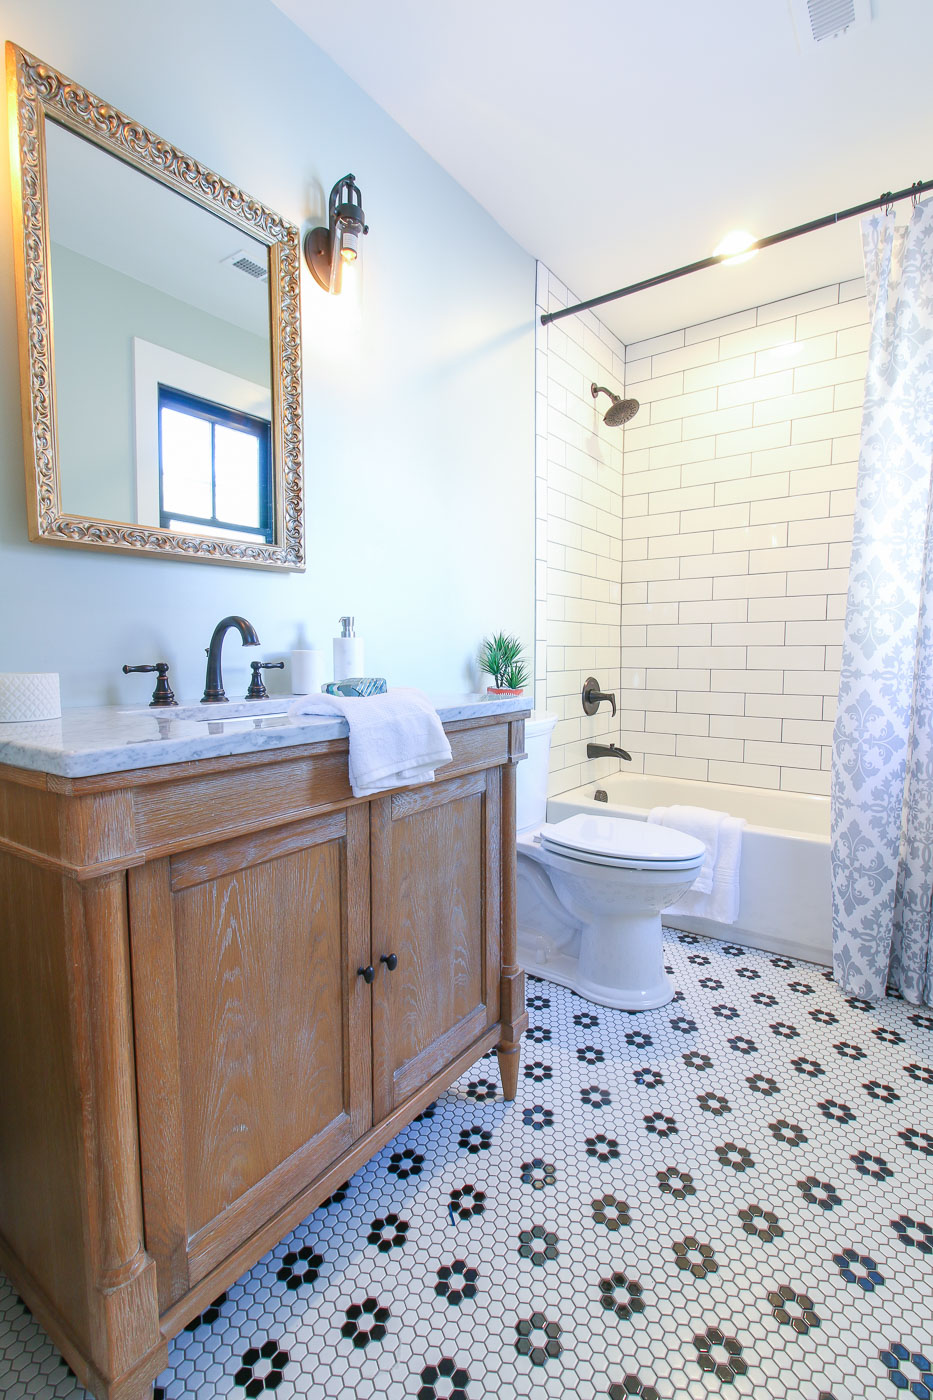
In my quest to save some money, I scoured local yard sales and thrift shops for an elegant mirror.
Luckily, I stumbled upon this gold framed mirror at a local thrift store. I think I paid $13 for it. The gold paint was chipping, but I didn’t let it deter me.
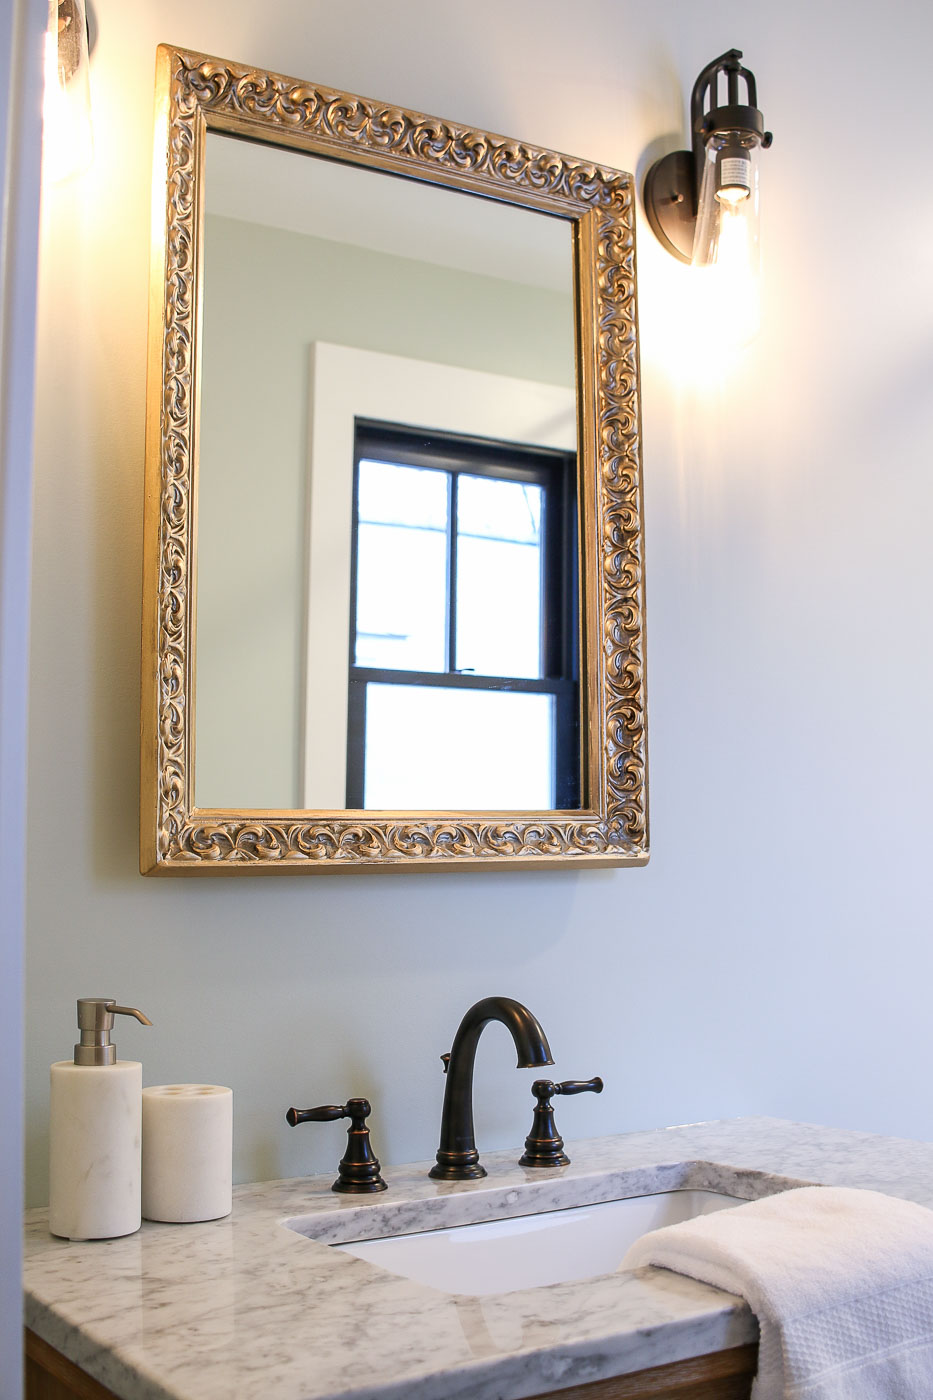
All it needed was a little sanding and brushing gold enamel paint over the high parts of the frame.
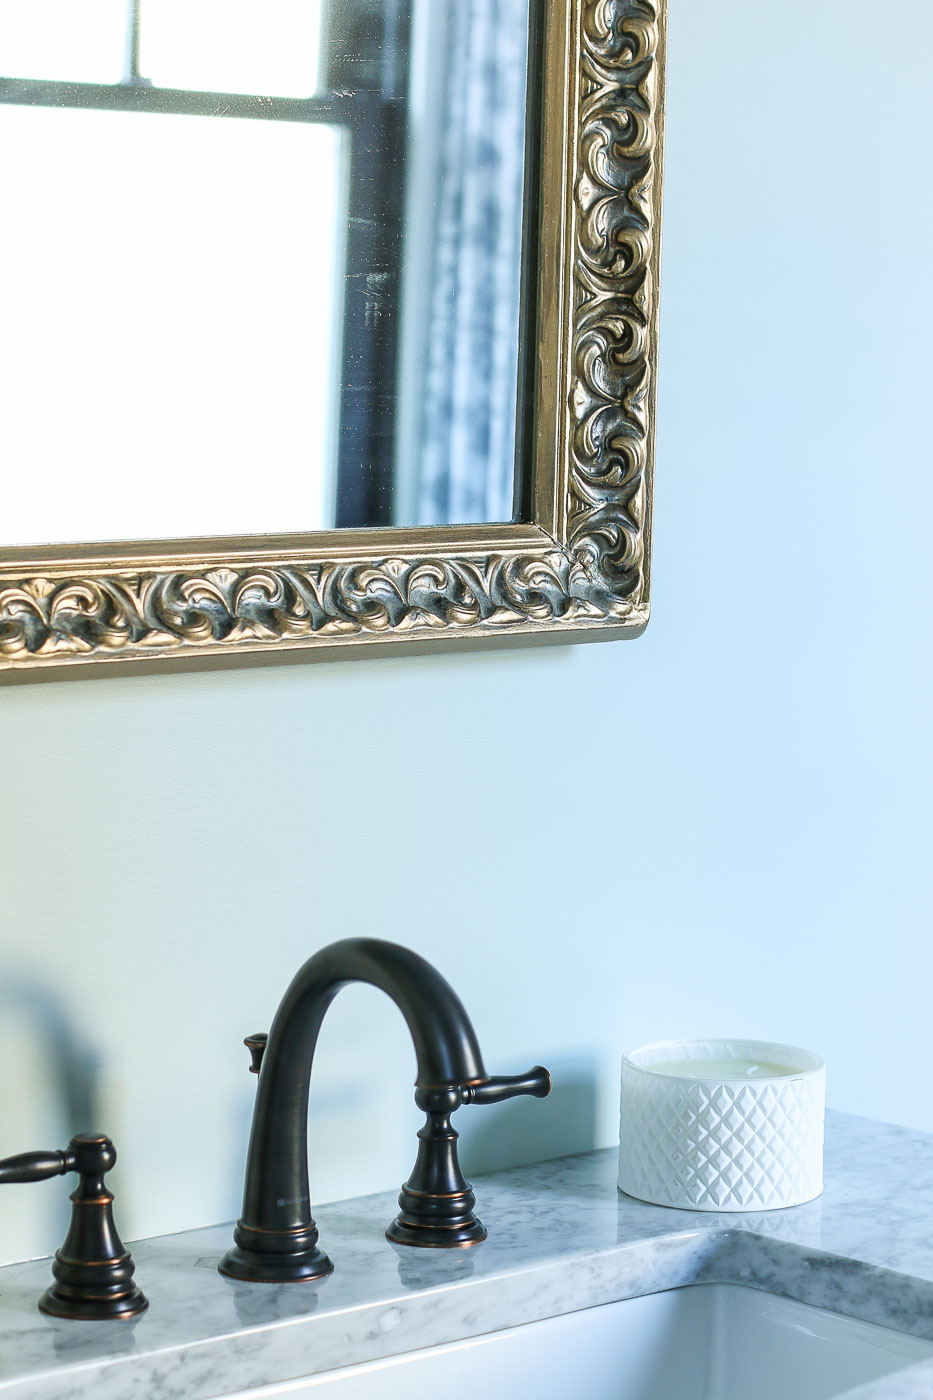
I love the vintage and elegant style it adds to this bathroom.
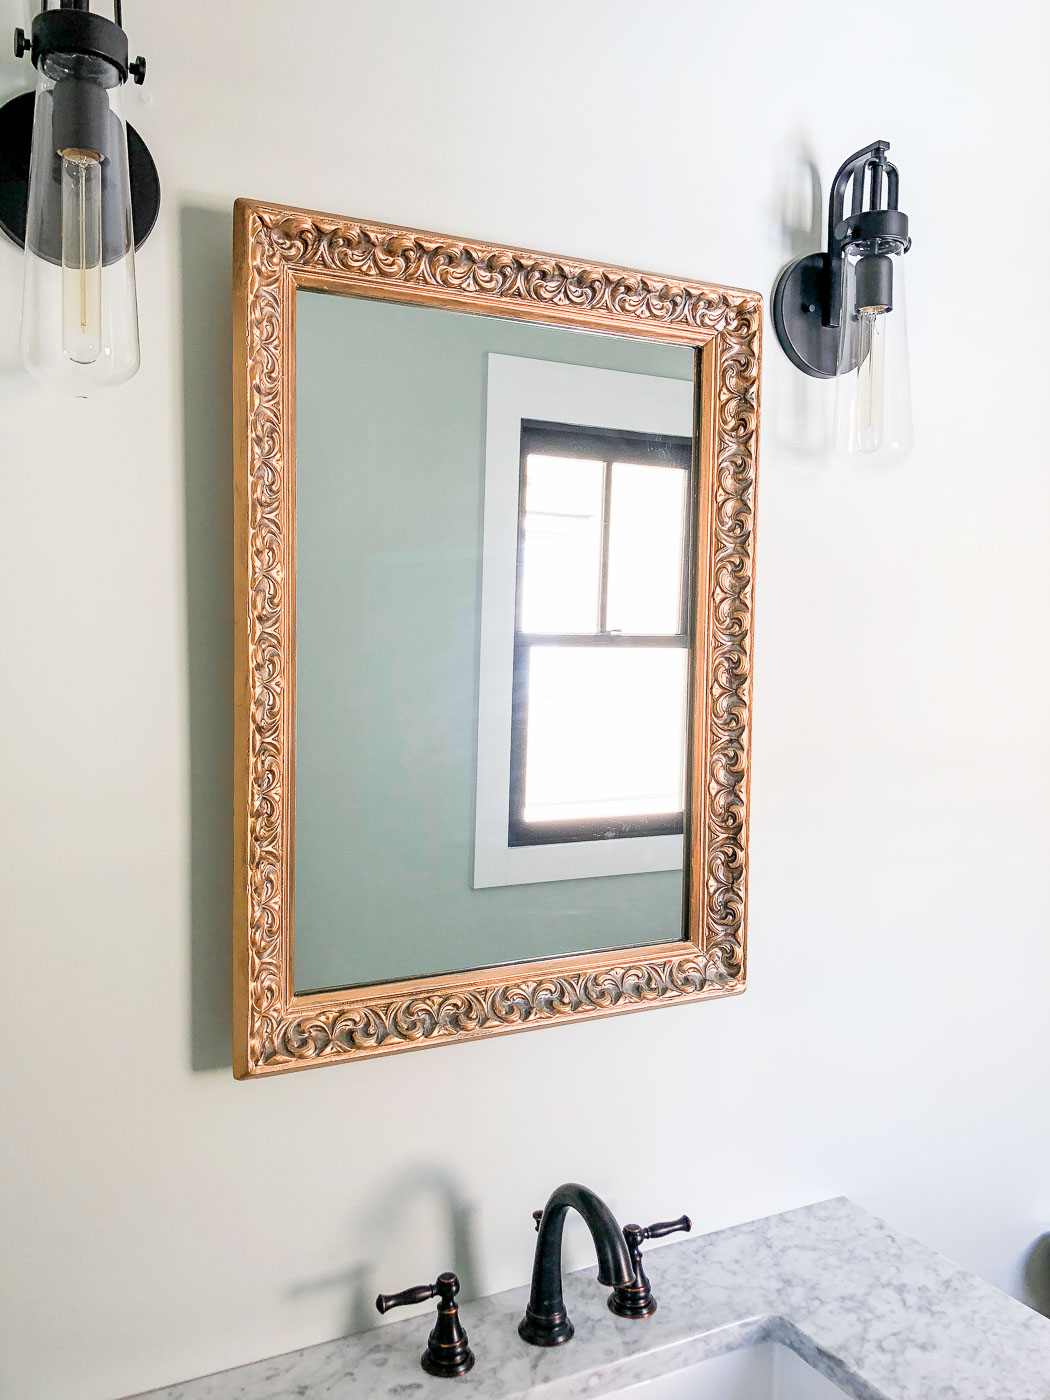
Speaking of vintage, the light fixtures on either side of the mirror add more vintage charm and additional lighting.

Now let’s talk about that pretty toilet. (Yes, I know toilets aren’t usually something you want to stare at.) But, this Heritage Vormax toilet provided by my friends at Wilkinson Plumbing Supply will certainly impress you.
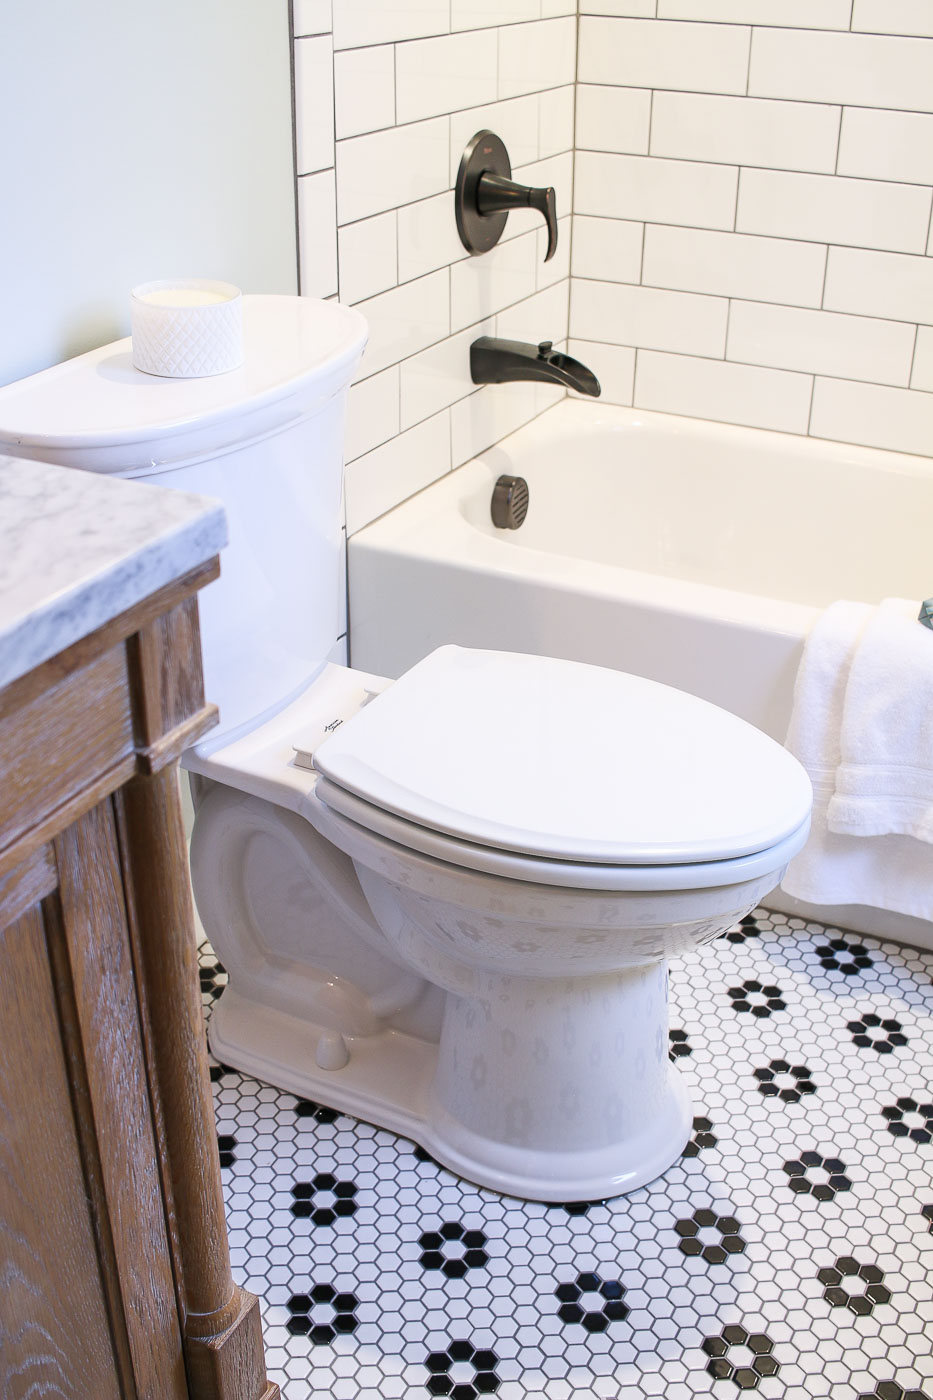
The American Standard Heritage VorMax toilet has been designed to stay clean longer and reduces the dreaded under rim build up. Watch this video for more details:
Pretty cool, huh?! If you live in the Raleigh/Durham area of North Carolina, check out the Wilkinson Supply showroom and ask them about the American Standard Heritage VorMax toilet (and don’t forget to tell them I sent you.)
The bathroom door sports the beautiful Schlage Hobson Knob that completes the vintage look.
For the tub surround, I chose larger subway tiles. The Jeffrey Court 4″ x 12″ subway tiles are a classic choice that will keep this bathroom stylish for decades. I love the look of the larger tiles, plus it helped speed the installation.
I hope you enjoyed the tour of the upstairs bathroom.
We’re nearing the end of the Saving Etta room reveals. Do you have a favorite room yet?
Here are the previous Saving Etta Room Reveals:
Kitchen Reveal | Mudroom | Downstairs Front Bedrooms | Master Bedroom | Master Bathroom | Laundry Room | Downstairs Shared Bathroom | Backyard Transformation | Front Yard Transformation
Source List:
Jeffrey Court Fresh White 4″ x 12″ Subway Tiles
Jeffrey Court Floral Terrace Mosaic Tiles
Fairmont Design Rustic Chic 36″ vanity in Weathered Oak
American Standard Heritage VorMax Toilet
Recessed Light Exhaust Fan by Broan
Wall Color: Emmie’s Room by Magnolia Home Paint
Door Color: Cupola by Magnolia Home Paint
See you soon with more Saving Etta updates and I’ll have a few home improvement tutorials as well.
![]()
Disclosure: I received materials and/or compensation from the sponsors of the Saving Etta project. These were the upstairs bathroom sponsors: Ask for Purple, Plygem, Broan-Nutone, Schlage, Wilkinson Supply Co., Magnolia Home Paint, KILZ, Jeffrey Court Tile. I was not told what to write. All opinions and words are my own. As always, I will notify you if you are reading as sponsored post or if I was compensated. Rest assured I am very particular about the brands I work with. Only brands I use in my own home or that I’ve had a positive experience with will be showcased on this blog.


Do you happen to recall the color grout you used? I have the same tile and am trying to choose the grout. Yours looks perfect!
I think it was Mapei Pewter, but I can’t say for sure.
Thank you! I’m going to try it!!
Did you use the actual Magnolia Home paint base? Or did you have the emmies room formula mixed in a different brand of paint? It’s so pretty. Sometimes it looks blue and sometimes green. I want to try it in my bathroom.
I used Magnolia Home paint and I have to tell you how beautiful it is and what a great quality paint it is!