Rustic Wood Farmhouse Table Top from Reclaimed Lumber
I’ve always wanted a rustic wood farmhouse table. I wanted a table that looked worn, well-loved and appeared to be over 100 years old. It’s very hard to achieve that look with new lumber. To get that rustic look, you either need old reclaimed lumber or the skills to stain and distress new wood. I chose the first option and bought reclaimed rafters from The ReUse Warehouse in Durham, NC.
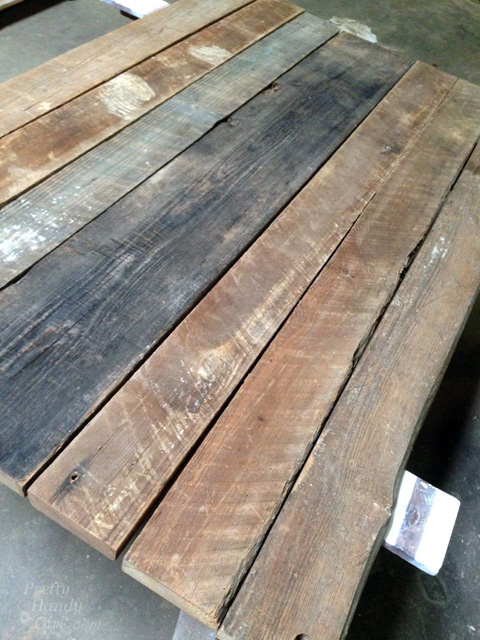
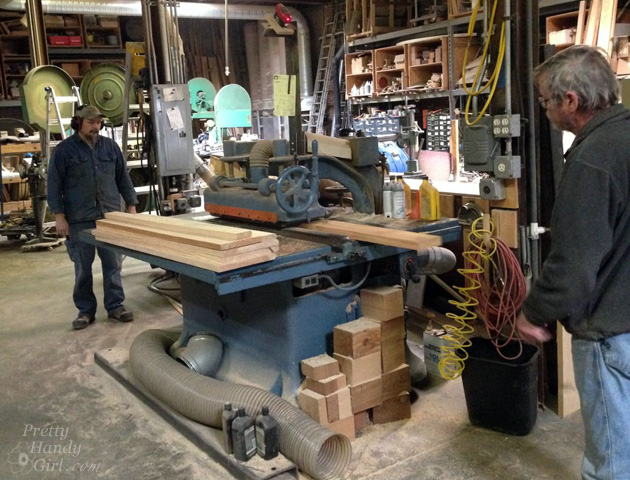
They were very rustic to say the least. I was prepared to plane and glue them together myself, but I don’t own a planer (insert sad trombone sound.) Instead, I brought the rafters to Mark Kegler of Kegler’s Woodwerks. Mark has ALL the woodworking equipment and he convinced me to let him glue the tabletop together since I realized I also don’t have 5 bar clamps (Christmas wish list updated now.)
For fun I thought I’d show you the behind the scene pictures of the table top as it was being planed and ripped. That way you can view the process should you decide to piece together your own reclaimed lumber table top.
Behind the Scenes at the Shop:
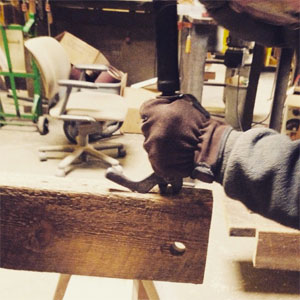
First they ran a metal detector over the beams and then removed nails with an extractor.
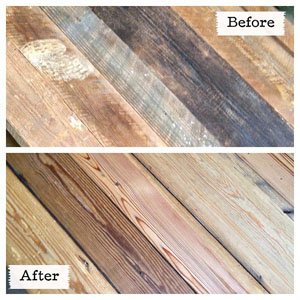
Next, the rafters were fed through a planer to give them all a uniform thickness.
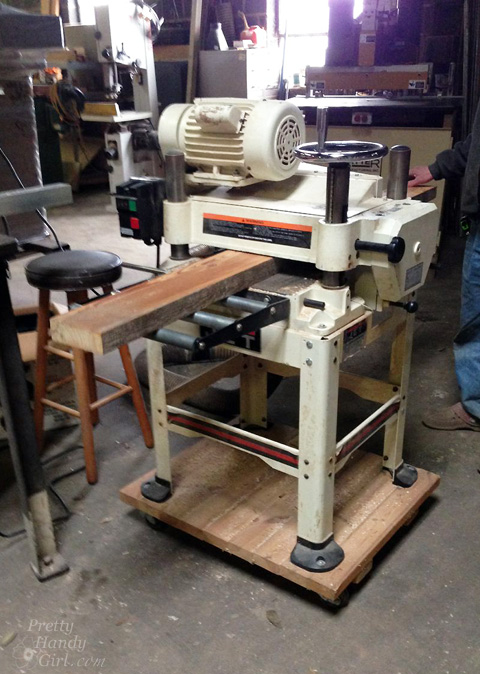
It was like Christmas morning watching the wood as it came out and I could see the of the beautiful grain revealed.
Mark and Randy used a straight line rip saw to cut the edges straight with the exception of two rafter edges that would be used for a live edge on the table. I was able to salvage the edges that they ripped off for later use.
The boards were glued with wood glue and clamped together. Then they were left to cure overnight. In the morning, the short ends of the table were cut square.
Back at home I built the table base (the apron and legs).
Finishing the Reclaimed Wood Table Top:
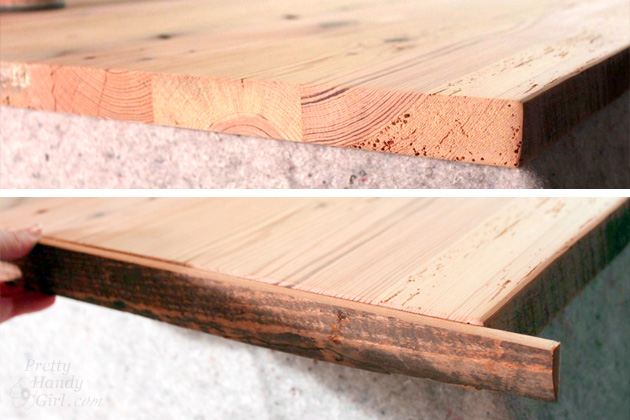
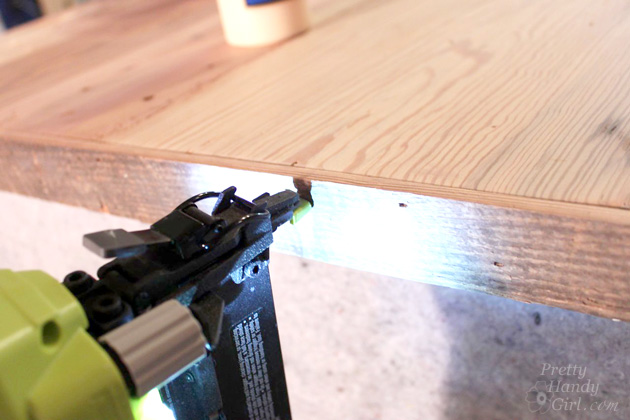
Remember the salvage I kept from Mark’s shop? I used it to cap the table as edge band to hide the end grain. Hold the edge band up against the end, mark and cut the excess off.
Add wood glue to the inside of the edge band.
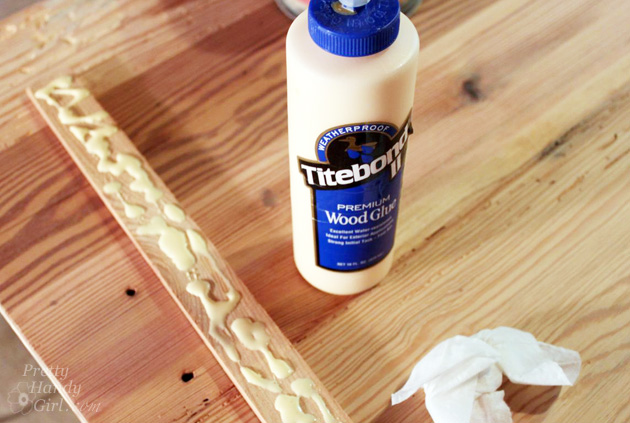
Attach the band to the table with finish nails.
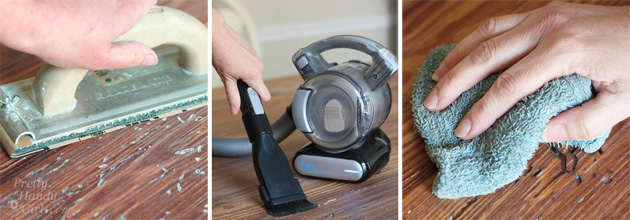
You can fill any voids, knots or holes while leaving the character with this method. Sand down the table with 180 grit sand paper. Give a final sanding with a 220 grit sandpaper.

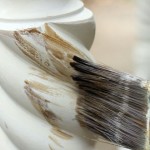
Wipe off the table with a damp rag. Apply two coats of natural stain. After the stain has dried, apply one coat of General Finishes Flat Finish Top Coat.
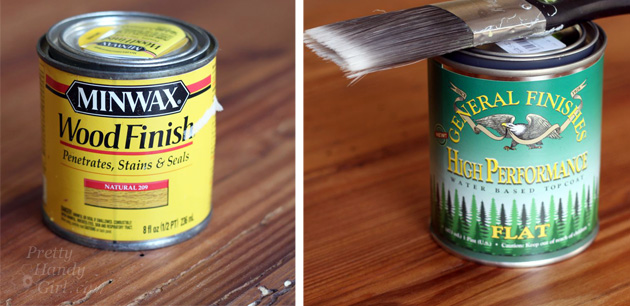
When the top coat has dried, lightly sand any rough edges or bumps. Vacuum up the dust and wipe with a damp rag. Then repeat with another coat of topcoat. (Add at least 4 coats of topcoat to a table.)
The table top is now protected from water and wear. To tone down the sheen and give the table an authentic antique waxed finish, apply a coat of Miss Mustard Seed’s Furniture Wax. Buff off the wax with a dry rag.

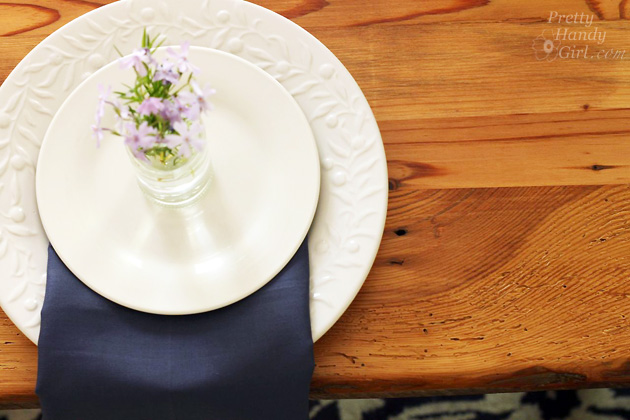
Attach the table to the table base as shown in this tutorial. Now your table is ready for your next dinner party!
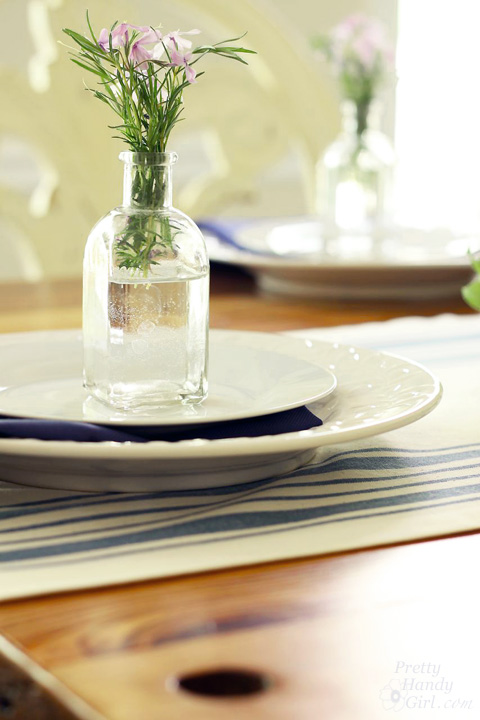
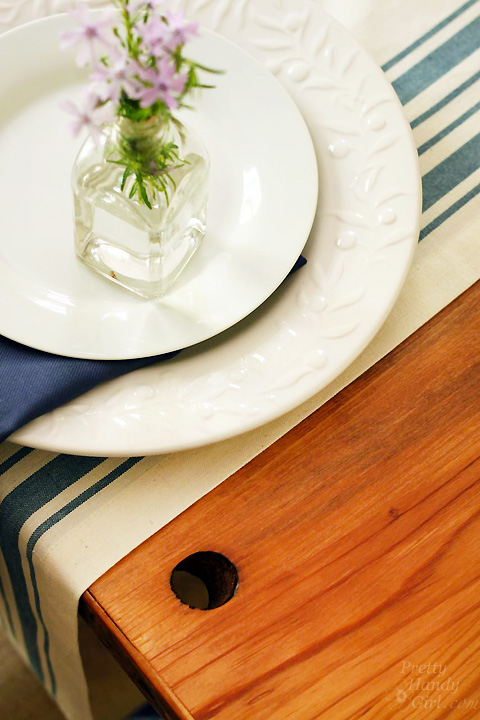
The live edge and edge band gives the table a rustic but finished look.
One of the rafters has a hole drilled through it. I’m not sure what it was for, but I love the character it adds. Then again, I may change my mind if I happen to find uneaten broccoli stuffed inside the hole.

It’s time to put this beauty to use.

Sources:
Rope Twist Legs – Osborne Wood Products
Head chairs – World Market
Side chairs – Craig’s List
Table runner – World Market
Navy & White Rug – Rugs USA
You’ll definitely want to see the tutorial for distressing and aging the table and chair legs.
![]()
Pin for later!

Hi! Did you sand/finish the edges the same as you did the table? I want to preserve the natural edges as you did, but wasn’t sure how much the 80 grit would remove.
Thanks!
Lucy, that’s a good question. I think I just used a light grit (220 grit) on the edges to retain the dark natural look. But, I did use a polyurethane and wax to finish the top and sides.
Awesome, thanks! Do you happen to recall how you got the corners to look uniformly rounded together like that? Did you sand that edge to be rounded? I’ve got the strips attached, but am struggling to blend them as well as you did!
Thanks!
Yes, I glued and nailed the end cap then sanded with a rough grit, medium grit and finally a fine grit.
Your reclaimed wood table top is stunning! I have a pile of reclaimed barn wood and I haven’t dared take off that natural barn wood patina. You’ve convinced me that I need to take the plunge and try it.
Thank you Amy! I love old lumber. It’s always fun to see what’s under all the dirt after sanding them down.
Hi Brittany,
Heading to the Reuse Warehouse this weekend to put together a similar project for my wife this Christmas….am I going to have sticker shock over the price of “aged” lumber?
Thanks,
Alan (Durham, NC)
Alan, I can’t answer that question as I don’t know what your threshold is for reclaimed lumber. But, I was happy with the prices and I am happy to pay the ReUse Warehouse as I value what they are doing (saving things from the landfill and employing disabled people.)
I am working on a barn wood table as well, but I am using poplar boards that I removed from the side of an old barn. After rough sanding (60 grain) the wood I have realized that there are many dips and divots in the wood. I find them awesome, but they might make it harder to set plates on so I would like to coat the whole thing in a clear epoxy. Doable? Can you recommend a product that would work as a clear filler for nail holes and to level the imperfections out a bit?
Michele, I think it would make more sense to apply a resin type product like I used in this butterfly window project: https://prettyhandygirl.com/dream-big-butterfly-window-resin-craft/
I am curious – with the live edge glued to the end grain, have you had any issues with the seasonal expansion/contraction of the tabletop causing any failure along that glue line? Breadboard ends are traditionally used to prevent this but I’m wondering if the consistent humidity inside an air-conditioned space means that this is no longer necessary?
Steve, no I haven’t had any issues yet. But, I did use a few finish nails too. And we do have a relatively conditioned house. I’ll keep an eye on the edge over the winter and let you know if I see any problems.
This is a great project! I have a very old and very rustic farm house table that is currently too rustic to eat on or even clean properly. It is a dark stain on top. I trying to figure out how to finish the top so that we can use it as a dining room table. What type of wood filler would you recommend (if at all) for the gaps between the boards? Should I sand it before applying the filler or do all that after? Thanks!
Hey Liz, I actually have a tutorial for you on how I filled the voids in the wood here: https://prettyhandygirl.com/how-to-fill-voids-and-knot-holes-in-wood/
Thanks for reminding me I need to add a link to this tutorial.
That is beautiful! This table is definitely my style, I love any shabby chic design furniture for my house. Also I’m impressed with your table arrangement Brittany. Great job!
This table ended up looking so nice! I would really love to be able to get a table like this, just because it looks so rustic, which is my theme for my home. It would be really great to be able to find some old wood like this that I could use for making a good table. Thanks for sharing how you made this awesome table!
I was worried that planing would remove the character of the wood – not the case at all, it seems to have just enhanced it with tons of “story lines” in your beautiful table top! I have some old grain elevator beams in my house and love looking at the old holes and dings and thinking back to their previous lives in the grain elevator. Love the “Broccoli” hole it totally reminds me of the old inkwell holes in school desks!
I absolutely love this table!! What an inspiration. I get so many cool projects and ideas from you. Thanks for all you do!!!
Looks fantastic! I’ve been on a search for reclaimed lumber for ages!!
Laura
http://www.24-7style.com
That is stunning. I have such table envy! Also, love “Christmas list updated”! I have clamps on my list, too.
Oh I echo Michelle’s poignant comments. The table looks magnificent. Wonderful step by step tutorial, thank you!!!
I love your table, it’s gorgeous! As I was reading your post, I was telling my husband how much I appreciate what you do. You inspire me to push myself and try new things. Thanks for sharing your table project, it’s just amazing!