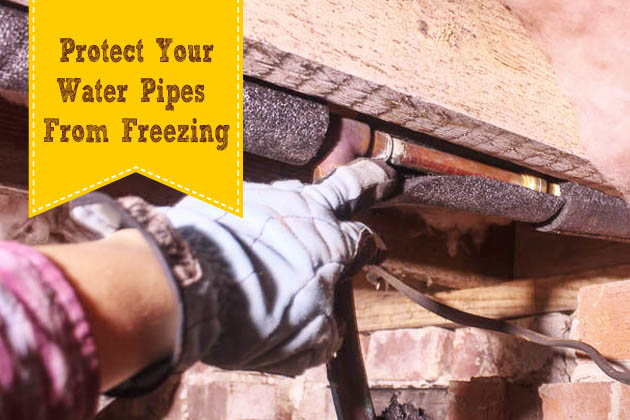
Protect Pipes from Freezing
In the same vein as Monday’s post about adding insulation, let’s continue preparing for winter. While you are under the house looking at insulation, take notice of your water pipes. Are they insulated too? If not, it’s important to protect your water pipes with foam insulation to prevent them from freezing. Here in North Carolina, we’ve been experiencing more winters with temperatures dipping below freezing and sometimes in the single digits.
Having a water pipe freeze and burst is not a disaster I wish to experience. Water leaks, mold, termite damage and asbestos are plenty of experiences for one handy girl. Given my experience with water leaks, I will do everything I can to prevent future leaks (including installing water leak detectors.)
Ready to learn How to Protect Water Pipes from Freezing? This is one of the easiest tutorials I’ve written. Honest.
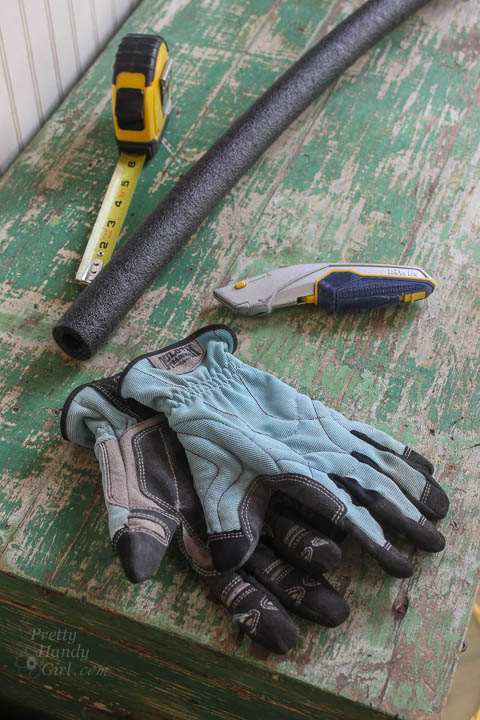
Materials:
(contains affiliate links)
Instructions:
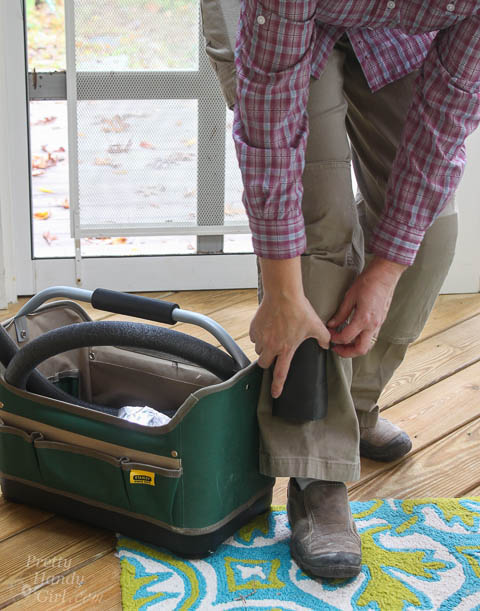
If you are venturing into the crawlspace, protect your knees. As a brand ambassador for Duluth Trading Company, I was overjoyed to try these Duluth Trading Company cargo pants with knee pad sleeves. They are now my favorite work pants and I wear them with the inserted knee pads anytime I have to go under the house.
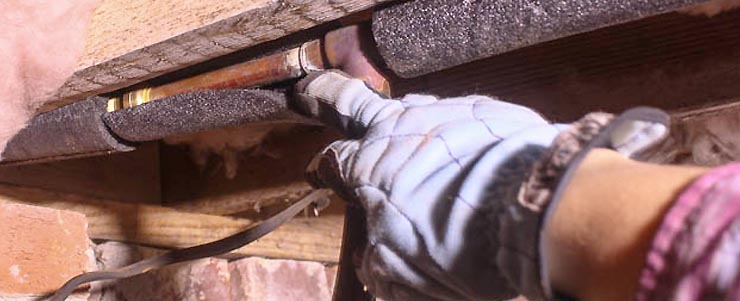
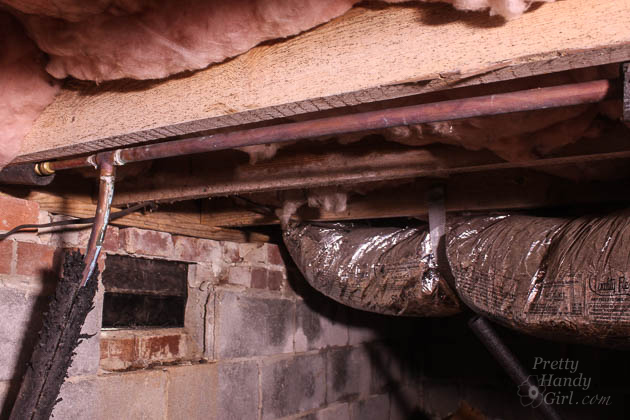
Locate any unprotected water pipes (look for copper, white, red, blue or gray pipes about 3/4 – 1 inch in diameter).
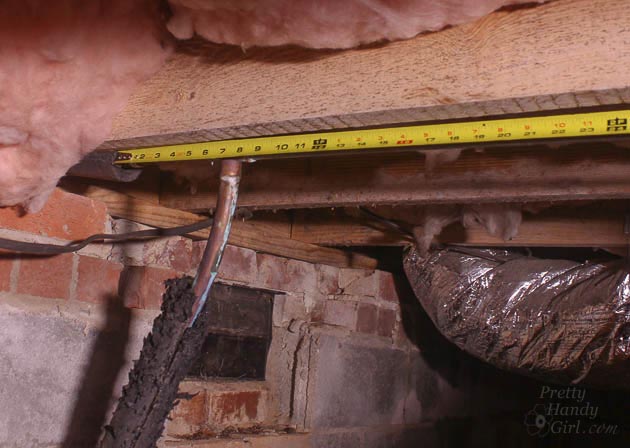
Measure the length of the exposed pipe.
Cut the foam sleeve to length.

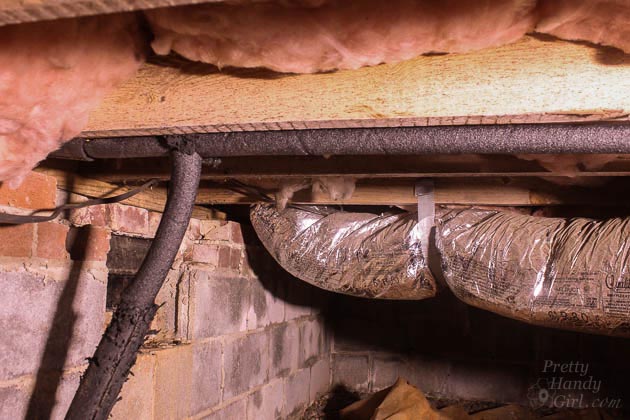
Open the insulation sleeve at the seam and wrap it around the water pipe.

Continue until all your pipes are completely covered. Now you’re ready for winter. Bring it Old Man!
That wasn’t hard was it? Are your water pipes ready for winter?
![]()
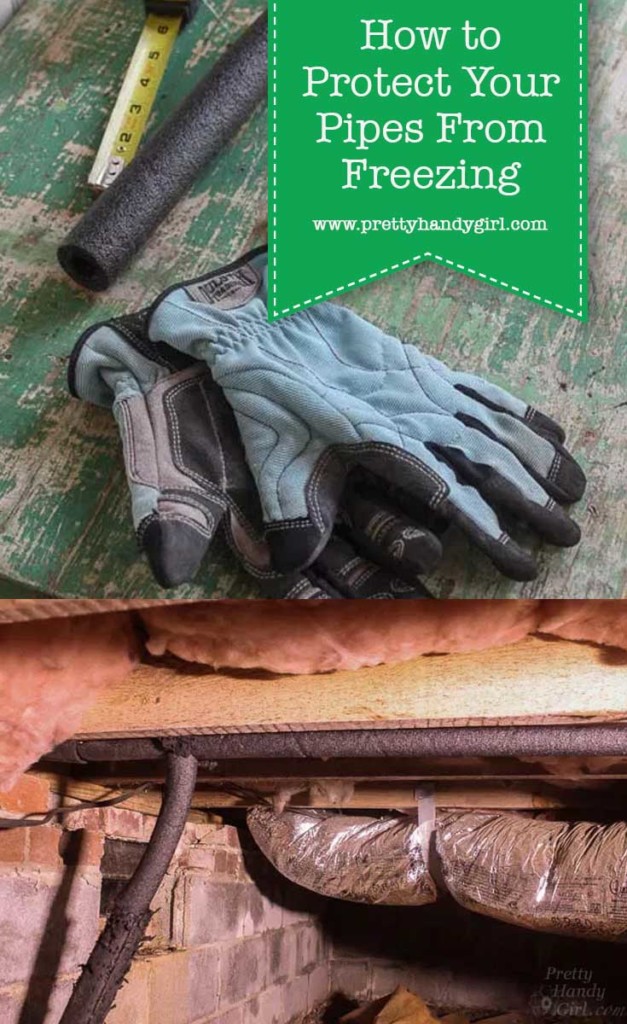
Pin for later!
i’m new to your site, but love what i’m reading so far. my problem with pipes freezing is, all in the walls. my kitchen is on the second floor, but they freeze in the first floor kitchen.
Jerri, you likely don’t have enough insulation around your pipes. You can either cut into the wall to investigate and add new insulation or look into a company that can blow insulation into your walls (and maybe check the walls with a thermal camera first.)
Did this when I bought my home a few yrs ago and so far so good.
I hate going into the crawlspace, but at least this info makes going there worth the effort. Thanks!! Sharing is caring! 🙂
If you have a combination gas boiler then you may need to protect the condensate drain pipe from freezing up otherwise your boiler might stop working. Insulation is one option but also using a larger 32mm diameter pipe can also help. Ensuring that it has a short run to the drain is also recommended.
Smart and very handy tute!
In 1976 i lived in a 120 years old tiny house, build for poor people by the church.
Because we studied both of one sholar ship we where poor and in those day’s there wasn’t such greate materials for insulated the tubes for the water. They where build in dega’s later, so all the tubes where outside the walls.
From my mother in Law i learned to isolated the tubes with all the knittings we had and wrapped them around the tubes.
It worked well. But it was allways a suprise to wake up and to find out we had water still.
The watersuply tab wasn’t in our house, so we couldn’t closed the water during the night.
And sometimes we had to wait for going to the toilet and drinking hot drinks at the academy.
Later those old houses, where sold to a big housecooperation which had would taken them down.
But with all the people that lived in this small project , we have saved them to bring them on the list of the historical buildings.
Because of all the bad conditions the housecooperation has remodeld the inside of those very tiny houses.
They still excisting;-D
But when i think of all the problems we had during the 7,5 years we had with raining in, and windows that must be closed, because the glass wasn’t fitted no longer in the wooded frames and all the mushrooms growing on the walls and the floor i’m very glad with my new build appartment;-D
Brittany
Thank gawd I don’t live anywhere where it gets that cooled – I am a total woos when it comes to the cold.
But if I ever do . . . . I know where to come to deal with my DIY issues.
Another great DIY – thank you.
<3
Pia