Millie’s Remodel: HAZMAT Demolition Progress and Precautions
Millie’s Remodel: HAZMAT Demolition Progress
and Precautions
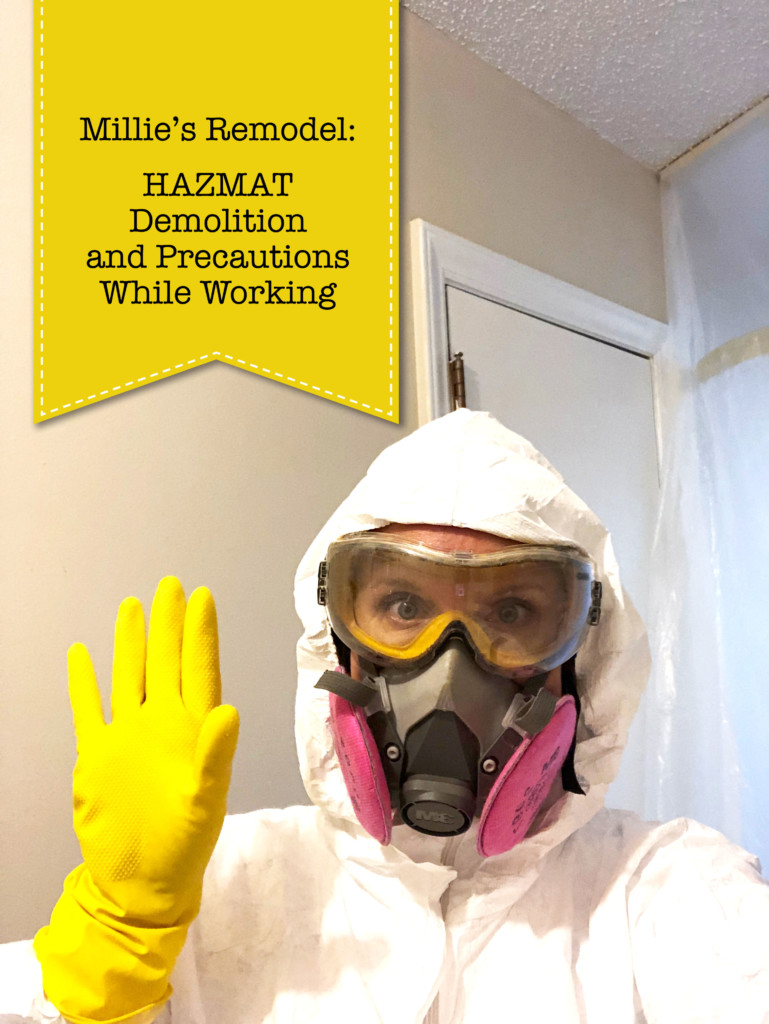
It took me two weeks, but the HAZMAT demolition process is finally finished. Truth be told, I never wanted demolition to be completed more than on this house. It seemed like every wall I opened and every piece of subfloor I removed lead me down a black hole of more mold, rotted floor joists, and termite damage. I was so anxious to start building back. But, what I wanted more was to turn the air conditioning back on in the house and start a day working in my clothing and not the unbearably hot Tyvek suit and respirator!
Let me back up and explain why the need for full protective gear. I know the house, I affectionately refer to as Millie, was built in 1957. For that reason, I took lots of samples from the ceilings, walls, and floor and had them sent to our local EMSL laboratories. The results from the front exterior came back positive for lead paint. And I knew there was some suspicious mold on the drywall in the laundry room and the kitchen wall. But, little did I know how much mold was hiding in the wall. And therefore, I’m really glad I took the proper precautions during the HAZMAT demolition process.
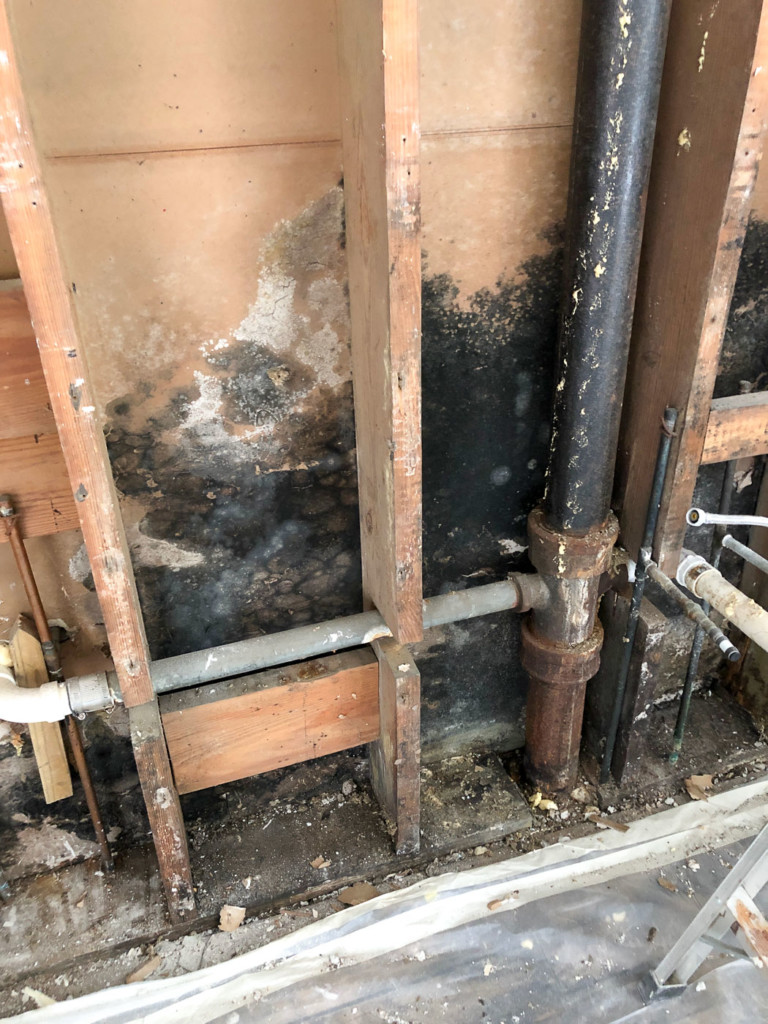
Boy am I thankful I had on all the protective gear. Especially when I discovered hundreds of rusty razor blades in the wall behind the bathroom. I can’t imagine how dangerous it would have been to cut my hand and have mold get into the wound. (Shuttering.)
Removing Lead Paint and Black Mold
Some friends have asked how I safely remove the lead paint and black mold. A month ago I got certified in Lead Safe Renovation, Repair and Painting. It was a full day class, and we learned the protocol for dealing with lead paint dust. The precautions are almost identical for dealing with mold or other hazardous materials in a home. As a licensed general contractor and certified lead paint contractor, I can complete this type of demolition myself (while following the protocol for safe abatement.)
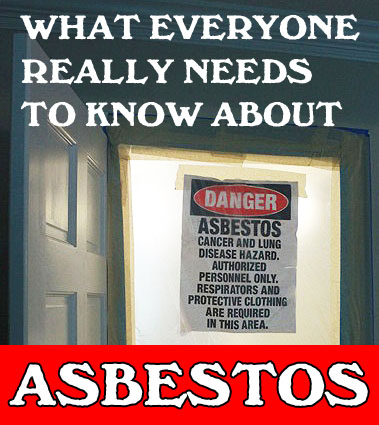
I won’t go into details because dealing with hazardous materials in your home is not a DIY project. The consequences of exposure or poor abatement practices can be hazardous to your health or your family members’ health. I highly recommend hiring a professional who is certified in abatement for mold, asbestos, lead paint or other environmental hazards. If you have a house built in 1980 or earlier, insist on having samples sent to a lab looking for lead or asbestos. You can learn more about asbestos and why it is important to know if your home is at risk here.
Safety Equipment & Demo Tools:
These are the tools I used and the personal protective gear I wore for the demolition.
(I’ve included affiliate links for your convenience. I earn a small percentage from a purchase using these links. There is no additional cost to you. You can read more about affiliate links here.)
Shovel
Demo Hammer
Pry Bar
Medium Disposable Tyvek Suit
Gloves
Anti-Fog Goggles
Respirator
HEPA Vacuum
Garden Sprayer
Cleaning Wipes
HAZMAT Demolition Time Lapse Video:
Want to watch my time lapse video of the demolition? Enjoy the efforts of three days compressed into just a few minutes.
I wish it felt this short in real life. In actuality it was so hot and the demolition went on for two weeks. A bra and underwear were all I wore underneath the TYVEK suit because it was so incredibly hot in the suit. To protect the house outside the demo area, I had plastic on the floor and the air conditioner turned off to contain any demolition dust and debris. A garden sprayer filled with water was used to carefully spray down each area to keep dust at a minimum.
I found a flat end shovel was one of the best demolition tools (thanks for the idea Melbourne Chippy Chick!) The thin blade slips between the drywall and studs. Then I could press against the opposite drywall for leverage and pop the drywall off the side I worked on (while keeping the back side drywall in tact.)
After the drywall was removed and carefully disposed of in trash bags, I removed all the drywall nails. Then I cleaned and sprayed the wall studs that had mold on them.
Two Chemicals Used for Eliminating Mold:
Because of all the mold, I had to remove all the drywall between the kitchen and the bathroom and the tile around the tub. I’m so glad I did because I uncovered the source of the rodent access between the crawlspace and the attic. I can only speculate there was an opossum or a raccoon gaining access because of the size of the poop in the attic. Gross!
I also couldn’t believe the toilet didn’t fall into the crawlspace after I removed the tile and found the subfloor crumbled in my fingers.

Speaking of falling, I also discovered termite damage along the outside band joists of the laundry room. It’s amazing the house wasn’t sagging there.

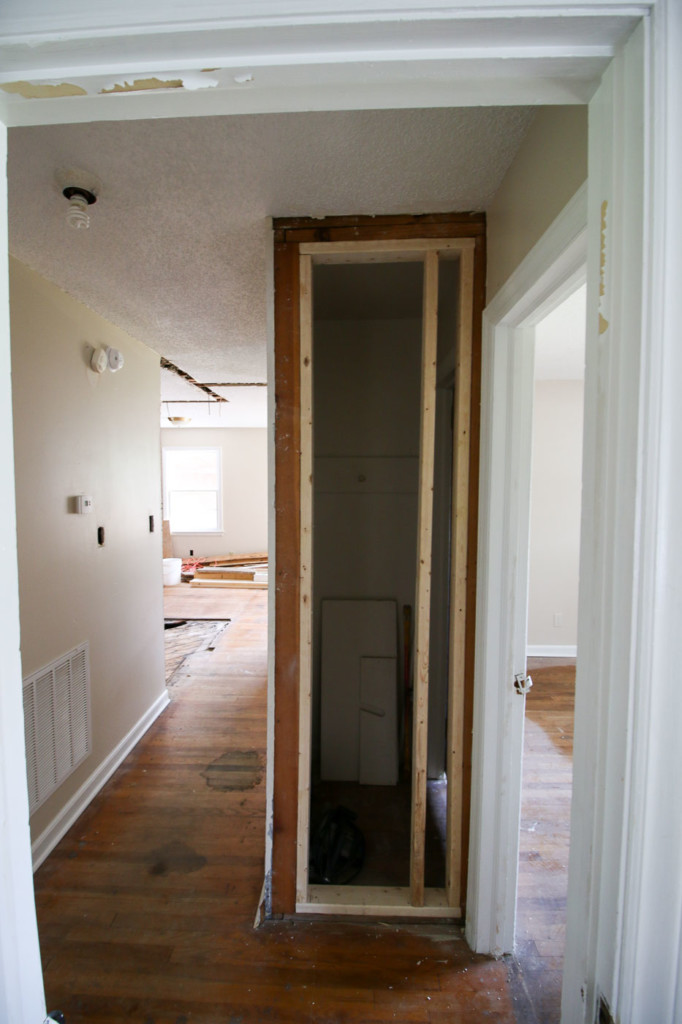
Be sure to watch my video to see the demolition process and the reveal after demolition was finished! You can also find out why I had to add some framing to this small hallway wall.
Thank you to the sponsors of Milllie’s Remodel for helping me give this old gal a makeover!
![]()
Until the next Millie’s Remodel update! In the meantime, you can follow the real life progress on Instagram and weekly updates on Facebook!

Make sure you are subscribed to my YouTube channel to keep up with the Millie’s Remodel project!


Oh man. That toilet shot brought back memories of our first house. We knew there had been a leak at some point, but after a year, my husband said, “I think the toilet is going to fall through the floor.” We immediately bumped the bathroom remodel up on the list, and lo and behold, when they removed the tile, they found that the toilet was basically being supported by the stack because the subfloor was rotten.
Oh boy, I’m so glad you opted for the remodel before falling through the floor! ;-D
Dang, that’s a lot of work!! Looking good, though. The house I grew up in had a razor disposal slot by or in the medicine cabinet. I used to throw new razor blades in the slot wondering where they were going, after 20 or so blades I decided the hole would not fill up and it was probably going behind the wall. I’m sure my other 4 siblings had the same idea too. Hence your discovery of 100’s of blades, is probably a combination of kids being kids and adults disposing of their razor blades.
LOL, yes, it is definitely something I knew about but never experienced until this house. Fun times.
Awesome, Brittany. I’m trying to imagine what kind of peopl think throwing used razor blades into an opening in the walll is a good idea. One of the craziest things I’ve ever heard. Eileem xx
It’s very common from houses built in the 50’s. Watch this video to learn more: https://www.youtube.com/watch?v=79GlUDVJXaA
This brought back horror memories of my last remodel but this was worse than mine. I don’t know how you do it. I take off my hat to you big time! Best of luck with the remainder of the remodel Brittany.
Ha, it’s always and adventure and I really love most of it. Just not wearing that sweaty hot suit!