
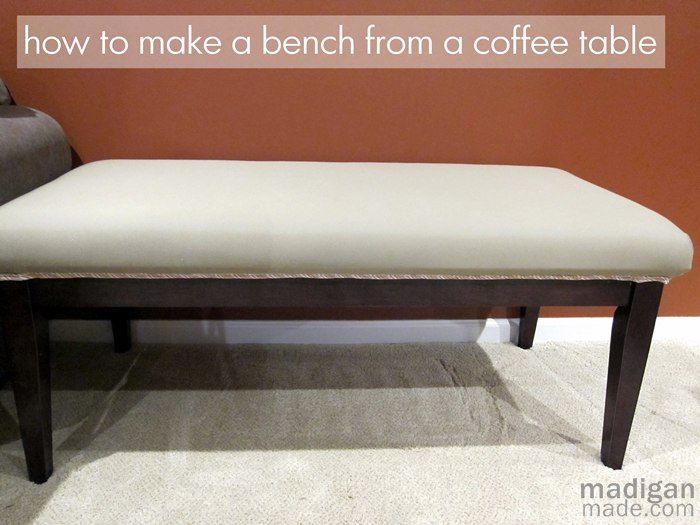
Making an Upholstered Bench from a Coffee Table – DIY Talent Madigan Made
Look up there! It’s a bird, it’s a plane, no wait…it’s Madigan Made! That’s right, Shannon from Madigan Made is here and she leads a double life. She’s the Clark Kent of the blogging world. By day, Shannon is a pharmacist and by night she moonlights as a creative magician and blogger. This creative genius casts magical spells on ordinary objects and turns them into extraordinary home furnishings and décor.
One thing I love about Shannon is that she never fails to amaze me with her transformations. They are always fresh ideas and the fact that she has the energy to complete DIY projects and hold a full-time job leaves me speechless. Check out just a sampling of her projects.

And now I see some sparks glowing in the distance. They are moving towards us at warp speed, which only means one thing…Madigan Made is in the house!
![]()
Hi there! My name is Shannon and I have a confession: I crave easy & elegant solutions for my home. {I also crave chocolate, but who’s counting?} I love sharing simple ideas for crafts & decor with my blog readers on Madigan Made.
Today I want to share a simple furniture update that I did for the finished area of our basement.
Here is the before…
My husband and I had a sturdy little coffee table, but we didn’t have a coffee table need for it when we moved into our current house. BUT we could use a bench right here:
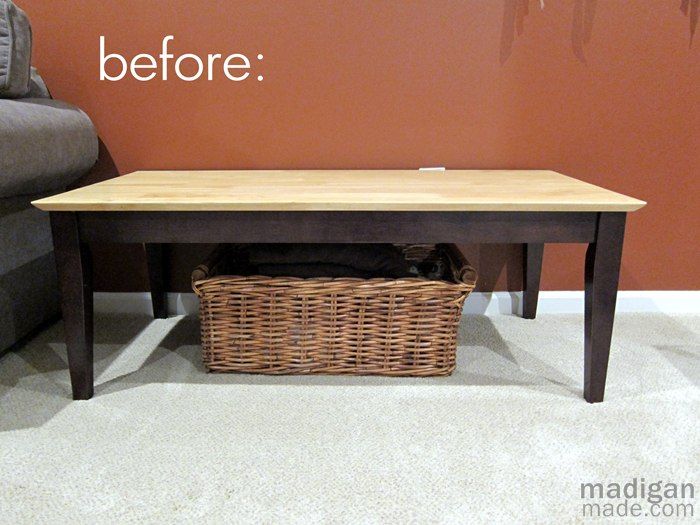
I knew that all I needed was some simple fabric and foam to transform this old table into something we could really use. Let me show you what I did.
Supplies I used:
- old coffee table
- sheet of 4″ foam to cover the table top
- batting
- piping/cording
- spray adhesive
- glue gun
- heavy stapler
- Electric knife
- Upholstery fabric (i.e. a khaki cotton duck)
- Piece of old/scrap fabric (I used an old drapery panel)
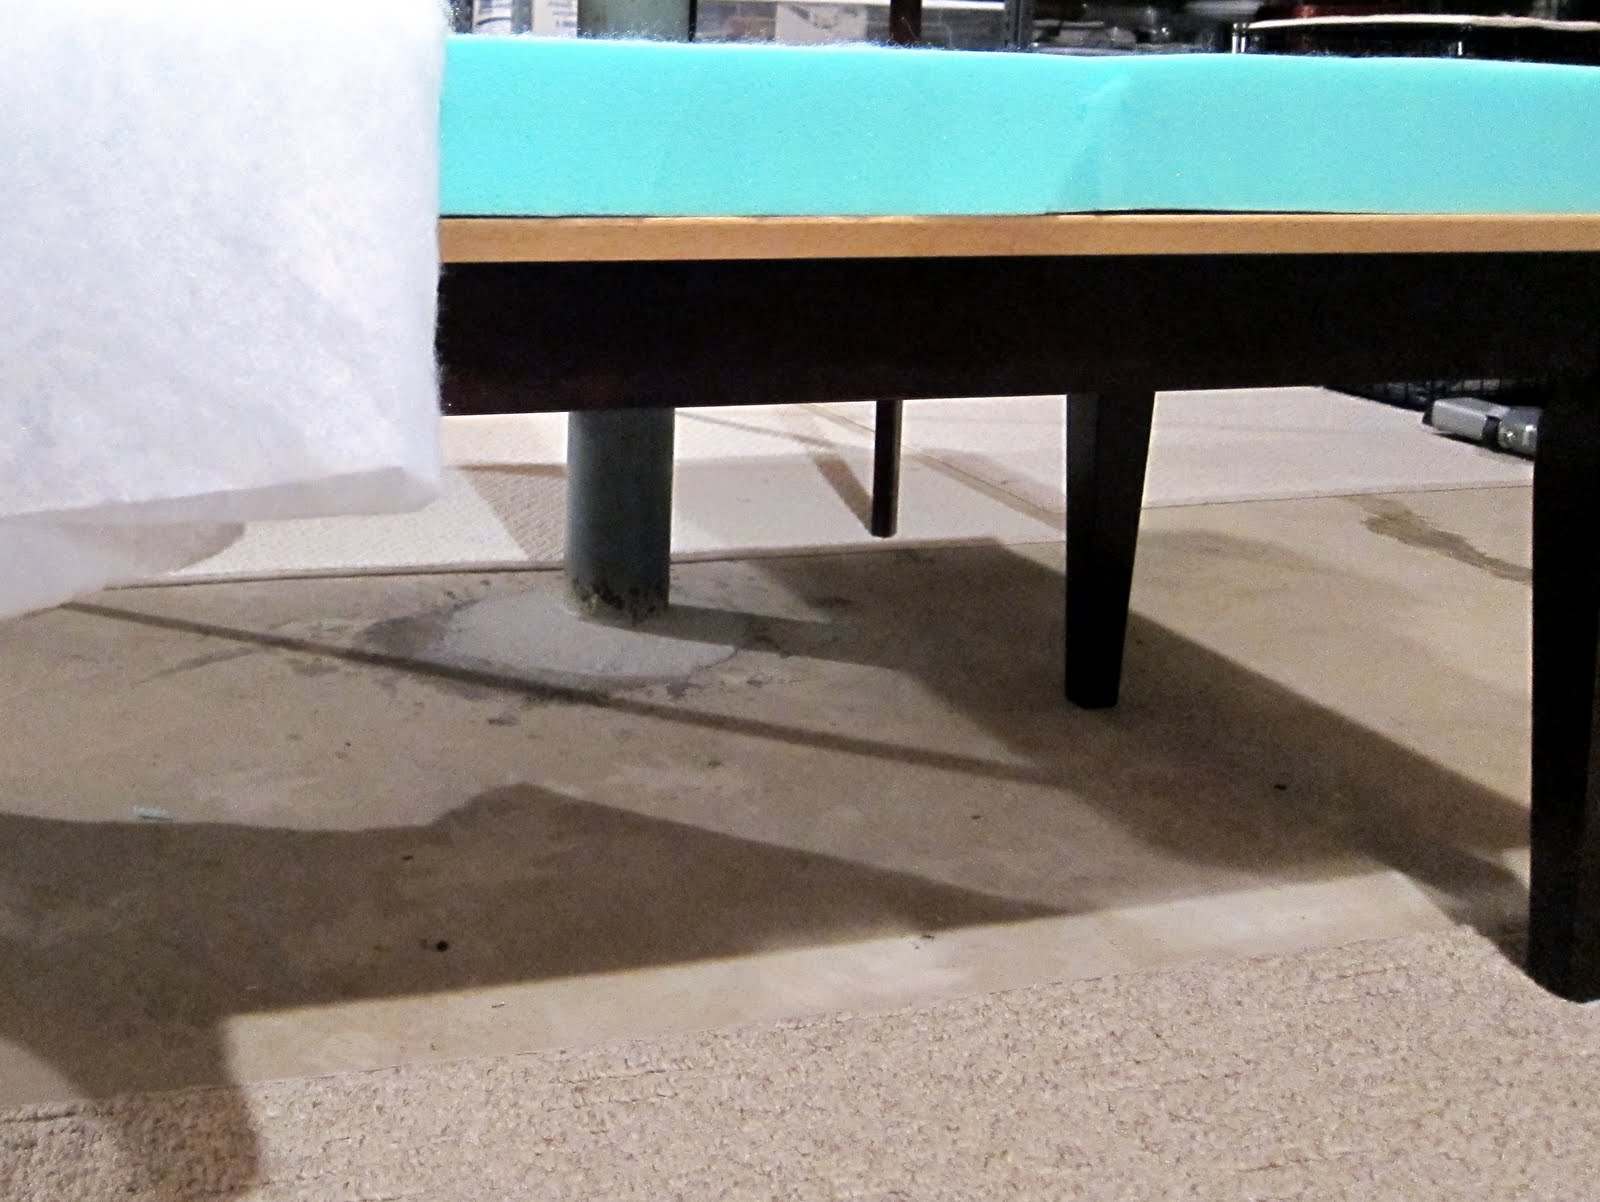
Step 1:
I used my electric carving knife to trim my foam to fit the top of the table. I cut the batting wider than I needed so it was large enough to cover the foam and table top.
Step 2:
I followed the directions of the spray adhesive and coated both the table and foam with it and then attached the two together. I repeated the process with the batting, being sure to smooth out any lumps as I laid the batting down.
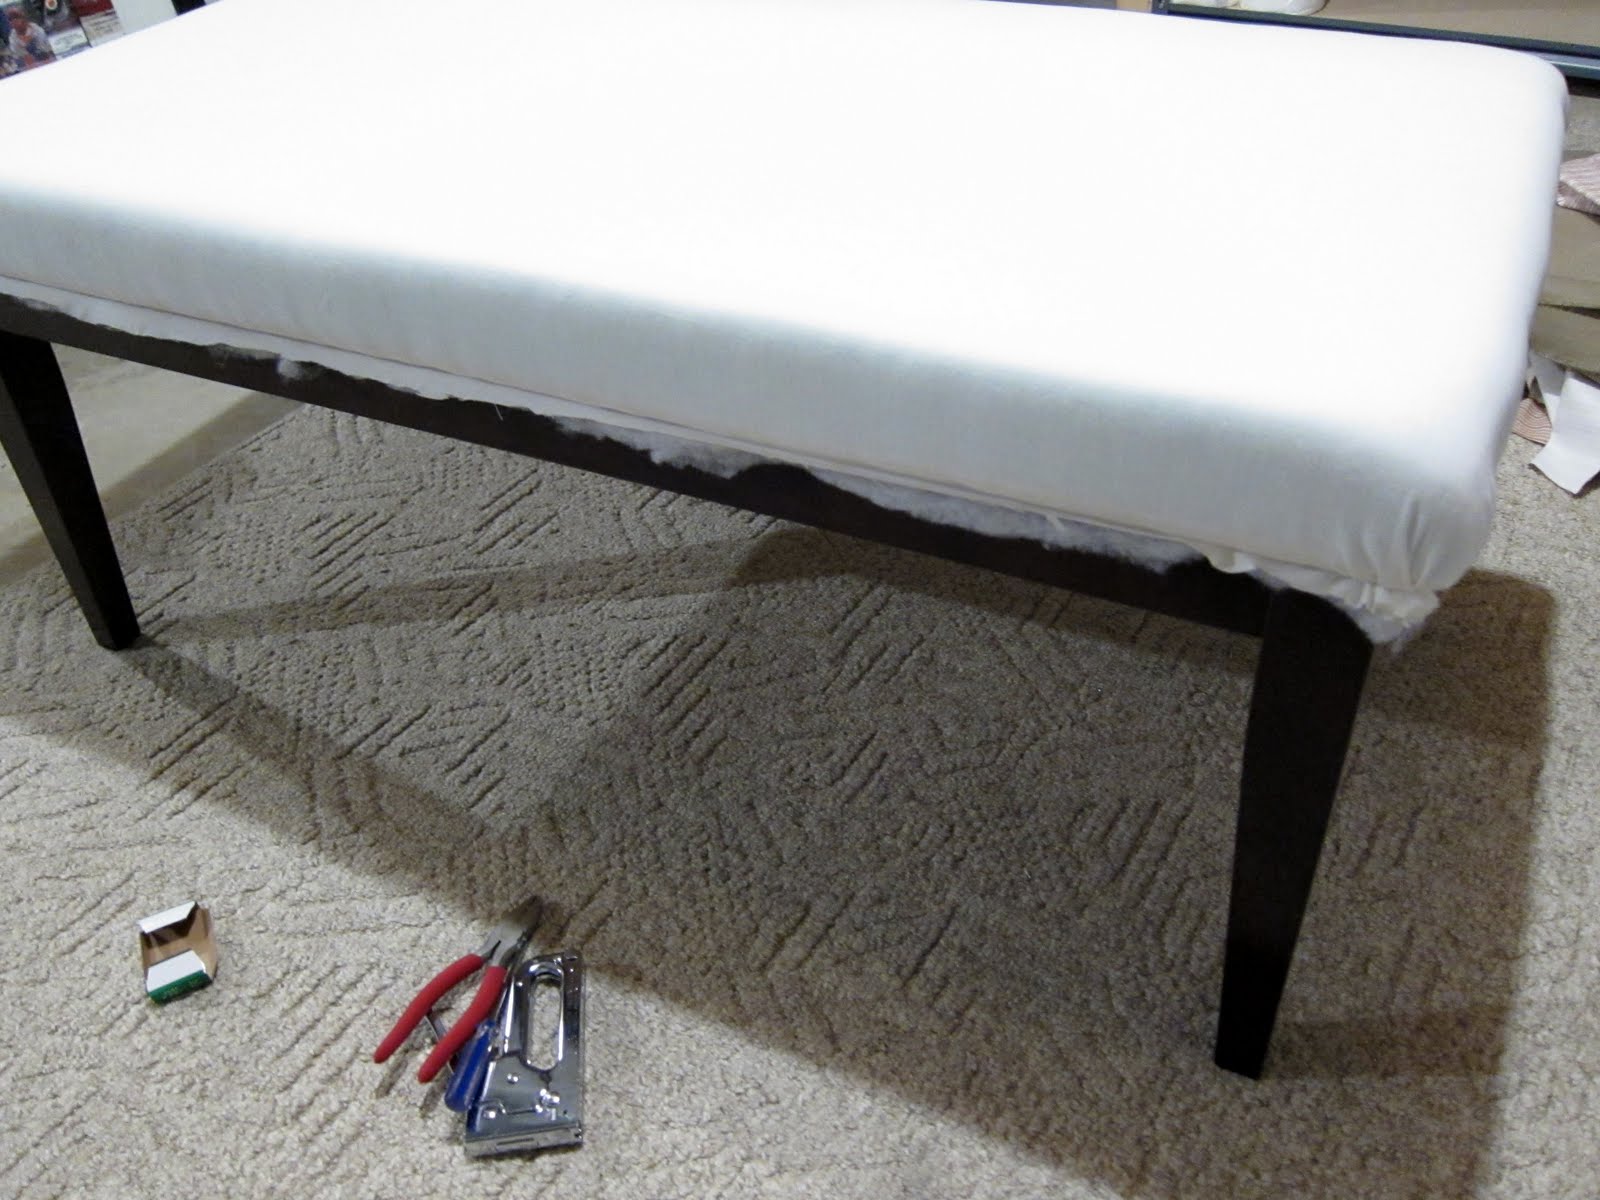
Step 3:
I flipped the table upside down and stapled the batting along the underside edge of the table. When I got to the corners, I folded the batting over like a package corner and stapled them down.
Step 4:
To help minimize lumps and bumps from the batting, I covered it with an old curtain and stapled that down in the same manner.
Step 5:
To make the final corners look more tailored, I pinned the fabric (wrong side down) around the corners and used a fabric marker to draw a seam line. Using my sewing machine, I stitched the corners like so:
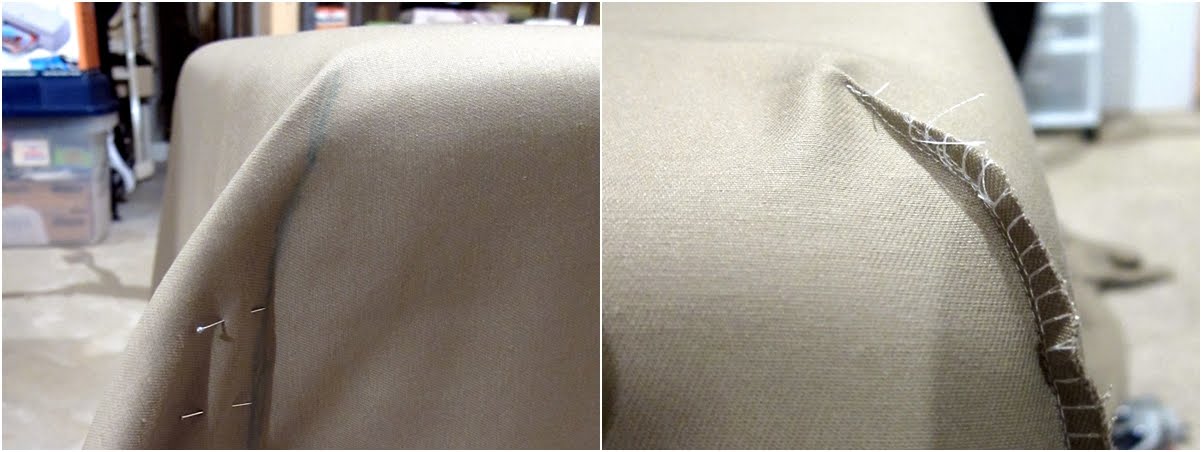
Step 6:
I turned the fabric right side out and the cotton duck fit tightly over the top of the bench. Then, I just stapled the fabric to the underside edges of the table.

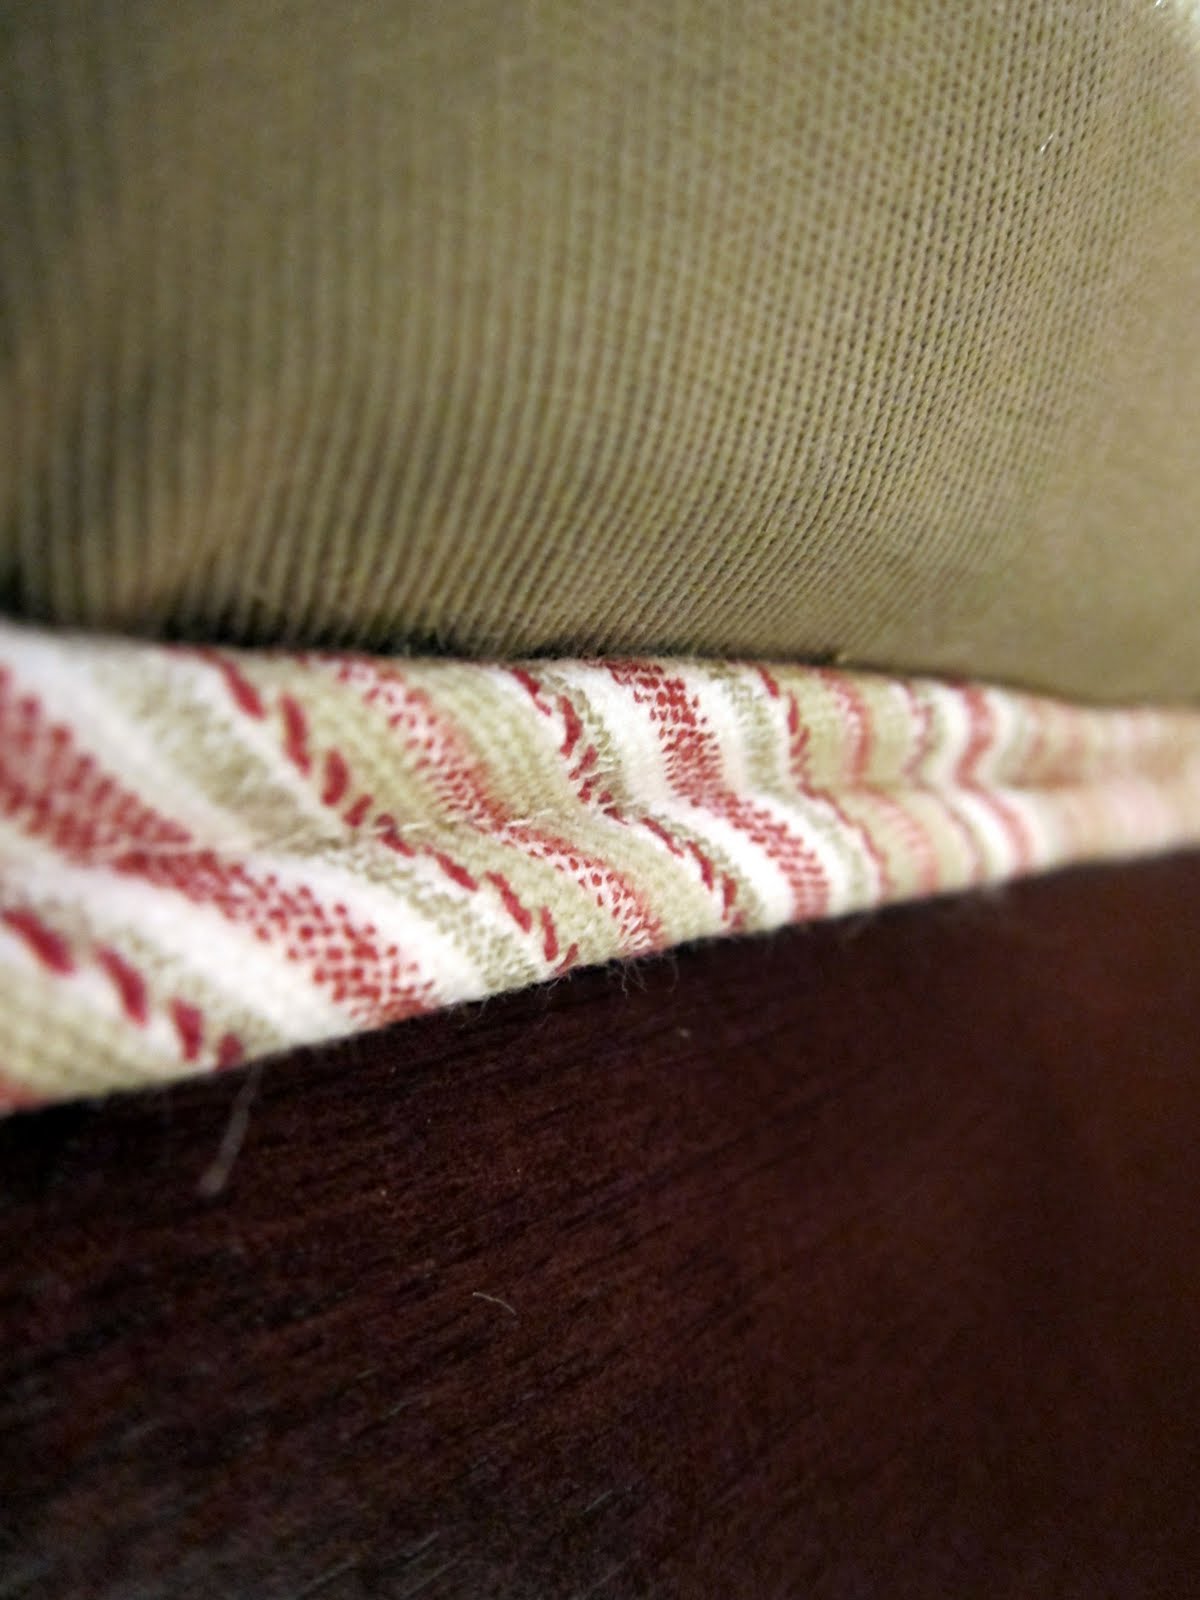
Step 7:
I carefully trimmed off the excess fabric. To cover the staples, I glued down a strip of coordinating piping all the way around the perimeter using my glue gun.
I love the way this piece was transformed. The bench is deep and comfy and just needs a few pillows for sitting (or taking a dog nap!).

I’m grateful that Brittany let me share this project with you today. For more DIY décor ideas, simple crafts (and pictures of my cute dog!) please be sure to visit me over on Madigan Made!
![]()
Thank you so much Shan….oh wow….she’s already flown out of here. Wow, that girl is quick.
What did I tell you? Magical transformations = Madigan Made! I encourage you to check out her blog, you’re sure to be wowwed!
Tomorrow we have another inspiring gal with an airy tutorial. Check back to learn how to make a silverware wind chime. Taught by Songbird. And don’t forget to bring your best DIY talent post for the Friday link party! Woooo hooooo!


I wish I could figure out that corner thing. There is apparently cutting involved, I guess on the “seam line”. This is always the messy part of my projects like this. Where can I get details on the corner?
Elaine, are you talking about the corner of the fabric as shown in step 5?
yes. I have just recently gotten a sewing machine and I can make seams. Can you detail a little more for a beginner?
Elaine, you are basically going to fold your corner and sew it at a 45 degree angle. This isn’t exactly the same, but it might help you visualize: https://prettyhandygirl.com/2011/11/sewing-snowflake-box-bottom-gift-pouches.html
Thanks for the extra tutoring. ; ) I think I’ll practice on some old sheets or fabric. My first sewing project was new covers for my vintage wrought iron patio hairs, and the corners were, well, not pretty!
Hi I need help! I want to cover a storage bench top which is 94 in long 23 in wide problem I cant find foam that long or do you have any suggestions
Thanks Pat
Pat, no worries. you can piece them together. You could use a little spray adhesive on top of the bench and set the foam onto that. Just for extra assurance that it won’t move on you. The batting on top should help keep it together as well. So, go for it!
Thanks for having me over here today, Brittany! (p.s. thanks for the compliment I personally think that YOU are the Wonder Woman of tools! 😀 )
Oops, the Madigan Made link seems to just go to the dog napping picture! No worries, I’ll find it…cute doggy 🙂
How funny — just the other day I bought a coffee table at a thrift store to turn it into a bench, and then today this post appears in my Google reader! Except my table has a scalloped pretty edge, so I plan to make a long cushion for the top of it and just attach it with ties at the corners, since I don’t want to hide that edge with upholstery. Off to check out more of Madigan Made!
You never cease to amaze me with your cleverness.
The coffee/table bench is a great idea! Did Shannon use the original width? Or did she have to cut it down?
Abi – I did not cut it down… I wanted a really deep bench that was comfy to sit on once you added a few pillows. I’m glad you like it!