Make Your Own “Living Blinds”

Make Your Own “Living Blinds”
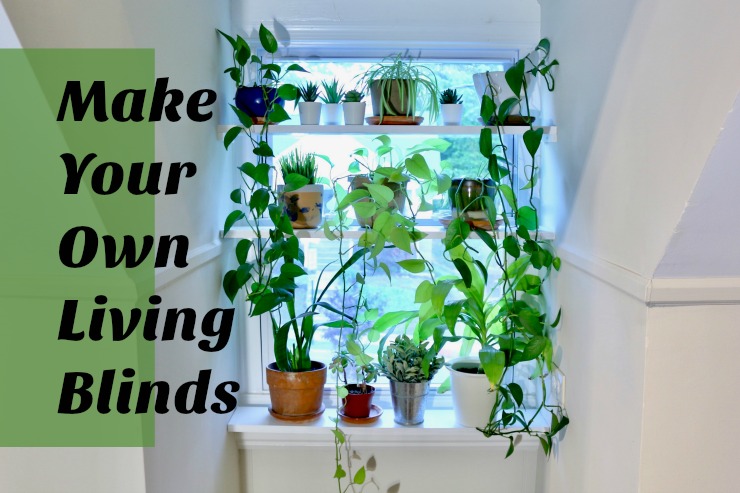
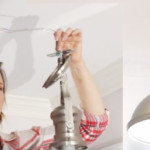
Looking for privacy or a way to decorate dormer windows? Look no further, because today I’m going to show you how to make these bohemian style living blinds!
I have two dormers in my house and styling them is a challenge because the space is so small. Rather than try to fill the nook with furniture, I decided to play off their best feature, the east facing window. Let the light in and let my hungry houseplants soak up the early morning sun while also creating a bit of privacy.
Living blinds are what I am calling custom-made shelves attached directly to a window frame or dormer. They are best in windows that require some, but not a lot, of privacy. They are also great for spaces that don’t need blackout coverage. The beauty of these living blinds is that you can add or subtract plants depending on how much light you want to let in, and you can swap out plants for different seasons to keep your décor fresh.
Materials:
- 1×6 pine or other finished board (enough for the desired number of shelves plus supports)
- Screws
- Sand paper
- Plants. Lots of ‘em!
Tools:
- Tape measure
- Rubber mallet
- Miter saw
- Drill
- Screwdriver
- Stud finder
Instructions:
Step 1- Determine shelf placement
This is important, and what you should NOT do is divide your window into thirds and attach your shelves there. Instead, think about your plants (tall, short and in between), the privacy you are creating, and also the design of your window. The best way to do this is hold up a few plants and mark where you think they look the best.

Now, measure the distance between the wall or window frame at each location you want to place a shelf. Measure each shelf location independently because your window frame may not be a uniform width from top to bottom. For example, my window is almost 3/4 of an inch wider at the top than the bottom.
Step 2: Cut and prepare your shelves and supports
Cut the 1×6’s to the length of the measurements. Be exact so the shelves fit tightly between the walls or window frame. The remaining 1×6 will be cut to make your supports. Cut 1/2 inch thick pieces off the 1×6. Cut enough so you have two supports for each shelf.

I only ended up using supports on my top shelf because I utilized the trim attached to my wall as the support for the middle shelf, and I attached the bottom shelf directly to the windowsill. You’ll need to determine what is best for your window.
It’s a good idea to sand and paint your shelves and supports before attaching them to your window.
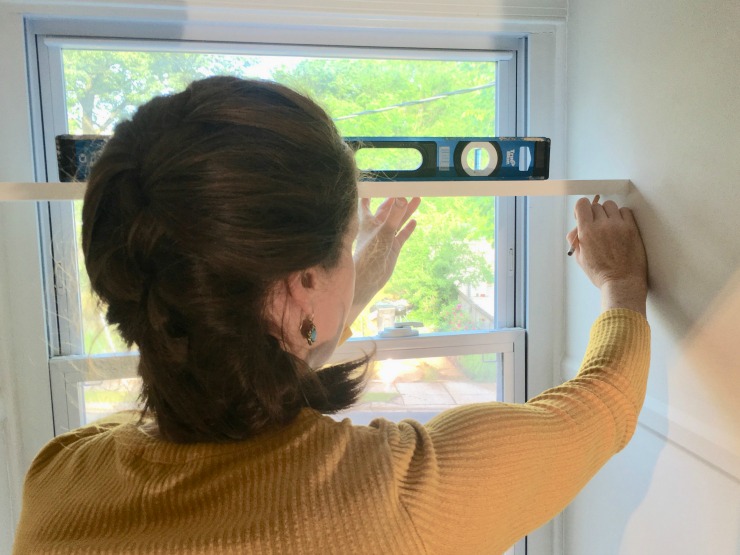
Step 3- Place your shelves
Place your top shelf and level it. Leave enough space between the shelf and the window so you can open and shut the window easily. 1½ inches between the window and the back edge of the shelves should be sufficient space. Draw a line under the shelf from front to back on both sides. Now remove the shelf so you can attach the supports.
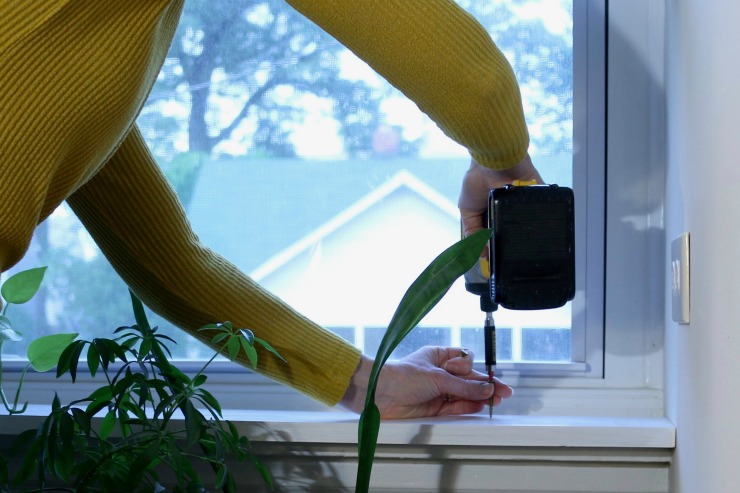
Use a stud finder to locate a stud at any point along the lines you just drew. Ideally, this is where you will screw your support to the wall. If you don’t have any studs, you’ll need to use wall anchors to attach your support pieces. Align your support to the line, pre-drill, and screw to the wall.

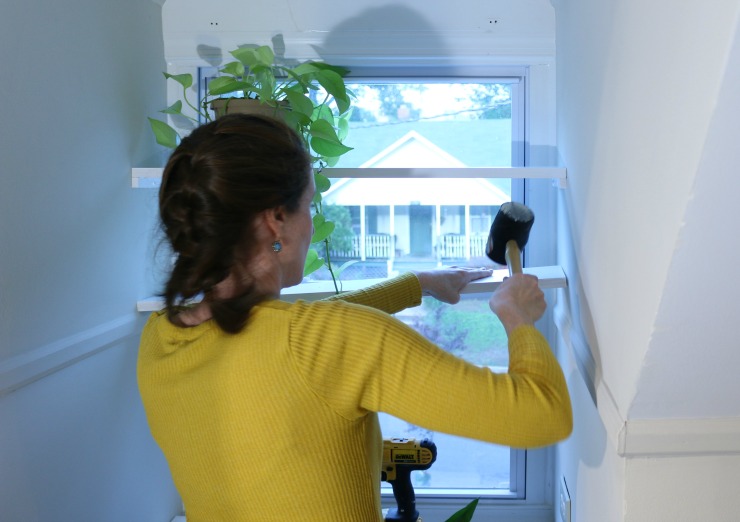
Follow the same steps for your remaining shelves. Use a rubber mallet to tap your shelves into place. My shelves were so tight between the two walls that I didn’t need to nail or glue the shelves to the supports, but if you have even the tiniest bit of wiggle room, I would recommend using a bead of adhesive or small nails to secure the shelf to the wood supports.
Tip: Dab a little bit of paint on the the screw heads after they are in place and they will be nearly invisible.

I placed my last shelf directly on top of my windowsill with two screws. If you don’t like the idea of drilling into your windowsill, you could place your bottom shelf above the sill or just use adhesive.
Now add your plants and admire your hard work!
Suggestions for Plant Placement:
Small plants and succulents are great on the top shelf. Vines and cascading plants are perfect for the top two rows to provide more window coverage. And don’t be afraid to mix in a few faux plants as well… can you tell which ones aren’t real?

![]()
 Hi! I’m Lara, the creator of The Unprofessional blog and YouTube channel. I am an aspiring handy-woman with little to no experience building, tiling, landscaping, demolishing, and what have you. I’ve drilled holes in the wrong places, cut on the wrong lines and stripped more screws than I care to count. And yet, I’m on my way to customizing my home, project by project. I believe you can do pretty much anything with a few good tools, a stack of wood and a half-baked
idea.
I like to find challenges and solve them with my miter saw. When my 3-year-old son complained that he couldn’t reach the picnic table, I designed an easy-to-build folding booster seat perfect for camping trips and beer gardens. When the low ceilings in my cape cod wouldn’t accommodate a bulky barn door, I found an alternative approach to turn any interior door into a space-saving barn door. I love to share these solutions with others in hopes that the empowerment and love of power
tools spreads.
You can connect with me on Instagram, YouTube and Pinterest.
Leave a Reply
Want to join the discussion?Feel free to contribute!