Little Playhouse for Ollie {Mystery Thrift Off}
I love giving my boys creative freedom on projects. Frequently I let them have access to my scrap pile. Inevitably they build little houses for their stuffed animals. This little house was designed and painted by my 8 year old for Ollie (his little stuffed octopus.) I helped him build it. If you want to build a little playhouse for your child to paint, follow along.
Before we begin, I need to back up and tell you that this project is part of The Mystery Thrift Off.
#TheMysteryThriftOff is the brainchild of Lindsey from Better After. She chose a handful of people to take part in this challenge. After scouring her local thrift shops for ugly and hopeless items, she shipped off the chosen items to those of us in the challenge. I signed up—because frankly—I love a challenge. And, I love saving ugly items from the landfill. Be sure to see some of the other Mystery Thrift Off transformations at Better After and vote for your favorite.
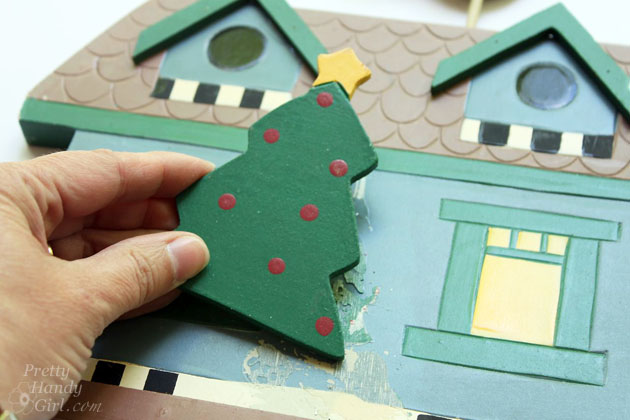
But, when the box arrived from Lindsey, I was terrified to open it up! I mean what if she had sent me a ceramic scabies bear! Yikes. You can imagine my relief when I opened the box to reveal this dated Christmas village.
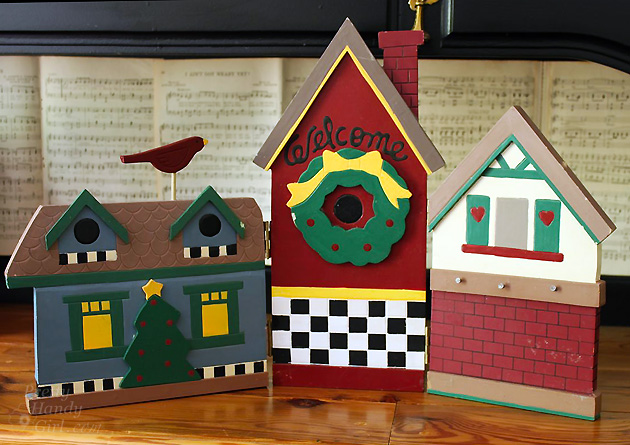
Not too bad looking is it.? Truth be told, it was falling apart and the colors were hunter green, colonial blue, mauve and fleshy tan.
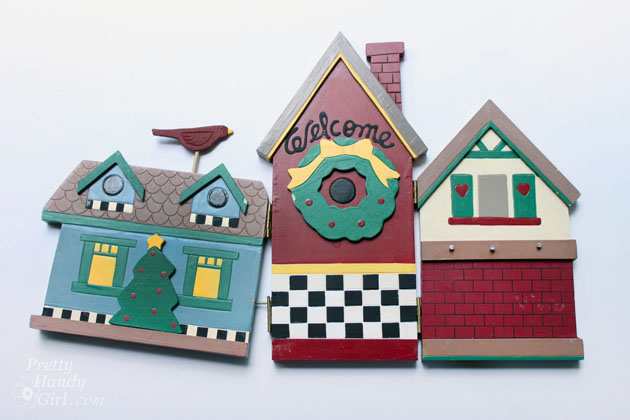
I quickly pulled the three houses apart and began to transform them into A Chalkboard Arrow Sign, a Housewarming Gift Caddy and the Little Playhouse I’m going to show you today.
I began by removing some of the embellishments.
I saved them for a future project.
Next I sanded off the glue.
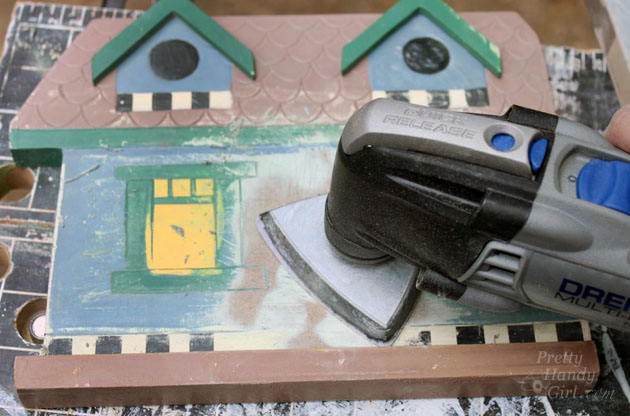
Here’s where you can pick up the tutorial. Start by cutting a house shape into a piece of plywood or scrap wood. Cut out a doorway (the Dremel Multi-Max worked perfect for this task.)
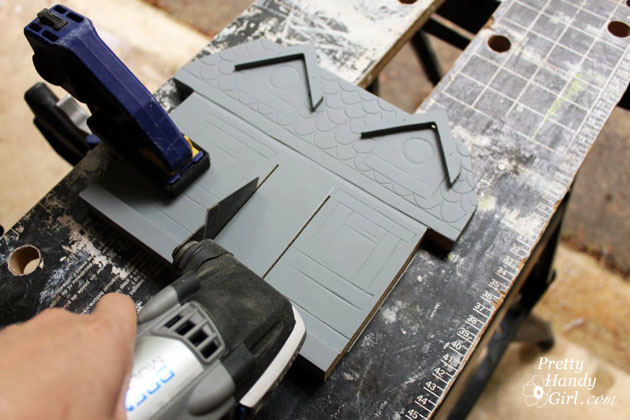
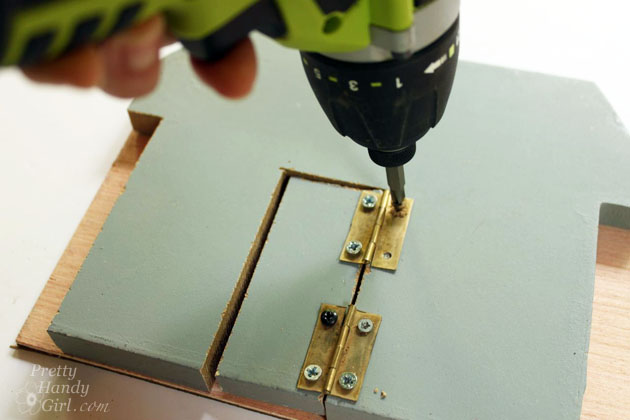
Flip the house shape over and attach hinges to one side of the door and the house.
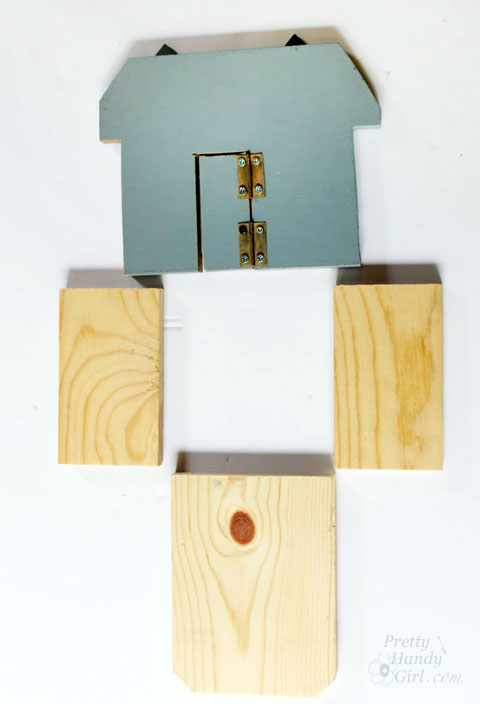
Cut two pieces for the sides of the house (1″ x 4″ lumber) and a back piece the same height as the house front.
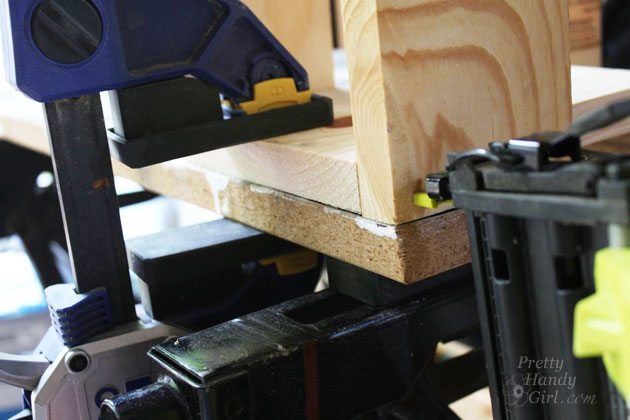
Clamp the back of the house to a solid surface and attach the sides of the house with glue and finish nails.
Add a line of glue to the sides and secure the front of the house with finish nails.
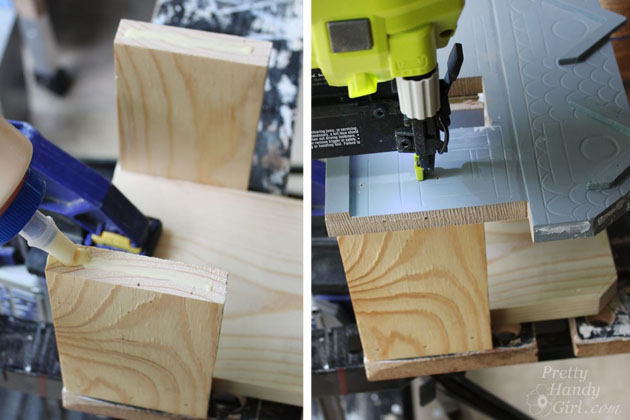
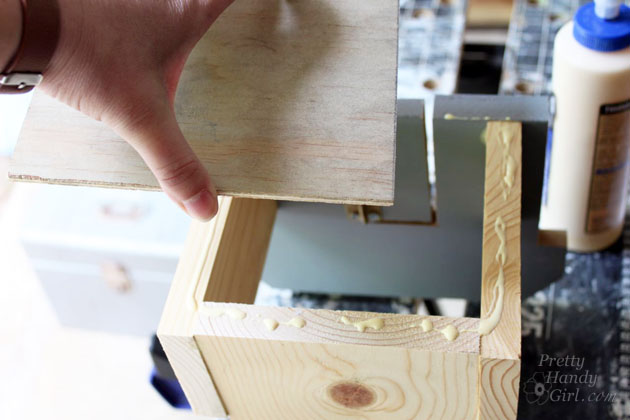
Trace the outline of the house base onto a piece of thin plywood. Cut out the shape. Add a line of glue to the bottom of the house. Place the bottom on and attach it with finish nails.
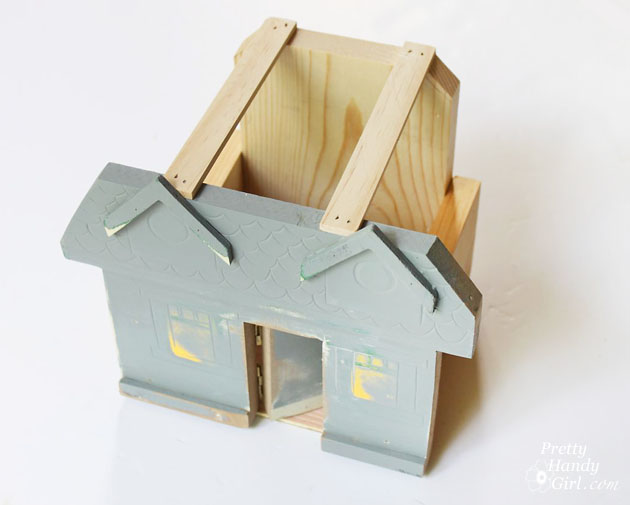
Attach two lattice pieces to the top to support the fabric roof.
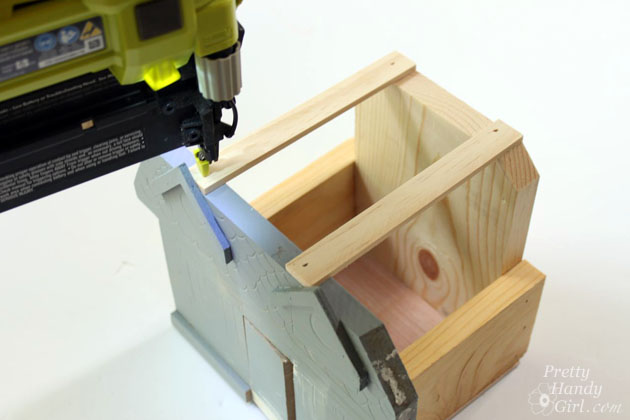
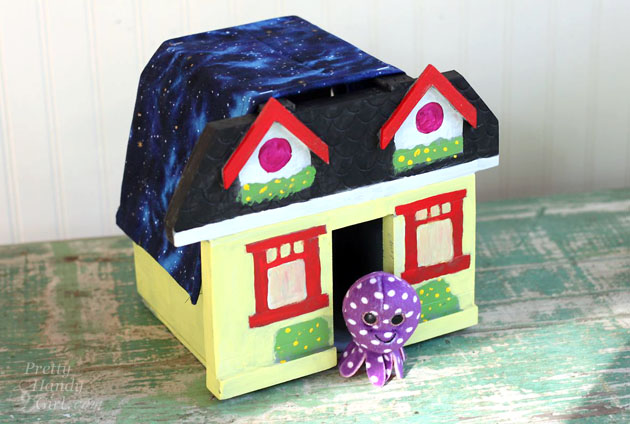
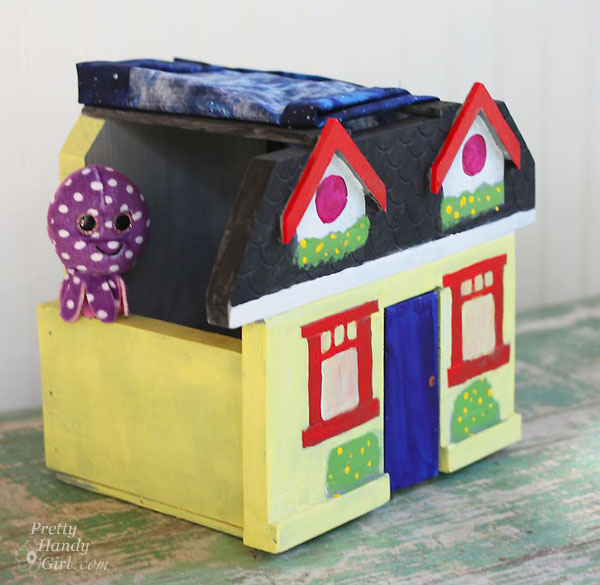
Ollie’s finished playhouse structure looked like this.
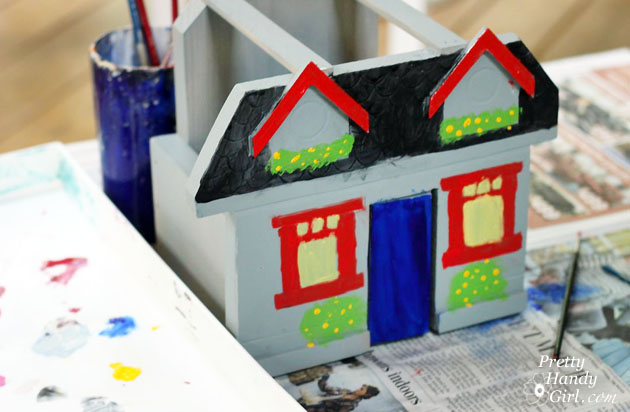
Spray the playhouse with spray primer. When the primer dries give your child some craft paint and brushes. A quick note about brushes: the biggest mistake people make is using cheap plastic paint brushes. If you invest in some good artist brushes (a few small round and some flat square ones), you and your child will be able to paint straighter and cleaner lines.
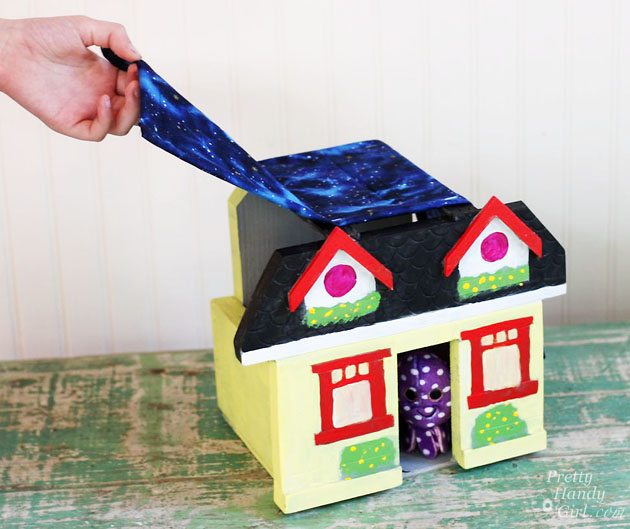
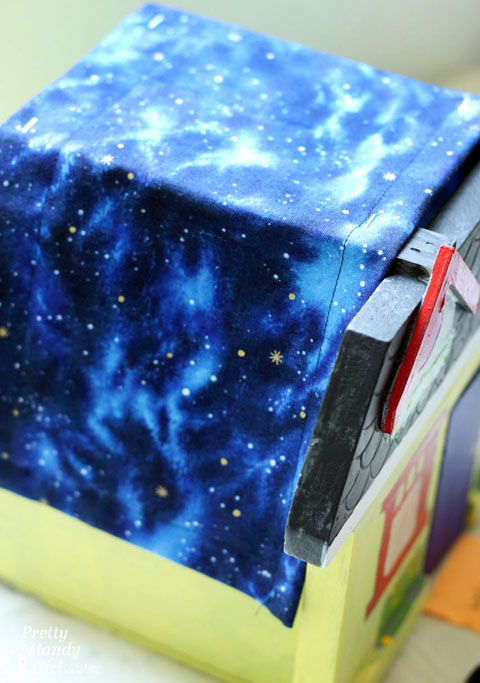
After the house paint dries, cut fabric for the roof. My son chose the star fabric so Ollie would think he was looking at the sky at night ;-). Hem the fabric and staple it onto the lattice pieces.
My son was eager to get Ollie moved in.
He made a little bed and nightstand out of the plywood scraps.
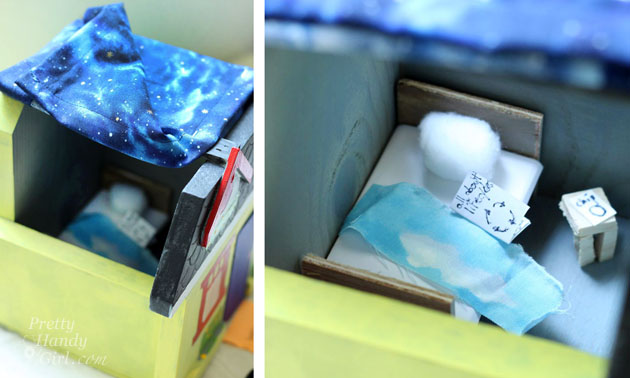
Some little books and a welcome mat made Ollie feel right at home.
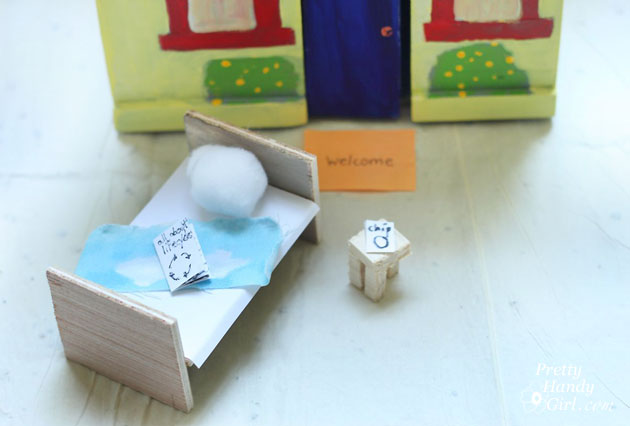
Ollie seems happy…
…and my son has had a lot of fun playing with his new playhouse that he designed and painted.
Do you have any wood scraps or recycled boxes? Let your child use his or her imagination to create anything they want. Creativity is something you can never over encourage.



What a great job your sons did. It’s so adorable & I bet he had fun!
I adore this! I’m so glad to have had you as part of the Mystery Thrift-Off! I admire your creativity so much. Your son did such a great job with his little house, this inspires me to let my kids be a lot more hands-on with my projects and scraps. The welcome mat and all the little details are so darn cute!