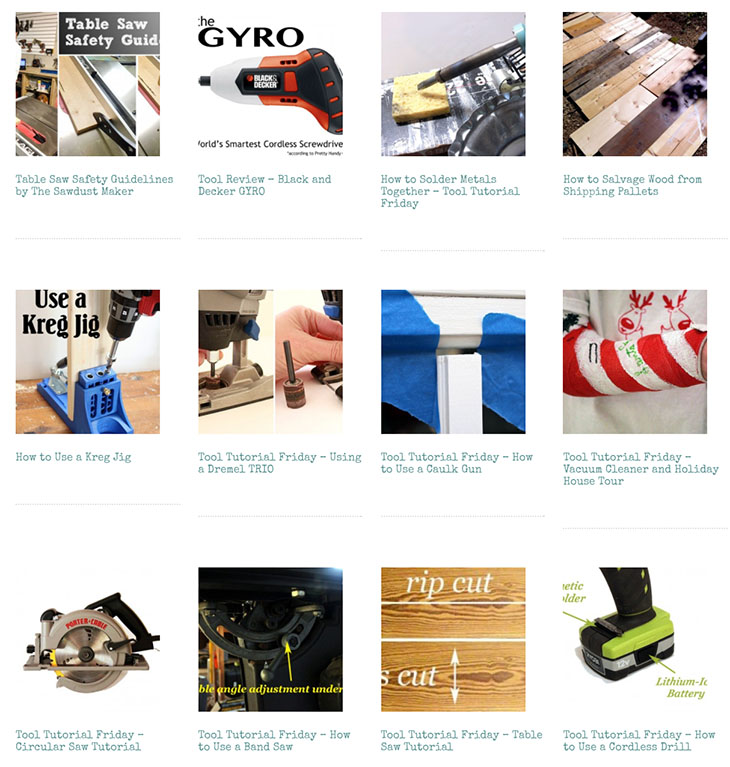
How to Use a Kreg Jig

Hey, look at this! Tool Tutorial Friday is back! Today I have a great tool for creating strong joints when building with wood and furniture construction. Today I’m going to show you the simple tutorial for How to Use a Kreg Jig. If you don’t have one yet, you need to purchase one ASAP! This little tool is my go to for for building furniture, frames and just about anything that needs a tight joint.
(I’ve included affiliate links in this post for your convenience. I earn a small percentage from a purchase using these links. There is no additional cost to you. You can read more about affiliate links here.)
I use the K4 Kreg Jig It didn’t take me long to figure out how to use it, but I know it would have been helpful to have a step-by-step tutorial when I was first learning how to use a Kreg Jig. For your convenience, this is a quick tutorial.
I was first introduced to the Kreg Jig by my friends Ana White and Rayan with The Design Confidential. These two DIY ladies opened my eyes to pocket screw joints. Be sure to check out their blogs for more tips from the masters!
The Basics on How To Use a Kreg Jig
First you will need to measure the thickness of your board. The wood I used was 3/4″ thick. It is important to actually measure your stock because what is sold as a 1″ thick board is usually about 3/4″ thick. You should always measure any wood you buy regardless of how it is labeled. The wood may shrink or deviate from the standard size.
Use that measurement to set the depth collar on your Kreg drill bit. The Kreg Jig I have has this handy guide built into the base. Simply set the drill bit into the groove and line up the step (the spot where the drill bit goes from wide to narr0w) with the measurement that corresponds to the thickness of your wood. The depth collar is adjustable with a hex bit.

Next you want to set the jig placement, also based on the thickness of your wood. You’ll notice the numbers on the side of the jig. Loosen the gold thumb screw and raise or lower the hole guide until it corresponds to your wood measurements. Re-tighten the thumb screw.

If you are joining two different thicknesses of wood, use the thinner board to set your measurements. You may want to vary your screw size. Kreg Jig has this handy chart to find the correct screw lengths (the left vertical side in the chart is the thickness of the board receiving the pocket holes. The horizontal top edge is for the thickness of the board that is being screwed into.)
The next thing I do is clamp the jig to my workbench. This isn’t absolutely necessary, but it helps hold things steady.

Set your wood into the jig, line up the end you want to drill holes in at the bottom of the jig. Then press the clamp lever towards the board to clamp it in place. You may need to turn the clamp screw to tighten or loosen it for a secure hold.

Insert the Kreg Jig drill bit into your drill. Start your drill in the forward motion. Drive the bit into the pocket hole guide. Stop at the depth collar on the bit.
For strong joints always use at least two pocket holes. One will only act like a pivot point for the joints to twist and turn.

Remove the drill bit and unclamp the wood.
To complete your joint, clamp the pieces together and drive pocket hole screws into the pocket holes and into the second piece of wood. Choose the screw that is recommended for your material thickness:
1/2″ material = 1″ screws
3/4″ material = 1 ¼” screws
1 1/2″ material = 2 ½” screws
There is a clamp that comes with the K4 Kreg Jig (you can use it to clamp on top and bottom of the joint), but I prefer a larger clamp like this 24″ IRWIN clamp so that the wood doesn’t get marred.

To conceal the pocket holes after your joint is completed, purchase the Kreg plugs. Or you can fill them with Bondo (Yes! Bondo works great as a strong wood putty! Just remember to allow for drying time and sanding when using Bondo.)
And that’s the basics for using a Kreg Jig! You can save some money if you want to purchase the Kreg Jig Jr., but if you plan to do a lot of building, I recommend the Kreg Jig K4 for easier joinery. It has the removable pocket hole guide. The price usually runs just under $100.
Want to learn how to use more tools? Grab a tool and learn now:
Check out these projects using a Kreg Jig:
DIY Open Frame Radiator Screen Cabinet Doors:


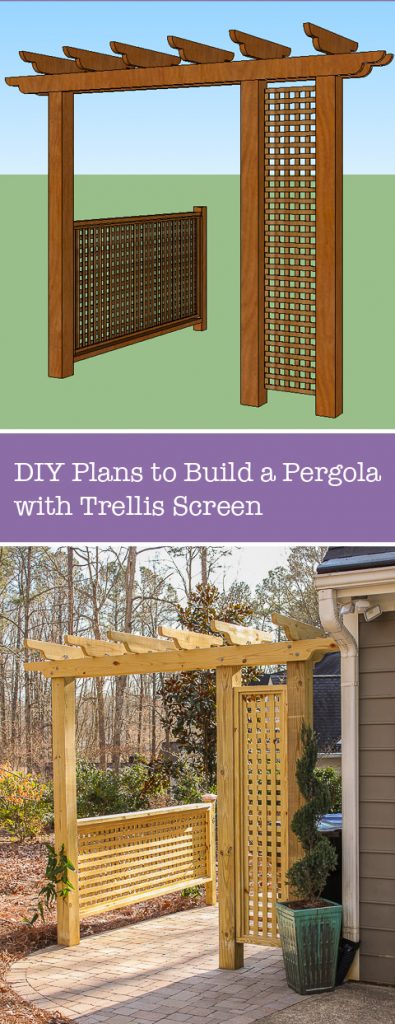
Pergola with Trellis Trash Can Screen:
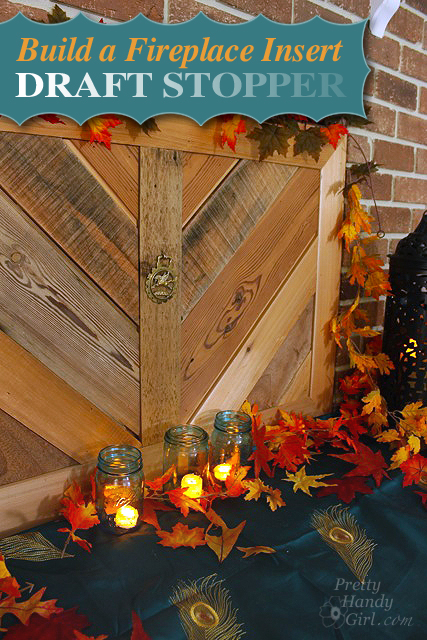
Fireplace Insert Draft Stopper:

Disclosure: I was not paid to endorse Kreg Jig. I purchased the jig with my own money and wrote this tutorial to give my readers the basic tips for using one. As with all tools, be sure to read your owners manual and familiarize yourself with your tools. I am not responsible for any errors or omissions in this tutorial. This post contains affiliate links.
Hi
Thanks for the great article. I am looking at starting with a Joinery Jig such as pocket hole. I am looking at buying a K4 or a K5 soon. I am a newbie in woodwork and I am looking for some advice on what else is required to start with pocket holes. Any advice for a good drill (any 18V will do?). What other things will I need to start the right way: clamps, saw? Thank you for any advice.
Hi
Great Article. I am looking at starting with a Joinery Jig such as pocket hole. I am looking at buying a K4 or a K5 soon. I am a newbie in woodwork and I am looking for some advice on what else is required to start with pocket holes. Any advice for a good drill (any 18V will do?). What other things will I need to start the right way: clamps, saw? Thank you for any advice.
Yann, I have two drills that I love and use interchangeably. I have a Milwaukee drill and a Rockwell 3Rill.
how do those plugs fit into the holes?
You tap them in and trim off the excess.
I have a Kreg Jig, I love it, but I cannot, for the life of me, get it to work properly……. every time I’m butting two ends together, the screws always come out the end and the holes are not centred…. It is terribly frustrating and even after watching the DVD 100x I just can’t seem to get it to do what it is supposed to do……. I get to the stage where i just use screws in the butt joint way… boring but it is the only thing that works. so sad 🙁
YOU ARE CORRECT THE DAM KREG JIG IS MADE WITH RETARDS 3/4 PLYWOOD IS NOT GOING TO USE 1 1/4 SCREW NOT EVEN CLOSE 1 1/2 MAKES IT AND THAT SCREW IS MAYBE HALF WAY OF 3/4 PLYWOOD I AM SCREWING TO
The wood doesn’t shrink as it dries. a 1″ board is 1″ thick prior to being surface planed so its nice and smooth. Planing it nice and smooth takes off 1/8″ on each side of the board, which makes a 1″ board 3/4″ thick after planing. I
I got a bit confused. It seemed to me you were using “width” and “thickness” interchangeably.
Width is the distance from side to side across the grain while thickness is the distance from face to face on a board.
Peace,
j
I’ve been loving the Kreg system but wondering how to use it. I can’t do any other type of joinery except “toe-nailing” LOL
Thank you for this. BTW which Kreg system (size) would you advise for a novice? I do lots of farm type woodworking, not finish or fine.
Kelly Ann, I have the $99 set and it has been perfect for all my needs. You can get the smaller pocket size, but I think you’d really appreciate the original version and it has the removable section for versatility. http://www.amazon.com/gp/product/B001DYFISG/ref=as_li_tl?ie=UTF8&camp=1789&creative=390957&creativeASIN=B001DYFISG&linkCode=as2&tag=prett041-20&linkId=IMQ72KTKFMM2RP2E
This is a terrific tutorial. Very clear text with very helpful images. Spot on. Well done. Thanks so much.
Thanks so much for your description of the Kreg Jig! Great little gizmo.