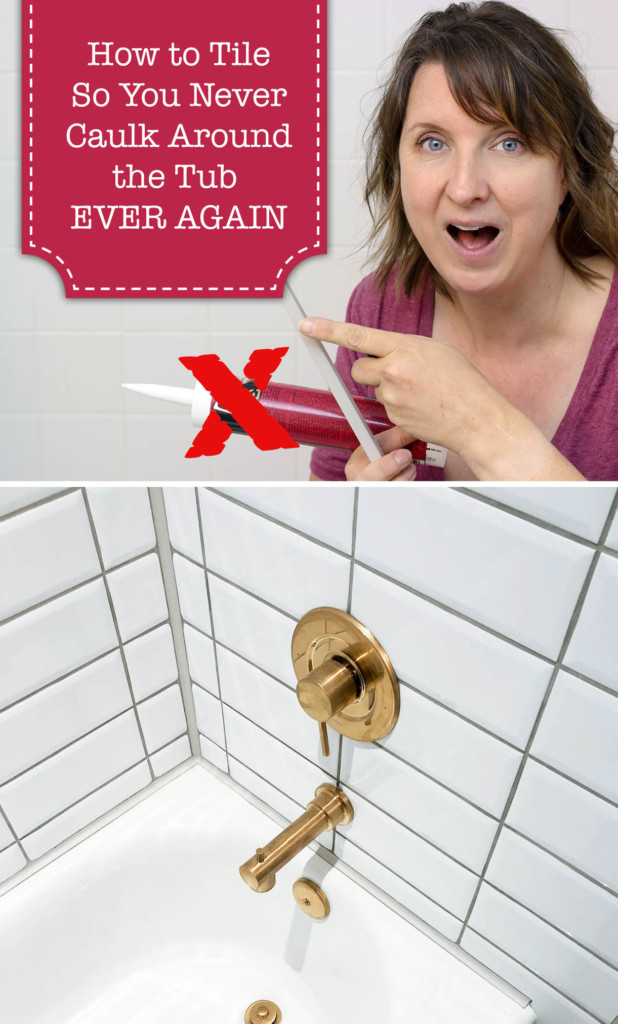
Millie’s Remodel: How to Tile a Shower/Tub Surround and Never Replace Caulk Again
I’m back with another Millie’s Remodel update. This time we’ll be tiling, and I’ll share how to tile so you’ll never have to caulk around your tub ever again!
Millie’s Remodel: Main Bathroom Tiling with No Maintenance Profiles
How are you doing? I’m so happy to be back with another Millie’s Remodel update for you. If you missed my post the last week, this is why I disappeared for six months. Thankfully I’m back to working and posting tutorials and updates for you here on the blog. Thank you for your support over the years, I feel like we are family by now, which is why I have some game-changer news to share with you. If you do this one thing on your next tile job, you can forget about ever having to replace or re-caulk EVER AGAIN!
A while ago (seems like a decade ag0 because 2020 has dragged on too long), I took some professional tile classes with Schluter. I learned a lot, but on the last day of the course, we learned about tile profiles. Since I was just finishing up the Millie’s Remodel project, I knew I had to implement them into the main bathroom tub/shower combo. This one decision prevents me from ever having to caulk around the tub or the walls in that bathroom. As a landlord, this is one less thing I’ll have to maintain at the house!
These are the materials I used to tile the main bathroom. I’ve also linked to the profiles I used, but you’ll want to scroll down and watch the video for more details.
Materials:
(I’ve included affiliate links for your convenience. I earn a small percentage from a purchase using these links. There is no additional cost to you. You can read more about affiliate links here.)
- Mold Cleaner/Killer
- AquaDefense
- Mapei Pewter Grout
- Mapei Pewter Match Caulk
- 1/2″ KerdiBoard – Check with your local tile shop
- KerdiBand
- Schluter AllSet Mortar
- Kerdi Trowel
- KerdiFix
- Kerdi Screws & Washers
Schluter Profiles:
Where This Bathroom Started:
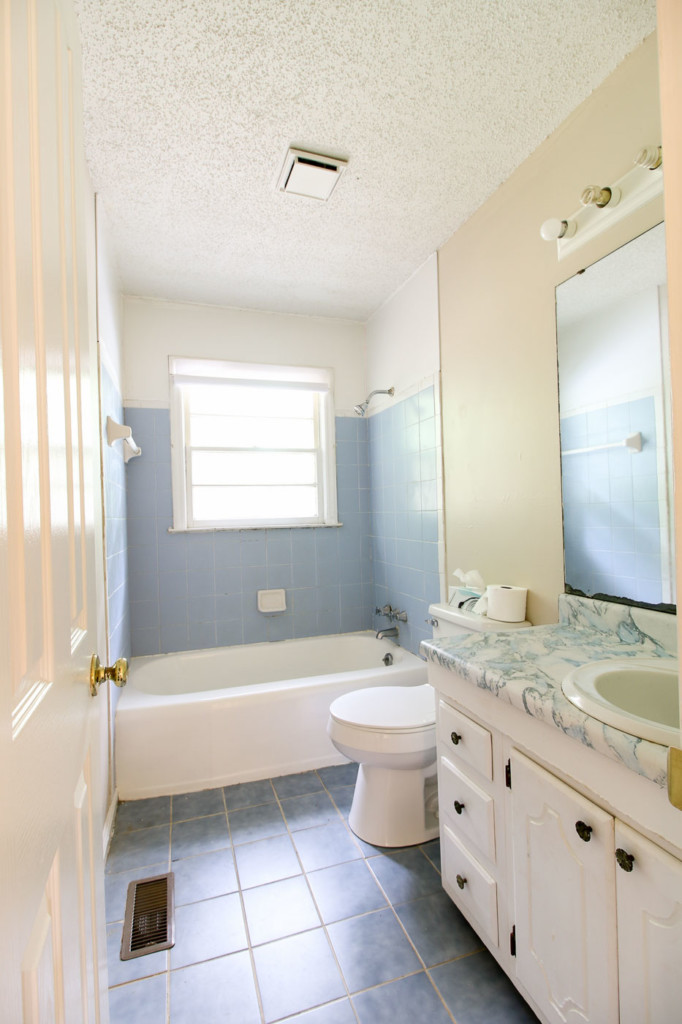
Before we get into the tutorial, I think it’s only fair to take you back in the time machine to show you where the Millie’s Bathroom started.
When I bought the house, it had this fabulous powder blue tile and the faux blue marble countertop was vintage! You probably can’t tell from the pictures, but the counter came up to mid-thigh height. This is not exactly conducive to comfortably using the sink for anything but hand washing.
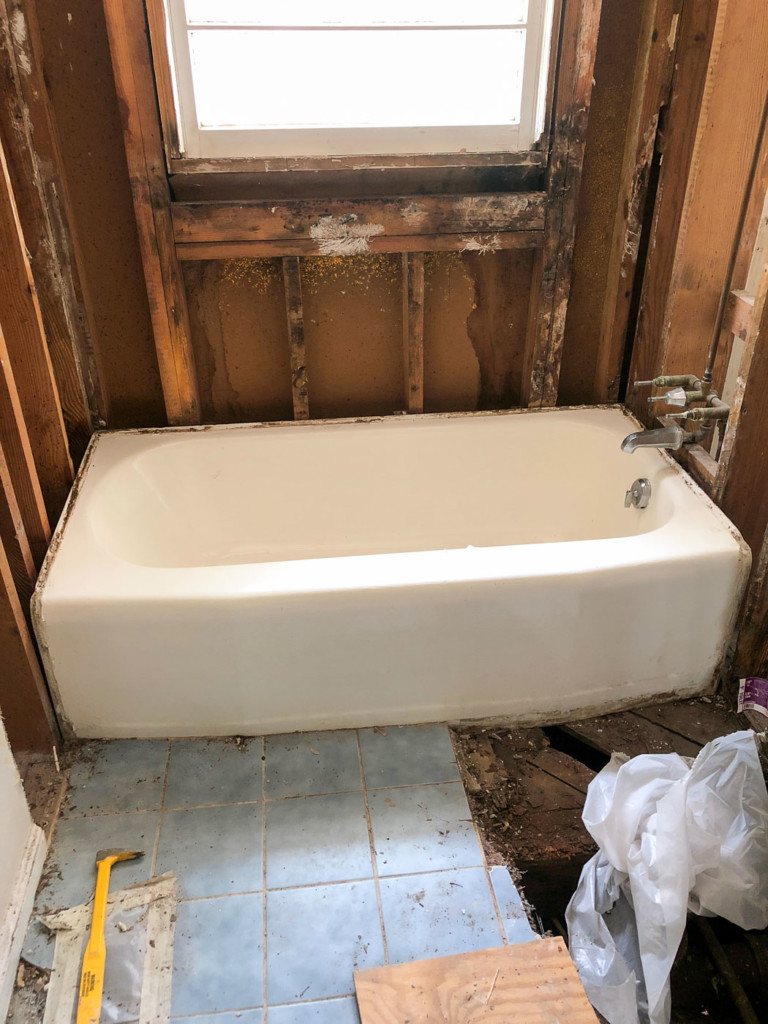
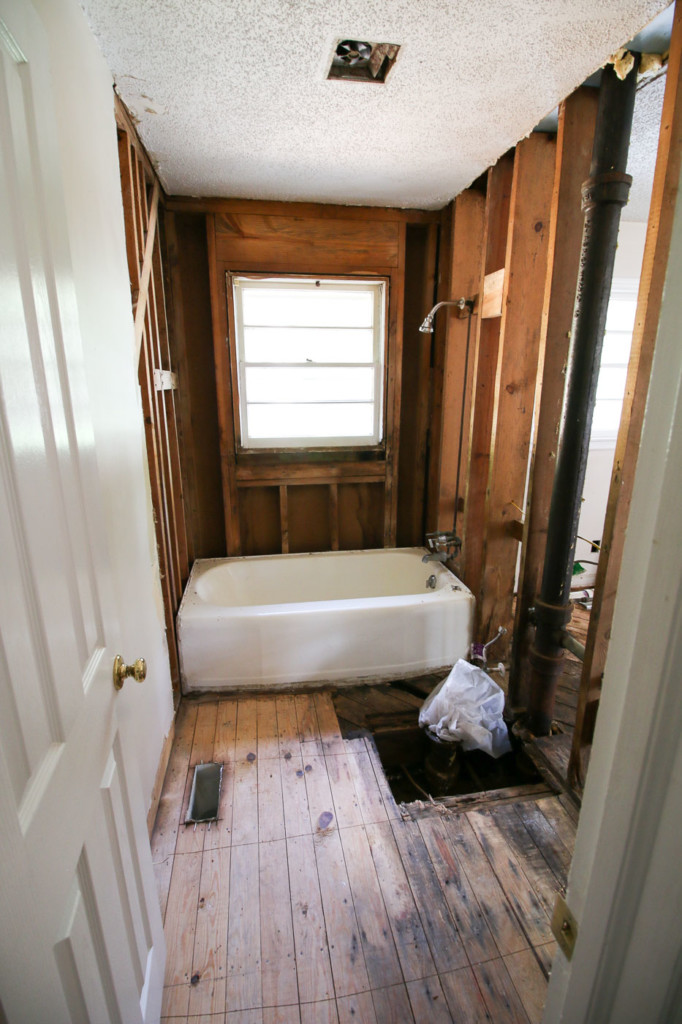
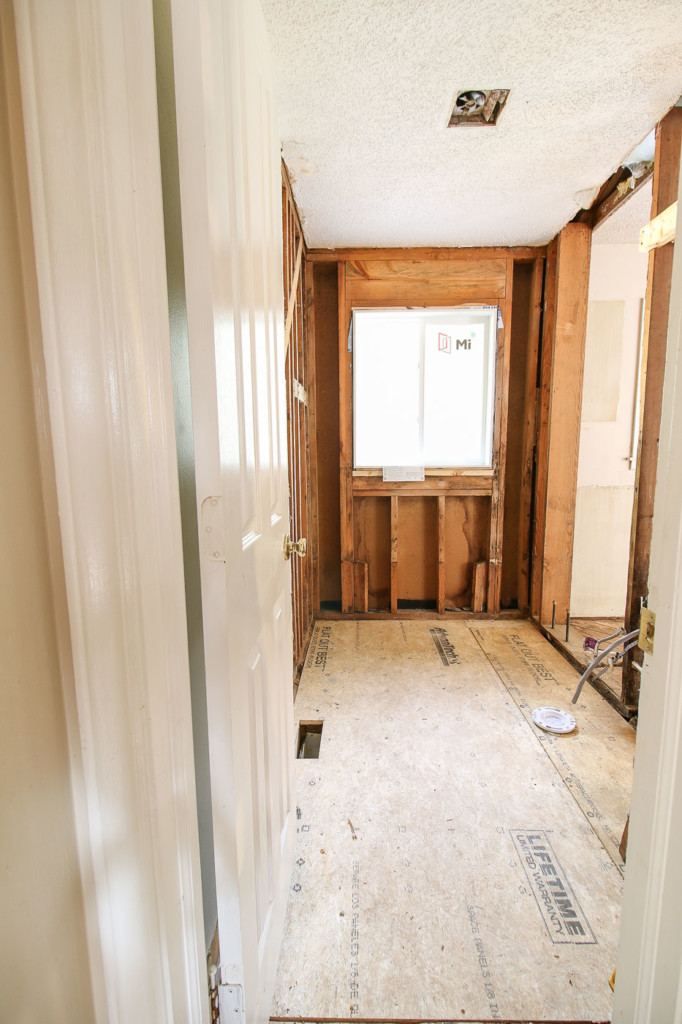
I knew I was working on an old house with a host of potential environmental issues, so I took all the precautions during demolition.

During demolition, I discovered a multitude of leaks and rotting flooring. The only thing keeping the toilet from falling into the crawlspace was the cast iron waste pipe it was perched on. It was so rotted, I stuck my hand right through the subfloor. You can watch my exciting demolition video here.
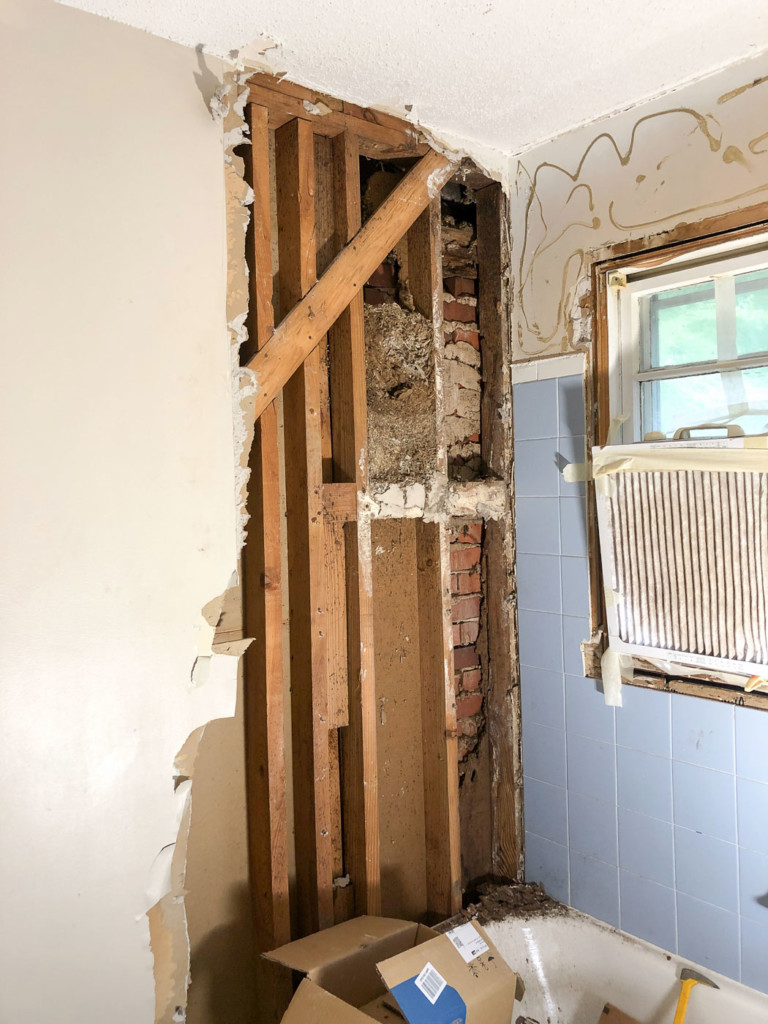
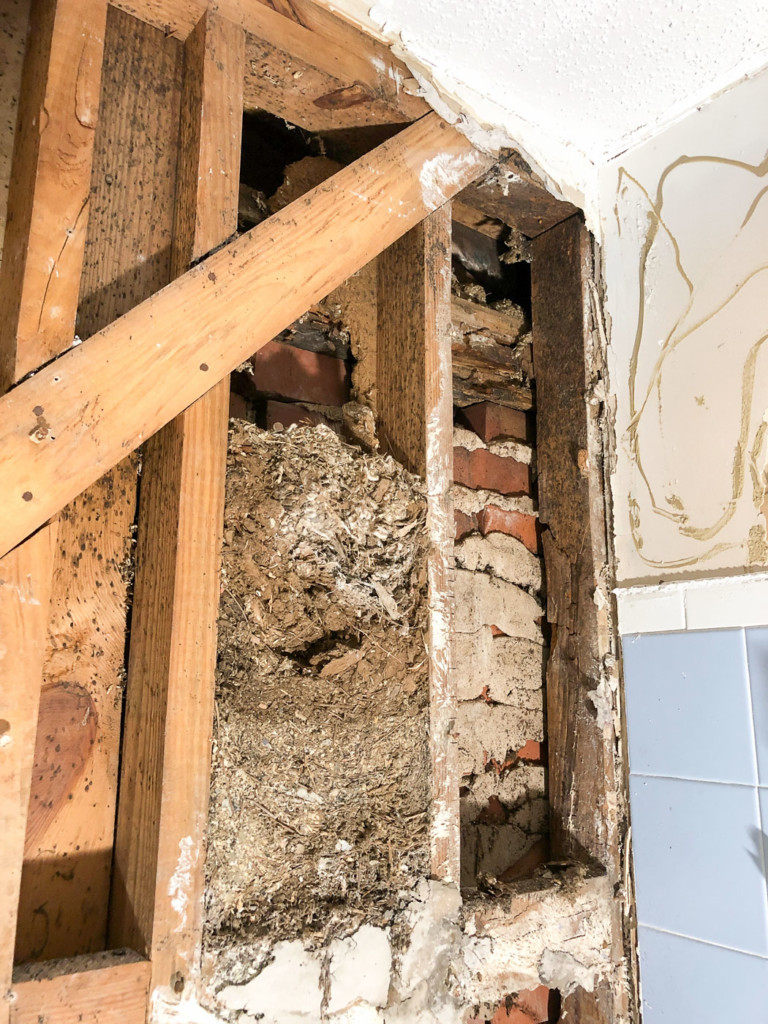
Behind the shower walls was a gigantic animal nest in one of the wall cavities.
The tub was cast iron and I wanted to try to save it, but it was going to cost me more to pay for a professional tub refinisher to strip the DIY paint job and refinish it than it was to replace the tub with a brand new one. Because this was going to be a rental house, I didn’t want to have to refinish the tub every few years.
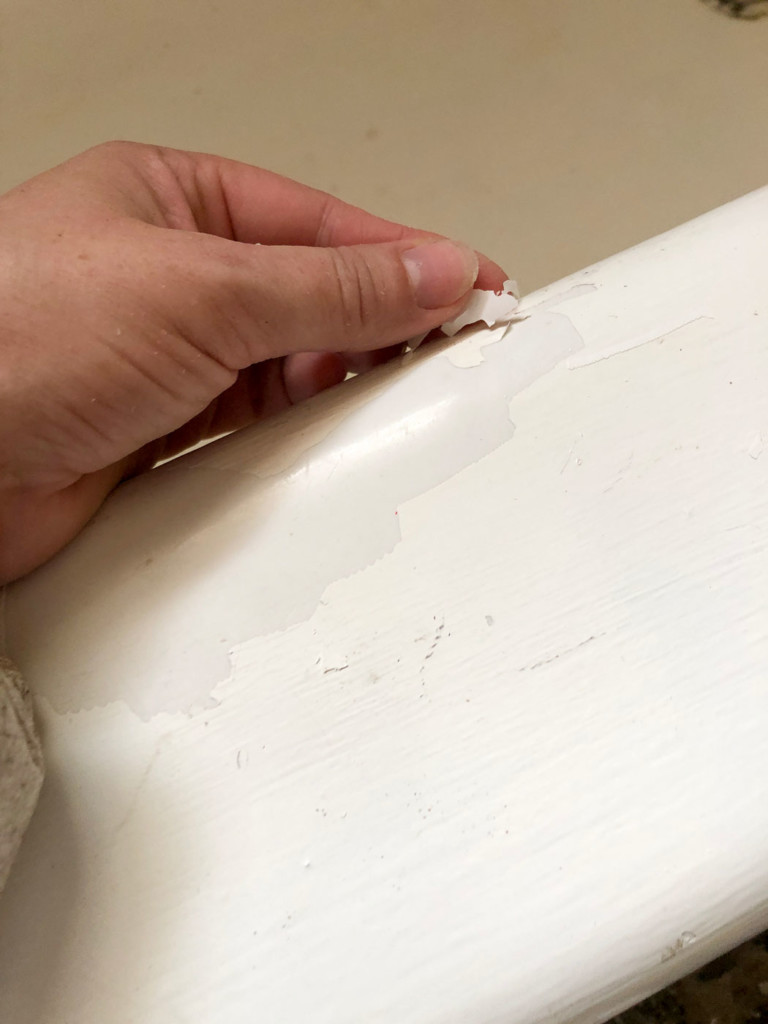
Sadly the tub was pulled out and scrapped for metal. The window was something I also wanted to scrap! I knew it had to be replaced from the start, (even though I have no idea how it hadn’t rotted since it was constantly exposed to water during showers).
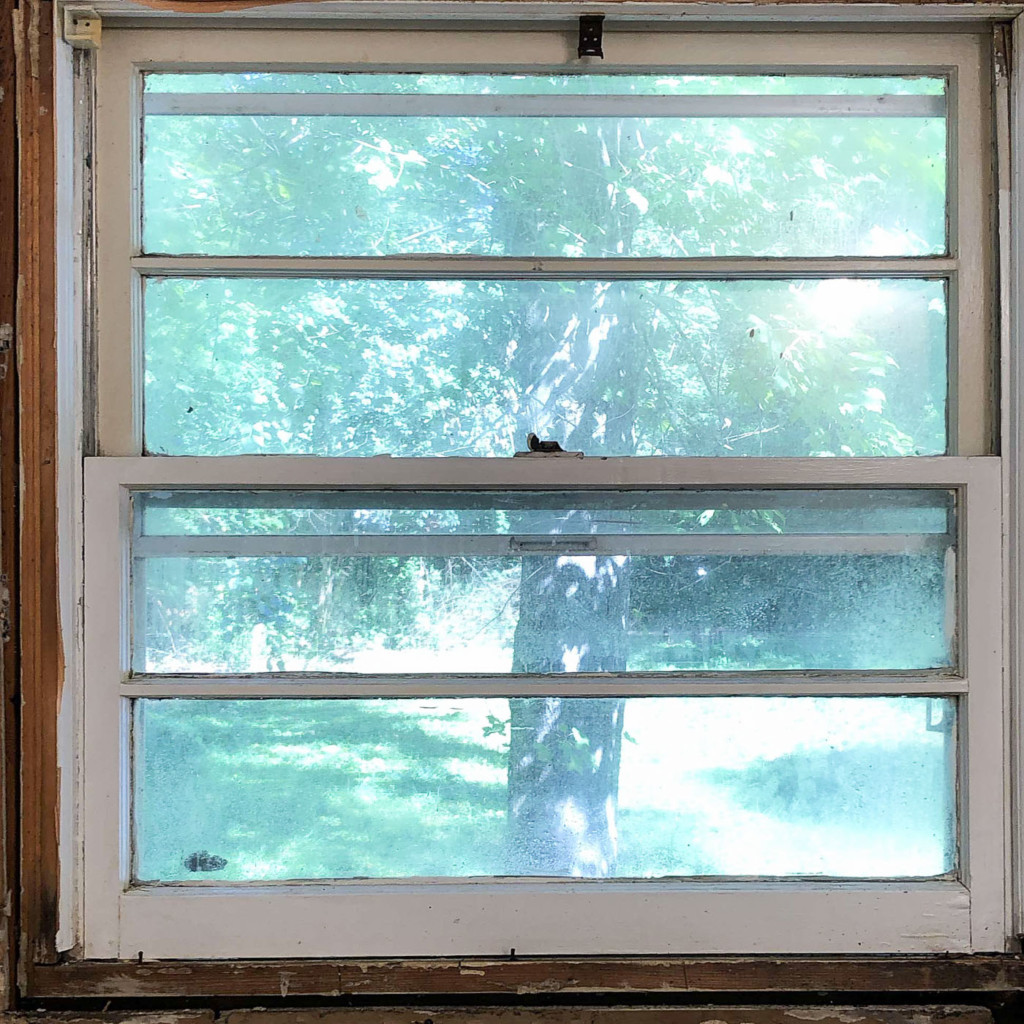
A new vinyl window was ordered, and what arrived was a vinyl window on the exterior with wood trim inside. I could have cried because the goal was to get rid of any material that could rot inside the shower.
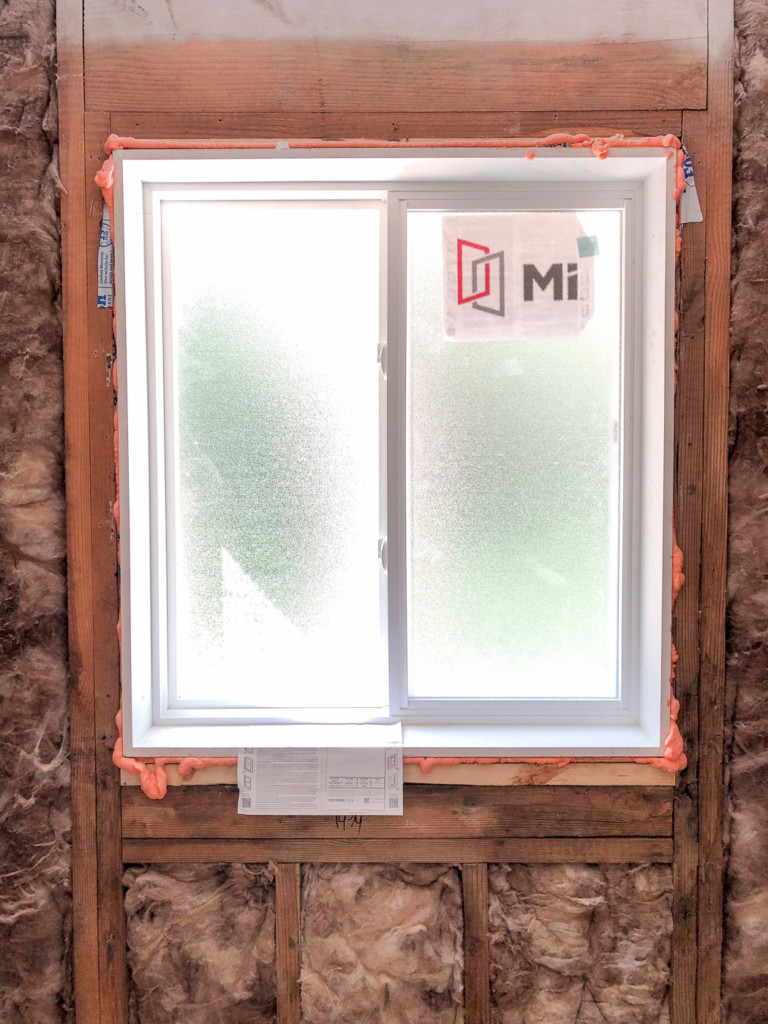
Ultimately, I dealt with the mold, rotted floors, leaking plumbing, and new window to start building back.
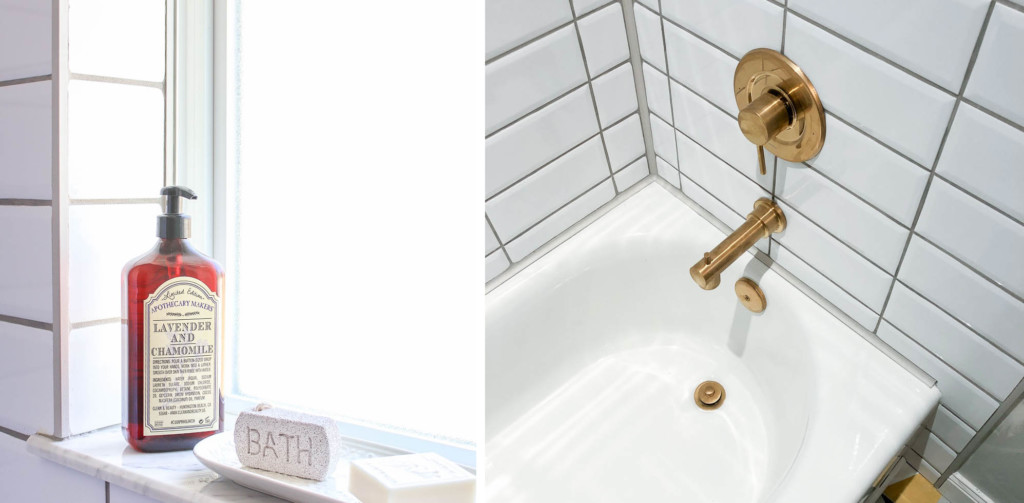
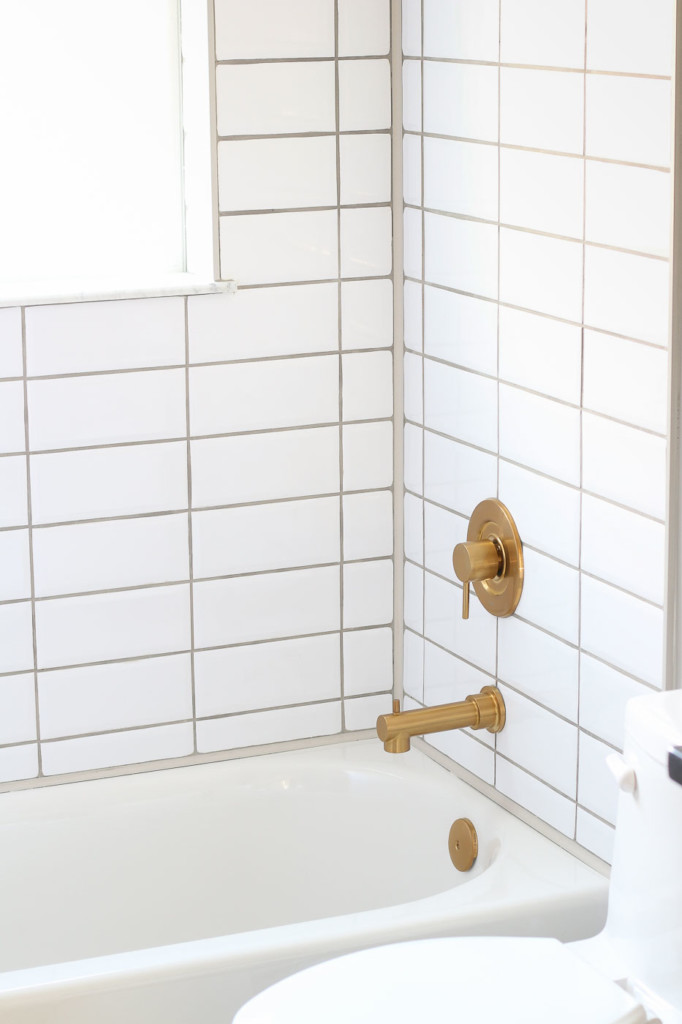
What do you think? Would you like to try tiling with profiles in your bathroom? I took this close-up picture of the profiles so you can see how sleek they look on the tub deck and in the corners of the shower.
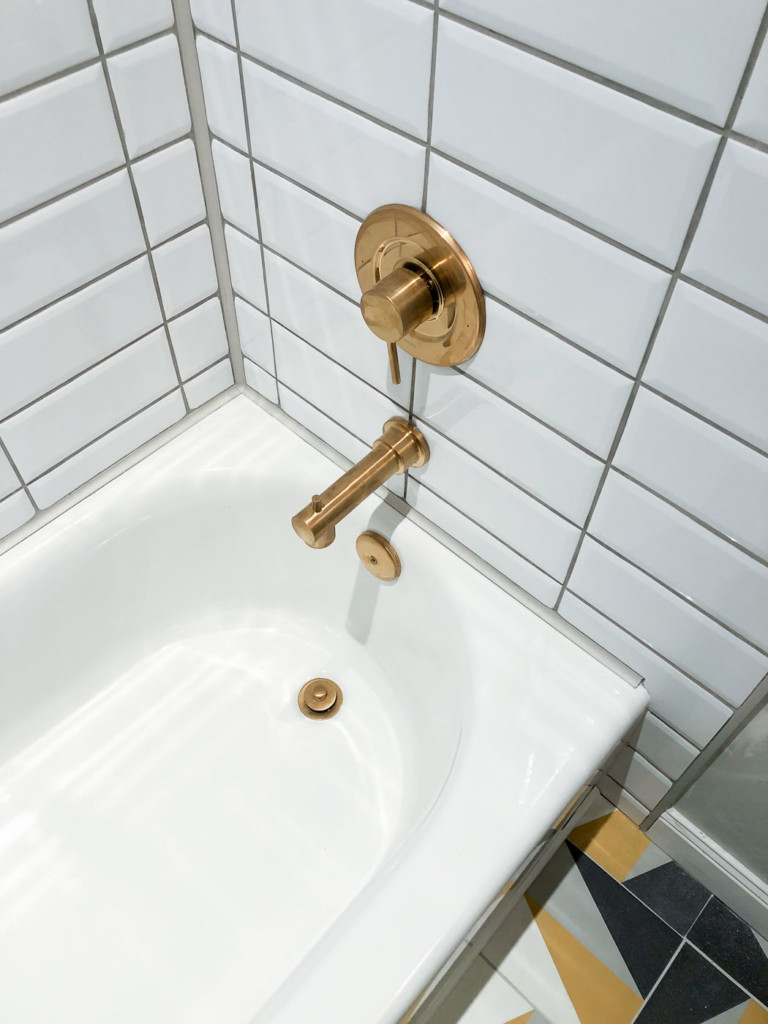
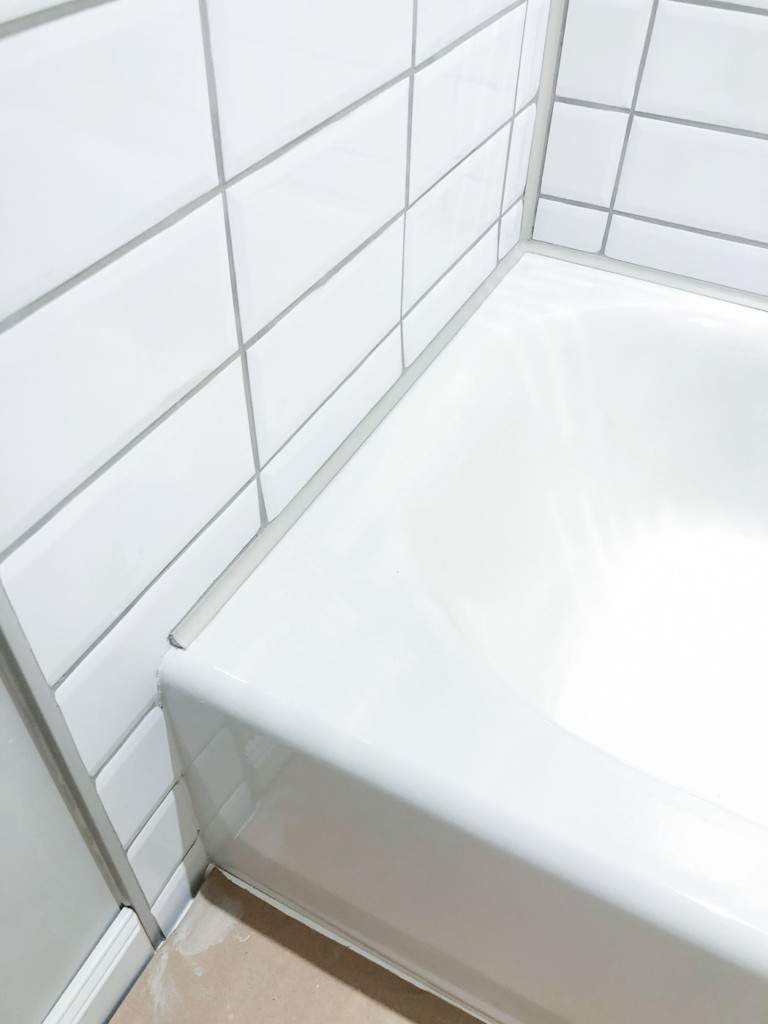
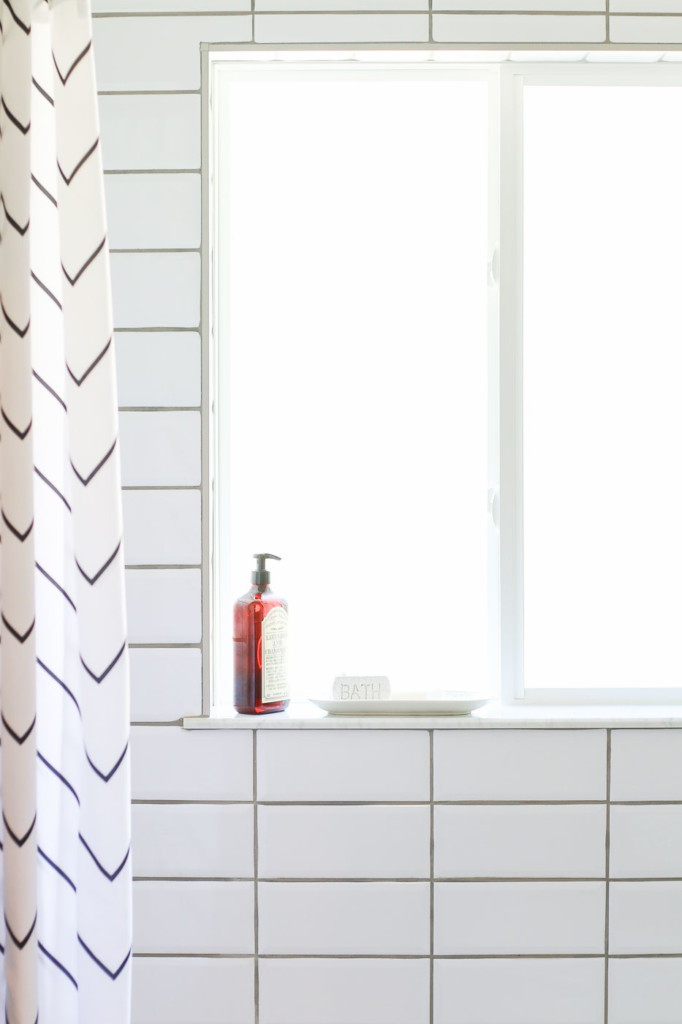
The profiles also frame the window nicely and hide the cut edges of the tiles.

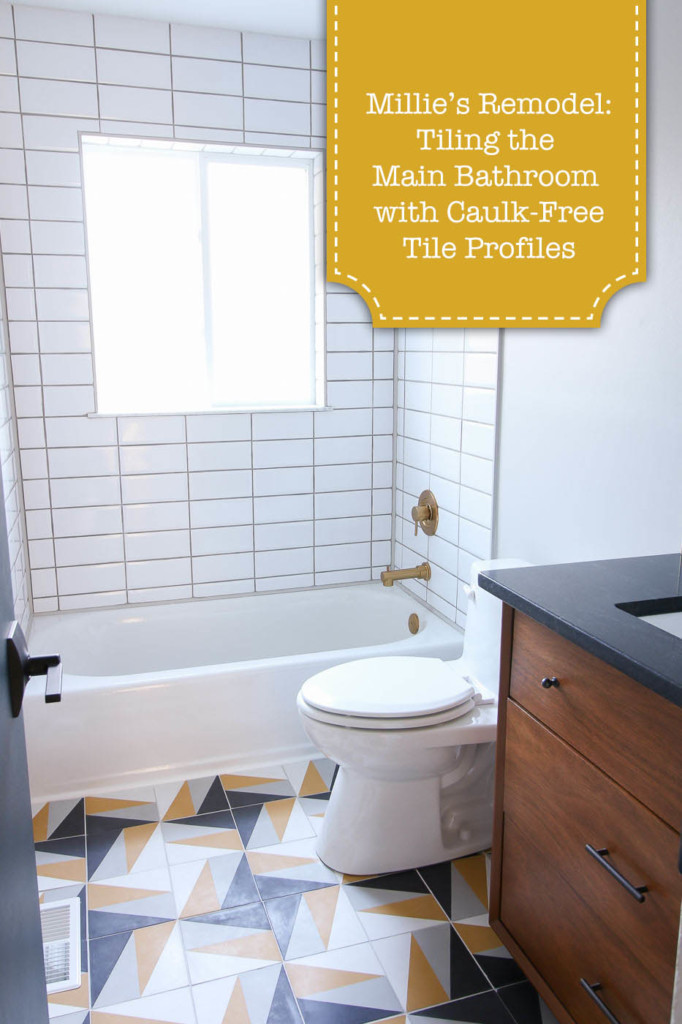
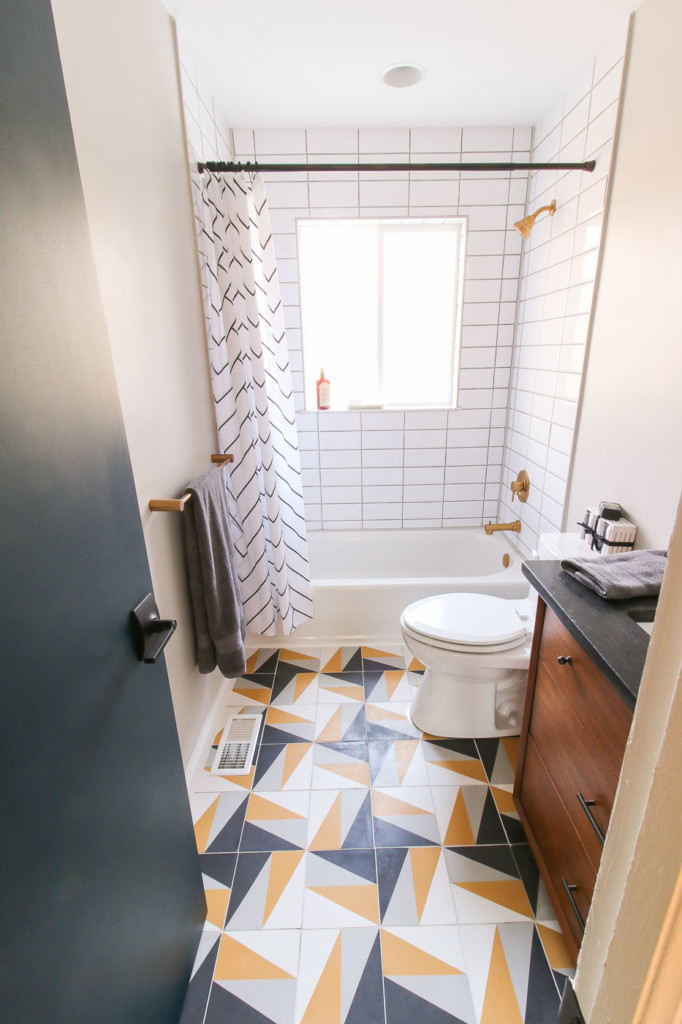
This main bathroom at Millie’s Remodel turned out much better than I imagined. 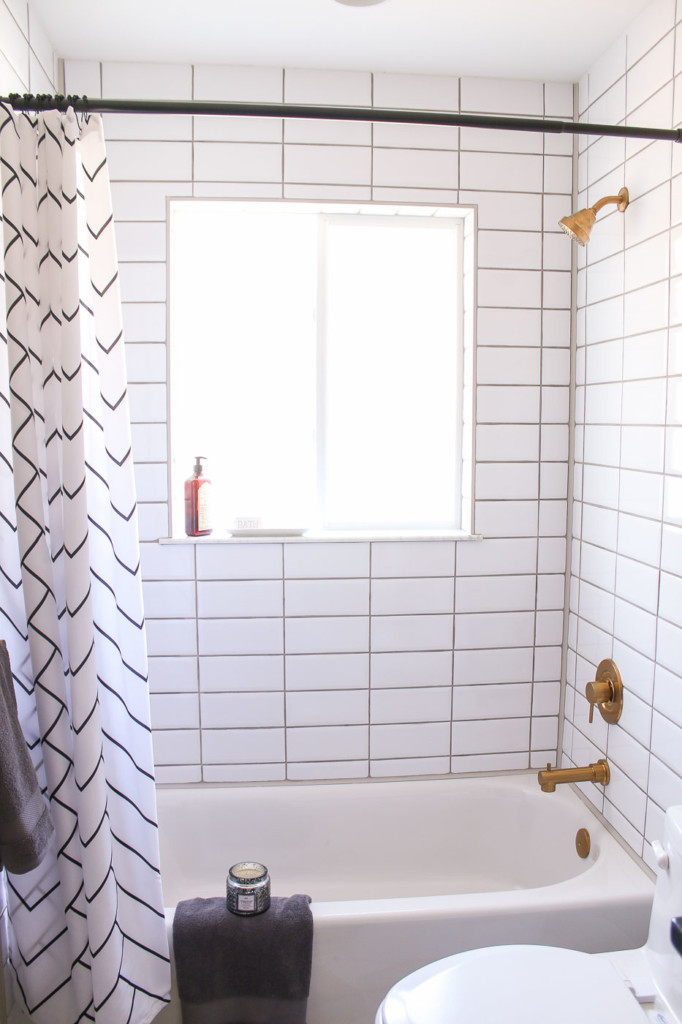

I’ll be back soon with another little tutorial for you. It’s going to have something to do with a trick my tile setter taught me. After that, I have a really fun tutorial coming up to show you how to turn a dresser into a sink vanity. This mid-century dresser worked out perfectly as a sink vanity!

Before you go, let’s have a heart-to-heart conversation. Do you enjoy the videos I’ve been sharing? Are you subscribed to my YouTube channel? This is one simple way you can thank me for sharing this content with you for free. Click here to subscribe to my channel.

Psst, if you really want to follow my daily adventures, you can follow me on Instagram. I share most of the projects I’m working on in real-time there.

Take care and see you soon.

Pin this post to share with a friend!


Glad you’re back!. Great job.
Wow what a job that was! It looks lovely. You do great work.
Peggy R.
You worked really hard and your bathroom is absolutely beautiful. But, you must caulk all joints where planes meet or they will leak due to natural movement. Grout quickly loosens at these junctions. This includes all corners and where the tile meets the bathtub and the toilet base. Please take my advice so that you never have a water problem again. You will have to recaulk the tub every 5 years or so and other joints less frequently. That’s only a 1-2 day job with the right tools. Take care and enjoy your beautiful new bathroom.
I’m aware of this, if you read and watch the video, I explained that we added clear silicone around the profiles.