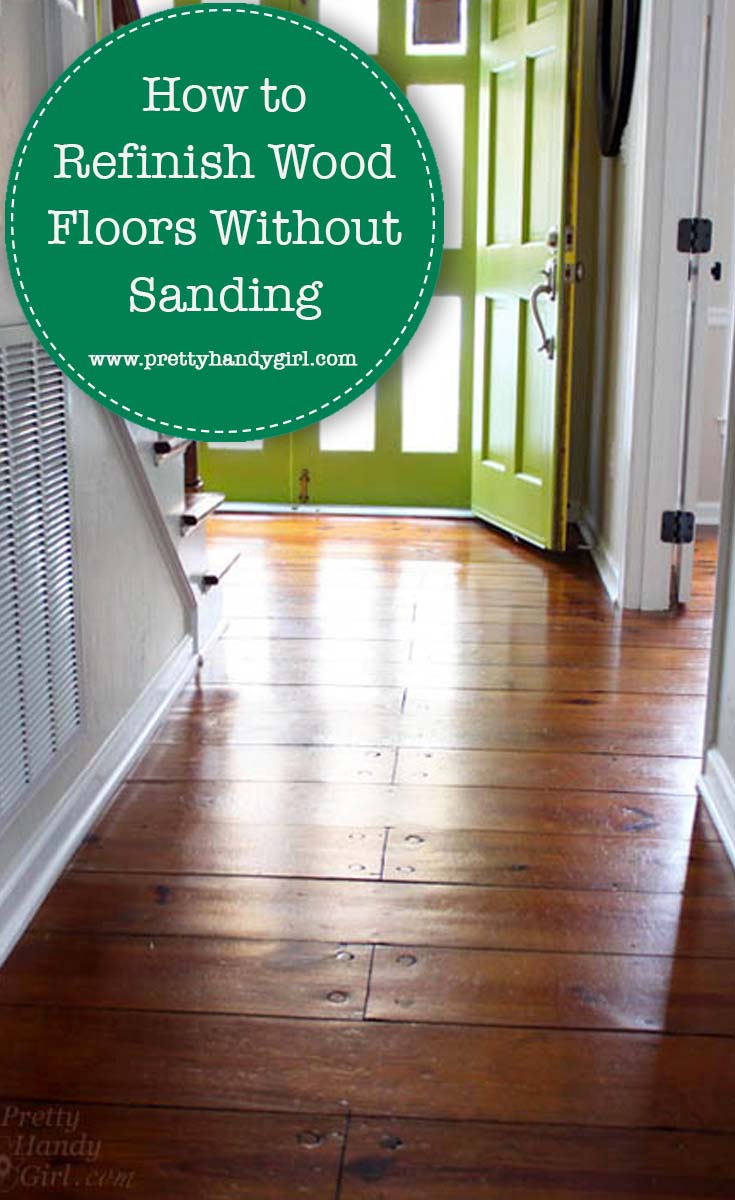
How to Refinish Wood Floors without Sanding
How to Refinish Wood Floors without Sanding
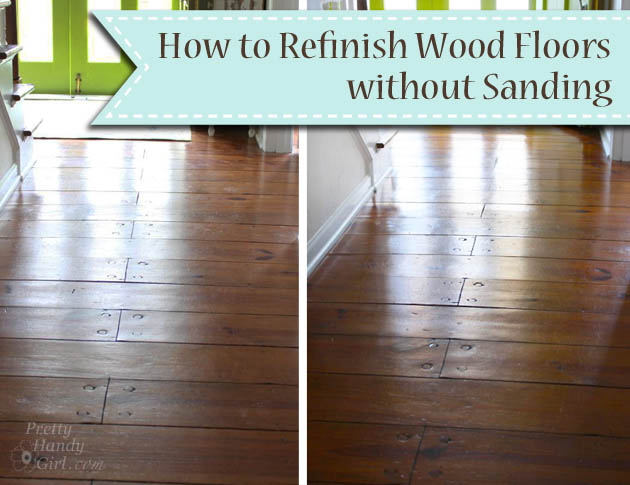
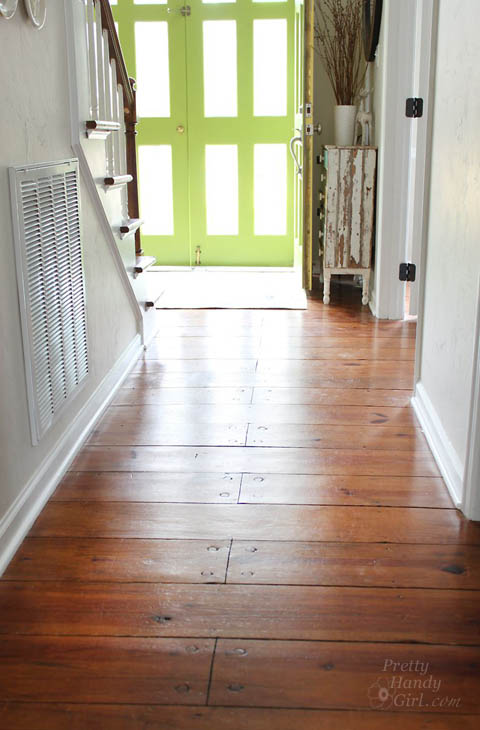
I love our antique heart pine floors! They are beautifully distressed. The round pegs and square nails securing them in place add loads of character. However, the square nails sit flush with the surface preventing us from ever being able to refinish them with a sander. The nails would tear up the sandpaper in no time. But, that’s no problem because I know a way to Refinish Wood Floors without Sanding!
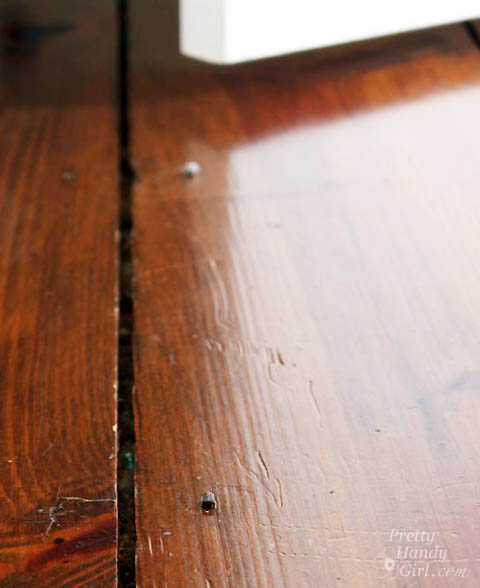
From time to time, our floors start to look dull…
…and the scratches are more noticeable. This is when I know it’s time to refinish them.
The first time I refinished our floors, it was several years ago when we were painting the office and dining room. I decided to try to refinish the floors because the rooms were already devoid of furniture. Several neighbors had recommended Bona® Hardwood Floor Cleaner and Bona® Hardwood Floor Polish. I was skeptical, but the results were beautiful floors that had luster, but still showed their beautiful age.
The Bona® Hardwood Floor Cleaner did a fabulous job of cleaning the floor without damaging them. And, the Bona® Hardwood Floor Polish provided a strong finish without any waxy build up. The high gloss protective layer adds some shine, but isn’t overly shiny. The polish also fills micro-scratches, evening out the appearance of the floor.
Fast forward to this past week when Bona asked me to write a sponsored post for them, I jumped for joy because I already use and love the Bona® Hardwood Floor Products! (Here’s my full disclosure: Yes, this is a sponsored post. No, I was not told what to write. And yes, I probably would have blogged about my experiences using Bona® Hardwood Floor Products at some point anyway. Win-win.)
I highly recommend trying the combo of the Bona® Hardwood Floor Cleaner and the Bona® Hardwood Floor Polish before spending huge amounts of money to have your floors refinished. (Bona® Hardwood Floor Cleaner & Polish will not work on floors that have an oil or wax coating. Test in an inconspicuous area to be sure it will work for your floors.)
Here’s how to Refinish Your Wood Floors without Sanding:
Materials:
(I’ve included affiliate links for your convenience. I earn a small percentage from a purchase using these links. There is no additional cost to you. You can read more about affiliate links here.)
- Vacuum or broom
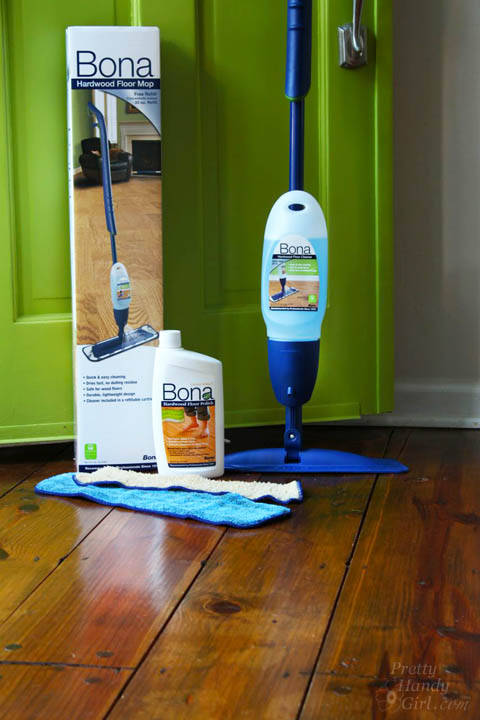
- Bona Hardwood Floor Spray Mop, includes 28.75 oz. Cleaner Cartridge
- Bona Hardwood Floor Polish – High Gloss
(32 oz. for 500 sq. feet)
- Bona Microfiber Applicator Pad
Instructions for Cleaning the Wood Floors:
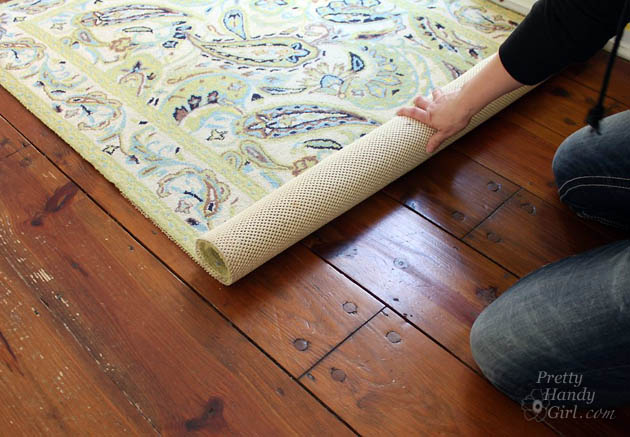
Remove all rugs and furniture from the room. If you have heavy furniture pieces that are never moved, you can leave them in place.
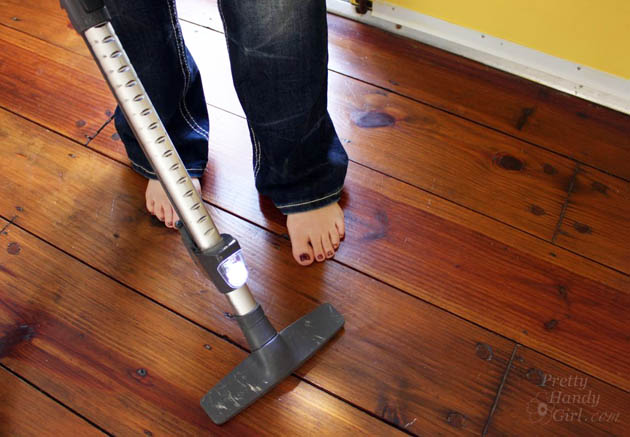
Vacuum or sweep the floors to remove all dirt and debris.
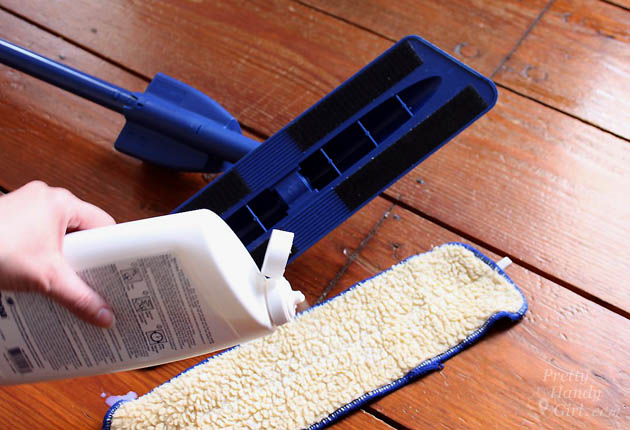
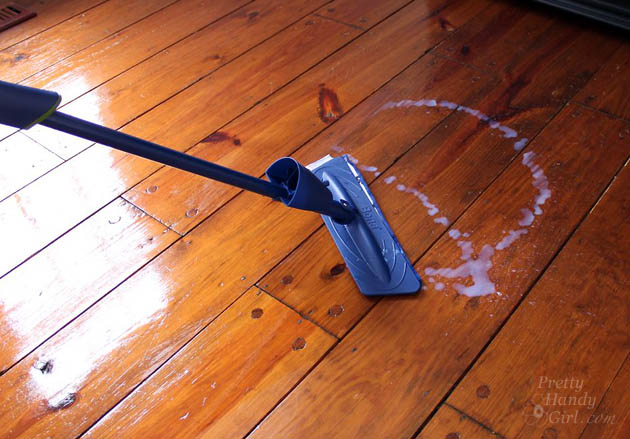
Assemble your Bona® Hardwood Floor Spray Mop as shown here:
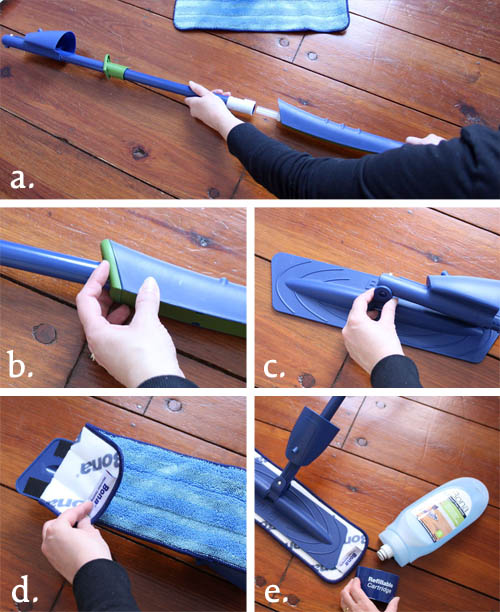
Snap the cleaning solution into the spray mop.
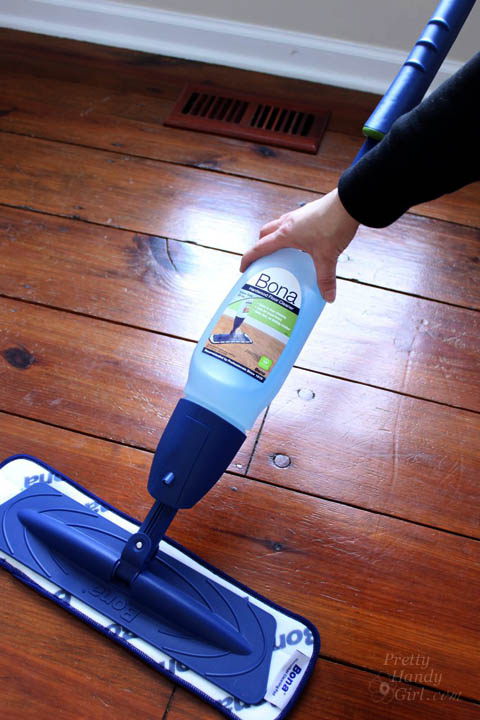
Start in the corner of your room working toward an exit. Spray by pulling the trigger on the handle and mop the area.
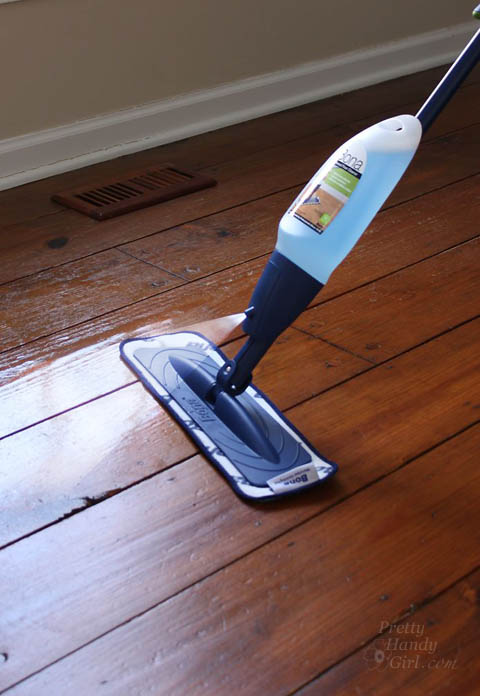
Continue spraying and mopping. Your floor should be damp but not extremely saturated. (Bona® Hardwood Floor cleaners are non-toxic and GREENGUARD certified, so feel free to kick off your shoes and socks!)
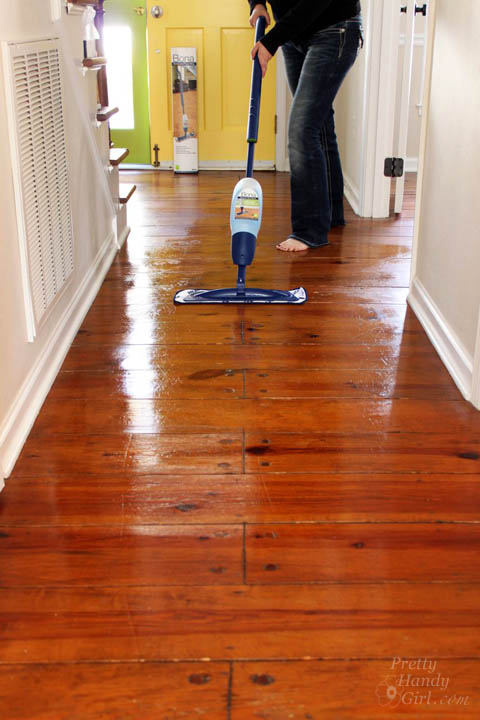
One word of caution, pull the mop back from the wall about a foot or two to avoid spraying the wall.
Cleaning the floor was so easy! The toughest part was trying to keep this fur ball from settling onto the floor where I was working.
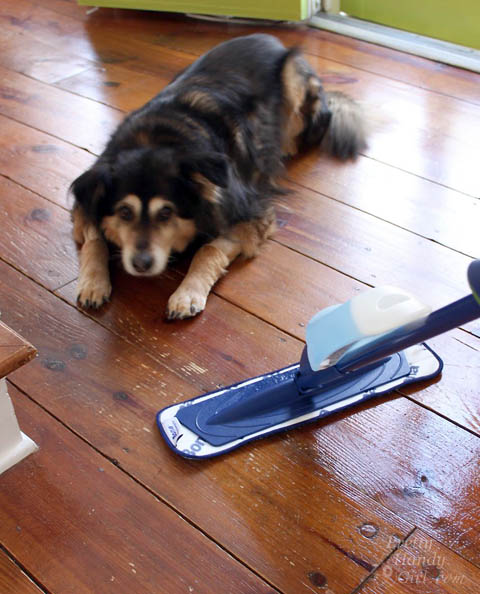
For this reason, you might want to add pet or baby gate to your material list ;-).
Allow the floor to thoroughly dry.
Instructions for Polishing the Wood Floors:
While the floors are drying, remove the cleaning solution and turn the mop upside down to remove any liquid in the reservoir. Also, spray the mop one or two times to remove any cleaning fluid. (If you skip this step, you will inevitably pull the trigger while polishing only to realize that there was still cleaning liquid in there. Ask me how I know!)
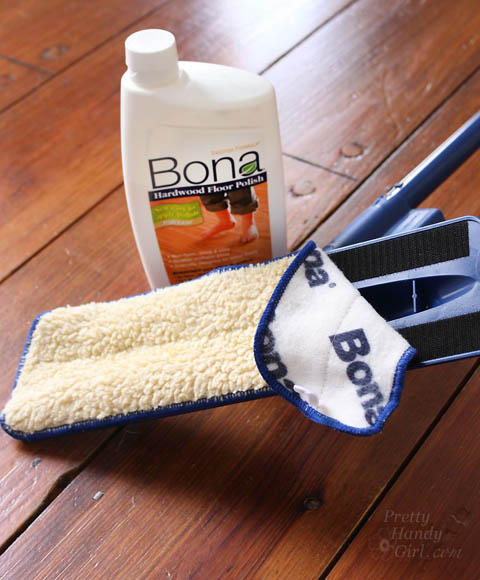
Pre-moisten the applicator pad with some of the polish.
Remove the blue microfiber mop pad and replace it with the cream microfiber applicator pad.

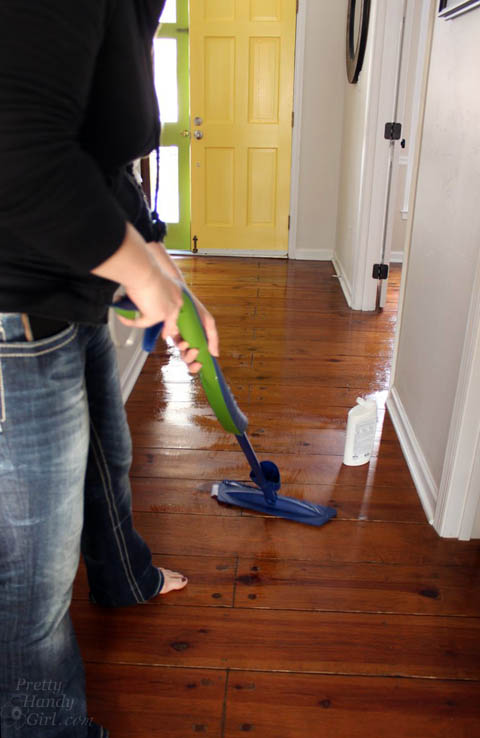
Squirt a small stream of Bona® Hardwood Floor Polish onto your floor (work from a corner opposite the exit.)
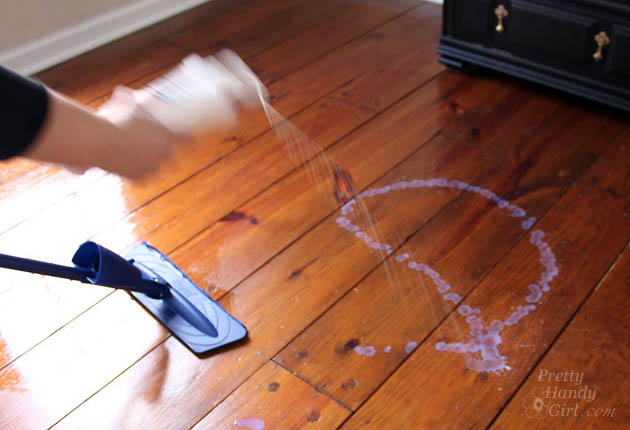
Spread the polish onto the floor.
Work toward the exit so you won’t step onto the polish after it has been applied.
Toss the microfiber pad and applicator into the washing machine to clean.
Allow the floor to dry for an hour before you can walk on it. Allow 24 hours before heavy traffic and replacing your furniture (if possible.)
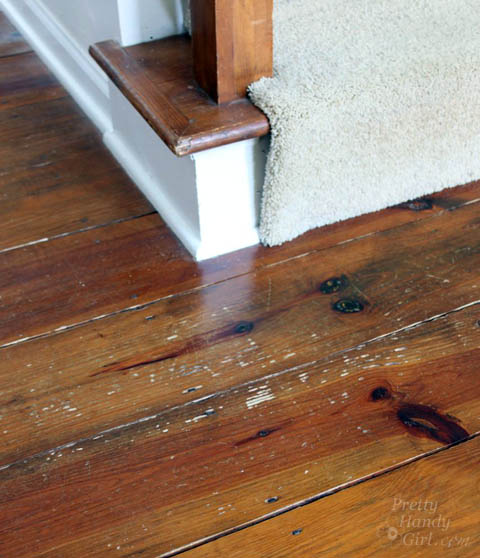
Tip for minimizing deep scratches:
After the polish has dried, you may still have some deep scratches that show up on your wood floor.
To minimize their appearance watch this video for 3 Tips to Eliminate (or minimize the appearance of) scratches in your wood floor!
How often should you use Bona® Hardwood Floor Cleaner and Polish?
Use every 1-2 months to protect and keep your floors fresh and looking their best.
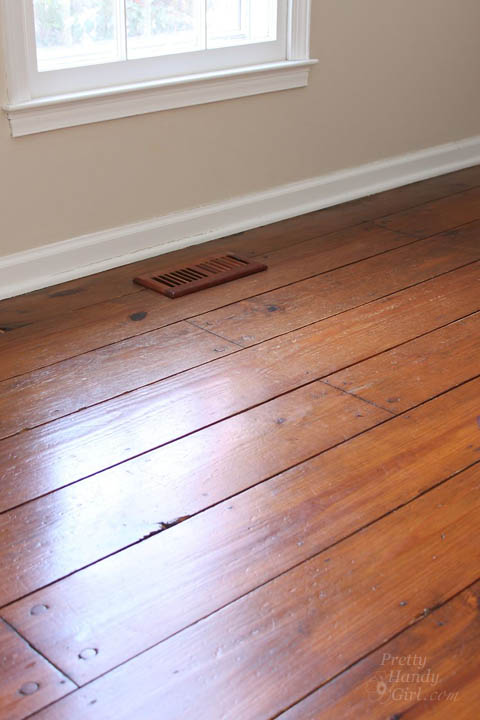
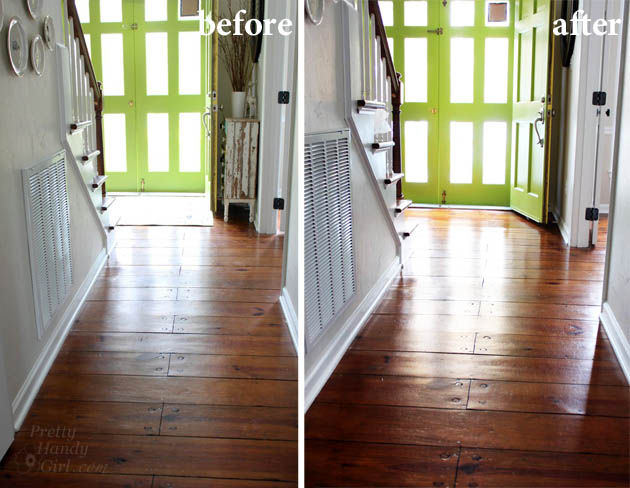
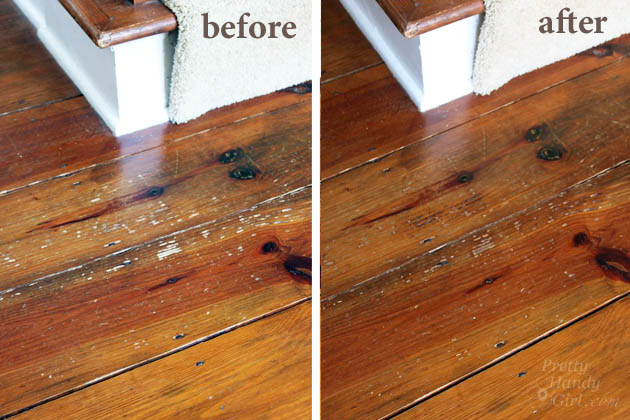
Before:
After:
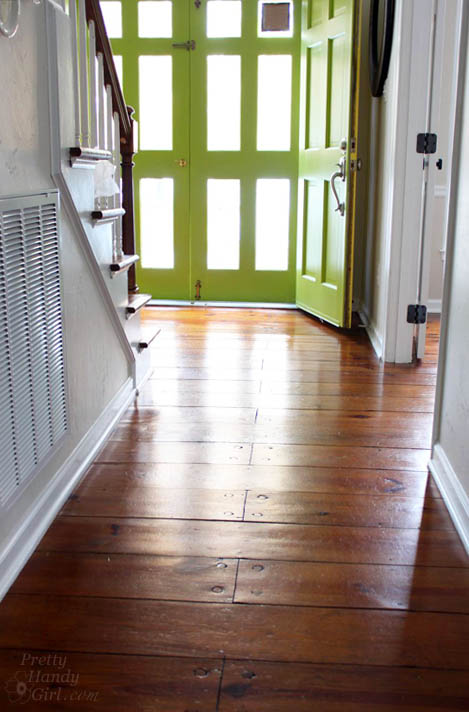
Do you see the luster on the after? You’ll notice the wood grain is more noticeable and has more depth. What I love most is that the floors don’t look brand new or too shiny. They show their age, because that’s what makes them so beautiful and unique.
More information about Bona® Flooring products:
- Bona Hardwood Floor cleaners are non-toxic and GREENGUARD certified
- Bona’s suite of solutions for hardwood floors, wood furniture and stone/tile/laminate floors make cleaning easy and effective
- Won’t leave any residue behind
- Third-party certified to be safe and effective
![]()
Disclosure: This is a sponsored post for Bona #BonaBuzz #KeepItClean. I was compensated for my time and provided with a free mop and cleaner. I already owned the polish and applicator pad because I’ve been using this product for years. I was not told what to write. As always, I am very particular about the brands I partner with.
Pin for later!

Very great post! I love the hard wood flooring you did. You did a great job on everything. Keep sharing.
Hi Brittany Bailey,
Thanks for sharing.
I think This looks a good idea if we don’t want to sand the floor.
Best regards!
Very great post! I love the hard wood flooring you did. You did a great job on everything. Keep sharing.
The 2nd stage is the sanding course of action, involving the use of point out-of-the-artwork machinery.
Progressively finer grades of sand papers are used until eventually the blocks
are thoroughly sanded. Both of those a drum sander and an edger is used to deliver a completely seamlessly-sanded ground.
I have hardwoods throughout my house. Can I do a section or a room at a time without it looking uneven?
Lynn, for the most part, yes. The floors aren’t too shiny afterwards, so although you can tell from room to room, it’s not glaringly noticeable.
I have hardwood floors that I don’t have any idea what was put on them by previous owners–don’t know if it’s wax (most probably) and some look like they were stained. Can I use this polish over top of that? Thanks.
My guess is some of the floors have wax on them and some have shellac.
Debbie, you should check with Bona. They would be able to answer your question.
I pinned this post months ago and am just getting around to actually doing it. 🙂 These products are amazing! Thank you so much for this tutorial! I can’t believe how alive my floors look. It’s like a new house!
Carrie, so glad to hear you tried the Bona system. It’s an economical way to refresh your floors!
I know this question isn’t about floor refinishing but about your doors. I love the exterior doors, the ones that have the glass in them. Are they storm doors! What brand are they and where can I find them??? I am so in love with that look. Thank you.
Donna, we are blessed with a home built in 1978 that has the original storm doors. I think you can have them custom made by a cabinetry person or maybe a custom door store today. But, they aren’t an off the shelf fixture anymore. There isn’t a brand name on them, they may have been custom built for the home on site. I know our cabinets were because when we took them down one spanned 14 feet long!
I have wood floors and everything I’ve tried so far leaves a haze, so I will give this a try! Thanks so much for a great post!!
I have some gorgeous wood floors as well and I couldn’t figure out what to use on them to “finish” them as they are old and I think that someone just pulled up the carpet before we bought the place. The nice guys at the hardware store mentioned this product, but I was worried because there is nothing on the floor at this moment and I was afraid of damaging the wood. But after reading this, I will definitely be trying this out! Thank you so much!
Wow! What a difference! Thanks for sharing- I’ll have to try this out on our hardwoods!
That floor looks so good! We’re looking for a home now and I’ve been hesitant about the gorgeous wood floors in some of them… because I figured in just a little while, they’d be much less gorgeous. But this seems very doable for keeping the floors looking great.
Beautifully photographed process and information as always, Brittany. My daughter has wood floors in her 100 year old rental that I will suggest she try these products on before going through the sanding process. They look fairly easy to apply and use. The non-toxicity factor is equally important. Great tutorial!
That made quite a fantastic transformation to your floors Brittany. I know Bona products have always been a good product. The appear as you refinished them. Nice work!
I have been using Bona wood floor cleaner and polish for almost 20 years on my honey oak flooring. My only suggestion is that I get a more durable finish with two coats of the polish. Also, because on a smooth surface like mine it can show the places that you miss or get too uneven in your application, I do this part on my hands and knees or in really good light (not necessary really, but hey, I’m picky). It truly is an awesome product! I’ve also used it on my tile but recently noticed that they carry a cleaner specifically for tile so will have to buy some 🙂