Millie’s Remodel Update: The Easiest & Cheapest Way to Move a Shed
You might remember the ugly Frankenshed behind the Millie’s Remodel house. It’s finally time to try to move this ugly monster. Whether we’re successful or not, I’ll share the Easiest & Cheapest Way to Move a Shed!
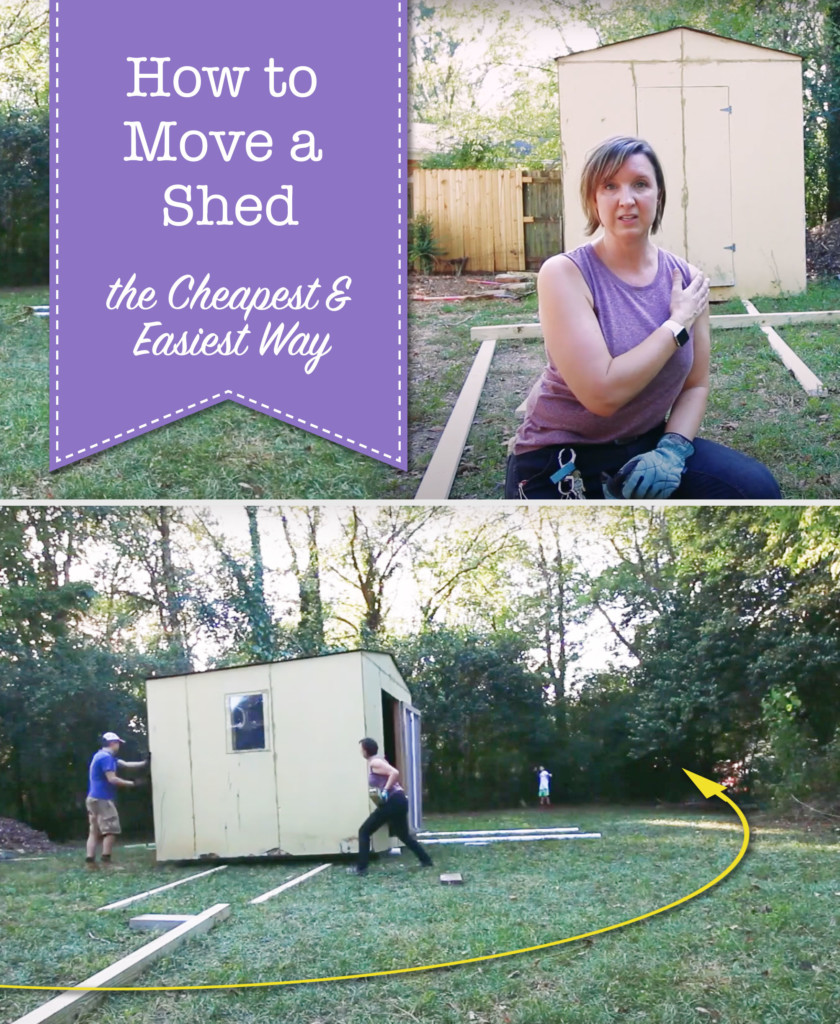
Millie’s Remodel: The Easiest & Cheapest Way to Move a Shed
A long long time ago (back before we had children), Pretty Handsome Guy and I were making a move from Philadephia to Charlottesville, VA. We packed our rented UHaul full to the brim and were ready to start the new adventure.
We were backing the truck out when we heard a loud scraping sound and suddenly the truck was stuck. The front wheels were still in the driveway, but the back of the truck had bottomed out on the crowned pavement (turns out a road really isn’t flat from side to side.) We were blocking traffic and didn’t know what to do. I tried calling UHaul but they said it was operator error and we needed to call a large truck tow company.
As I was searching around for someone to help, our neighbor took one look at the situation and ran to the back of the driveway. He came back and created a lever with some blocks and a 4×4 post. Then he put one end under the bumper and proceeded to perch on the other end of the 4×4 bouncing up and down. He told Pretty Handsome Guy to give the truck a little gas. Although my neighbor couldn’t have weighed more than 125 lbs., the lever gave us enough lift to get us unstuck.
Here we are about twenty years later, and I still remember that 4×4 lever trick! But, I have a few more tricks up my sleeve, because although you might be able to lift a shed with a 4×4 and some blocks, how do you move it from one side of your yard to the other?
The Easiest & Cheapest Way to Move a Shed:
Today, in the Millie’s Remodel updates we will attempt to move the Frankenshed.
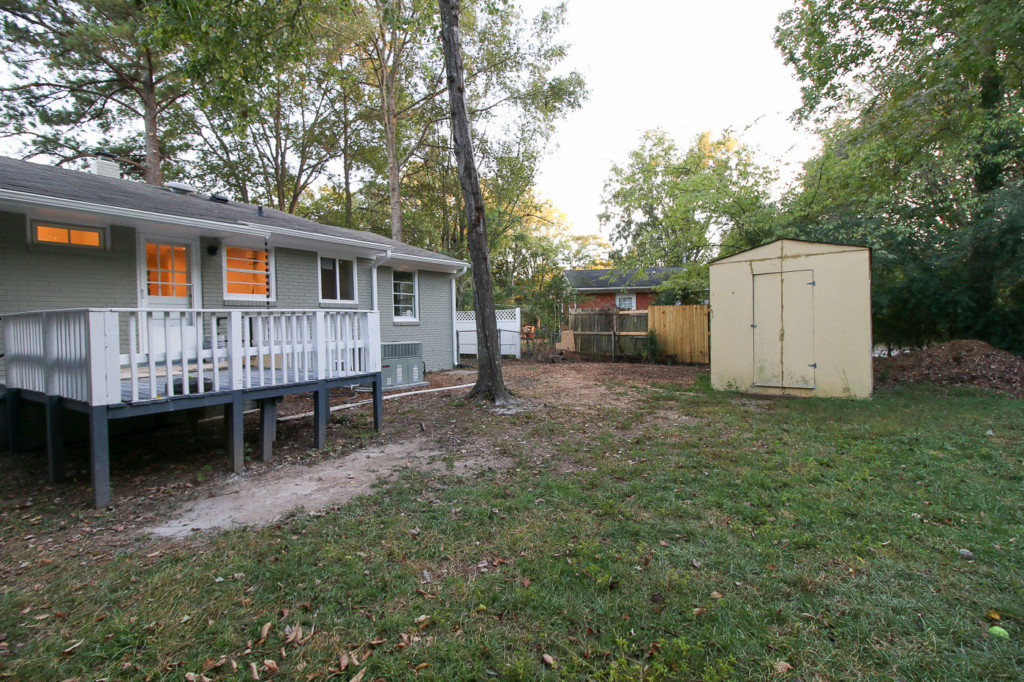
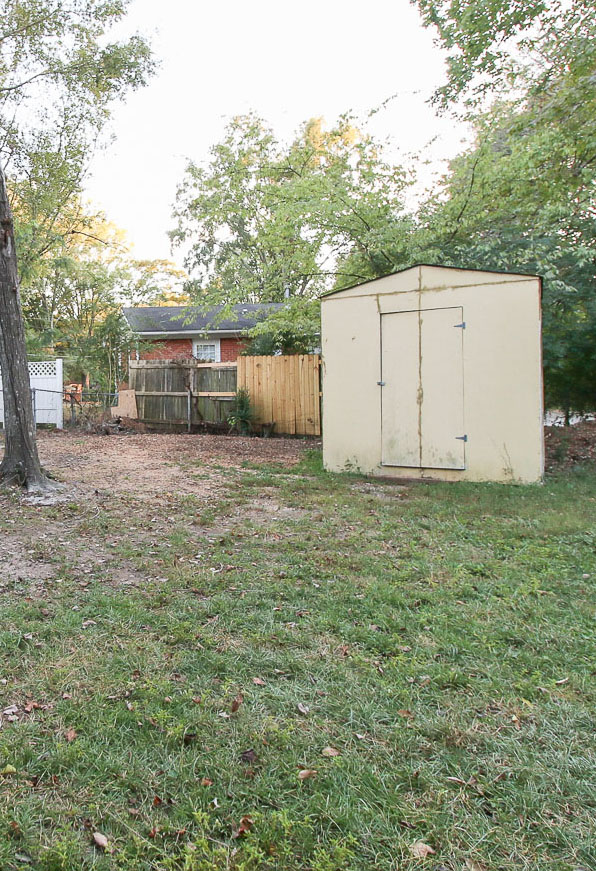
This eyesore sits directly outside the back bedroom and I can’t even express how ugly it is with poor construction and ugly siding. Then there’s the piece of plexiglass screwed over the window opening.
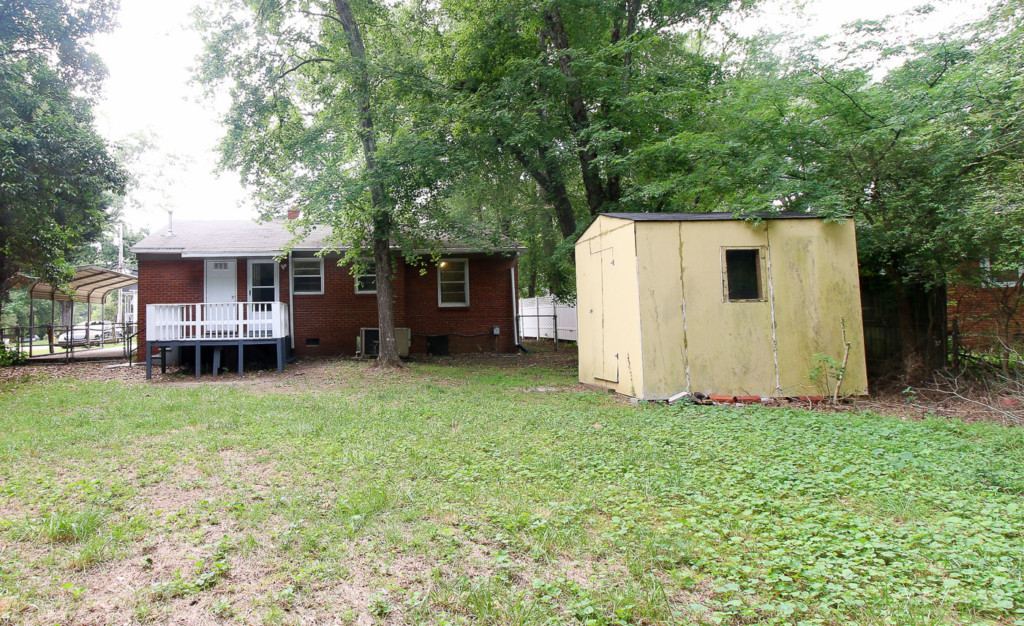
But, the worst thing about this shed is the siding that is cracked, and the caulk used to fill the seams. Now you can understand why I don’t have high hopes for moving this monster in one piece. I kept the dumpster over the weekend because I think there’s a very good chance this shed will fall apart the minute we try to move it. If that happens, I’ll cut it apart in pieces and top off the dumpster.
But, hey, you’re no idiot. I’m sure you are thinking, “Brittany, if you title this post How to Move a Shed, that means you probably were successful. ”
Well, you’ll just have to see if you’re right and watch the video:
Materials:
- 2 – 2″ x 4″ x 16′ (or as long as you can transport)
- 3 – 4″ x 4″ x 10′
- 6-8 Cinderblocks (depending on the size of your shed, you need least 6 to set the shed)
- 4 – 3″ PVC pipes (at least as long as the length of your floor joists)
- Drainage Gravel
- Carjack
- Level
Tips on Moving a Shed:
- Empty the shed (less weight is better)
- Have a helper or two
- Use longer lumber for better leverage
- Measure and determine the final resting location
- Make sure the final location is clear of obstacles (especially low branches)
- Pick a path and clear any obstacles
- Use 2x4s to act as tracks
- Use large PVC pipes to act as rollers
- PVC pipes roll best when perpendicular to the floor joists
- Elevate the shed on blocks off the ground (to prevent rot) unless you have a concrete pad
How to Move a Shed:
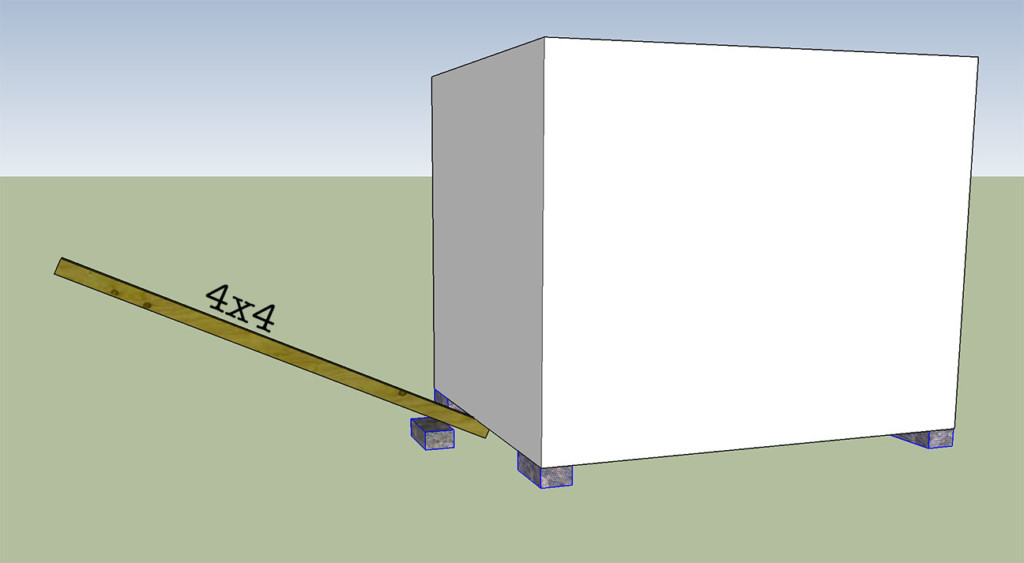
Set a block near the shed and slip the end of a 4×4 under the shed while resting on the block If you can’t get the 4×4 underneath, raise the shed up with a car jack, then slip the 4×4 underneath.
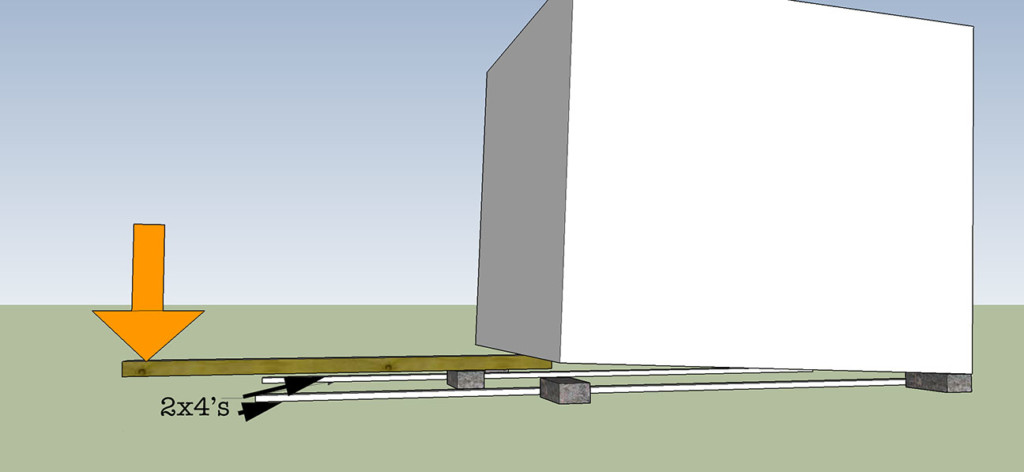
Lift the shed and slide 2x4s under the shed in the direction you want to roll the shed.
Set one PVC pipe under the shed in the middle of the shed. Release the 4×4 slowly. If the shed doesn’t tip toward you, you can add a little weight to the front to help it tip.
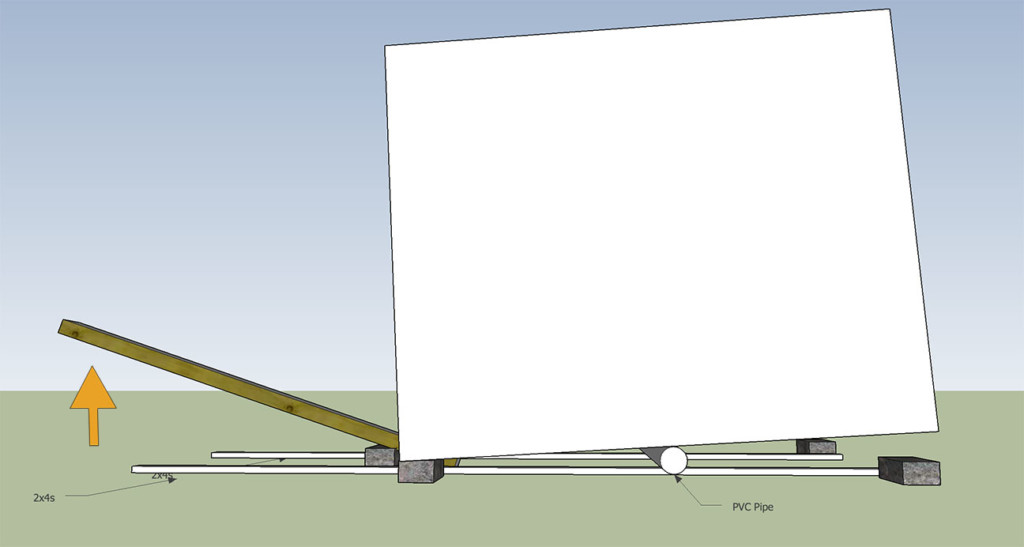
Lay two more PVC pipes on top of the 2x4s under the shed perpendicular to the 2×4’s and to the floor joists. Then slip one more PVC pipe in toward the front.
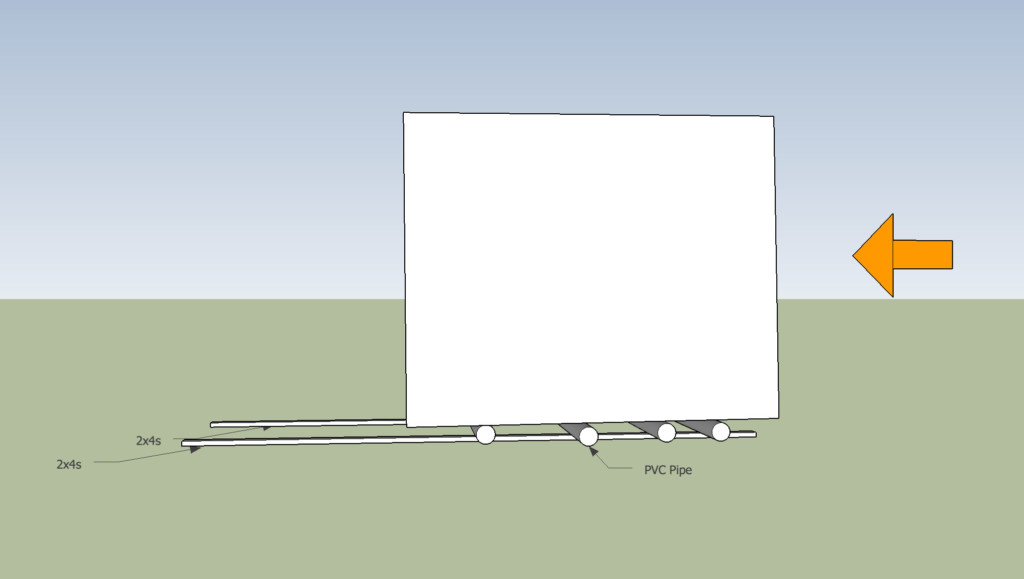
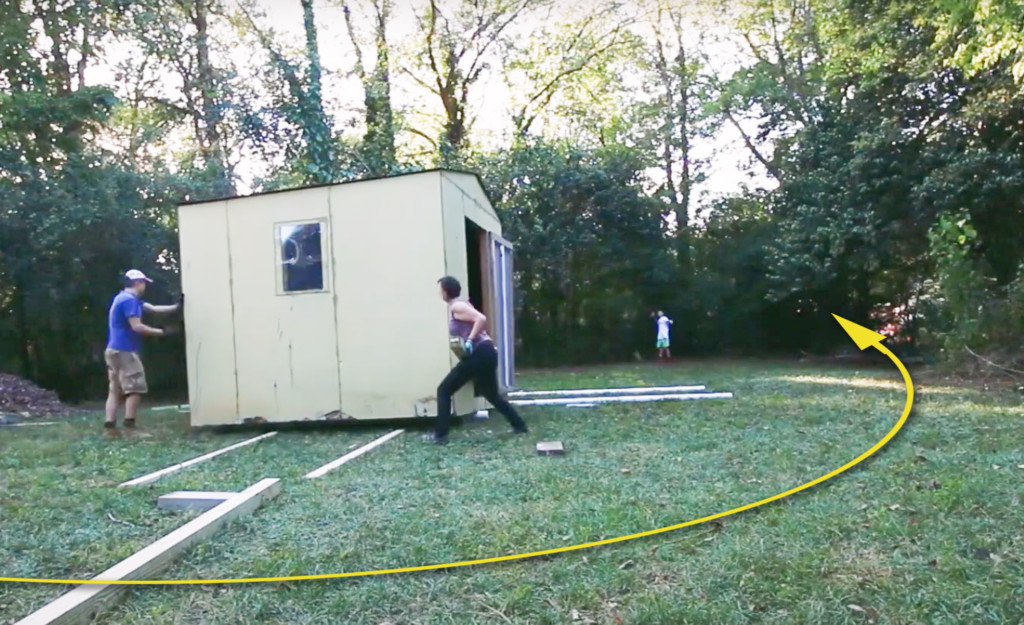
Remove the blocks and the 4×4 (but keep it nearby). Push your shed and let the PVC pipes roll underneath. As soon as one PVC pipe pops out the back, bring it to the front and roll onto it.
To turn the shed, put the 4×4 inside the door frame against one corner. Press against the other end of the 4×4 outside the door frame to pivot the shed. (You can see how this is done in the video.) Adjust your 2×4 tracks and place the PVC pipes perpendicular to the floor joists, then push the shed.
Perpendicular or Parallel to the Joists, why does it matter?
When the PVC pipes are placed perpendicular to the joists, the floor framing touches the pipes in multiple spots (as shown below.) This allows the shed to roll very easily.
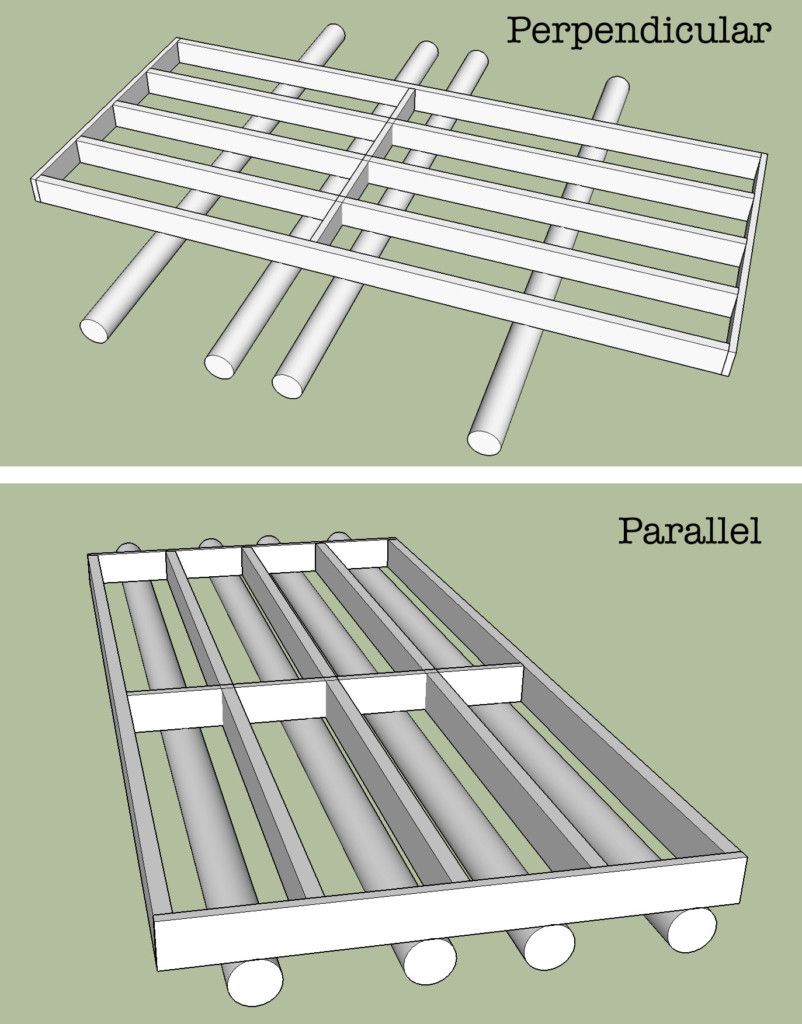
The pipes can roll when parallel to the joists, but it’s much harder because the framing is not resting on the pipes at as many points, and the PVC may bow in between the blocking. You can certainly use the pipes parallel to the joists for pushing the shed out into an open area where you can then set the pipes perpendicular to the joists.
A Makeover for Frankenshed:
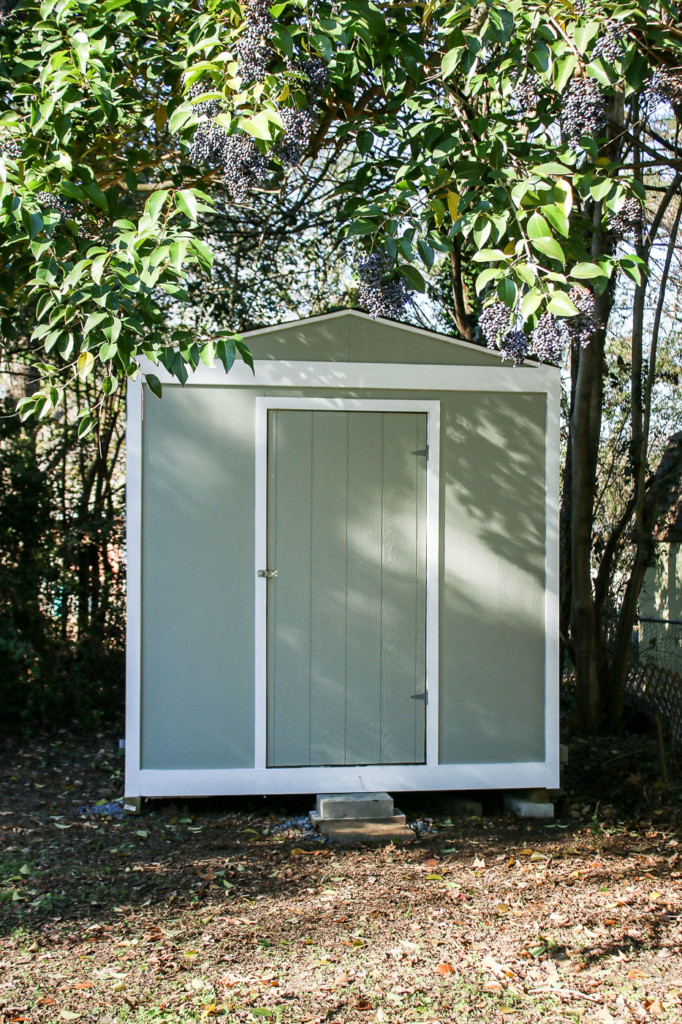
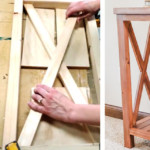
To clean up the look of the shed, my assistant Brett built a new door. Then he added trim and used the old bathroom window for a new window. Once my painter painted the trim and siding to match the house, it was unrecognizable.
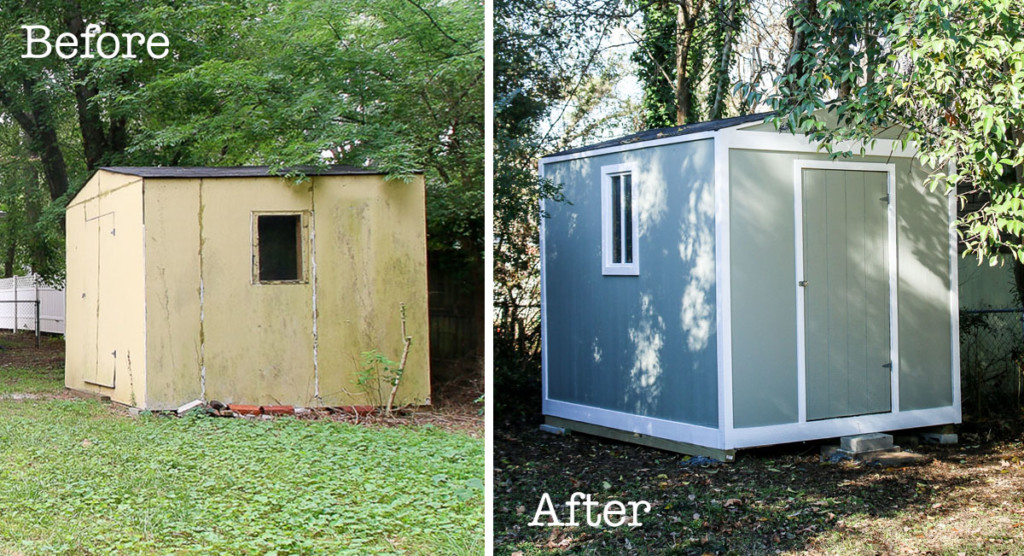
I can’t believe this is the same shed, can you?
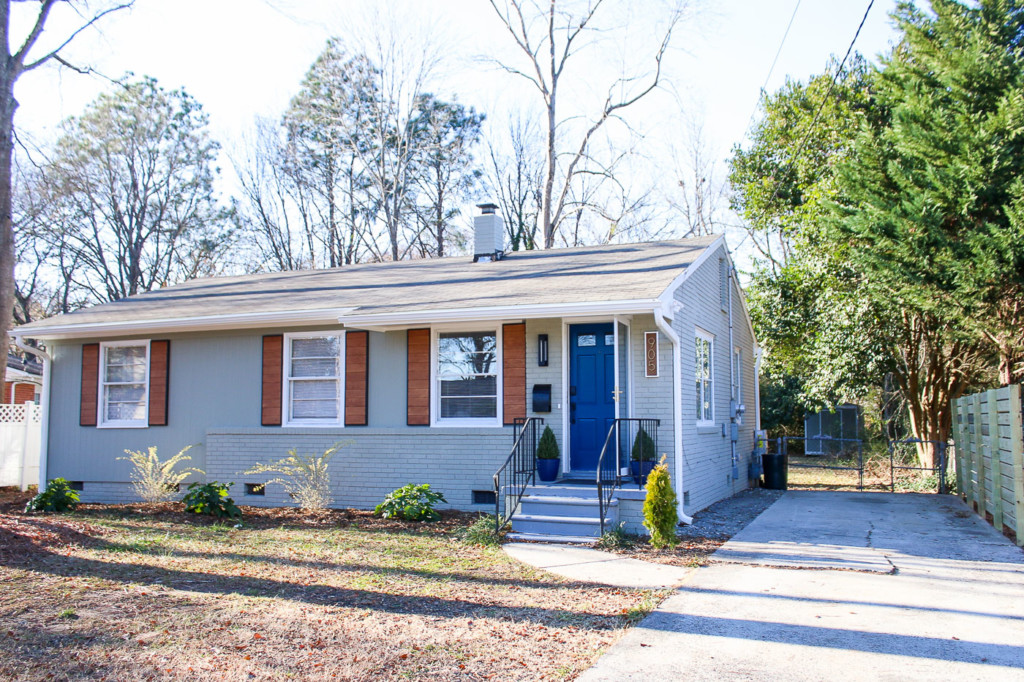
The old patchy privacy fence between the neighbor’s property was removed (it practically fell down when we removed the patched section).
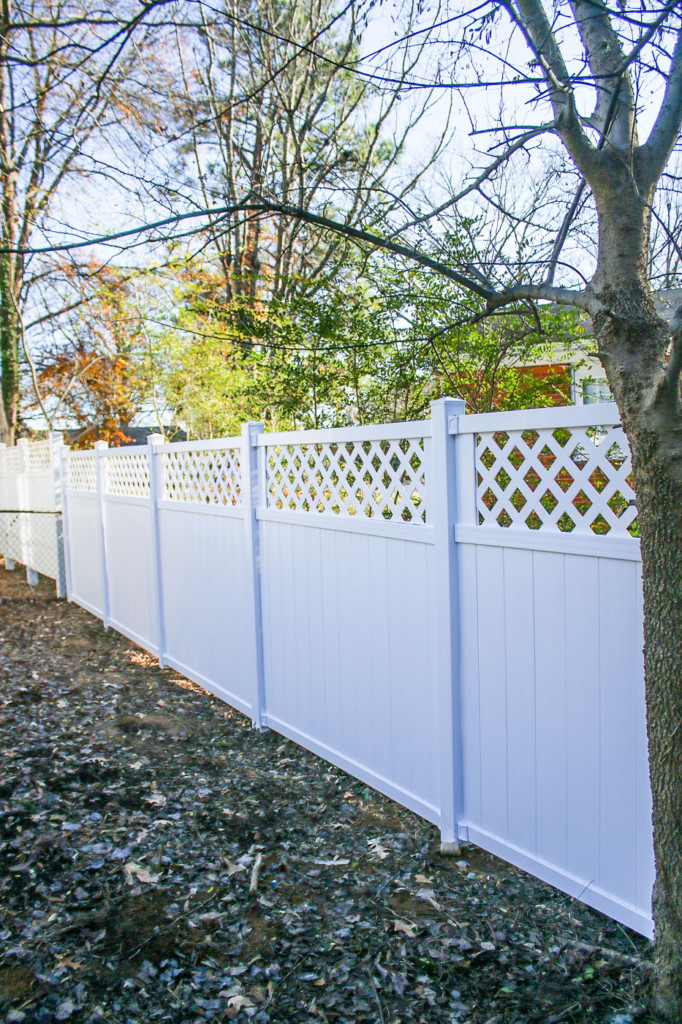
Brett installed a new PVC privacy fence to match the one in the front of the property.
Now that the exterior has a beautiful front and backyard, it’s time to start focusing on finishing the interior. Stay tuned for more Millie’s Remodel updates!
![]()
A special thank you to the Millie’s Remodel Sponsors:
The Millie’s Remodel project sponsors have donated materials for the Millie’s Remodel project. As you know I am very particular about the brands I work with and recommend. As a general contractor, I choose the products used on my projects wisely to make sure they last a lifetime. Therefore, I have no reservations putting my name behind each and every one of these sponsors.

Leave a Reply
Want to join the discussion?Feel free to contribute!