How to Make Your Own Piping
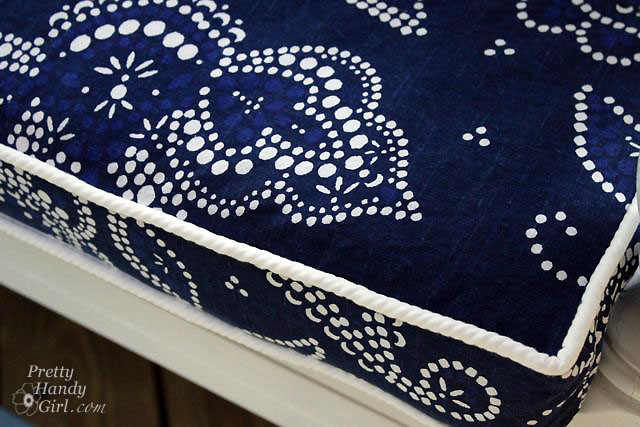
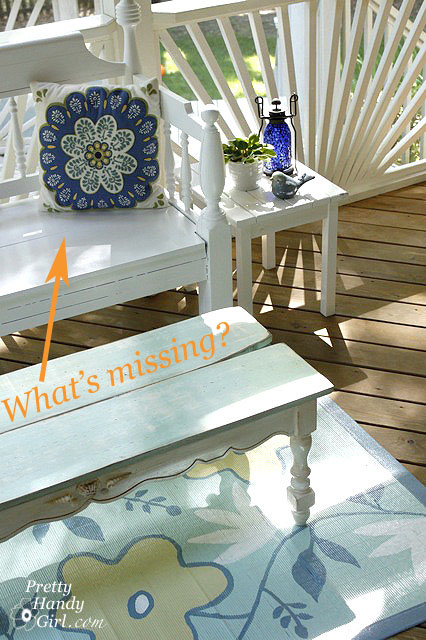
Back when I showed you my screen porch tour, I told you it really wasn’t 100% finished. Why? Well, I really wanted to sew a cushion for the garden bench.
As I was looking for piping for my cushion, I was getting VERY disappointed! Why? Two reasons:
- I couldn’t find a simple piping cord in a white color.
- Anything that might work (off-white) was VERY expensive!
So, I decided to teach myself how to make my own piping for the cushion. I can tell you now, I WILL NEVER BUY PIPING AGAIN! It was that easy.
Materials:
- Cotton rope
- Inexpensive cotton/poly blend white fabric
- White thread
- Scissors
- Pins
- Sewing machine with a zipper foot
- Iron
Tutorial:
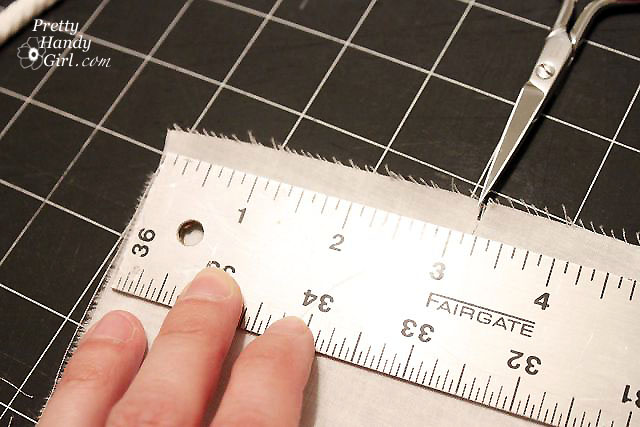
1. Start by measuring your fabric and put a snip at 3″.
2. Tear the fabric along the length. The strip should stay approximately 3″ along the rip.
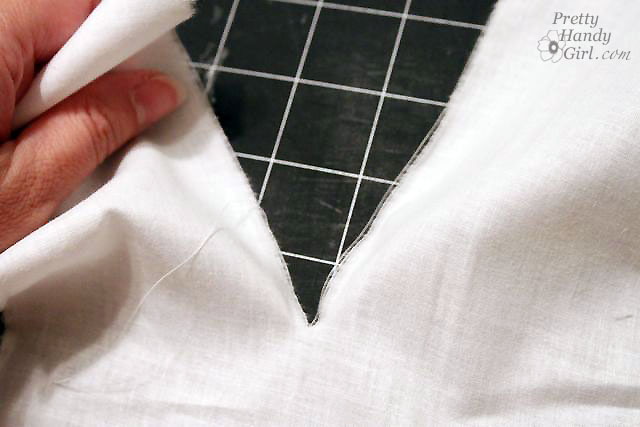
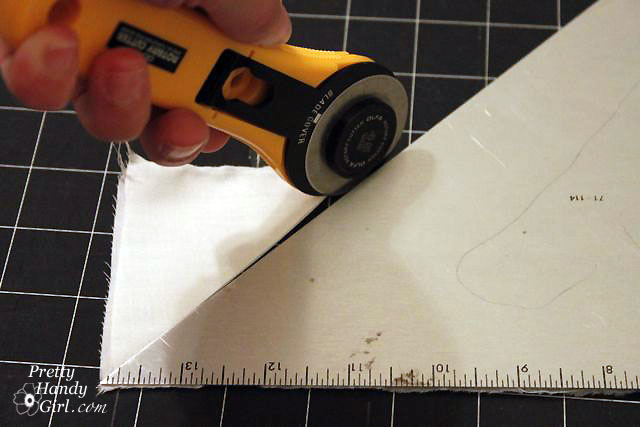
3. To add more length, cut two pieces at a 45˚ angle.
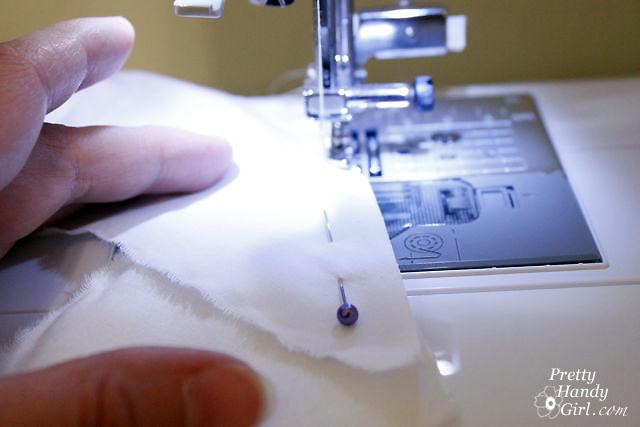
4. Pin the two angled ends together as shown (at a 90˚ angle).
5. Stitch the two pieces together along the angled edge.
6. Open up the fabric and press the seam.
7. Lay your rope in the center of the fabric.
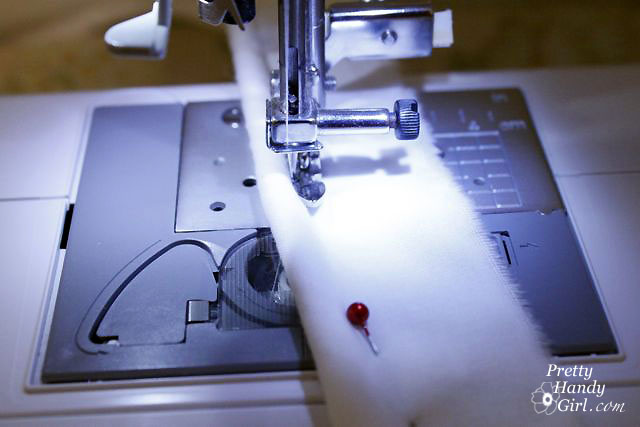
8. Line up the raw edges and pin next to the cord.
9. Using your sewing machine and zipper foot, stitch very close along the edge of the rope but not on top of it.
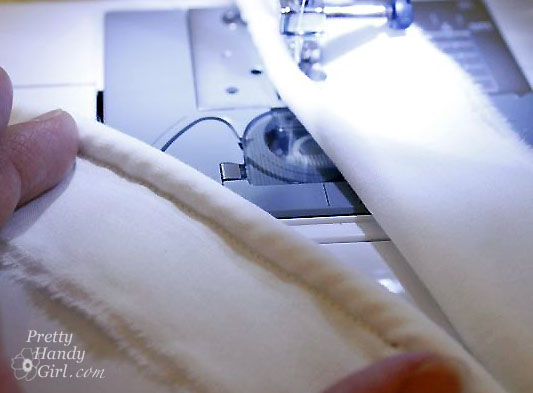
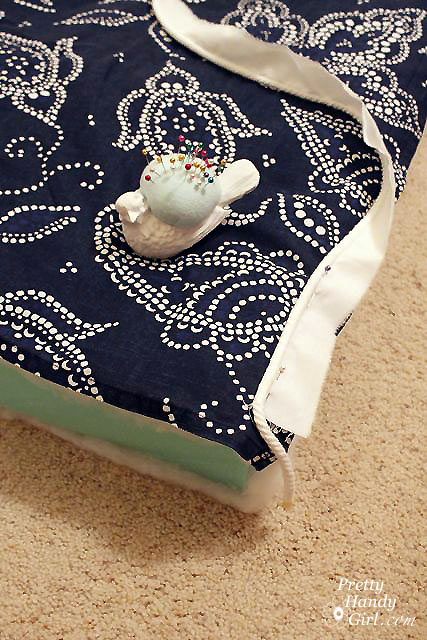
And this is your finished product! I actually like how the thin fabric shows the spiral pattern of the rope through it.
Now, head on over to my tutorial for sewing the bench cushion cover!







Thank you for posting! I have been nervous to try this – I even have the cording and everything. Your pictures and explanations make it look so easy.
Great job on the cushion and the piping really sets it off.
Thanks for the compliment.
You rock! I don’t think there is anything that you can’t do!!!
LOL! I can’t sing very well. Everything else: I believe therefore I can. Try it, it works!
Thanks for the great tips! I’m trying to teach myself to sew better and this will definately help me out!
Janice, practice makes perfect. There are also some fabulous tutorials on YouTube. I learn so much from video tutorials.
yay! LOVE this piping job! I have been thinking about some of that myself soon, so I love this tutorial! Love your colors post! thanks for playing! 😉
Thanks Ashley. Can’t wait to see what you whip up next on your sewing machine 😉
Talk about teaching an old dog new tricks, you just taught this one a big one. Thanks so much I will certainly try this for the cushion on my chair and a half I want recovered. You’re awesome PHG.
I would never refer to you as an old dog. Please send me pictures if you sew a cushion. I’d love to see it!
Thank you SO much for this tutorial, I am no longer afraid to try piping a cushion cover.
The fabric you chose is just lovely and finishes off the bench!
Thanks Linda. Yep, no need to be afraid of piping and making a cushion. Besides, what’s the worst that could happen? You mess up a little, but then you fix it and learn from your mistakes. Go for it girl!
Fabulous idea/tutorial!
Thank you so much!
xoxo
Oh my goodness you ARE busy!! This is really great. I will head over there now to see it!
Becky B.
http://www.organizingmadefun.com
Organizing Made Fun
Staying busy so I stay out of trouble! Looking forward to your visit on my blog tomorrow ;-D.
Hey there! I just “found” you via the CSI project, and I am DYING over all the fantastic stuff you have done! I have spent an inappropriate amount of time reading many of your past posts! I look forward to watching what you create next, and learning how you do it! Great job!
Holly, thank you for your comment. And I’m so glad you stopped by from the CSI Project.
Wow! I had no idea it was this easy! I have to try that.
This is great, thanks! I’m planning to sew a slipcover and this will be a big help. Thanks!
Ellie, I’d love to see pictures of your slipcover when you make one.
love that fabric and the bench looks oh so professional now.
What a compliment! It looks professional?! Well, thanks for saying that. I notice the imperfections as I’m sure we all do on our own projects.