How to Make a Felt Letter Pillow Cover
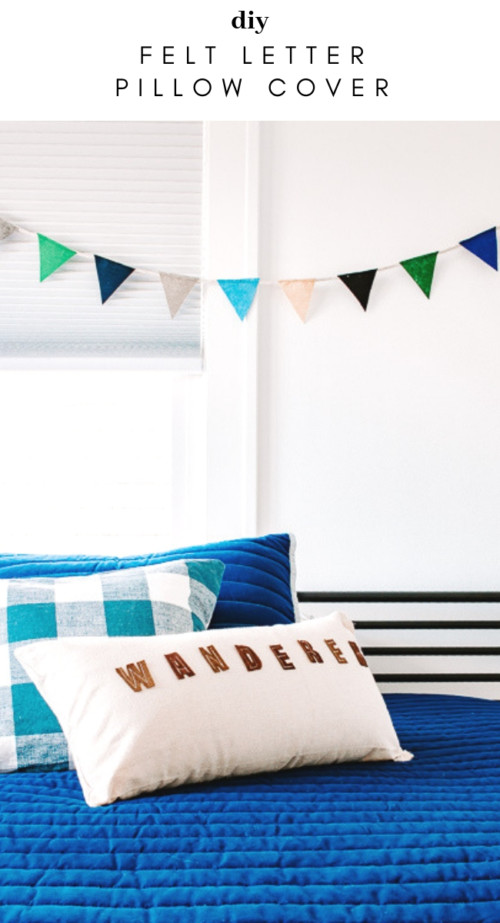
How to Make a Felt Letter Pillow Cover
Friends! I’m so excited to be back today with a new project for you, a DIY felt letter pillow cover. One of my favorite things to do is to scour home decor stores for inspiration for my kids’ rooms. I love trying to recreate trendy looks for my home, but on a budget. Today’s project accomplishes this goal! I’ve seen some really cute letter pillow covers and I knew I could DIY one myself. Originally I made one for my son’s room. It turned out so well that my daughter requested one for her room too. Lucky for you, a sewing machine is optional – so this project is for truly for anyone who wants to make their own Felt Letter Pillow Cover.
Let’s get started!
Materials:
(I’ve included affiliate links for your convenience. I earn a small percentage from a purchase using these links. There is no additional cost to you. You can read more about affiliate links here .)
- Felt in the color of your choice
- Pillow Cover
- Sewing Machine (or fabric glue or thread and needle)
- Sewing scissors
- Pen or chalk or pencil
- Pillow form (to match the size of your pillow cover)
- Pins
- Word Template or Letter Stencils
Instructions:
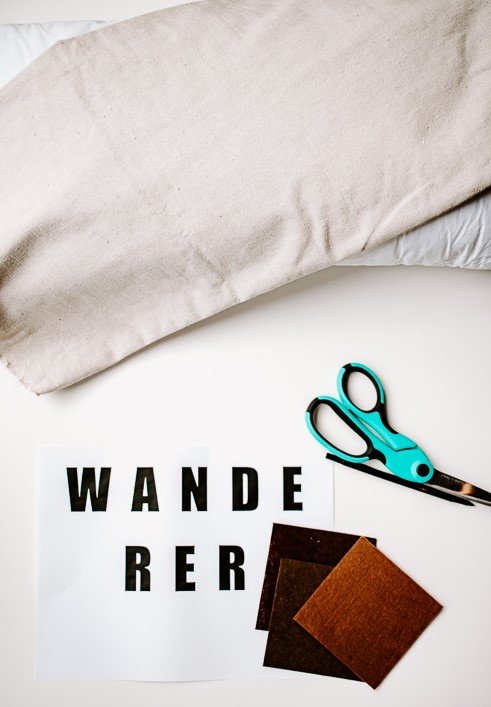
Step 1: It’s helpful to type up and print out a word template for this project or use letter stencils. It’s not totally necessary, but when tracing your letters onto the felt it helps keep all the letters relatively uniform.
Making Your Word Template:
Open up Word or Google Docs and type out the word you want. Add a space between the letters. (I used the Impact font at font size 150pt for this project.)
You can make your letters bigger or smaller. Just be aware, it gets a little tricky to cut out smaller letters. Cut your letters out of your template and let’s move on to the next step.
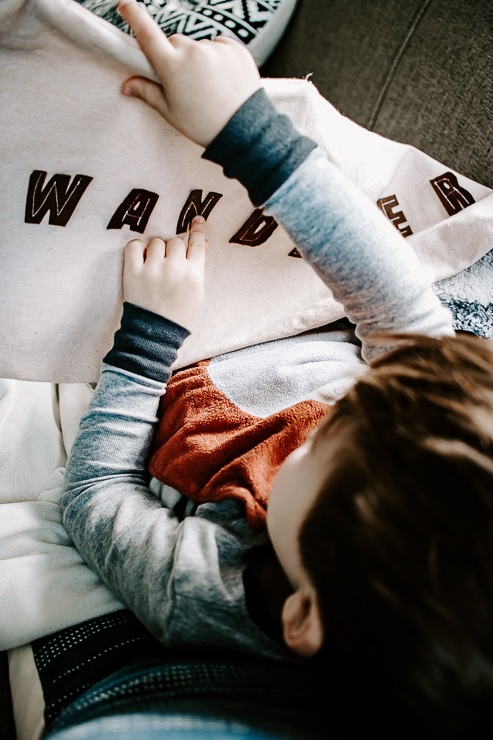
Tip: If your word contains more than one of the same letter – you only need to cut that letter once. For instance – WANDERER has two E’s and two R’s, but I only needed one template for each letter because I could use the same one to trace two letters. This should save you a few minutes.
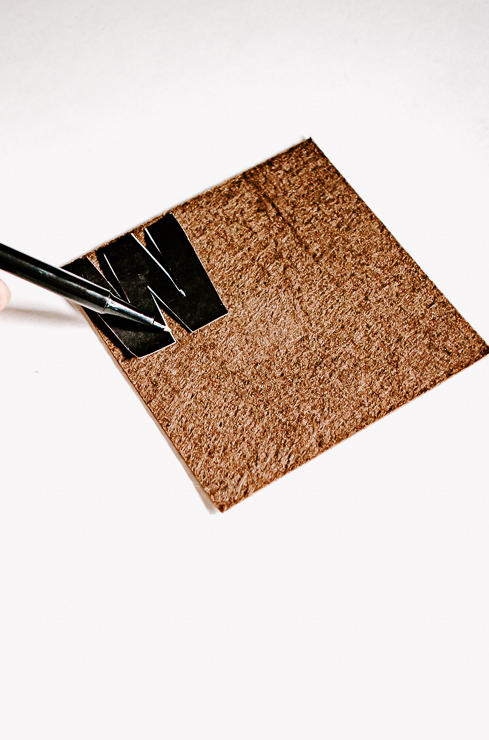
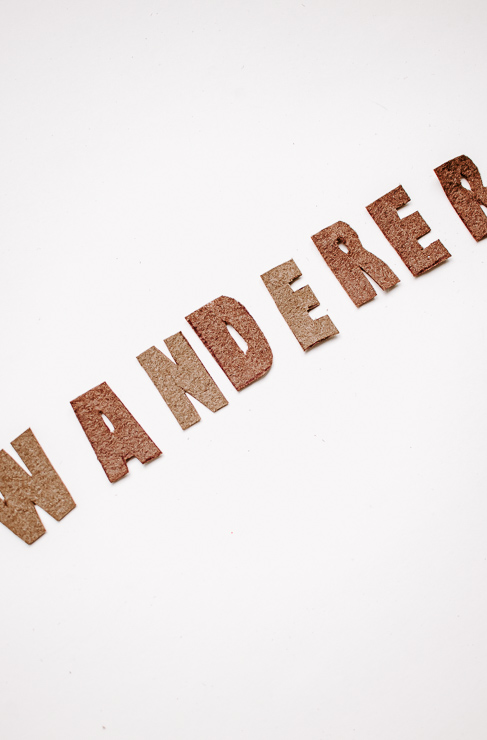
Step 2: Trace your letters onto the felt using your stencil or cut out letters (or draw them freehand if not using a template).
You can use pen, chalk, or pencil to trace. Just make sure you can see the lines so you can cut them out.
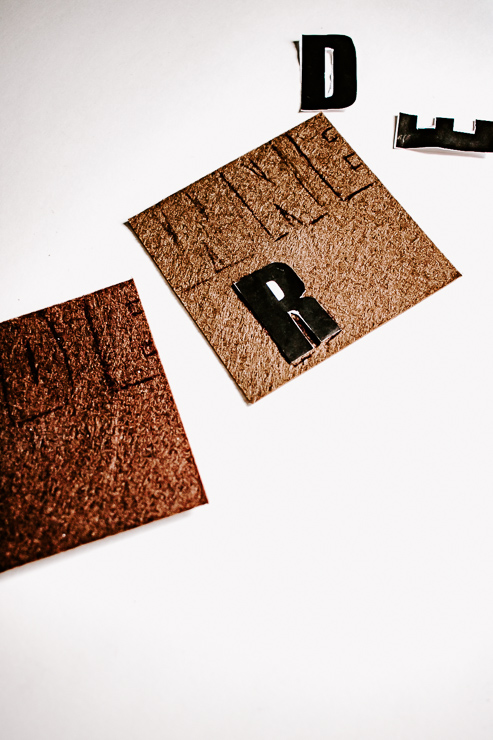
Step 3: Cut out your letters using scissors.
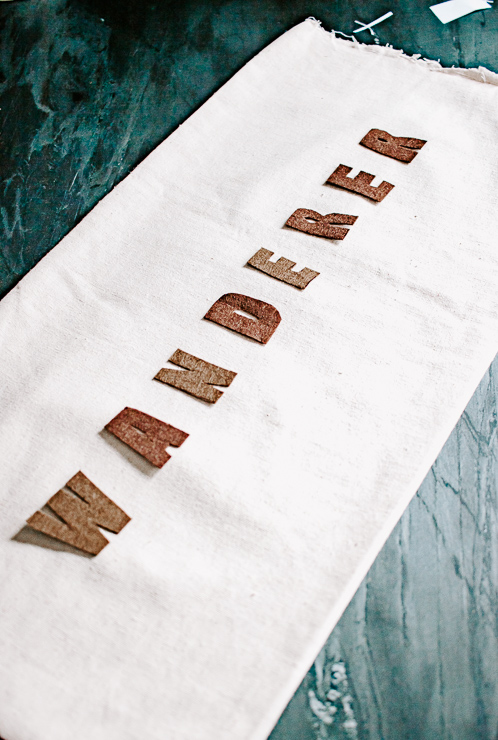
Step 4: Space your felt letters onto your pillow cover. (I made a lumbar pillow cover from canvas drop cloth for this project, but you can also buy a plain cover.) It’s helpful to play with the placement and see where you want to start the word on your pillow cover.
Attaching the Letters:
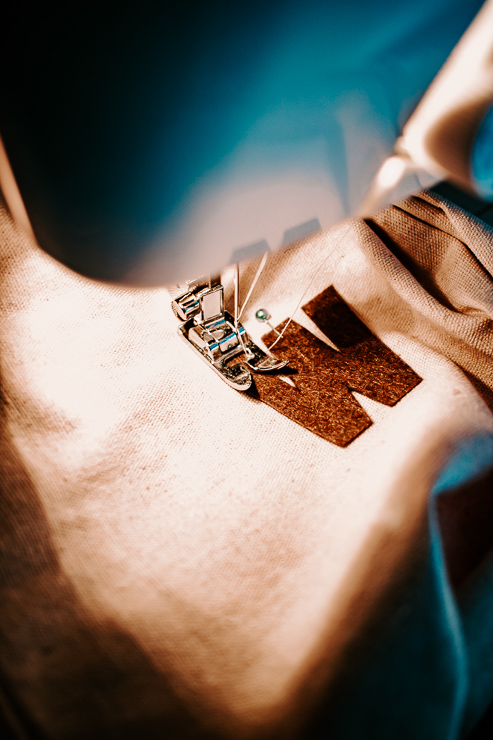
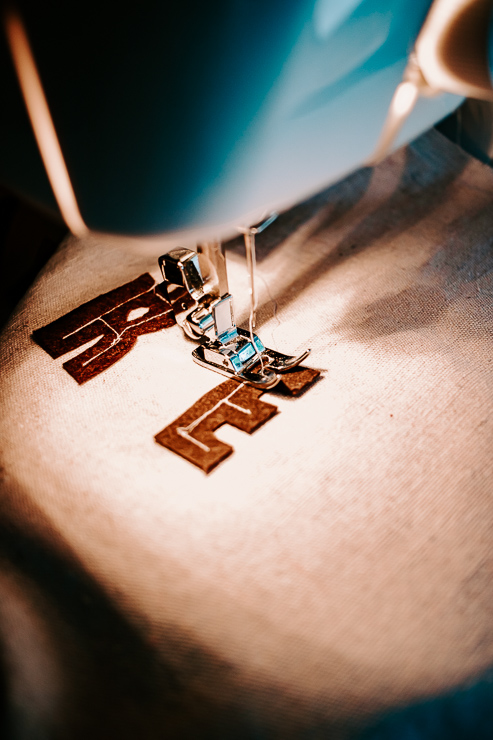
- Sewing – Pin your first letter to the pillow cover. Hand sew or use your sewing machine to sew the letter onto the cover. You can use matching thread or a different color to give it more of a rustic vibe. My thread was white on brown felt.
- Fabric Glue – Glue your felt letter to your pillow cover.
Step 5: Continue to sew or glue the rest of your letters onto your pillow cover.
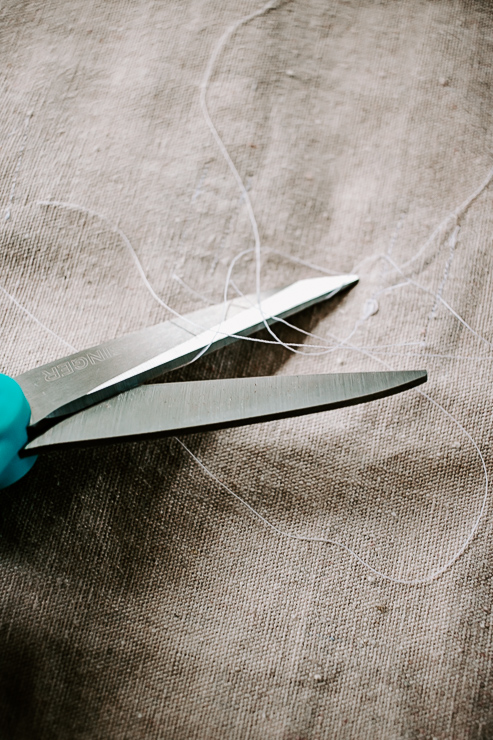
Step 6 : After you finish sewing on the letters, cut off any loose strings. If you used fabric glue, you want to let this dry for 24 hours before attempting to wash it. (Please refer to the instructions on your specific fabric glue. )
Step 7 : Insert your pillow form into your new cover.
All done! This looks fantastic, don’t you agree?!
I have seen these letter pillow covers in stores for over $25! Yet, I was able to make this knock off for less than $5 with a simple DIY canvas pillow cover and some inexpensive felt.
I love the way this pillow turned out. As I mentioned, my daughter requested one for her room. (Although she’s having a little trouble choosing which word she wants!) So far she’s come up with: Cupcake, Ice Cream, Unicorns – she can’t decide.
This project would also be cute as a personalized pillow cover. Or make it as a gift for someone who has young children. It’s the perfect touch for a nursery or kids room.
Another idea would be to create one for each holiday: Halloween, Thanksgiving and Christmas are great occasions to display a felt letter pillow.
I hope you guys enjoyed this tutorial for a DIY felt letter pillow cover. You might also like to learn how to sew a rope basket at Decor Hint (where I blog regularly).
I’ll be back next month with another fun project for you! In the meantime, be sure to check out some other sewing tutorials on Pretty Handy Girl.
Thanks for reading!
~ See More of Karen’s Tutorials ~

 Hello! I’m Karen, the creator of the Home Decor and DIY Blog: Decor Hint . I’m a Native of the East Coast, but I currently live in beautiful Seattle with my hubby, our two wonderful children and our spunky wheaten terrier.
You can usually find me with some sort of craft in one hand and a coffee in the other. And I’m always rearranging furniture or moving lamps from room to room. I have a passion (read: obsession) for decorating, DIY, and gardening. In short, I love making my house into a home.
Like many, I’m inspired by what I see in home decor magazines, but I’m not so inspired by the price tags. Consequently, I love finding and creating beautiful budget-friendly home decor items. In a head to head competition, I bet you’d never know the difference between the designer items and my DIY creations! Many of my DIY projects focus on sewing, crafting, upcycling and organizing. Some of my favorite projects have been making pretty wreaths , sewing my own tassel hand towels, and crafting these trendy wood bead garlands . I can’t wait to inspire you and spark your creativity through my DIY projects.
You can always connect with me on Pinterest , Twitter or Instagram.










Leave a Reply
Want to join the discussion?Feel free to contribute!