How to Build Decorative Gable Attic Vents
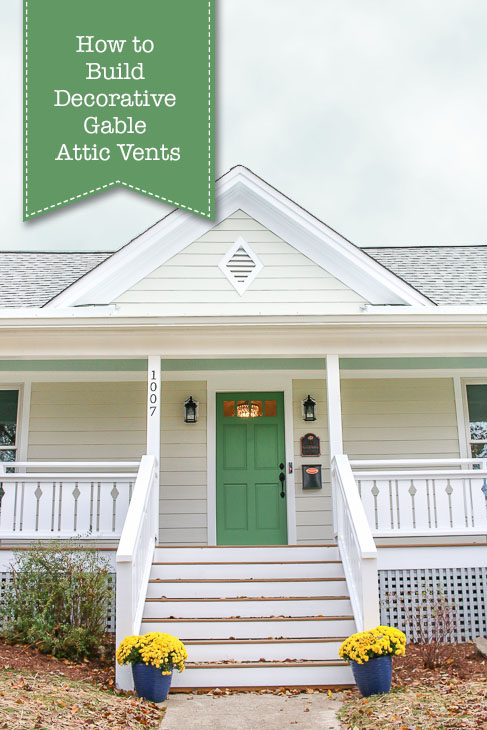
How to Build Decorative Gable Attic Vents
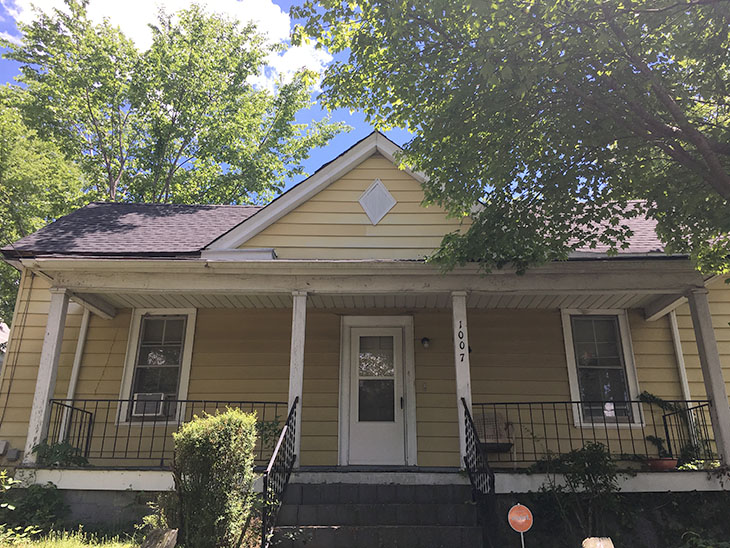
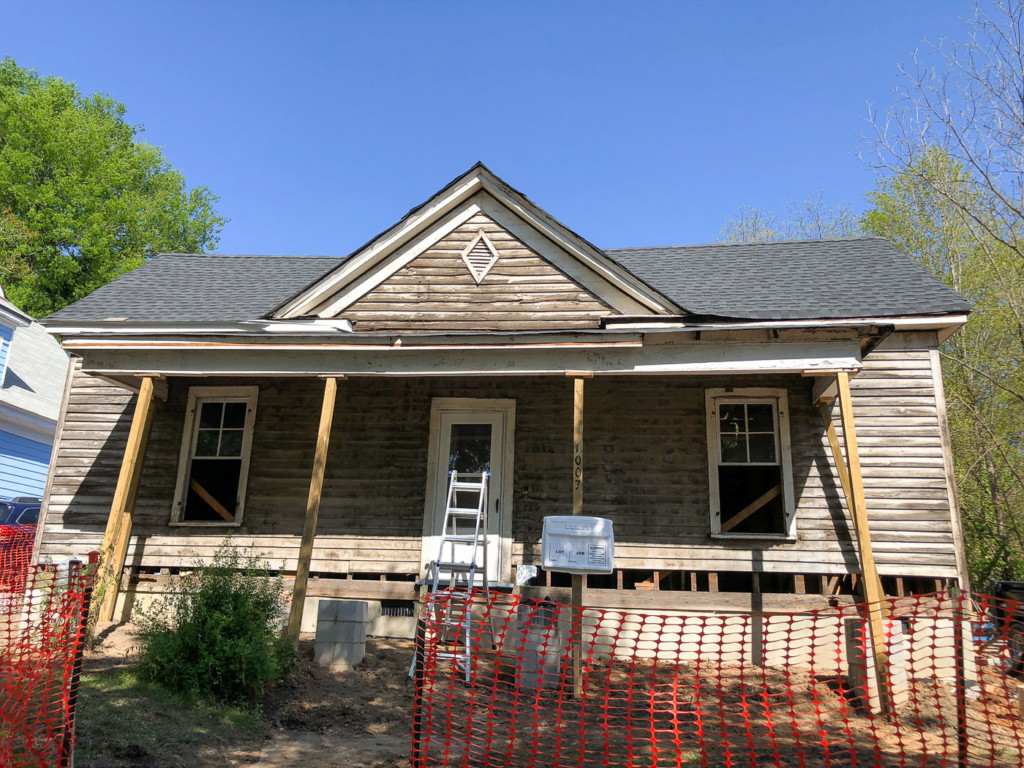
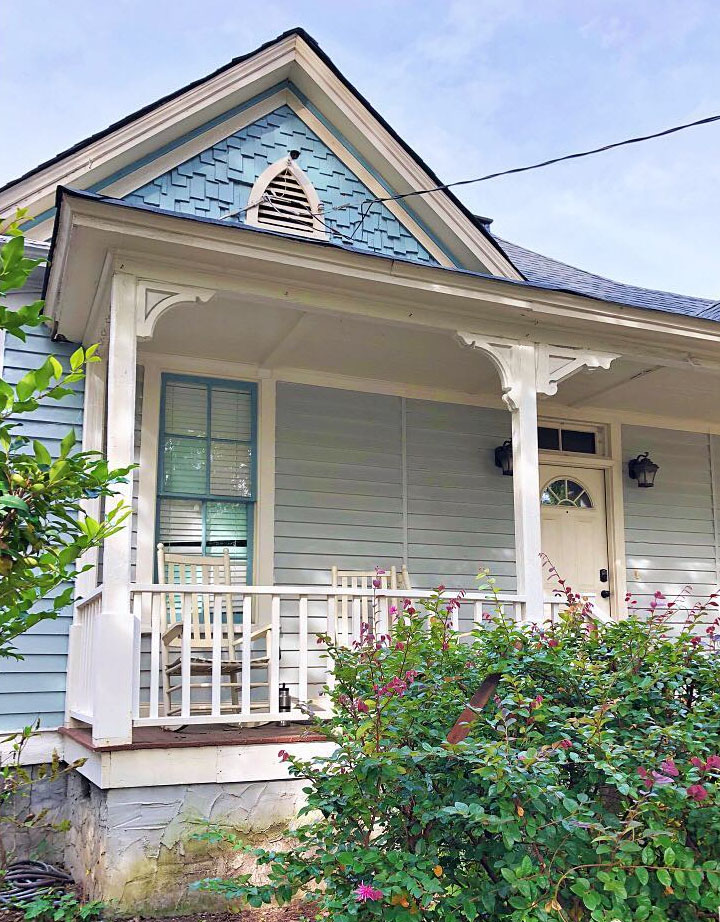
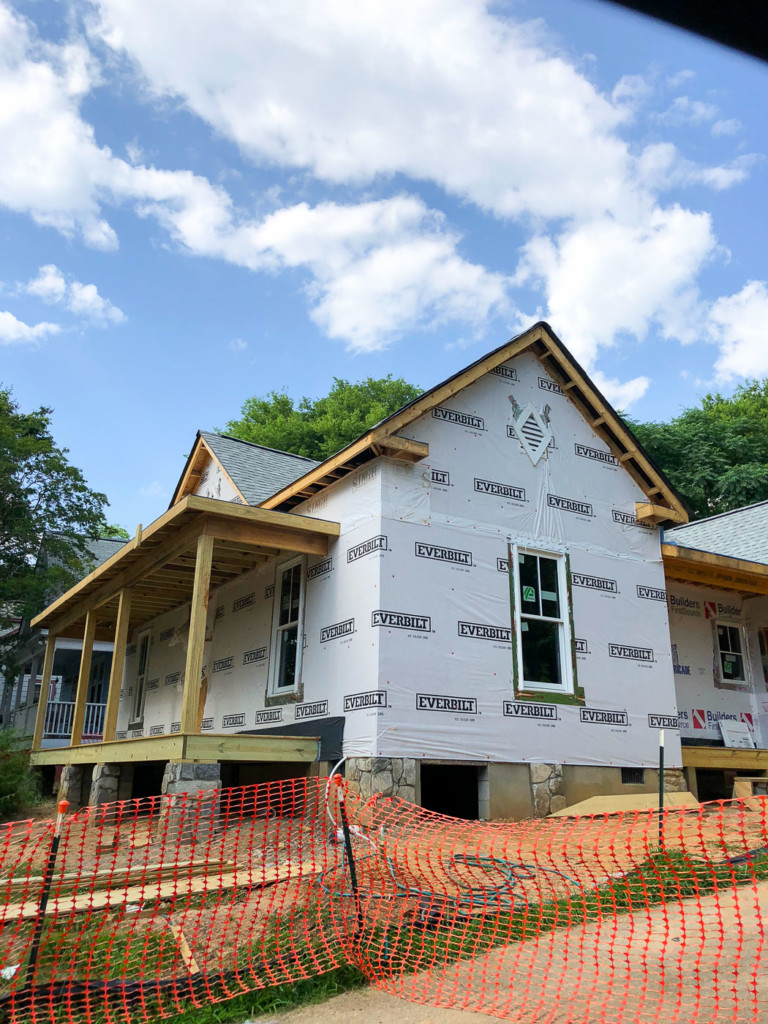
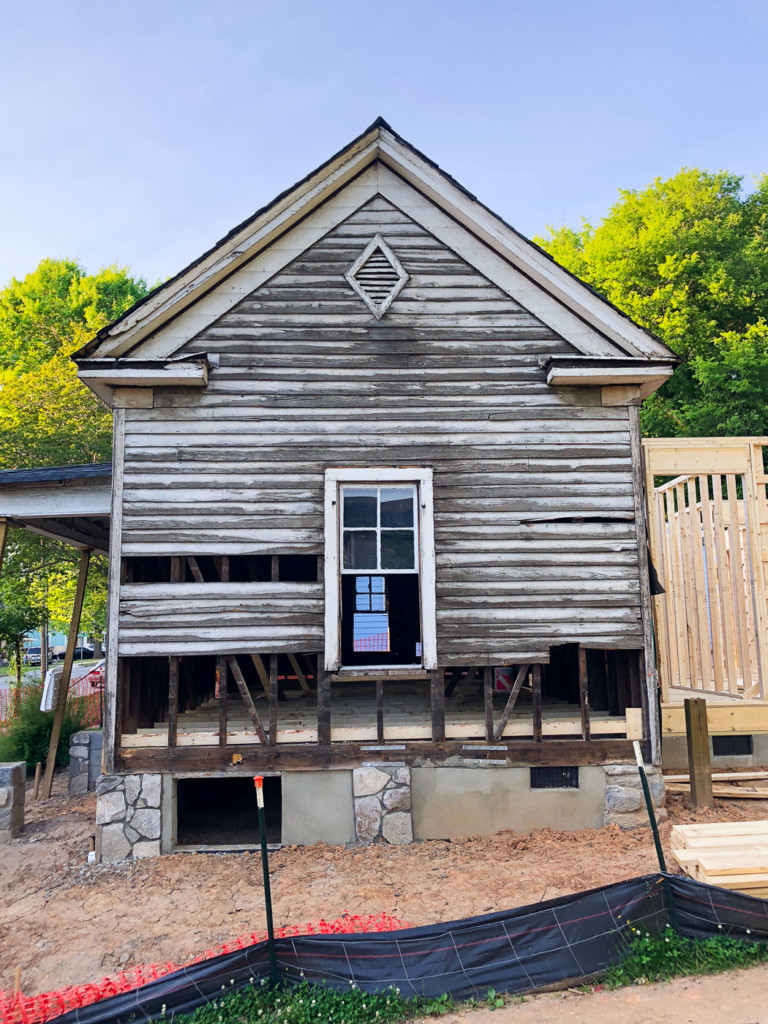
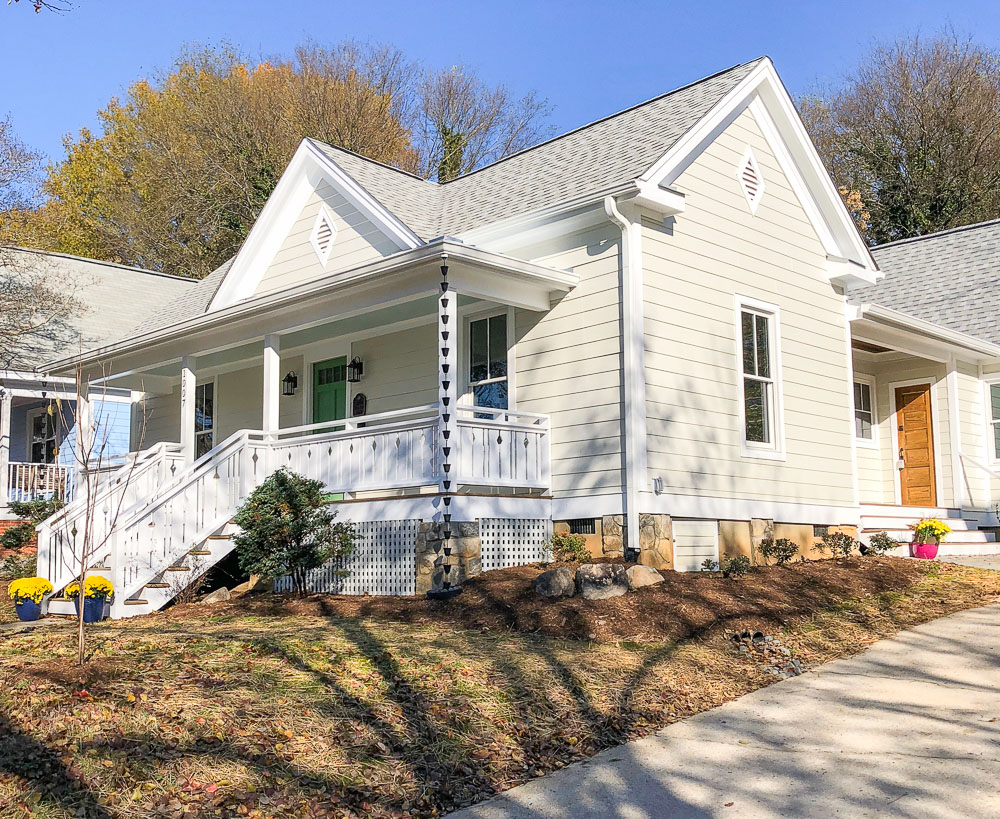
When I purchased the Saving Etta house (a Triple-A construction house built in 1900), I fell in love with the decorative gable attic vent shape at first sight. The little diamonds decorating each gable had my heart skipping a beat, even if she really needed a full gut job and renovation. When we stripped off the old faded aluminum siding and started to assess the condition of the gable vents, it became clear they were in really rough shape. And these cute custom shaped decorative gable attic vents weren’t available anywhere. Of course, you know that won’t stop me from getting what I want, so I taught myself How to Build Decorative Gable Attic Vents.
If you are a professional gable attic vent builder, this may not be the way you build gable vents, but I had to figure it out by myself because I couldn’t find any tutorials for building custom shape gable attic louver vents.
Decorative Gable Attic Vents Inspiration
Before we get to the tutorial on how to build custom shaped attic vents, I want to show you some other decorative gable vents to give you some inspiration. It seems I’m drawn to decorative gable attic vents, because I have several photos from my travels of old houses with cute custom shaped gable vents. Take a look at these beauties!

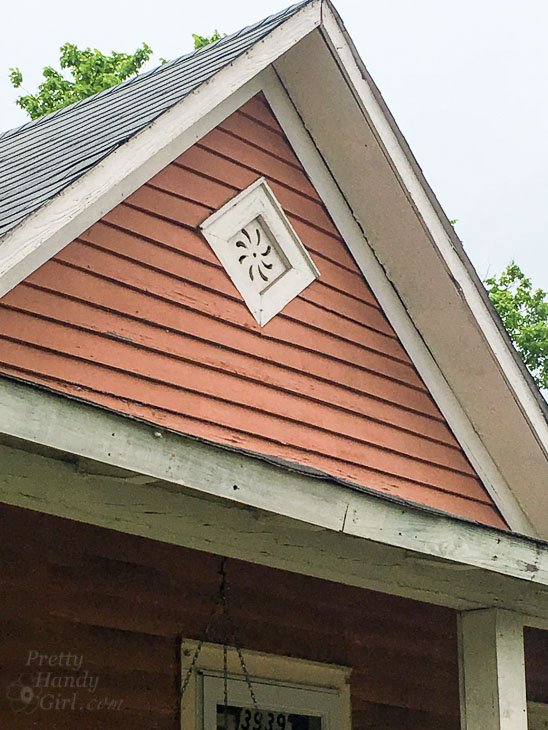
This attic vent doesn’t have louvers, but has a decorative cut out instead. I’m not sure it provides much ventilation, but the vent sure is cute to look at.
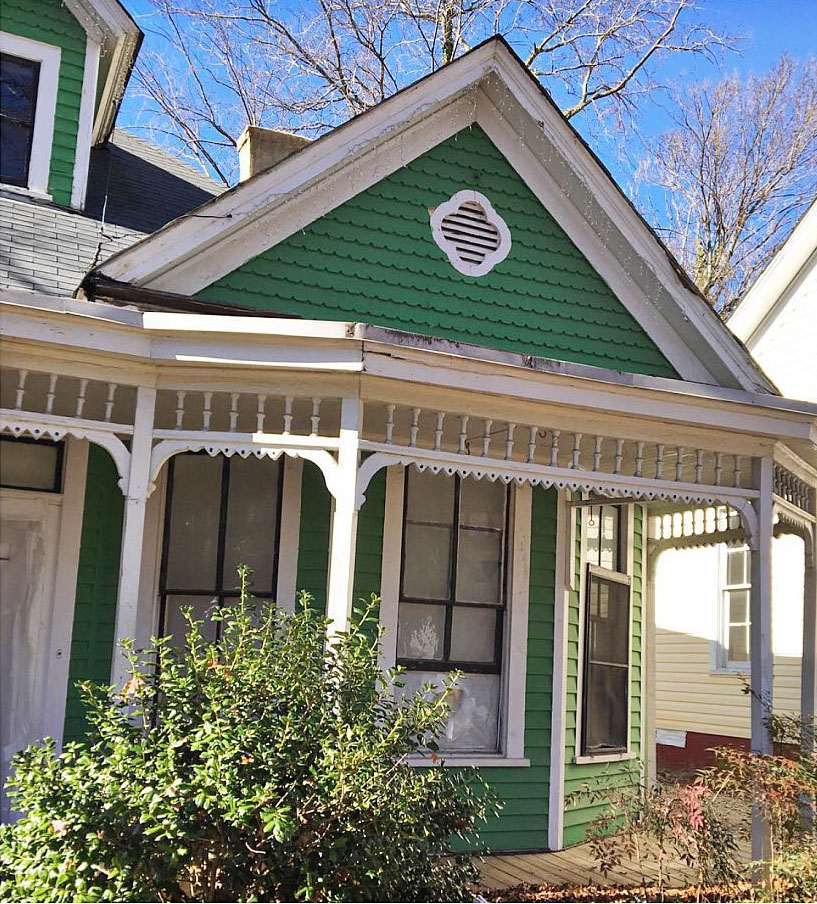
I saved the best for last. Feast your eyes on this beautiful early 1900 quatrefoil louvered vent. This was a Sears & Roebuck house that was unfortunately torn down a few years ago to make way for apartment buildings. Don’t get me started on all the history being torn down around Raleigh, NC. At least I have a photo to remind me of the beautiful architectural features.
Still want more custom shaped gable vent ideas? You can see more Decorative Attic Gable Vents in my Pinterest Board.
Now it’s time to learn How to Build Decorative Gable Attic Vents! So, let’s get crackin’.
Materials:
(I’ve included affiliate links for your convenience. I earn a small percentage from a purchase using these links. There is no additional cost to you. You can read more about affiliate links here.)
- 1×4 lumber (PVC would make it truly rot free, but you can use any wood as long as you seal it with primer, paint, or stain.)
- 1×6 lumber (for louvers)
- 1×4 Miratec trim (I used Miratec trim for the diamond shape since it will be exposed to the elements)
- Hard cloth mesh
- Exterior primer
- Paint
- Paint brush
- Paintable Exterior caulk
- Wood glue
Tools:
- Table saw
- Miter saw
- 16 gauge Nail Gun
- 16 gauge nails
- Speed Square
- Staple gun
- Pencil
- Tape Measure
- Caulk Gun
Directions:
If you have to make multiple gable louvered vents, you may want to start by making a template of your shape. And, you’ll want to measure the rough opening for your gable vent if you are trying to install into existing attic framing.
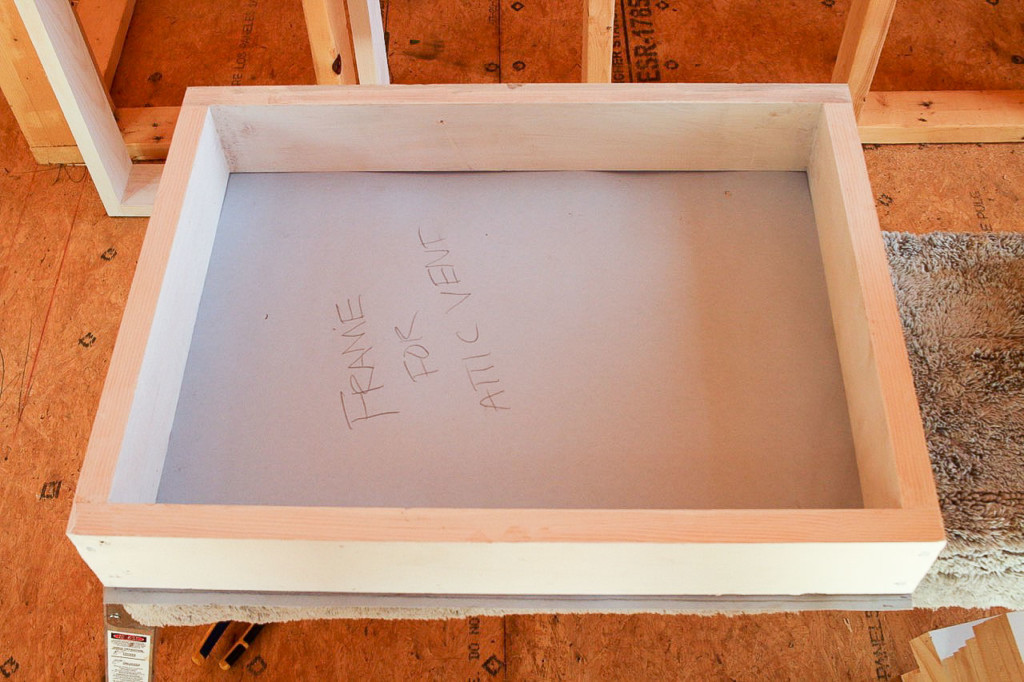
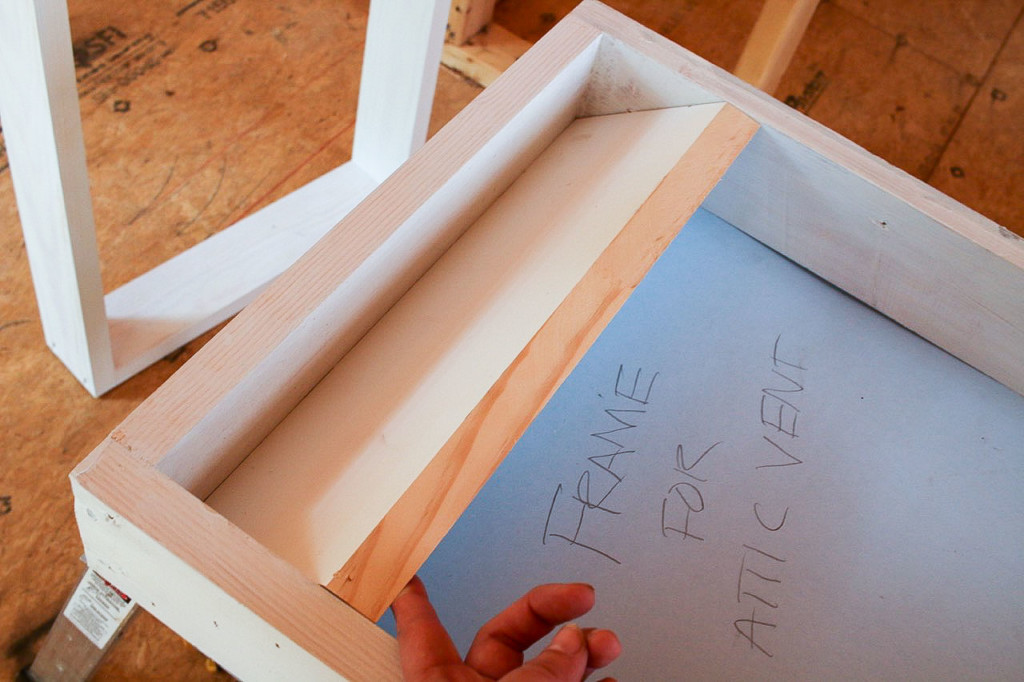
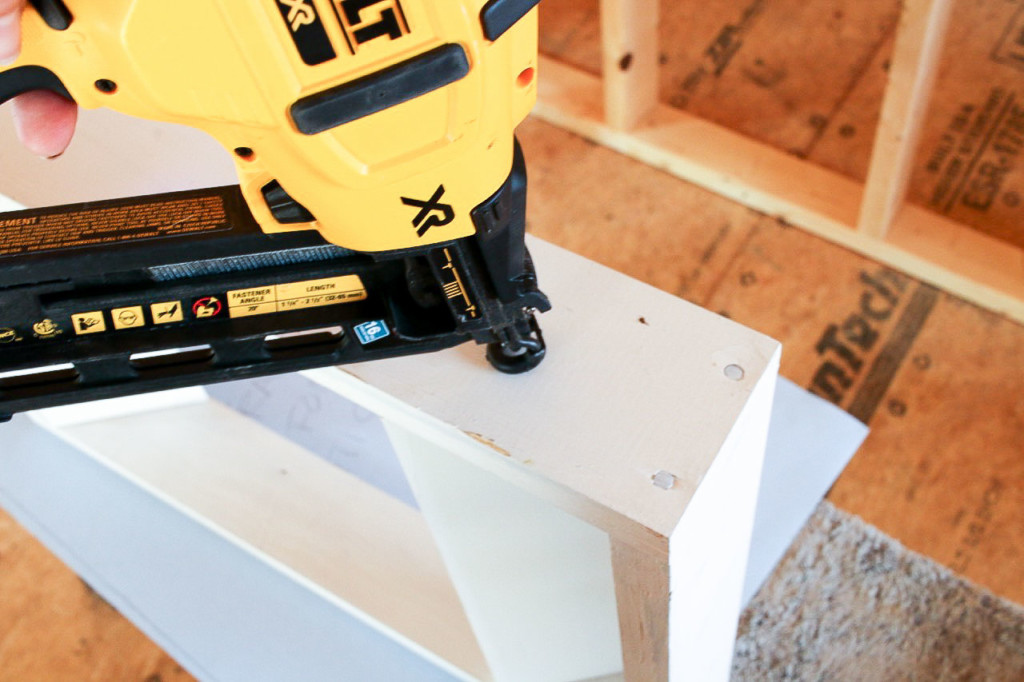
1. Build a rectangular box using the 1×4’s. Prime the frame (if wood) before installing the louvers.
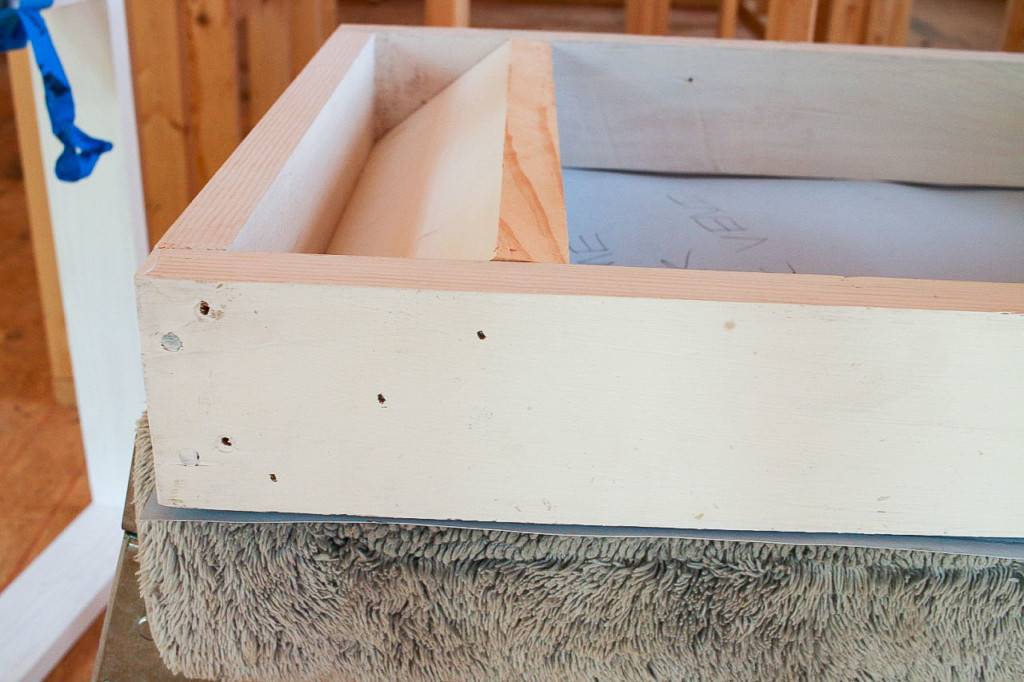
2. Run the 1×6 lumber through the table saw to cut a 45 degree angle onto one side. (Cut the first louver to test the fit inside the rectangular frame.) Make sure the louver fits and does not protrude past the front or back of the frame. You may need to rip more off your 1×6 material to make the louvers fit inside the 1×4 frame.
3. Cut and set a second louver into the bottom of the gable vent frame.
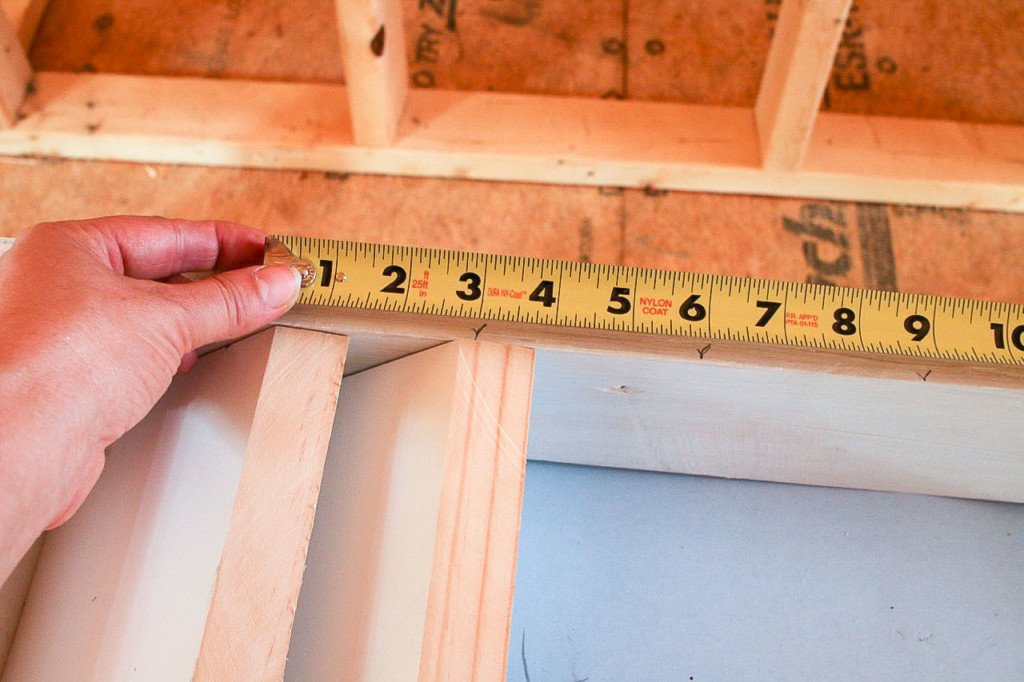
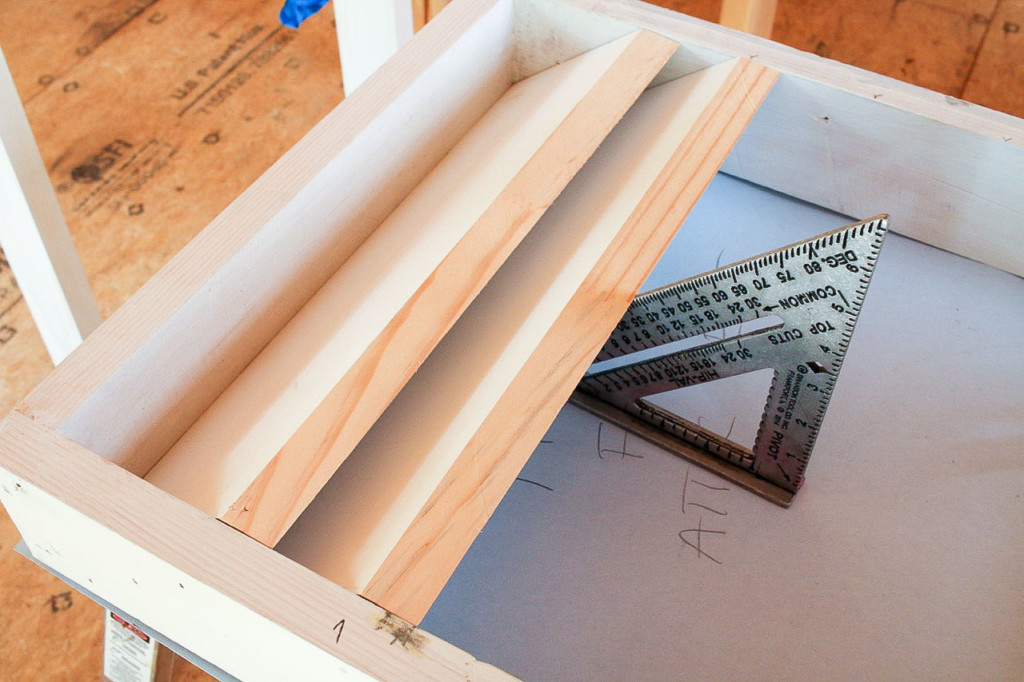
Measure the space between the top and bottom louver and divide the distance into equal spaces for your middle louvers.
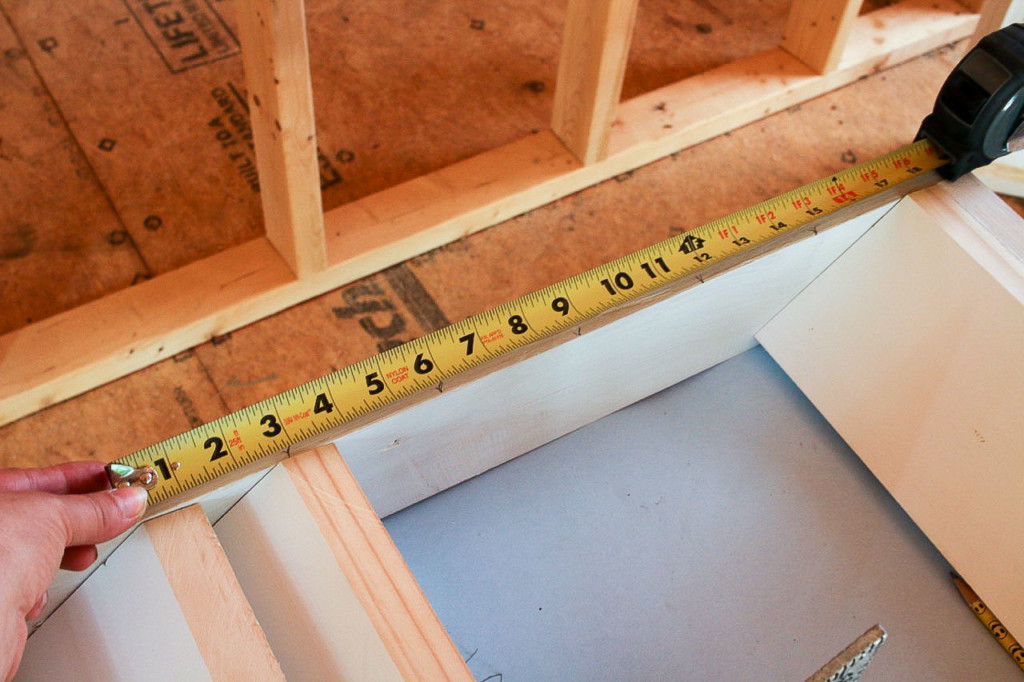
Mark the location for each louver onto the gable vent frame. This will give you the number of remaining louvers to cut. (For reference, my louvers are approximately three inches apart.)
4. Tack the top louver in place using trim nails (2 ½”, 16 gauge nails.)
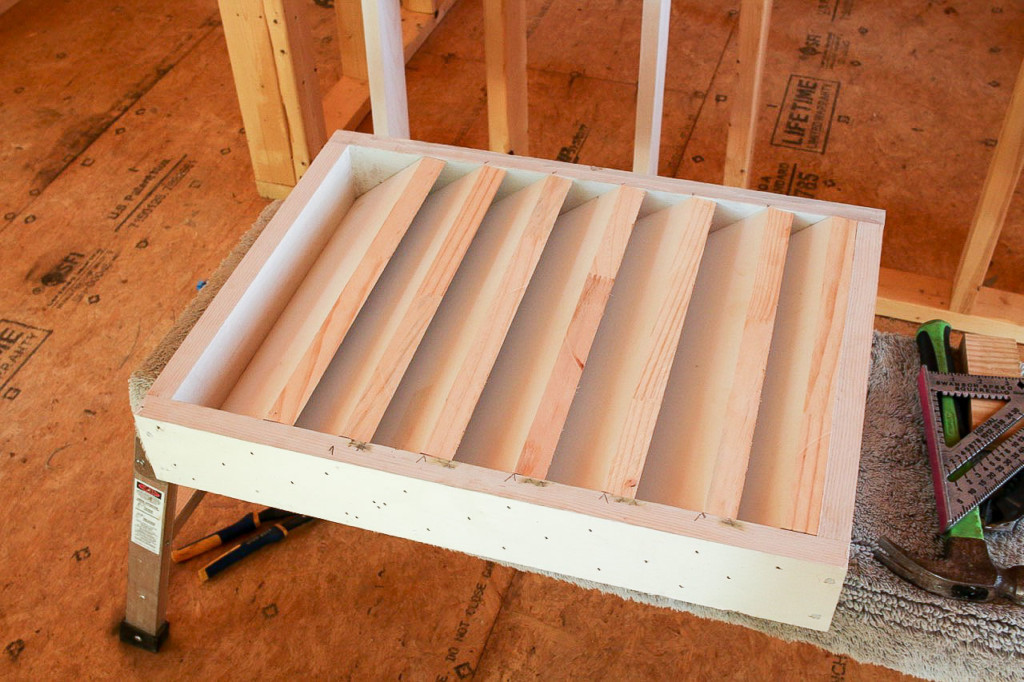
5. Use the speed square to hold the second louver in place. Line the louver up with your pre-marked spots. Secure the second louver in place with three nails on each side.
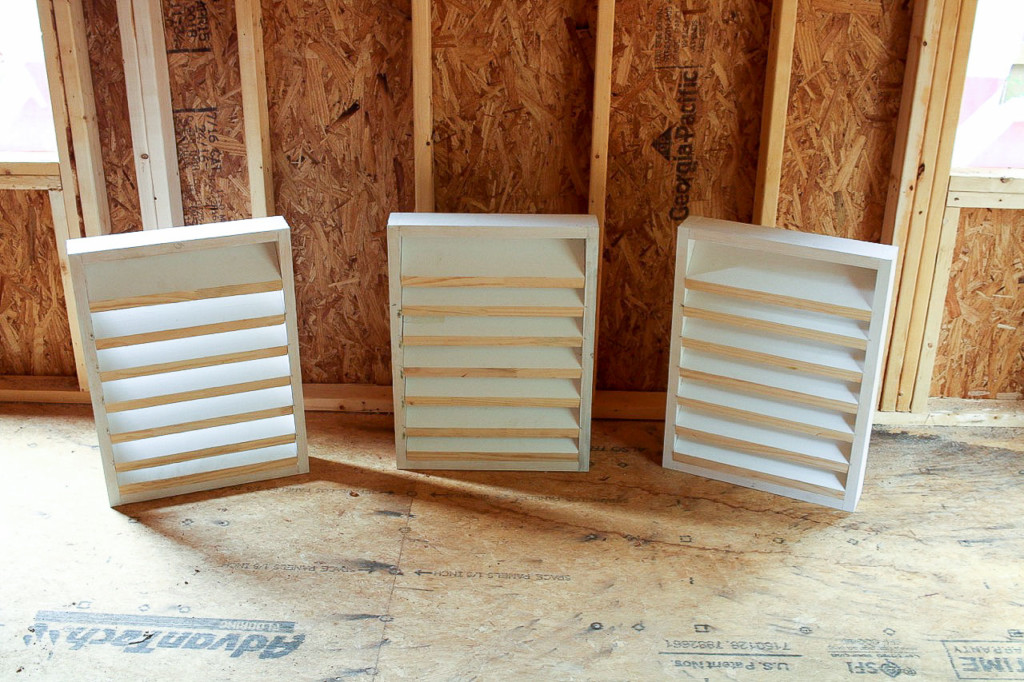
Continue attaching the louvers into the gable vent frame.

When all the louvers have been installed, it should look similar to the photo below.
6. Caulk all the joints on the louvers and the frame. Let the caulk cure. Prime and paint the gable attic vent (especially while you have access to the back).
7. Flip the gable vent frame over and cut a piece of wire mesh hard cloth to fit onto the back of the vent frame.
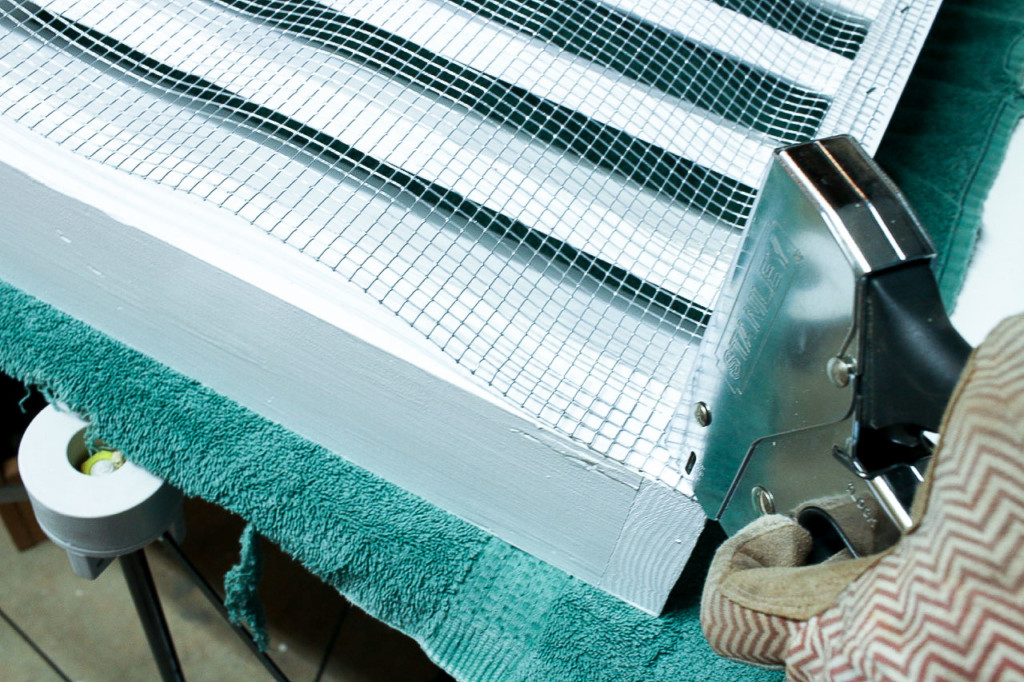
Secure the mesh with heavy duty staples.

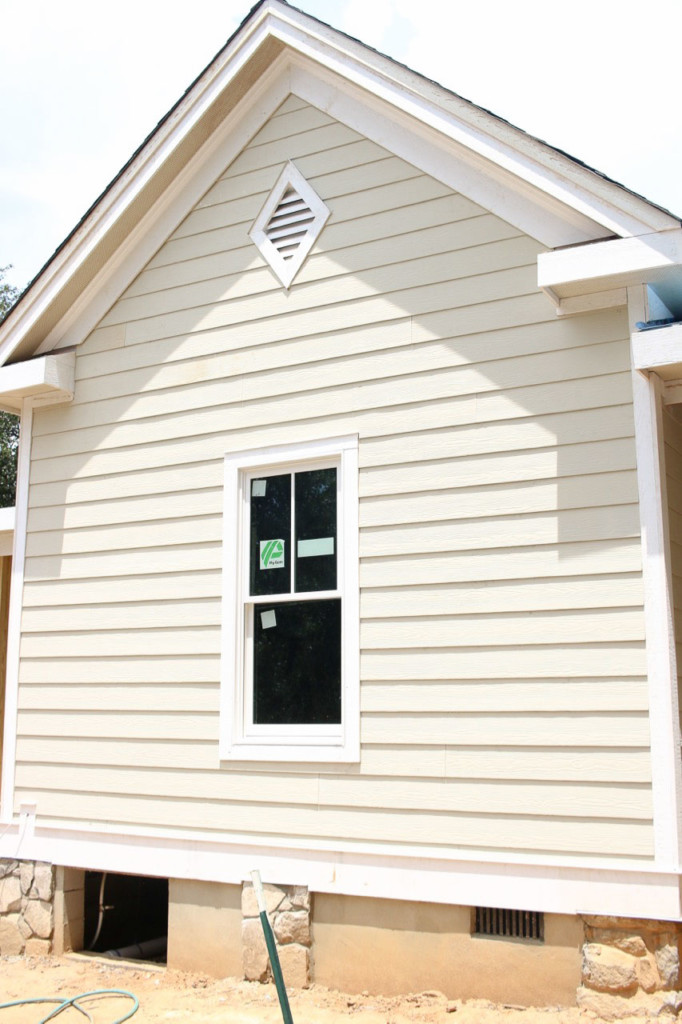
Now your gable attic vents are ready for their decorative shape!
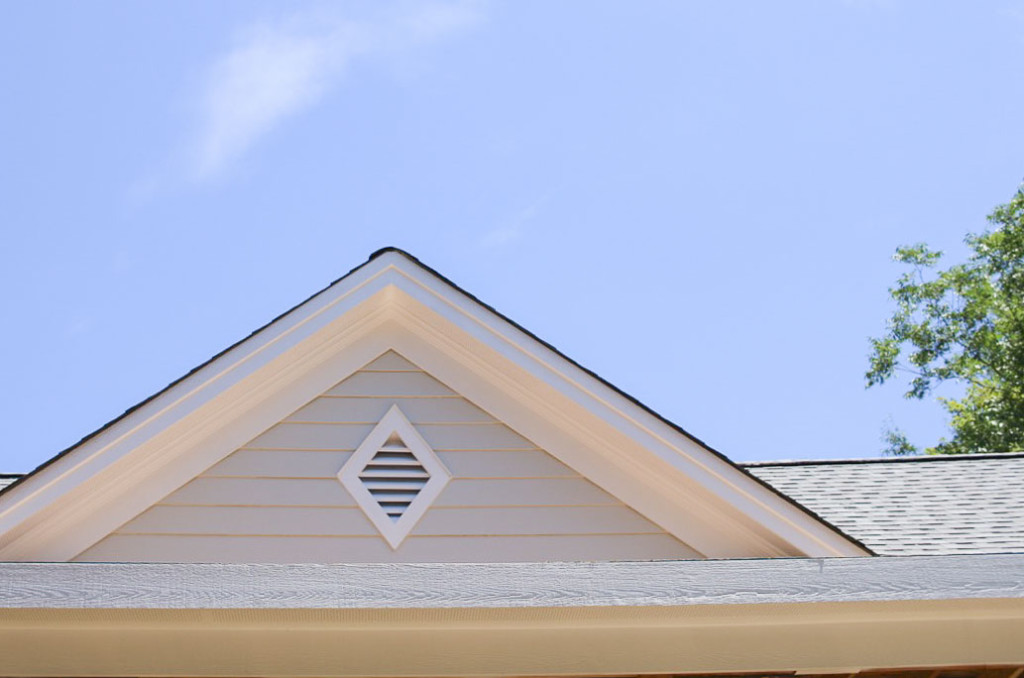
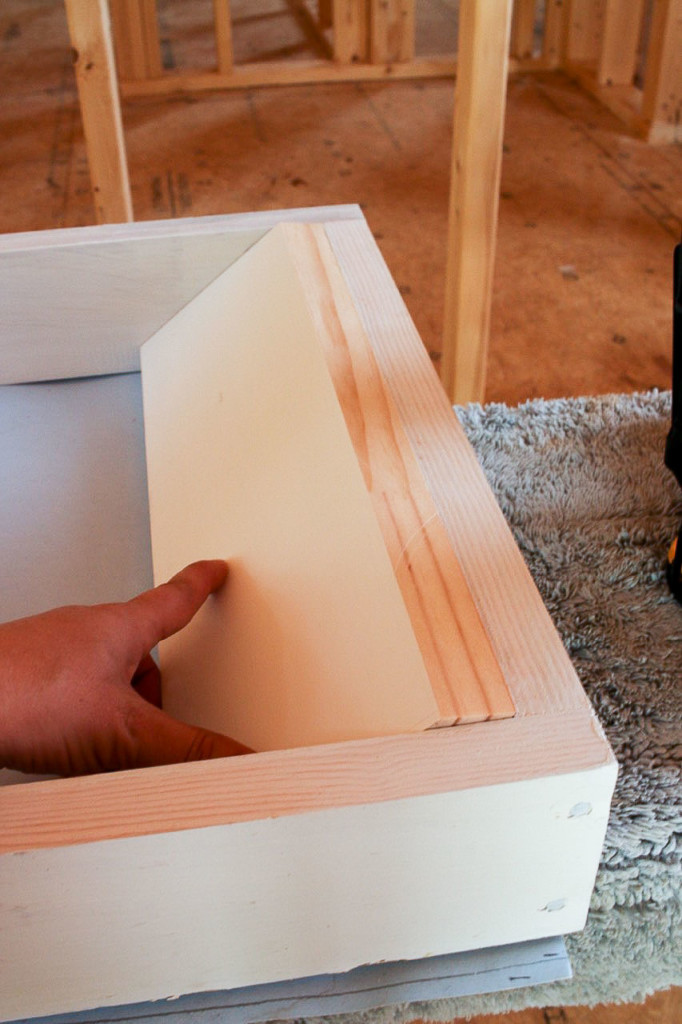
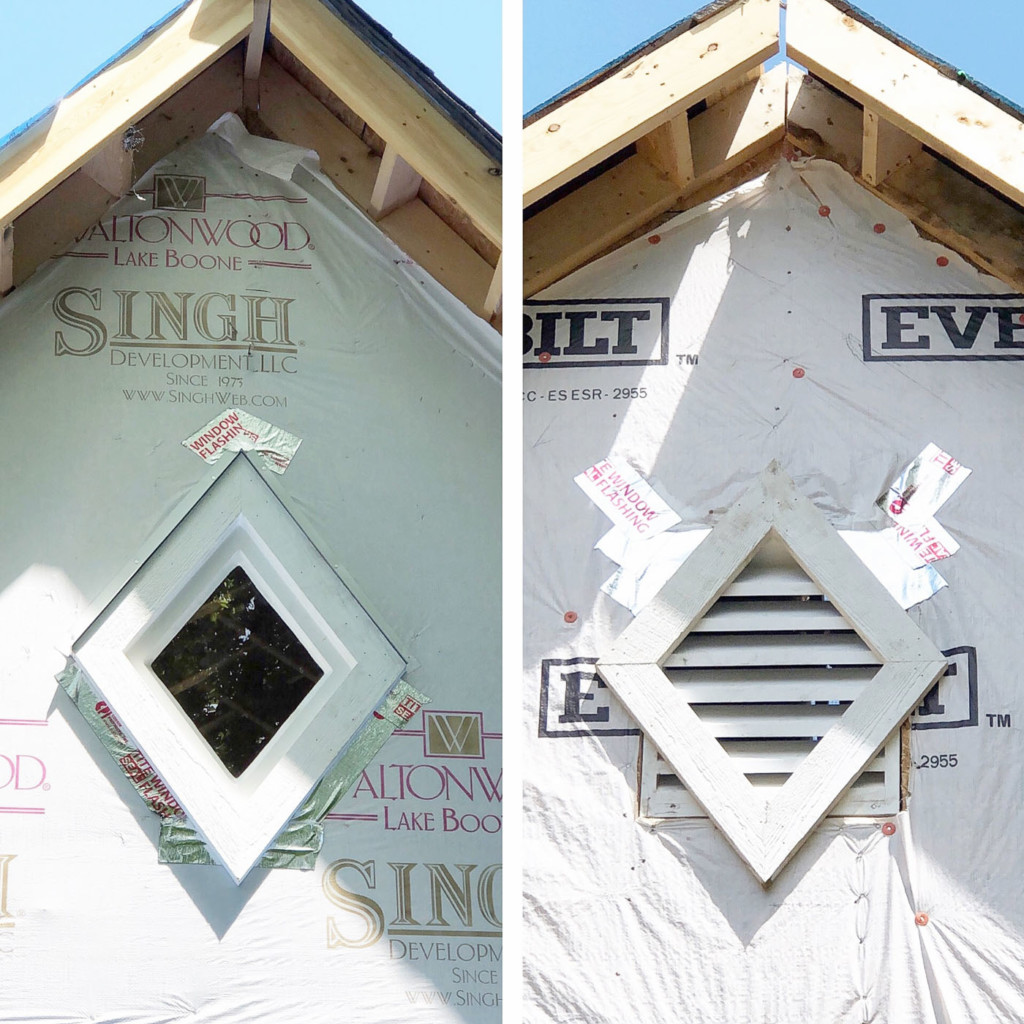
8. You can use any shape you like as long as it fits over the rectangular attic vent. The shape is simply created by attaching a frame to the front of the gable attic vent. I chose the diamond shape since the original house had diamonds. Using the original house vents as my template, I cut Miratec trim into the same diamond shape.
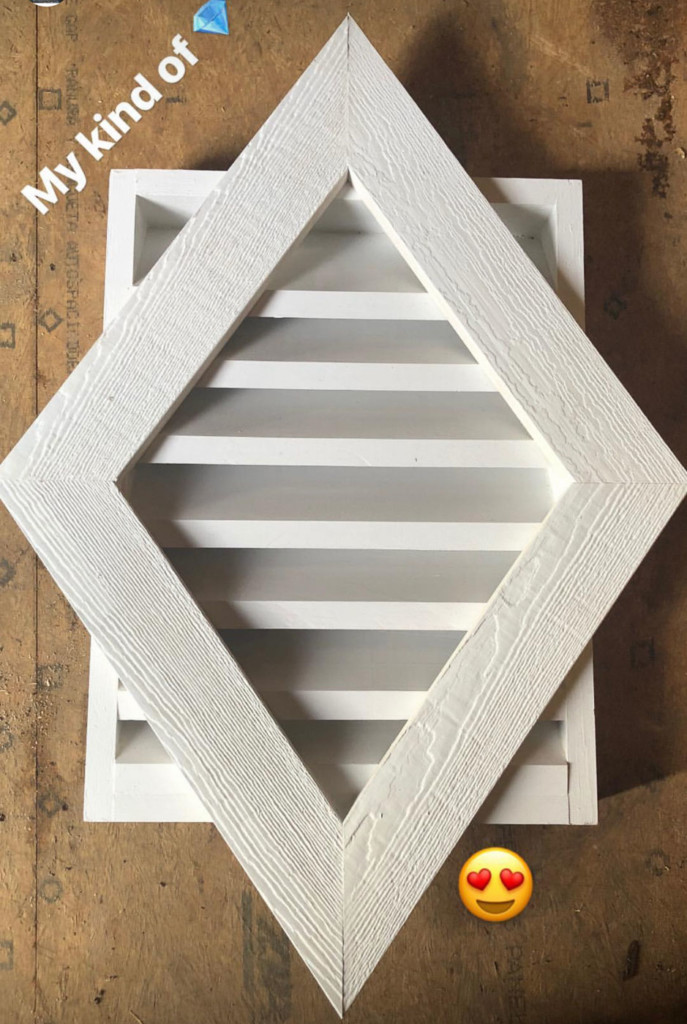
Connect the frame using wood glue and nails. Then secure the decorative frame shape to the gable vent with trim nails.
Installing Gable Attic Vents:
Secure the gable vent inside the house framing using trim nails or screws. The shape frame will sit on top of the house sheathing. Be sure to install house wrap or flashing behind the shape frame, but not over the vent.
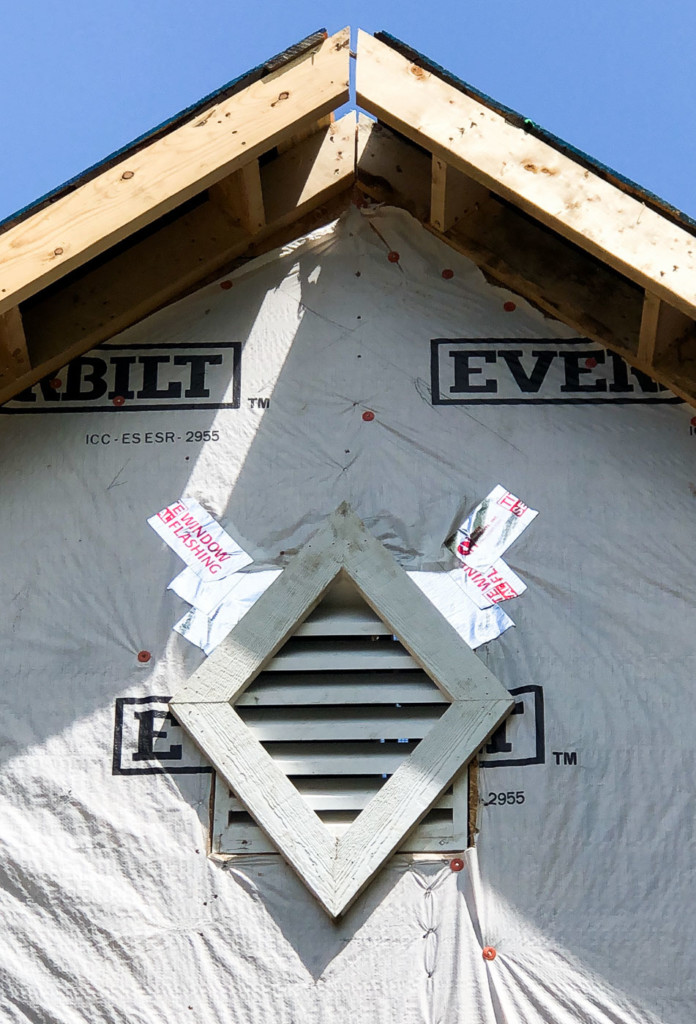
A drip cap is installed on top of the shape frame to prevent water from seeping inside. Then the siding is installed.
Finally the painters should caulk around all the seams where the gable attic vent meets the siding.
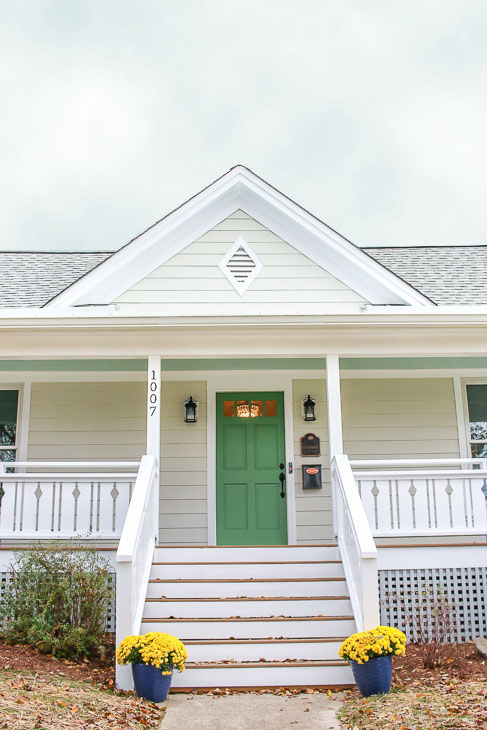
Not bad considering the original gable vents were 118 years old! I consider it a win being able to keep the original architectural feature and hopefully allow it to last another 100 years or more.
Did I mention I had to build five decorative diamond gable attic vents? The house had three gables on the front original section of the house…
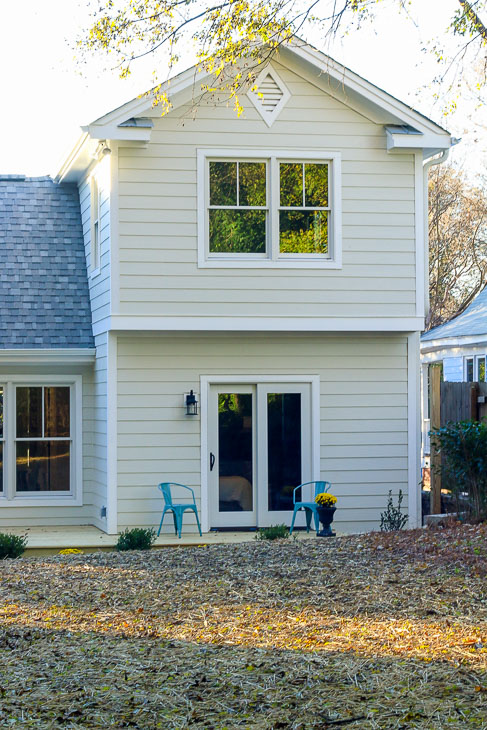
…and two on the addition side of the house.
Coming up, I’ll show you how I built the custom diamond shaped window to match the gable vents!
Let me know if you found this tutorial helpful in the comments. It only takes you a minute, but your comment helps keep me motivated.

I hope you are enjoying these tutorials from the Saving Etta house. If you are just visiting this website, you might want to read the entire Saving Etta series! It was a monumental undertaking (did I mention it was my first house rehab?)


This was a very practical and easy to understand piece on building a new vent. I can adapt this to replacing the ones I have allowing me to use the existing openings and minimal siding repairs.
I am looking to do four decorative (non-functional) vents and this tutorial has been fantastic! Thank you. Any tips on doing a triangle?
Draw your triangle shape on a large sheet of craft paper. Then you can figure out your angles and use the drawing as a template.
Brittany, thanks for sharing! That is a great system that is really flexible to make all kinds of shapes. I love your speed-square trick to keep the angles consistent.
Glareat idea! This post gave me courage and inspiration for replacing my boring rectangular vent. Thanks for sharing, and thanks for saving and restoring historical homes!
Thank you! I’ve looked at multiple tutorials, yours was by far the clearest, easy to follow. Sincerely appreciated. John G, Hollis, NH
Great job, I’m going to be building 4 gable vents, including a large one with a 30” whole house fan repurposed to ventilate through it. What brand/color is your off-white siding paint?
It’s Magnolia Home paint Locally Sown color.
What are the dimensions of the finished gable vent you made?
I think it was about 19″ x 28″. I’m going from memory, because I can’t measure them now that they’ve been installed.
Your instruction photos and the explanation are great! It makes your project easy to follow and easy to do. Thanks for that. I look forward to your blog posts every day!!