How to Build Custom Wood Shutters – Simple DIY
It’s time to reveal how to build custom wood shutters! I designed these easy to build wood shutters for the Millie’s Remodel project and now I can’t wait to share the tutorial with you! It’s a super simple DIY project.
![]()
How to Build Custom Wood Shutters – A Super Simple DIY
When I decided I wanted to build shutters for the Millie’s Remodel house, I thought they had to be difficult to make or everyone would be building their own shutters. I was definitely wrong! That being said, there are other shutter styles you can build that are also super simple. But today I’m going to show you how to build these modern shutters (but if you like the farmhouse look, you’ll be surprised how quickly you can alter the look by flipping these shutters over! Be sure to read to the end to see this quick change.)
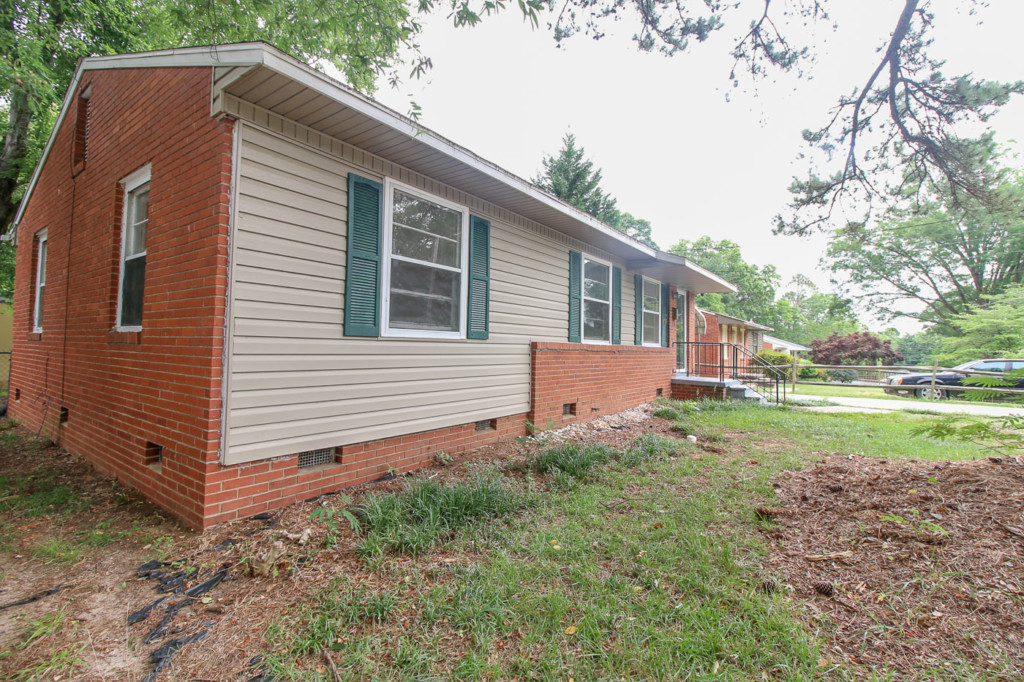
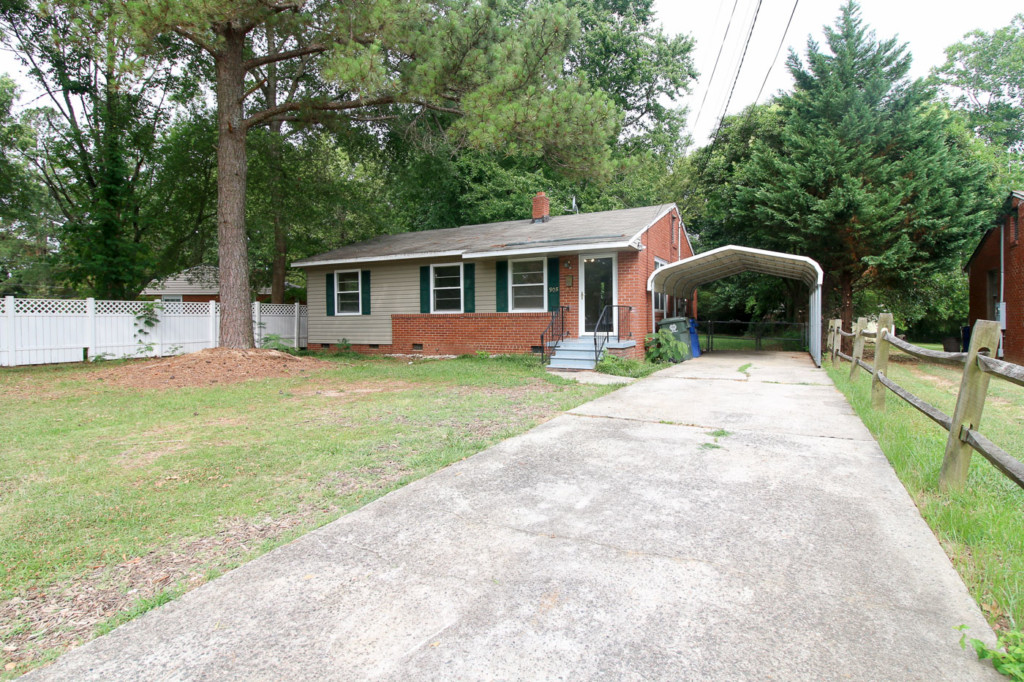
Let’s back up real quick. When I bought the Millie’s Remodel house, it came with these awful vinyl hunter green shutters. They just weren’t doing anything for the curb appeal of this house. I knew they had to be replaced or we’d be stuck in the 90’s with those hunter green shutters. Sure, I could have tried painting them, but I didn’t like the curved top, nor did I like that the shutters were a little too narrow for the windows.
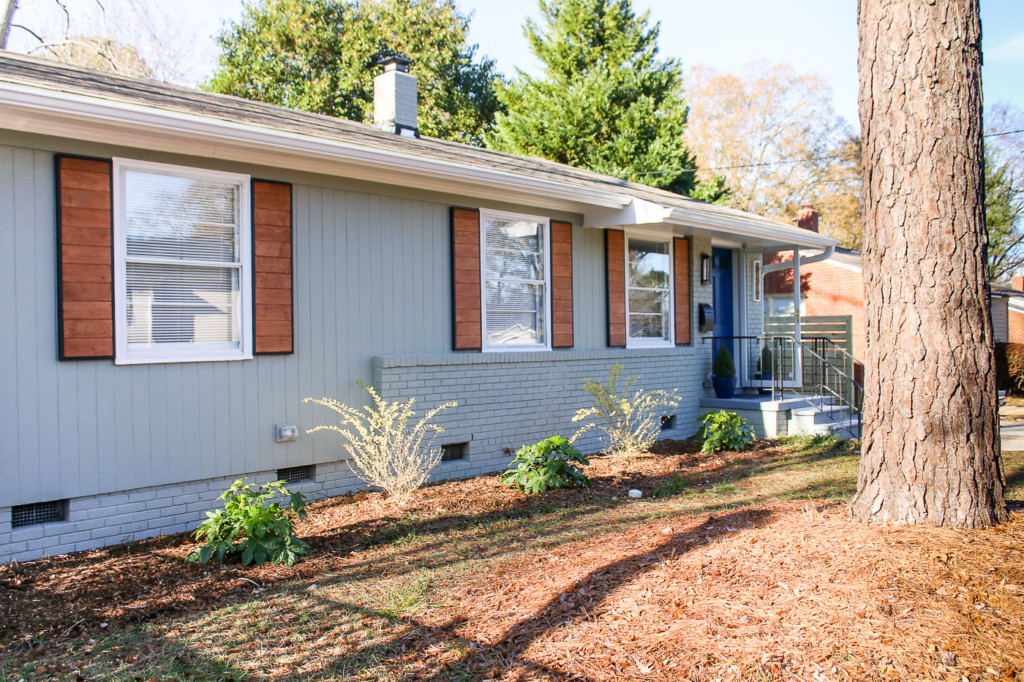
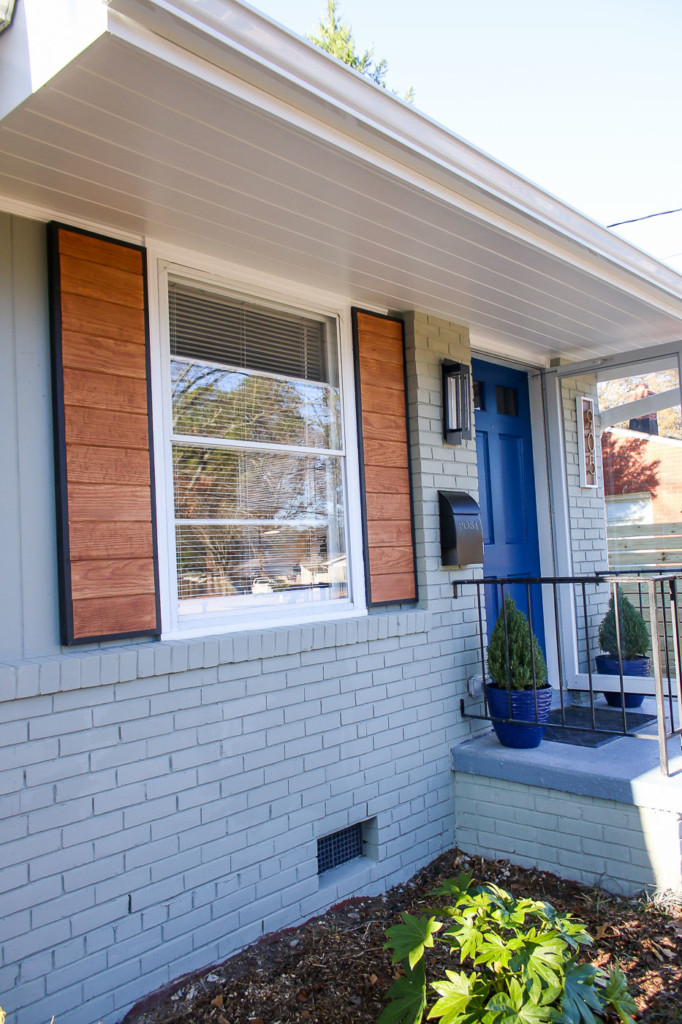
The new shutters are slightly wider than the vinyl ones. That’s because shutters should be at least one half the width of my window. (Not that I’ll ever close them.) They should look wide enough to cover the window when closed.
See what I mean? These shutters look much more proportional to the window size, don’t you agree?
Design Inspiration:
I’d be remiss if I didn’t mention that I scoured Instagram for some shutter design ideas that would fit the modern style of the house. Luckily I stumbled upon these Instagrammers with some stylish shutters. I’ll link to their accounts in the description below if you want to follow them.
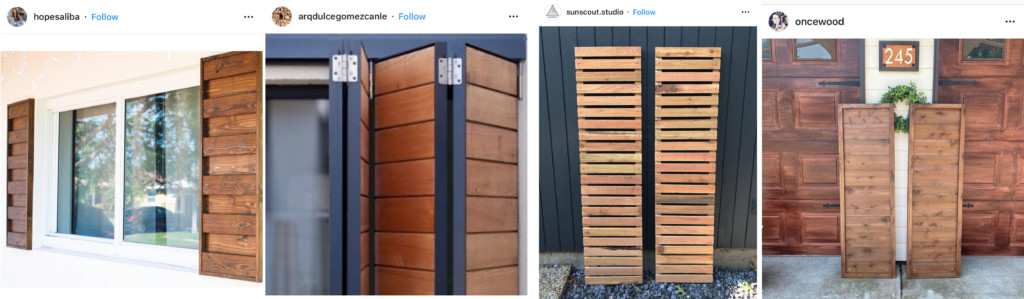
@HopeSaliba | @ArqDulceGomezCanle | @SunScout.Studio | @OnceWood
Exterior Progress:
As you saw, when I bought the house it had khaki vinyl siding and green vinyl shutters.
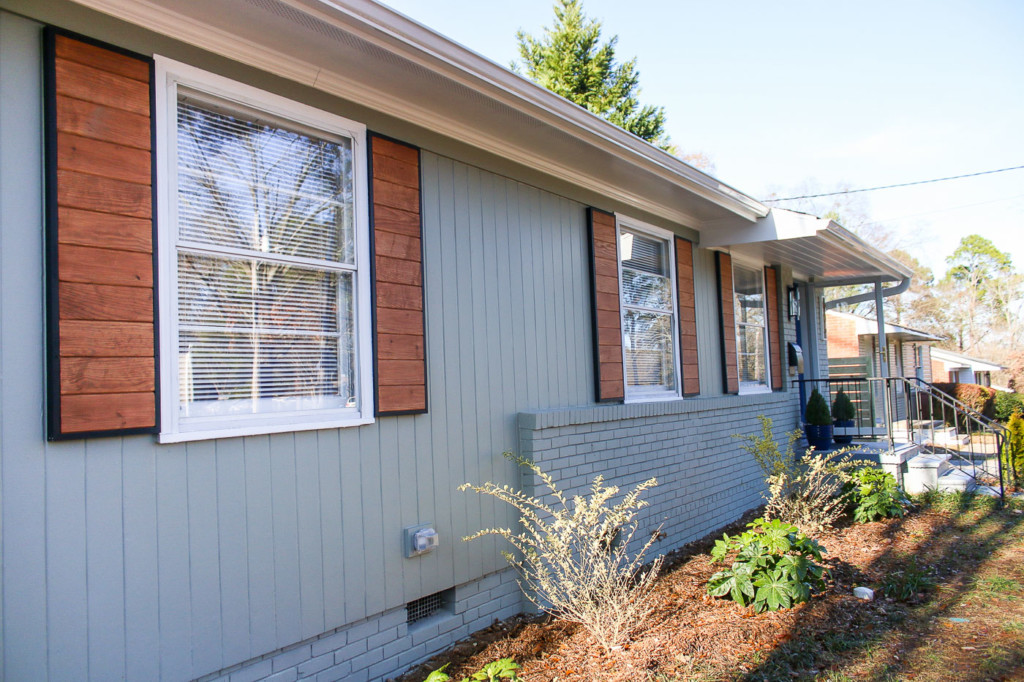
We removed the vinyl siding to discover the original wood siding underneath in pristine condition! Then my painter performed his magic by painting the exterior with a specific paint made for masonry. You can see more of the exterior transformation and learn about the paint we used here.
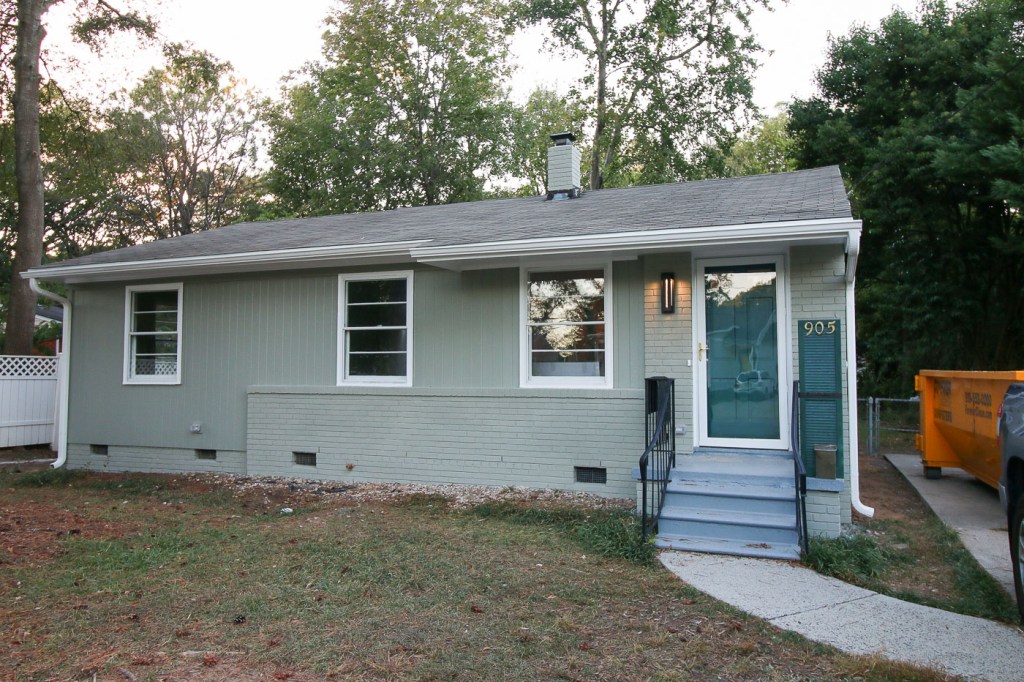
Will you look at how naked the house looks, it’s definitely time to build those new custom wood shutters.
How to Build Custom Wood Shutters
Let’s get building and you’ll see how simple it is to create your own modern wood shutters!
Materials:
(I’ve included affiliate links for your convenience. I earn a small percentage from a purchase using these links. There is no additional cost to you. You can read more about affiliate links here.)
- 2″x4″ wood studs (make sure they are straight)
- Tongue & Groove Planks (also available at home improvement store)
- Table Saw
- Circular Saw (link to a better circular saw than one shown in video)
- Nailgun
- Trim nails
- Corner clamp
- Drill (one shown in the video is longer available)
- Screws
- Wood glue
- Sander
- 180 grit sandpaper, 220 grit sandpaper
Stain Colors:
Instructions:
The best way to see how to build these shutters is to watch the video and then follow the steps below. Here’s that video tutorial to watch:
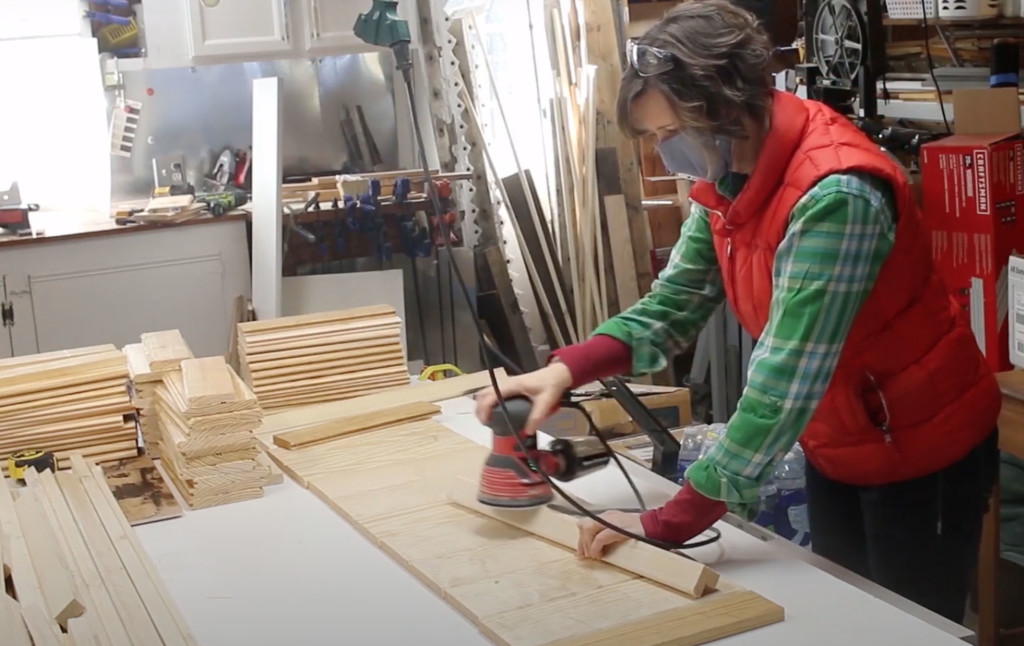
Safety Gear:
Before we get building, let’s break out some appropriate safety gear.
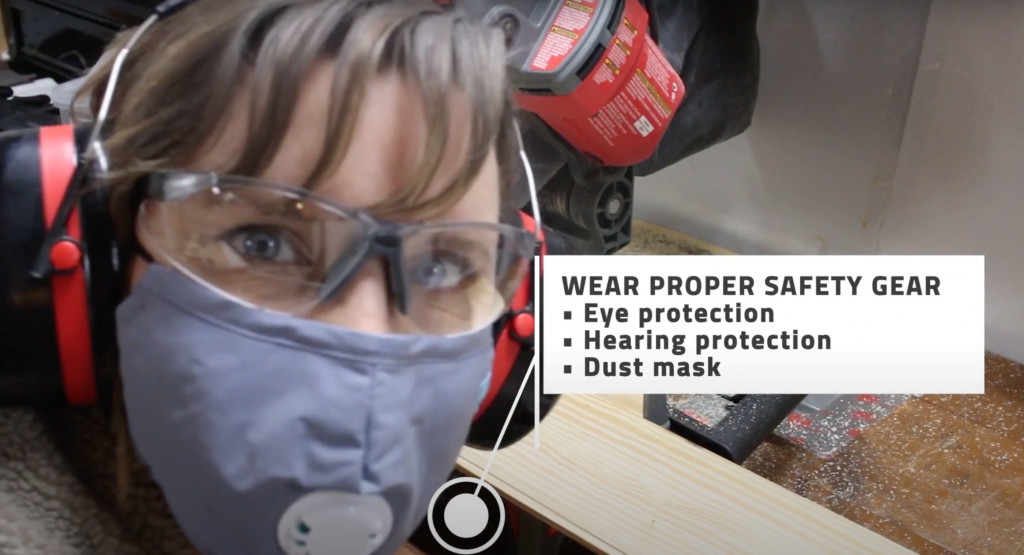
Be sure to wear a dust mask, safety glasses, and hearing protection. Now let’s get busy.
Safety When Ripping 2×4 Studs:
To make these shutter frames, I chose to rip 2x4s in half. I’ve found it’s easier to get straight 2×2’s this way, but if you prefer not to rip studs, go ahead and purchase 2x2s. If you decide to rip 2×4’s in half, make sure you know these safety tips.
- Never force the lumber through the saw.
- Never wear gloves or jewelry that can get caught on anything.
- Use a push block as you feed the lumber through the saw. This keeps your fingers away from the blade and gives you more control of the board.
- Never reach over the saw blade.
- Use an outfeed support to catch and support your lumber as it exits the saw.
- As the blade cuts through the 2×4 lumber, the wood may have a tendency to pinch the back of the blade (especially if you are ripping longer boards.) To prevent pinching and make cutting easier, stick a shim or wedge into the cut after it exits the blade. You can see this more clearly in the video.
For more table saw safety tips, read this Table Saw Guidelines post.
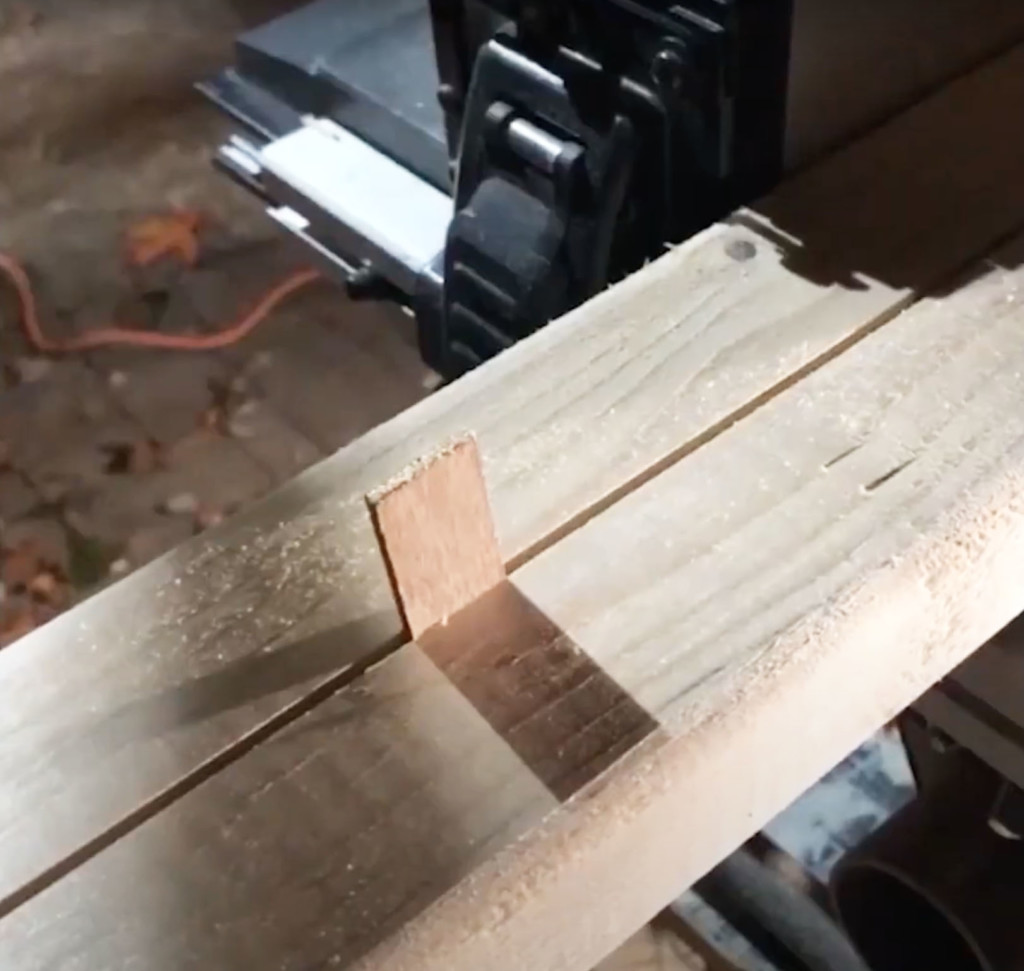
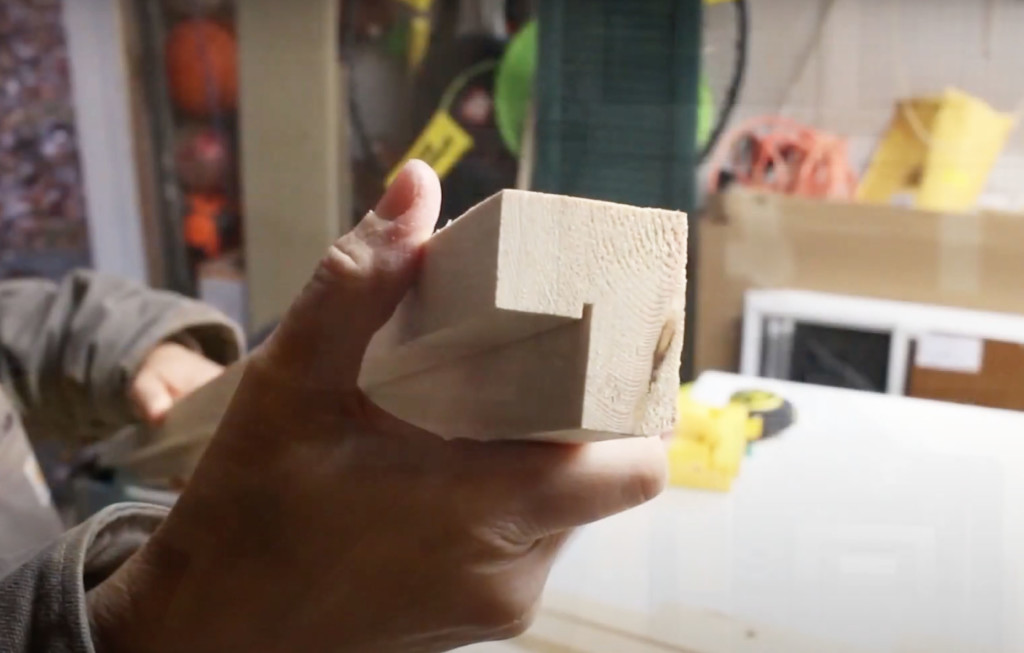
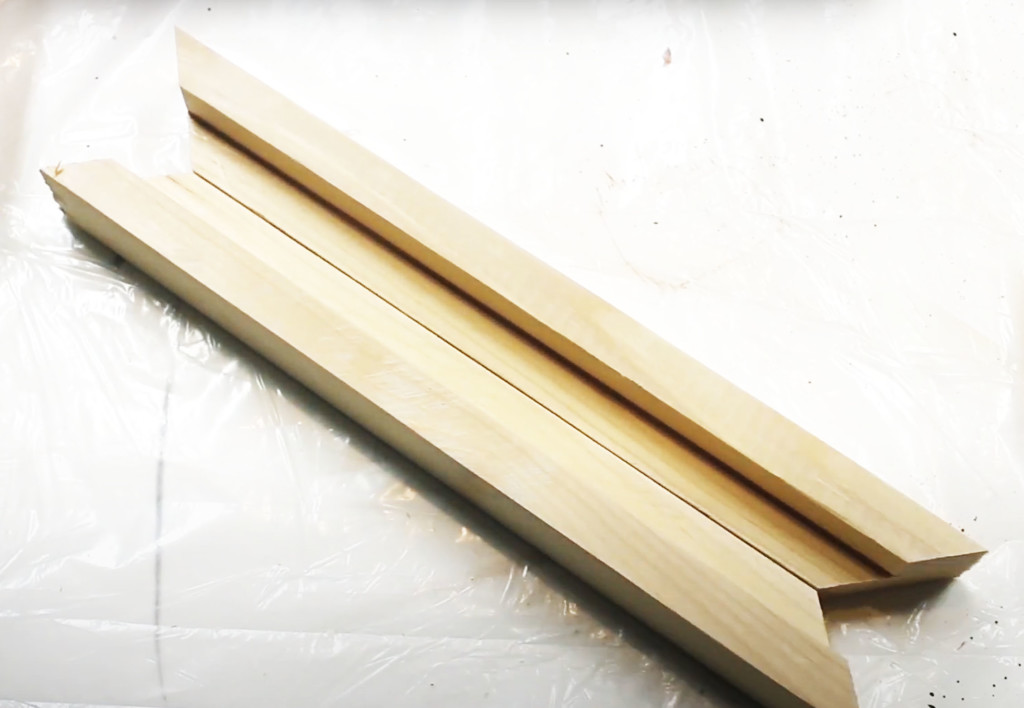
Cutting a Rabbet Channel on the Frame:
After ripping the 2x4s in half, you may want to square off the edges (removing the rounded edges.) Now it’s time to cut a rabbet channel into the corner of the 2×2.

To cut the rabbet, center your table saw blade on the 2×2. Raise the blade to slightly more than ¾ of an inch. Then run the 2×2 through the table saw. Rotate the 2×2 ninety degrees and run it through the table saw again. This will leave you with a rabbet channel on the corner of your 2×2.
Body of the Shutters:
Determine the width of your shutters. Ideally, the width of your shutters when finished should equal ½ of your full window width. To get the width of the tongue and groove body pieces, Subtract the width of your frame (about 3/4″ in width x 2) from 1/2 of your window width. Use this measurement to cut your tongue and groove pieces to size.
The shutter height should be the same height as your window. Layout the tongue and groove planks together fitting them together. Then determine how many you need to make your shutter. You may have to rip one or two on the table saw to get your desired height.

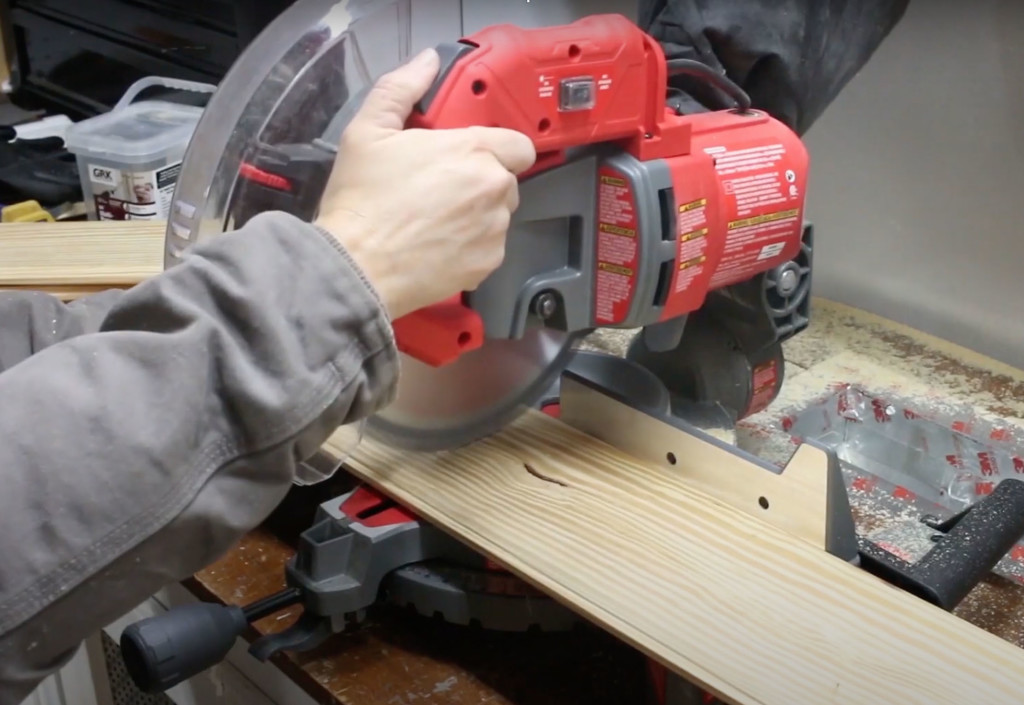
Building the Frame:
Cut one end of your 2×2 at a 45-degree angle (the short side will face in toward the rabbet groove.)
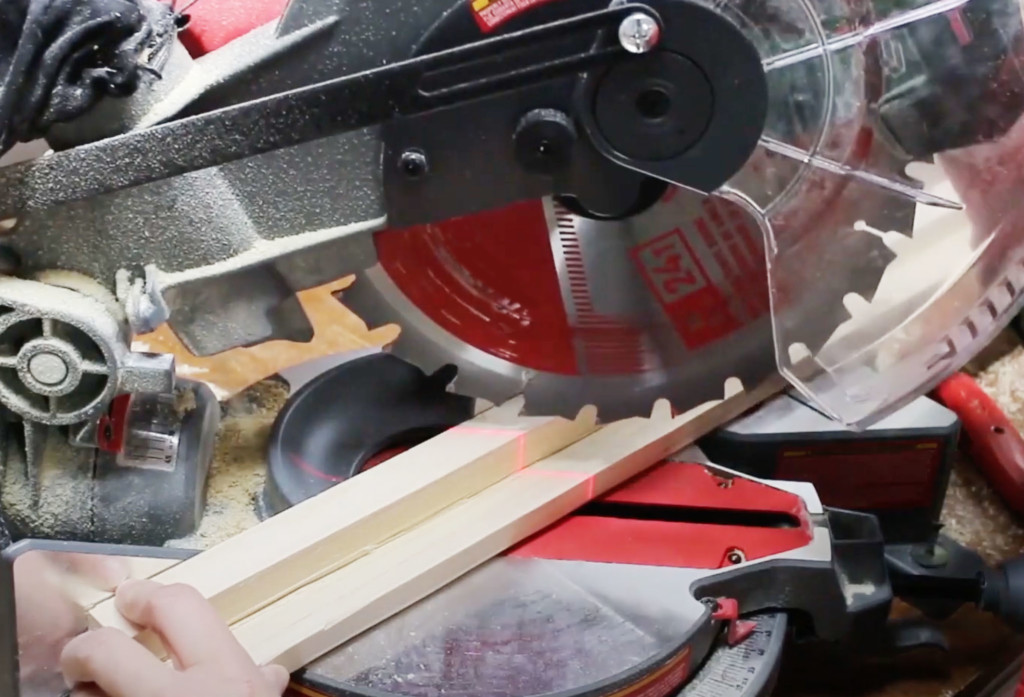
Line the inside edge of your frame piece up with the end of one of the tongue and groove boards. Mark on the opposite side of the frame where the tongue and groove board ends. Now cut the frame piece to length on the miter saw.
Time to check your fit! If the frame fits tight against the tongue and groove board, use the top frame piece as a template to cut an identical one for the bottom frame piece.
Time to cut the side frame pieces. Figure out the height of your shutters and cut the sides to size.
After all the frame and body pieces are cut, sand them to remove any rough spots. I like to sand once with 180 grit sandpaper, then switch to 220 grit.
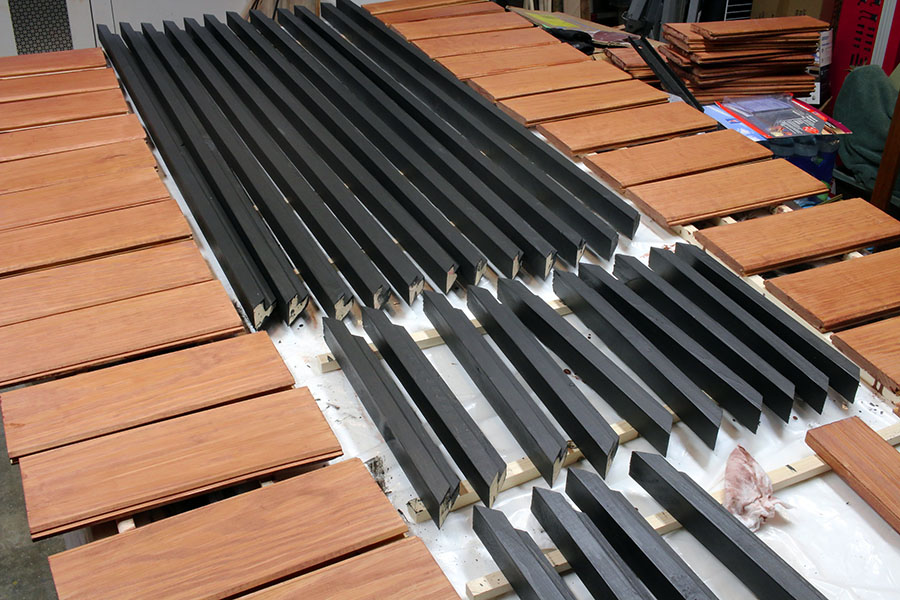
Stain the Shutter Pieces:
The frame and body pieces get two coats of stain. For better coverage, coat once and allow the stain to dry. Then brush on the second coat.
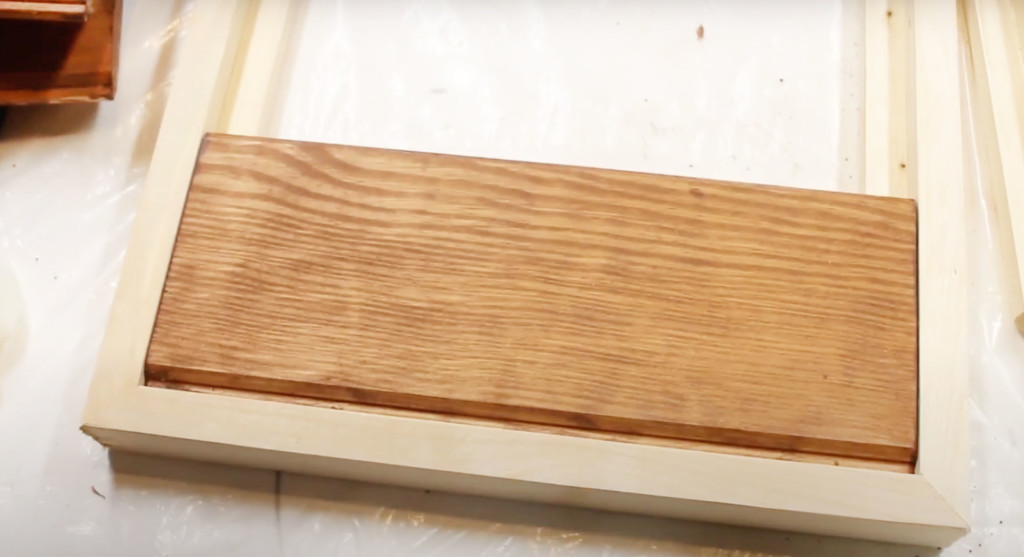
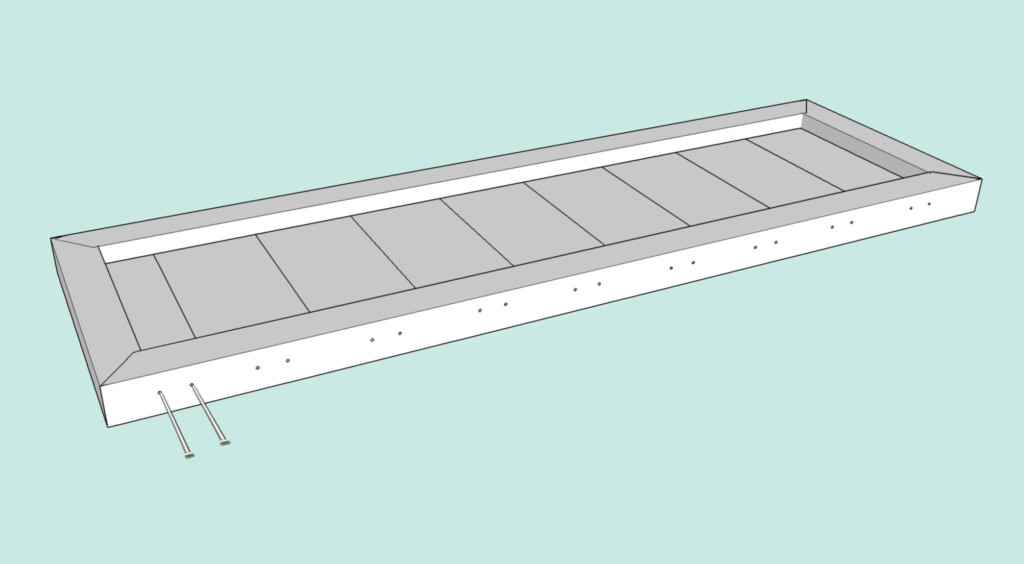
Assemble Shutter:
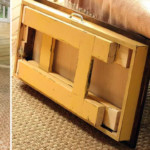
Time to assemble these shutters. Add a dab of wood glue to the mitered ends, then use a 90 degree corner clamp to hold the pieces square.
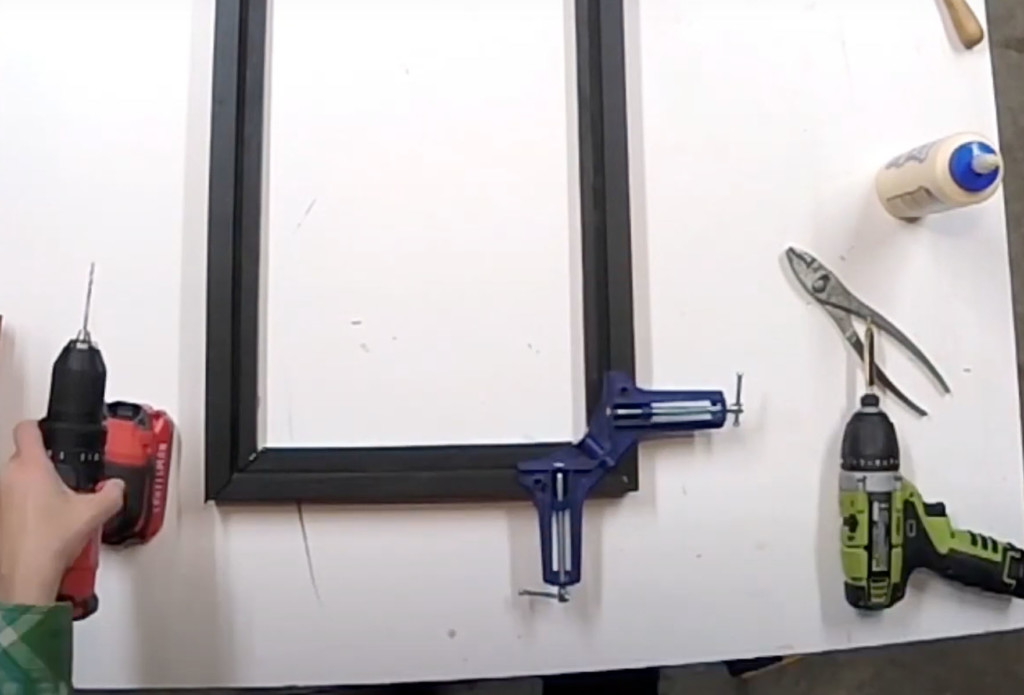
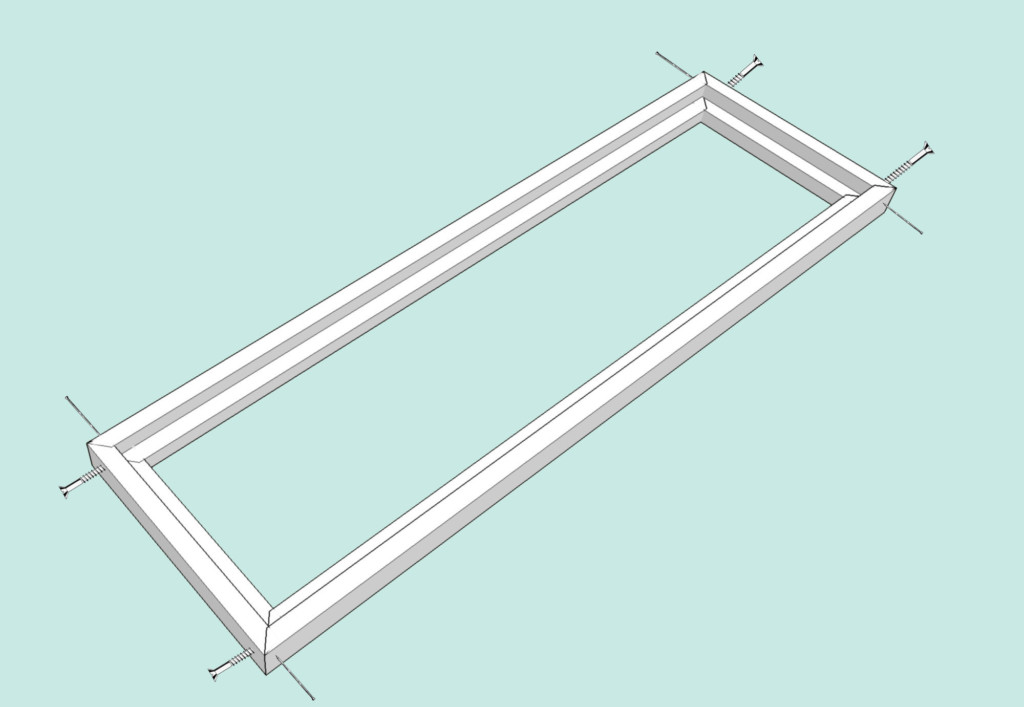
Pre-drill into the bottom of the shutter frame and drive a wood screw through the bottom and up into the sides of the frame. Add a nail or two to the side into the top and bottom pieces for additional hold. Repeat for all four corners as shown below.
Lay the cut tongue and groove boards into the frame. Make sure everything fits perfectly and make any adjustments necessary.
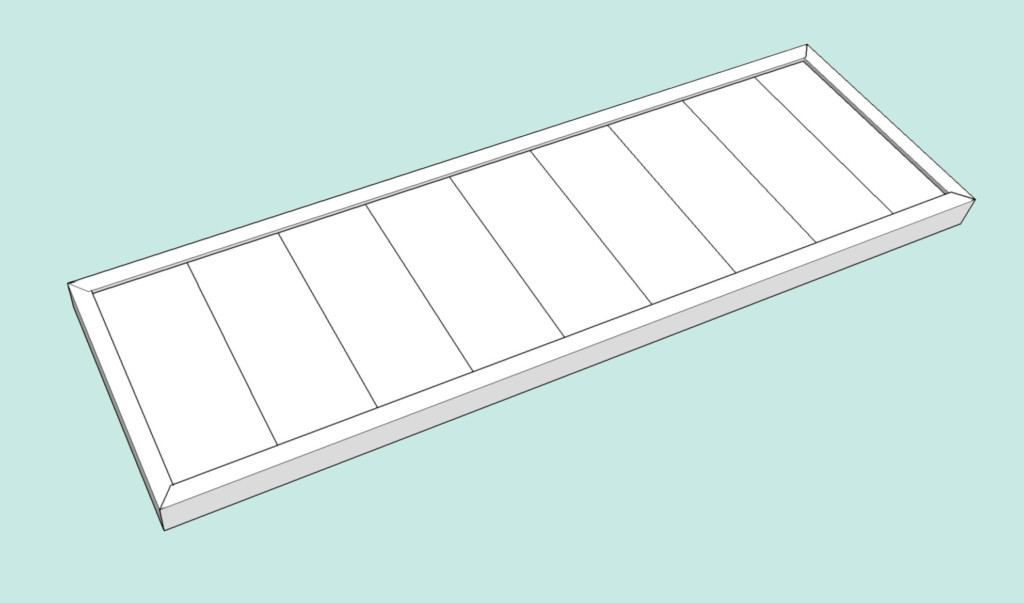
Then flip your shutter over so the tongue and groove pieces are upside down. Remove the frame and add a bead of glue around the perimeter of the tongue and groove pieces where the frame touches them. Then lay the frame back on top of the tongue and groove pieces.
Finally, secure the pieces with two long trim nails through each side of the frame and into the body pieces as shown below.
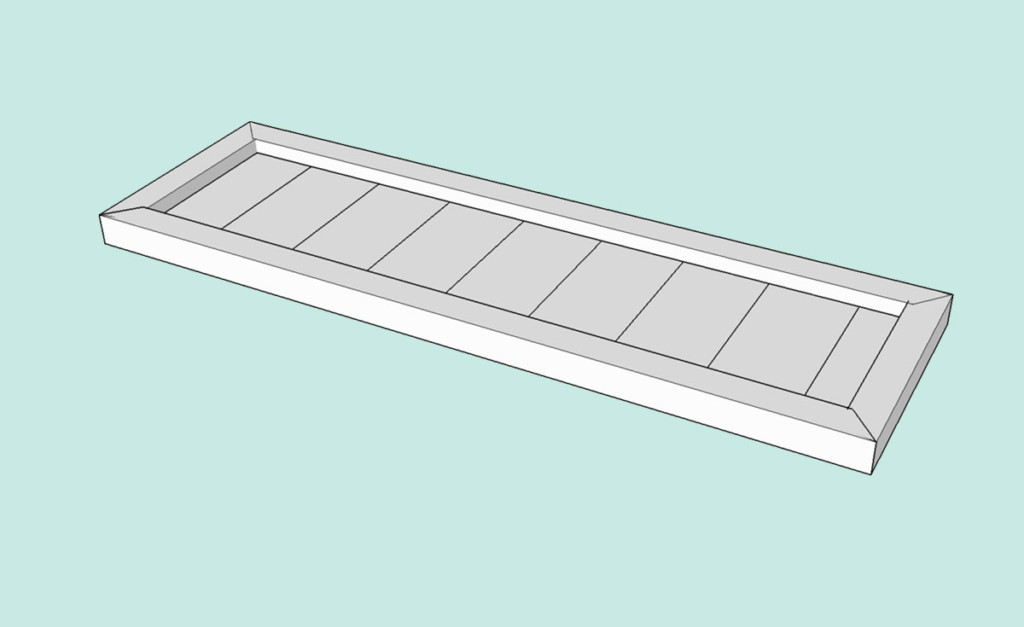
Flip your shutter over and admire your new custom wood shutters. Use wood putty to fill any holes and touch up with appropriate colored stain.
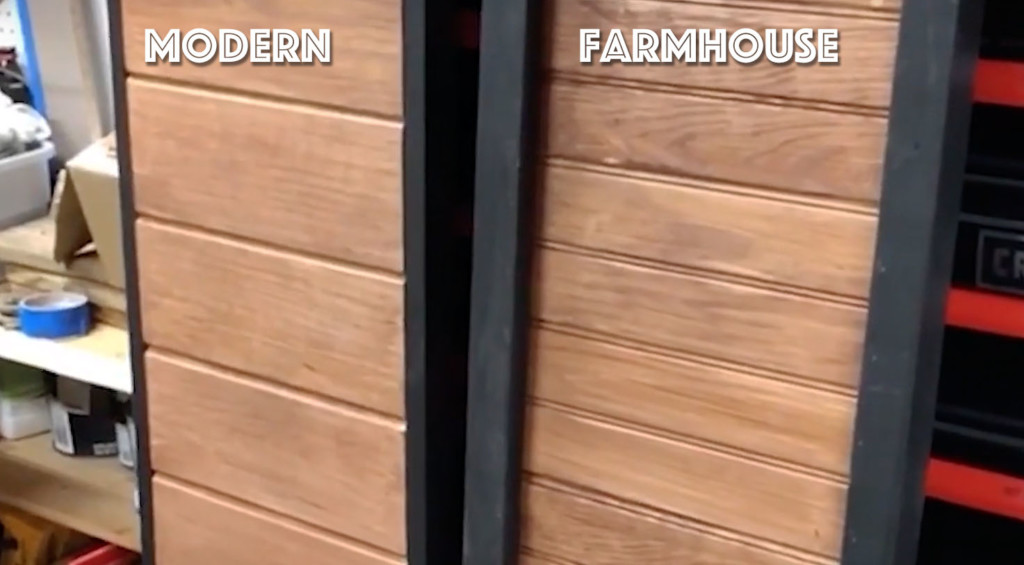
One Shutter with Two Looks:
I wanted to create modern-looking shutters for this house, but the beauty of the tongue and groove planks is the opposite side has a beadboard stripe. When you turn the shutter over, you get a more farmhouse or cottage look.
My assistant and I hung the shutters on the house using exterior screws through the shutter frame and into the siding.
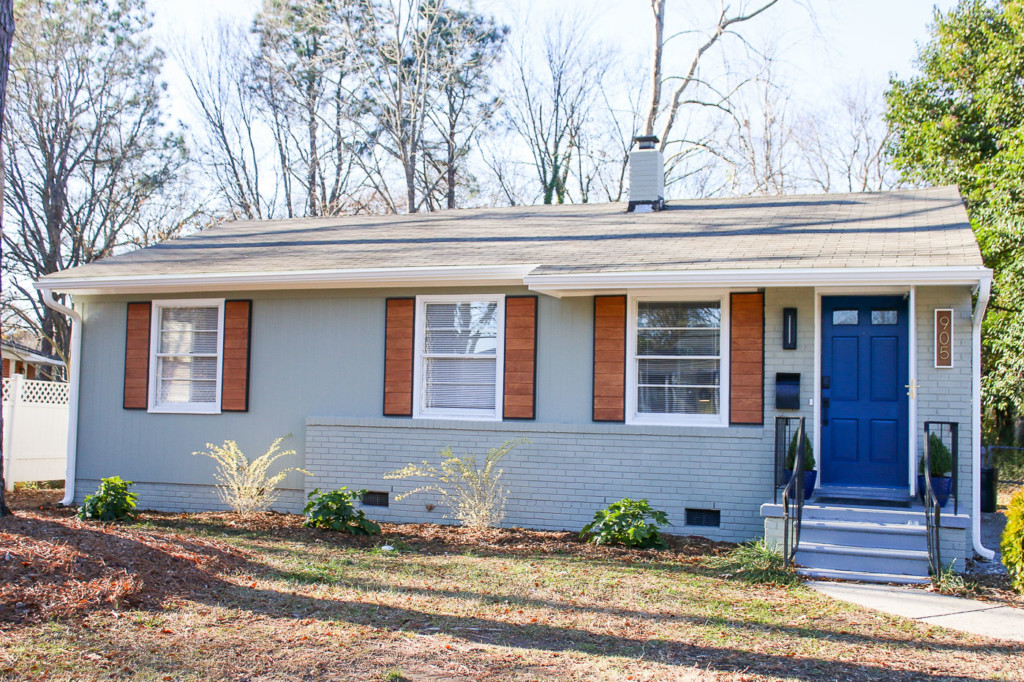
It’s unreal how different this house looks from the day I bought it!
It doesn’t even look like the same house! And you should see the inside, it’s looking so good. Stay tuned for more updates.
![]()

How did you secure these to brick?
Screwed directly into the brick using masonry screws. This might be helpful: https://www.youtube.com/watch?v=6Ft3PpyxQo0