
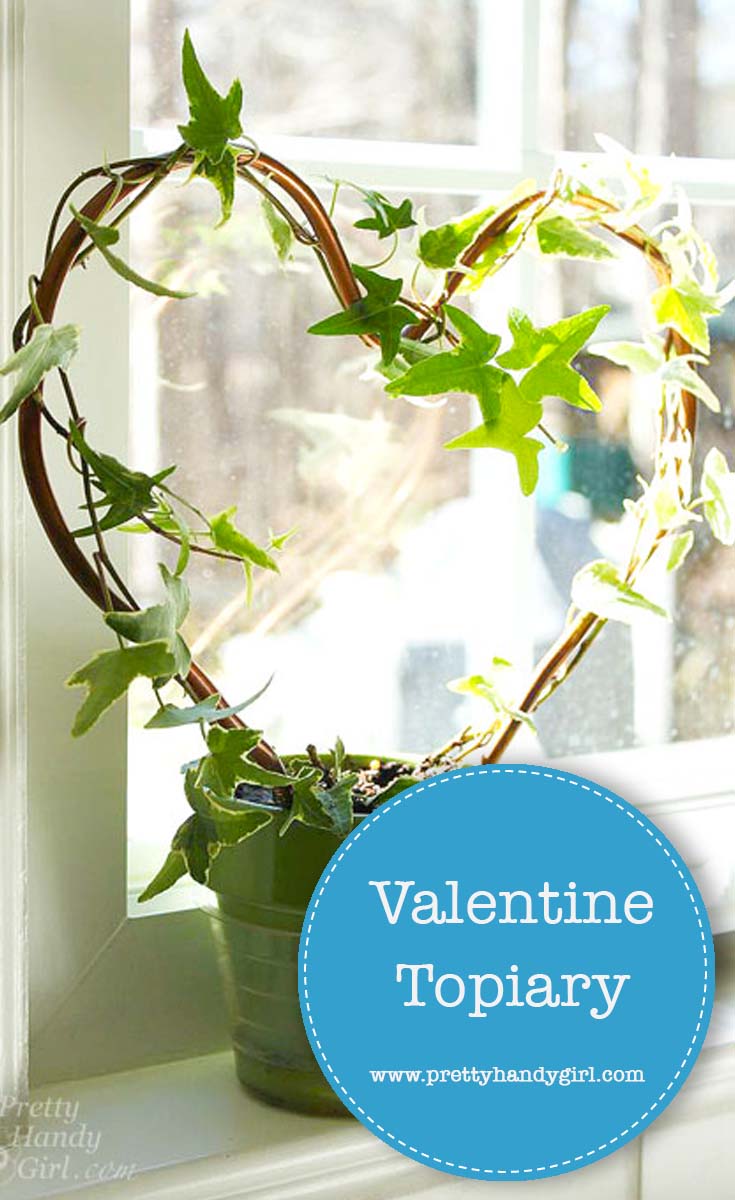
Heart Shaped Topiary

The season of love is upon us. Have you embraced it? Or are you struggling to find something cute but not cutesy. Or something non-red or pink? Today I have a tutorial to show you how easy it is to create a heart shaped topiary. Keep it for yourself or give it to the one you love. As the vine continues to grow, the heart will be embraced by the leaves and fill out.
In late Autumn, we had a final blue bloom on our hydrangea bush. I clipped it and brought it inside before the impending cold snap arrived. To keep the hydrangea company, I put a few snips of variegated ivy into the vase too.
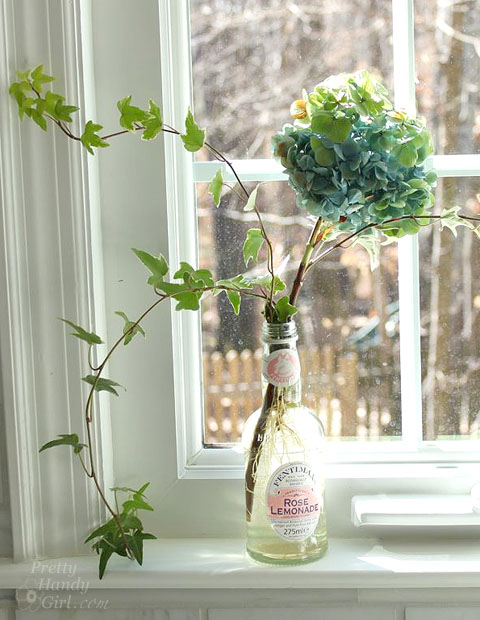
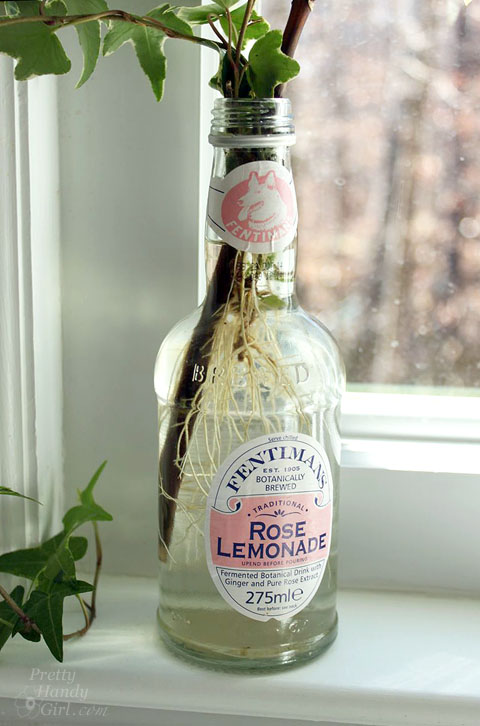
Over the winter, the ivy grew a healthy root system. Ivy is an easy plant to root. Simply put some clippings in water and keep it watered. After the ivy has rooted, you can create a beautiful topiary plant for a kitchen window sill.
Begin by collecting your materials.
Materials:
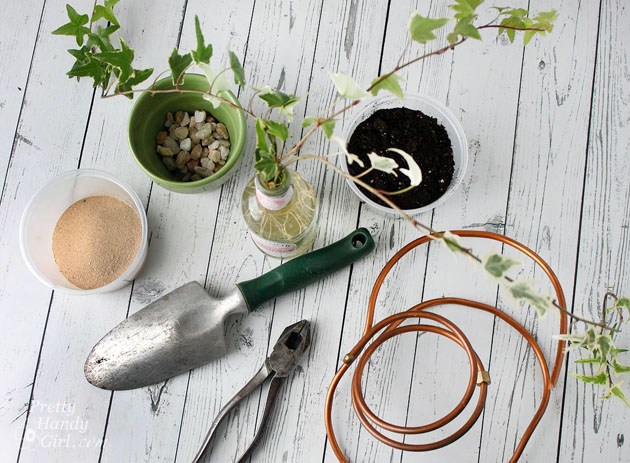
- Ivy with roots
- Copper water line or thick wire
- Wire cutters
- Pot
- Rocks
- Sand
- Potting Soil
- Trowel
- Water
Optional: string, floral wire or a twisty tie
Instructions:
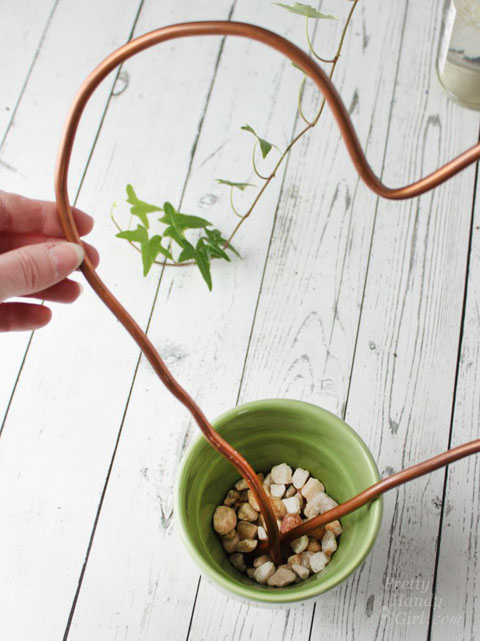
Begin by bending the copper piping into a heart shape. Use round objects (like the rim of the pot) to bend perfect curves.
Snip off any excess with the wire cutters (if you can’t cut through completely, bend the tubing back and forth until it snaps.) Be sure to allow a few inches extra on the copper frame to be buried under the soil.

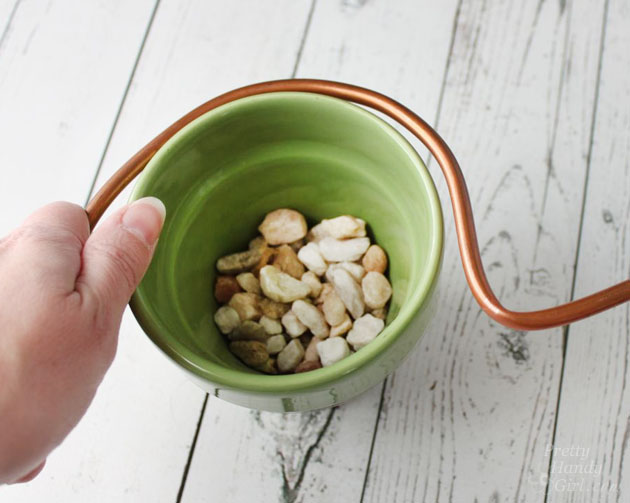
Put some rocks in the bottom of the pot. Insert the copper heart into the pot and down into the rocks as far as possible.
Add sand for more stability.
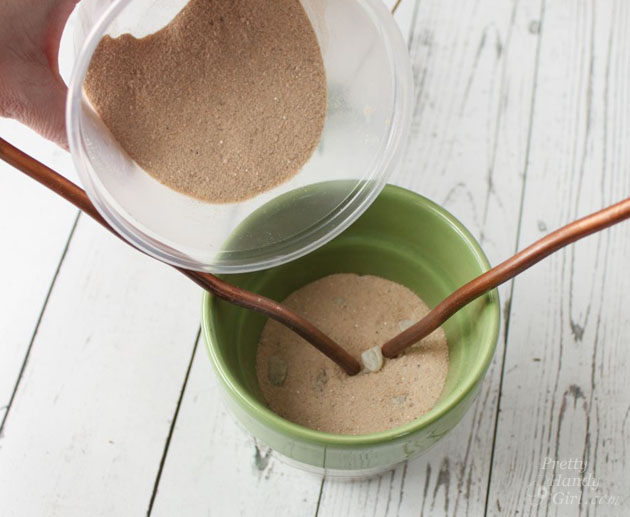
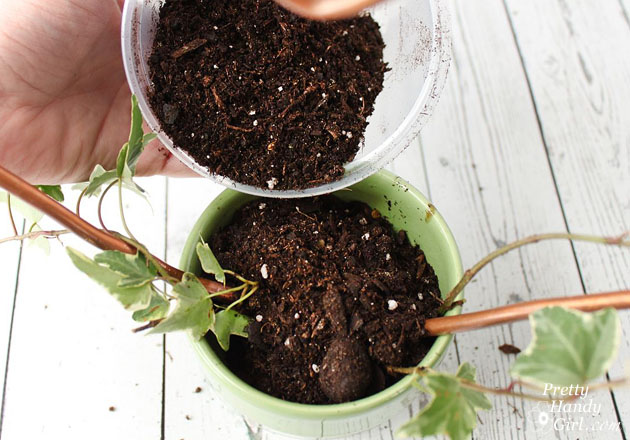
Add some soil on top of the sand. Do not fill the pot yet.
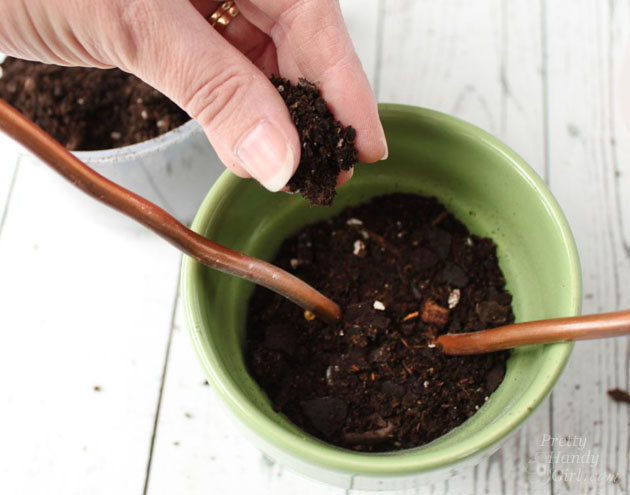
Add the ivy clippings.
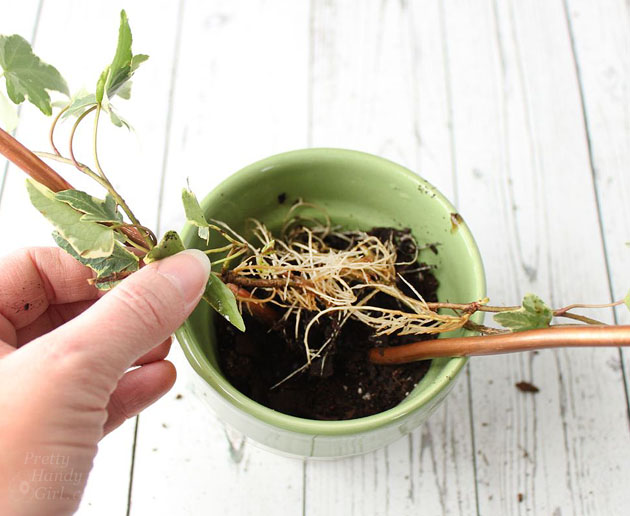
Cover the roots of the ivy clippings with potting soil. Stop just below the rim. Press down on the soil to compact it against the roots. Add more soil if needed.
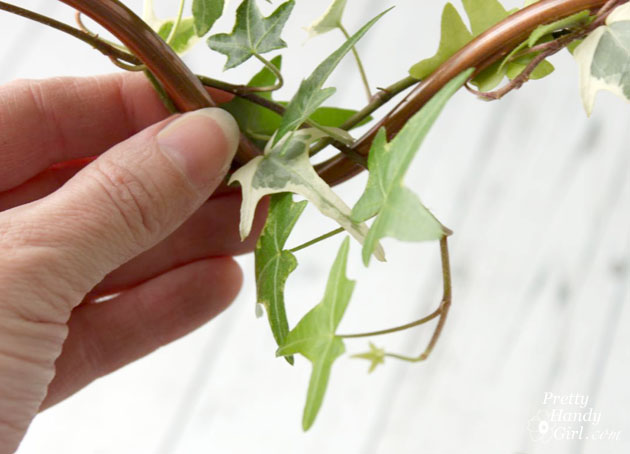
Wrap and train the ivy clippings around the copper frame. If you have any strands that don’t stay put, you can use string, floral wire or a twisty tie to secure it in place.
Water your ivy topiary and set it in a sunny spot. As the ivy sends out more shoots, train it around the wire frame and pinch off any excess that you wish to remove. You can probably root the removed strands to add later or start a new topiary.
Enjoy your heart shaped topiary.
![]()
P.s. Love my painted wood backdrop? It’s printed on vinyl! Get your own from Leen the Graphics Queen.
Pin for later!


You really are pretty clever. Excellent instructions. Can you suggest what gauge of water line or wire is best. Thank you
The thicker the better You want it to stand firm and hold the ivy.
I adore this!!!!
The copper tubing is so inexpensive..I made a little yard art project with it last year….but like your idea more.
So fresh of an idea, literally. Great inexpensive idea, Thanks for this one Brittany!
This is wonderful! I’ve been enjoying my gardening at the moment, so I may have to give this one a go <3
This is super cute! I love it. It looks really simple to make too. Thanks for sharing. Happy Friday!