How to Install Trim and Casing Moulding on a Casement Window
Hello Friday!!! It’s been a chaotic week here, how about yours?
I’m excited to be sharing more tutorials from the kitchen renovation. I hope you’ll excuse me as we jump back and forth in the renovation process. I’ve been trying to get the most relevant tutorials to you as soon as I can. Speaking of relevant, I understand there are a lot of under-dressed windows out there that need trim or could use a little more “WOW Factor”! Is that your case—ment? Hahahaha. Well, sit down for a minute and I’ll go over the details for installing window trim and casing on a casement window. Have no fear if you have a double hung window or other, these techniques will work for those windows too.
Replacement vs. New Construction Windows:
But, let’s back up for a minute. I wanted to share with you a little snafu that happened with our casement window. When I ordered it, the guy taking the order asked me a few questions and somewhere there was a translation breakdown. He thought I needed a replacement window because I was replacing an existing window. What he didn’t realize is that I was increasing the size of the window opening and therefore needed a new construction window. In the end, I was stuck with the replacement window, but my handman and I used as many weather-stripping, caulking and water barrier techniques we could think of to keep it water tight.
This is what you need to know when ordering a new window: If you are removing the old and putting in a new window into the same frame, you order a replacement window. If you are expanding or changing the size of your window opening you need to order a new construction window.
Materials:
- 2×2″ boards
- 1×6″ board
- Window casing
- Back band moulding
- Small base trim
- Small crown or cove moulding
- Stool Moulding
- Jigsaw (coping saw or hand saw)
- Shims
- Utility knife
- Construction glue
- Caulk
- Caulk gun
- 3M Advanced Abrasives
 Sanding block
 - ScotchBlue™ Painter’s Tape
- Finish nailer
- Finish nails
- Primer
- 3M Wood Filler
- Putty Knife
- Paint
- 3M Tekk Protection
 Ear Plugs
 - 3M Tekk Protection Eye Glasses
Instructions for Installing Trim, Casing and Moulding on a Window:
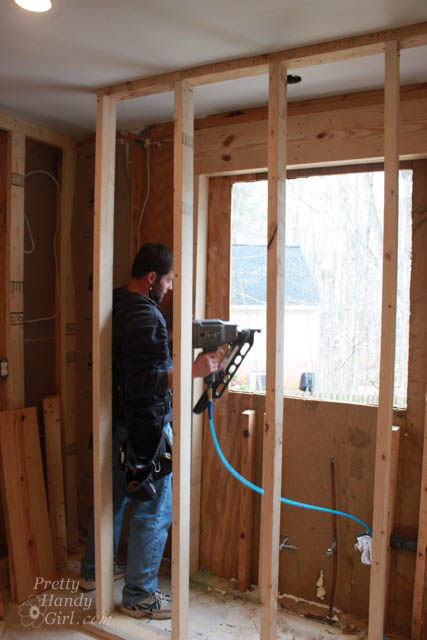
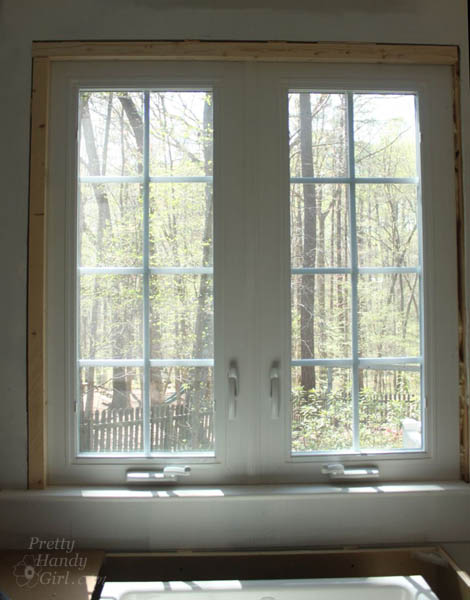
This is what we’re starting with. The window has been installed and I used Great Stuff foam insulation to seal any gaps around the window.
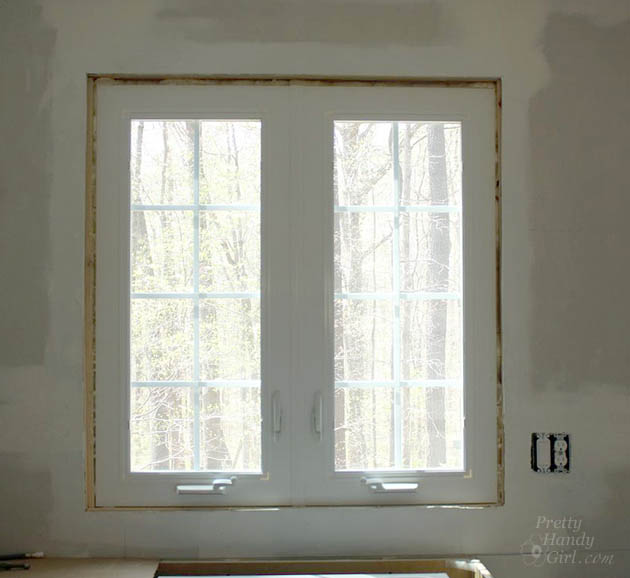
That poor window looked embarrassed to be stark naked. I knew she’d appreciate being trimmed out in the finest of moulding, so here’s how I installed trim and casing onto the casement window.
Find the center of your window (the actual window, not the frame) and leave a pencil mark. Use this mark as your guide for the stool and the window trim.
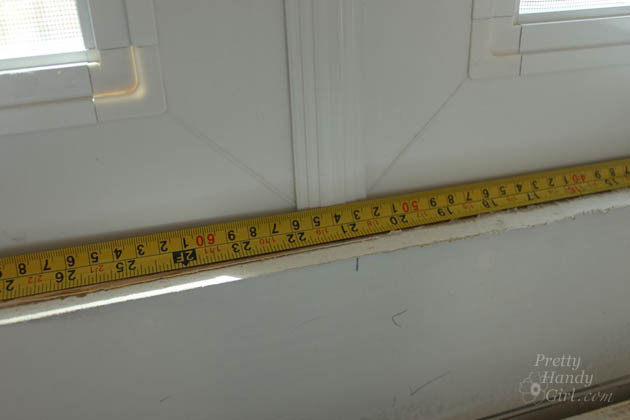
First measure and cut the window stool. You can use a jigsaw, coping saw or hand saw to cut out the edges of the stool so it fits snug against the window and has a reveal over the sides of the window. Take into consideration the width of the window casing and trim on each side and add an inch for the stool to extend beyond the trim. (see photo below to visualize the end product.)

When your stool fits, check the level of the stool and use wood shims if necessary.
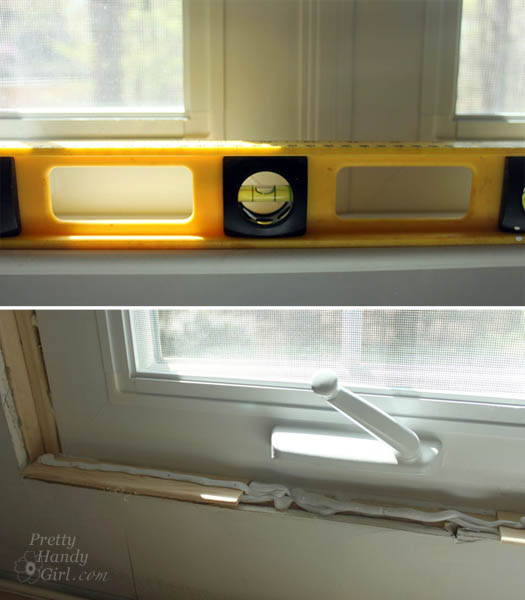
Add a line of construction glue and secure the stool to the window sill with nails.
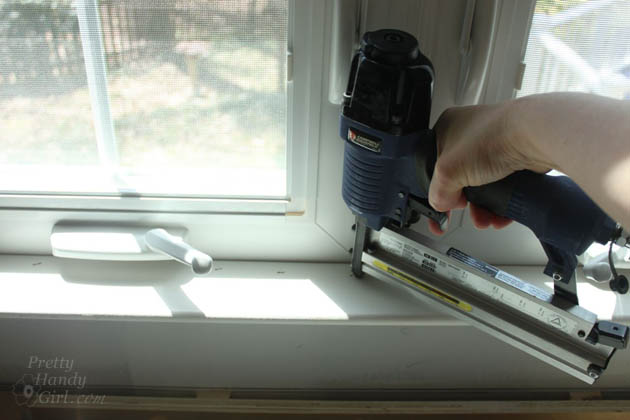
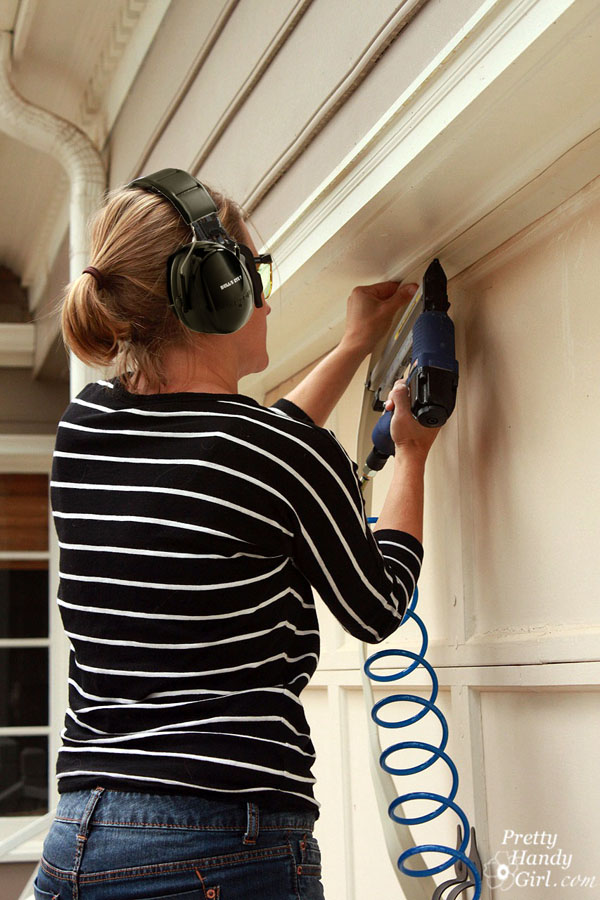
Safety note: When using a finish nailer be sure to wear eye protection and hearing protection. Don’t worry, you’ll look totally cool in your snazzy safety gear. It’s better than the missing eyeball look.
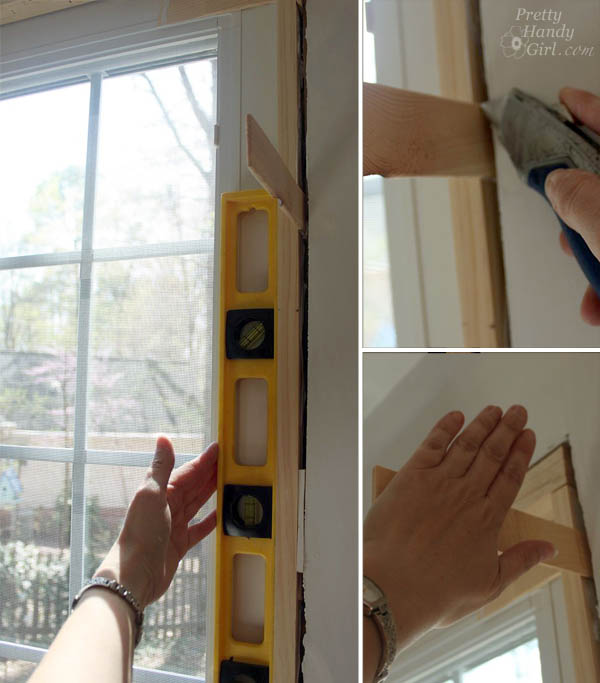
Build out your window frame by cutting a 2×2″ board for the top of the window. Level the top with shims and secure it with finish nails.
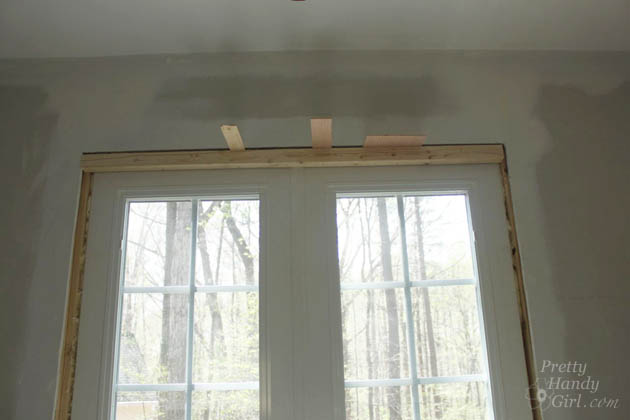
Cut two more pieces of 2×2 for the sides. Make sure you have the same reveal of the window on each side (refer back to your center mark.)
You may need to build out one side with shims to get an even reveal on both sides. Make sure the sides are plumb. Secure the sides with finish nails and break the shims off by scoring them with a utility knife and breaking them with your hand. (You don’t have to sing the Kung Fu Fighting song when doing this, but I do.)
Time to add the side pieces of casing and backer board. The backer board is not necessary, but I decided I really wanted to “pimp my window”.
Decide what amount reveal you want showing on the window stop. Mark this depth on the 2×2″ window stops. (I chose a 1/8″ reveal.)
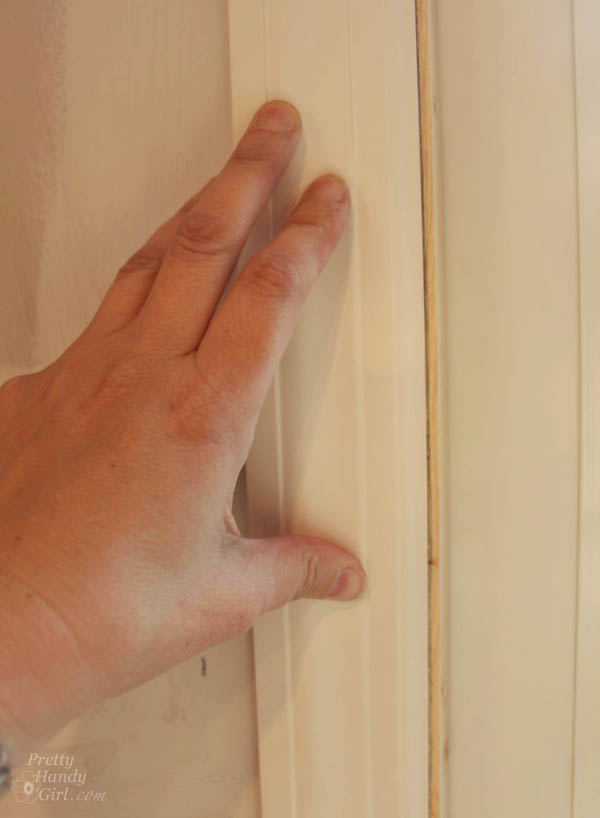
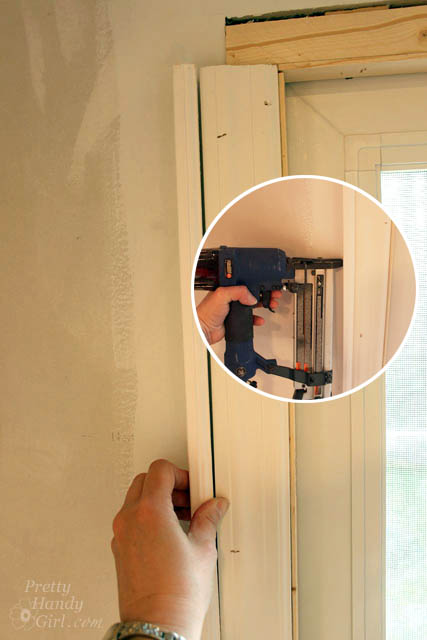
Measure and cut your window casing to meet the 1/8″ reveal mark on top. Secure the window casing with finish nails.
Measure and cut the backer band to the same height. Secure with finish nails.
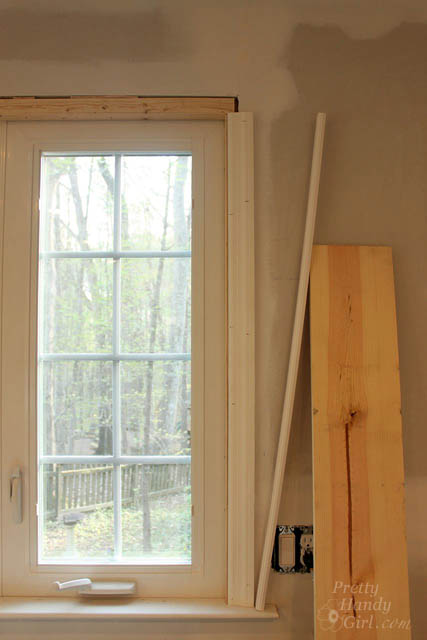
The window should look like this:

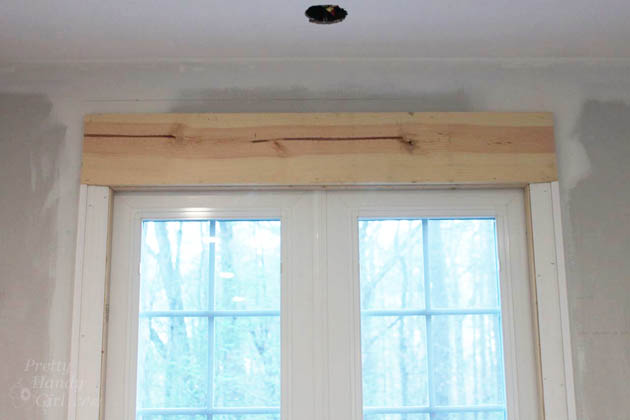
Cut the 1″ x 6″ board to fit even with the outer edges of the casing and backer band. Attach it above the window with more finish nails.
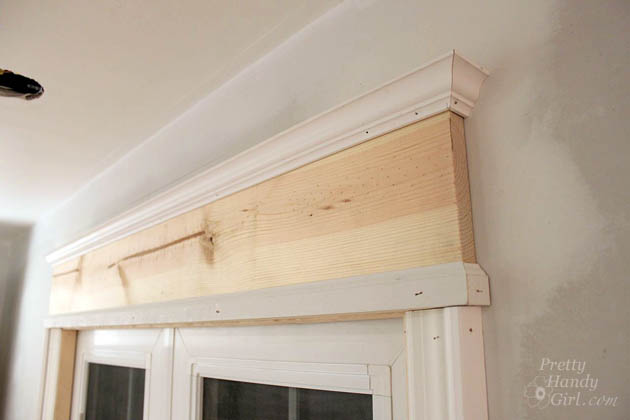
Cut the small cove and the small base trim pieces to fit across the top and bottom of the 1″ x 6″ board. The ends should be mitered where they meet the edges. Cut, two pieces at a 45 degree angle to act as a return for the moulding. Here’s a closer look:
Before securing the returns, add a dab of glue to hold it in place. Then use painter’s tape to hold the returns while they dry. After the glue dries, secure the returns with a finish nail in the center of each.

The window is now “pimped out” and ready for wood filler in all of the holes.

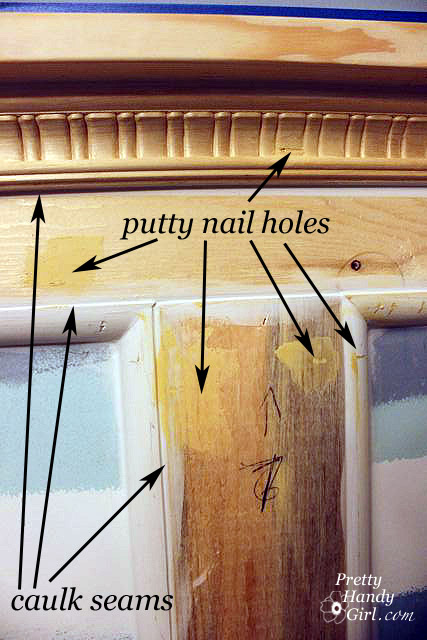
Caulk all the seams where the trim pieces meet each other and the wall and window. Use 3M wood filler to fill all nail holes (photo below for illustrative purposes. Not my actual window.)
After the wood putty has dried, sand it smooth using a 3M Sanding abrasive sponge.
Wipe any sanding dust off. Prime and paint the window.
And you’ll never see the seams!

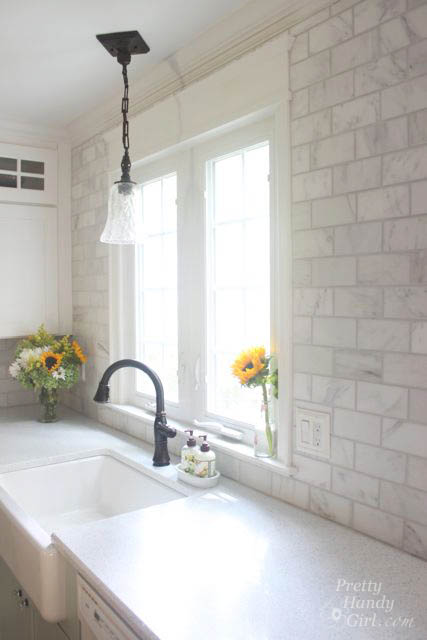
She’s all dressed up and ready for the dance.
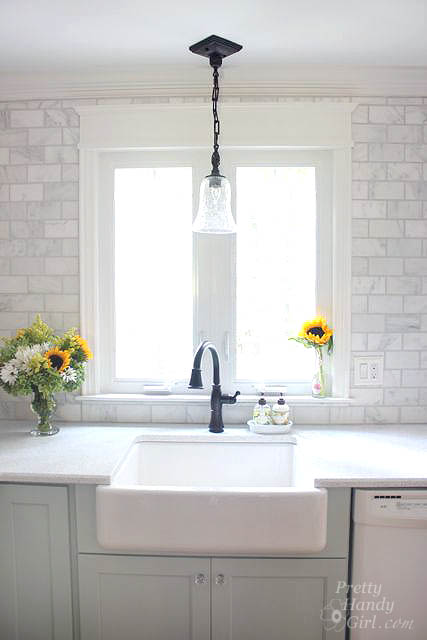
I love the depth of our sill, it’s just enough to set a vase onto. I should also note that I decided to forgo the traditional apron. I ended up using pencil edge marble tiles instead.
That seemed relatively easy, don’t you think? Trimming out a window is a personal affair, so be sure to experiment and get creative with your trim moulding. Remember, it’s your house, you can dress it up the way you want!
Here are three other great window trim tutorials:
How to Install Window Trim by Remodelando la Casa
How to Trick Out Your Trim Molding in Five Easy Steps by Sawdust Girl


Disclosure: This post is a collaboration with 3MDIY.com. To keep up-to-date on projects, products and sampling visit 3MDIY.com. Or follow them on 3M DIY Twitter Page , 3M DIY Facebook Page, or 3M DIY Pinterest Page


it looks like you added the tile after all of the window trim. How difficult was it to cut the angles around some of that casing and how did you accomplish it? Tile Nippers or on a wet saw? Nice work!
I cut into the trim that sticks out and slid the tile behind it. Otherwise, I use a wet saw to “grind” the profile out of the tiles.
Do you happen to know the brand the light fixture is in your pictures? Thanks in advance for any insight.
The brand is Uttermost, I got it years ago from a site that is no longer in business, you can read about it here: https://prettyhandygirl.com/how-to-install-a-hard-wired-pendant-light/
Brittany you are awesome. That window is absolutely stunning.
I am trying to install celluar shades inside my window frame, however the current molding around the window is too shallow. Can I build out that molding or do I to have remove it and start from scratch? ?
I don’t see why you can’t build it out.
This turned out great on my windows for my craftsman. Question though, what trim do you have below/under the stool moulding ?
It’s actually pencil tile (rounded over marble tile.)
You continue to inspire me to continue with my DIY home improvement projects! I wish I had thought of your “name” – you and Saw Dust Girl!
My husband gave me a new miter saw as a reward for finishing the new slate in our bathroom. I can’t wait to hone my skills add trim to a kitchen window and crown moulding Everywhere!
Too many projects, too little time.
Thanks again!
Absolutely love this..! Do you mind sharing what trims you used for the Small base trim
and small cove moulding? The stores have SO many options, I’d like to get this particular look so if you have links or names it would be fantastic!
Also, it looks like you used the 2.25″ window moulding inside the backband, did you shim up the lower profile part of it at all (against the wall) to get a consistent surface for under the 6″ header, or once it’s caulked and painted the depth variation won’t be visible?
Mara, I bought the small base and small cover moulding at Lowe’s. I’m sorry I don’t have links. Regarding the backband and window casing question: Correct, once you caulk the backband and the window casing you don’t see any gap. I didn’t shim it.
Great tutorial! I had a question, I’m very new to this – haha – in this photo: https://prettyhandygirl.com/wp-content/uploads/2013/09/level_shim_sides.jpg
are you using a 1×2 on the right side? It looks thinner. Do the 2×2’s mainly to hide the gaps there? THanks 😀
Jesse, right you are! I had to improvise because the window wasn’t centered in the frame, but we centered it on the light fixture. So, yes, I had to use a thinner stock board there. Thanks for pointing that out. I had forgotten I did that ;-). And the 2×2’s come in and frame the window and hide the gaps between the window and the framing 2×4’s. Does that make sense?
Looks so good, and I love how you remind people of the necessary steps (like using a level) which can be so easy to forget! I just framed our new front door and totally agree that framing out a door or window just makes the whole thing!
Thanks Brit! Haha, and the necessity of ordering the correct window ;-D.
Looks fantastic. Love the style of your trim and I love that tile. Simply stunning!
Thank you! I love it too.