• Home
  • About
  • My Home
  • Project Gallery
    • Decorating
    • Painting & Antiquing Techniques
    • Arts & Crafts
    • Build It
    • Electrical
    • Plumbing
    • Gift Ideas
    • Sewing
    • Tool Tutorials
    • Home & Auto Maintenance
    • Landscaping & Gardening
    • Photography
    • Recipes
    • PHG TV
  • My Toolbox
  • Contributors

Pretty Handy Girl

A DIY Blog Empowering You to Complete Your Own Project. Build it, Fix it and Do it yourself. Home project tutorials.

  • Contact
  • Advertise
  • Home
  • About
  • My Home
  • Project Gallery
    • Decorating
    • Painting & Antiquing Techniques
    • Arts & Crafts
    • Build It
    • Electrical
    • Plumbing
    • Gift Ideas
    • Sewing
    • Tool Tutorials
    • Home & Auto Maintenance
    • Landscaping & Gardening
    • Photography
    • Recipes
    • PHG TV
  • My Toolbox
  • Contributors
Home » accessories » Egg Place Cards

Egg Place Cards

March 18, 2015 Jaime Costiglio 3 Comments

109shares
  • Facebook
  • Twitter

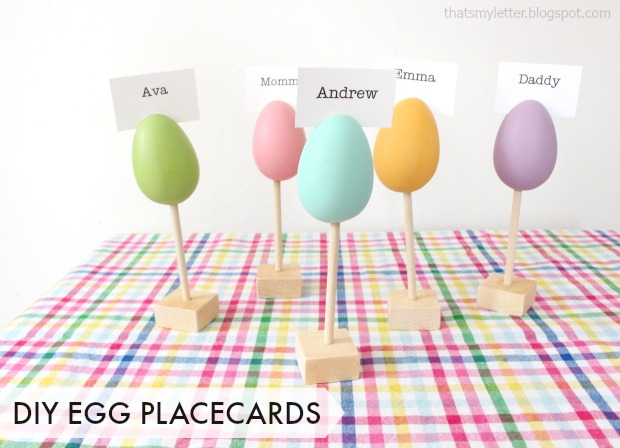
egg placecards

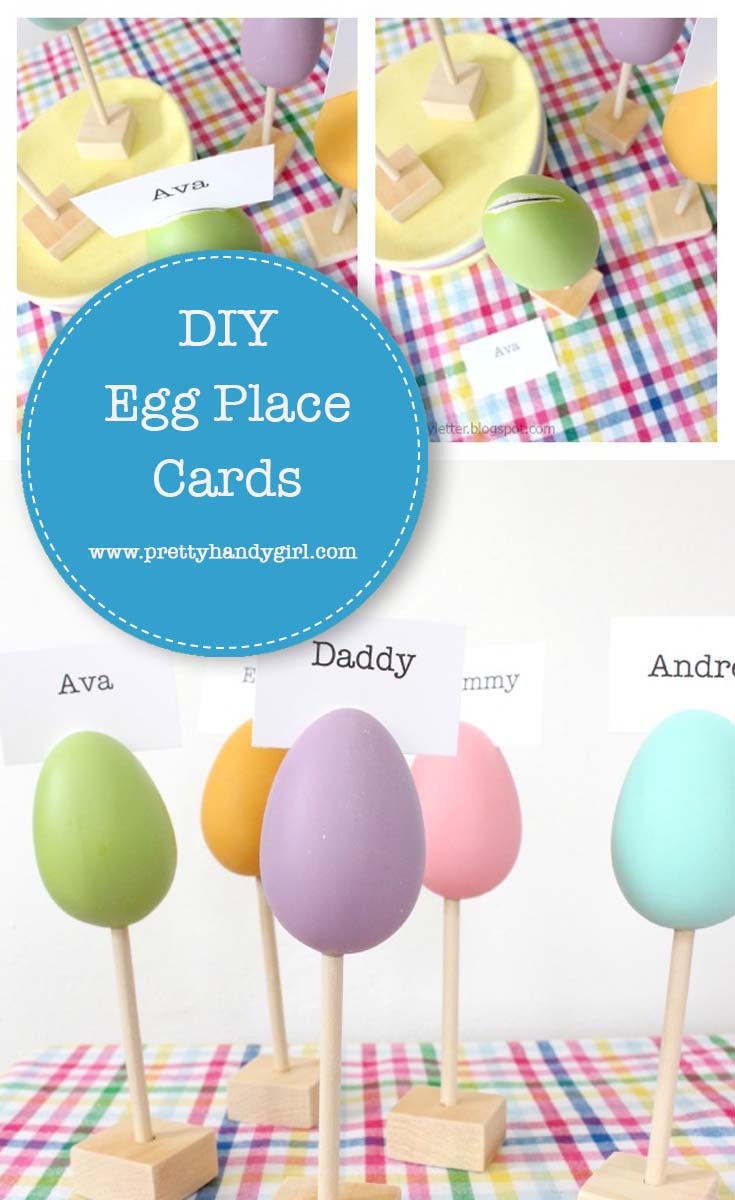
Finally Spring is on the way!  Hello Pretty Handy Readers, I’m Jaime from That’s My Letter here to share a simple DIY project for your Easter table: DIY Egg Place Cards.

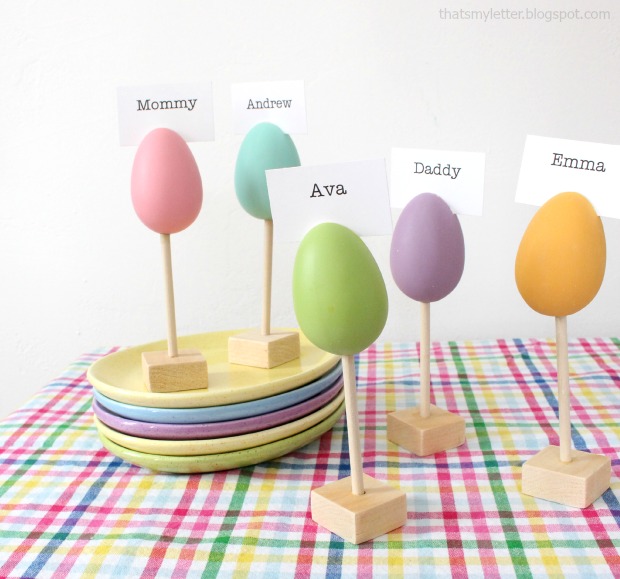
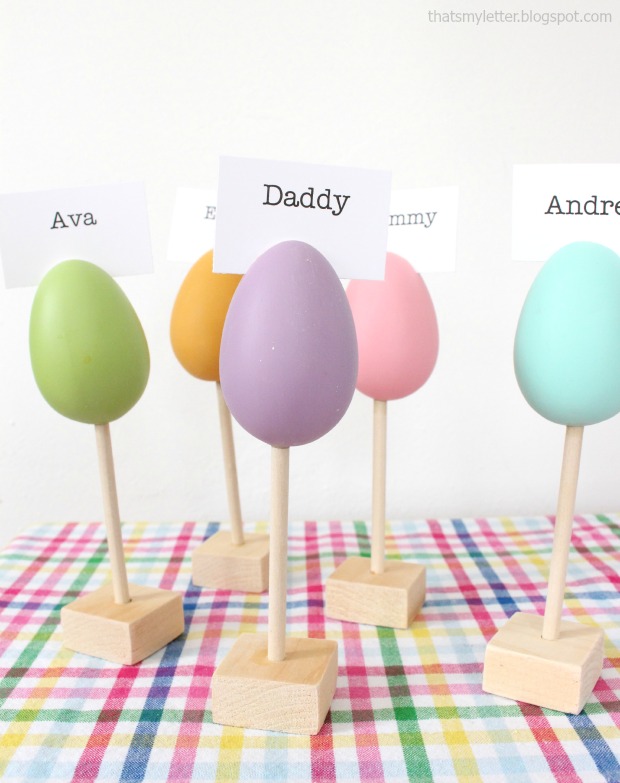
Or as my kids like to call these: eggs on a stick.  These egg place cards add a touch of Easter charm to your place settings with a little height and color to boot.

egg placecards 2

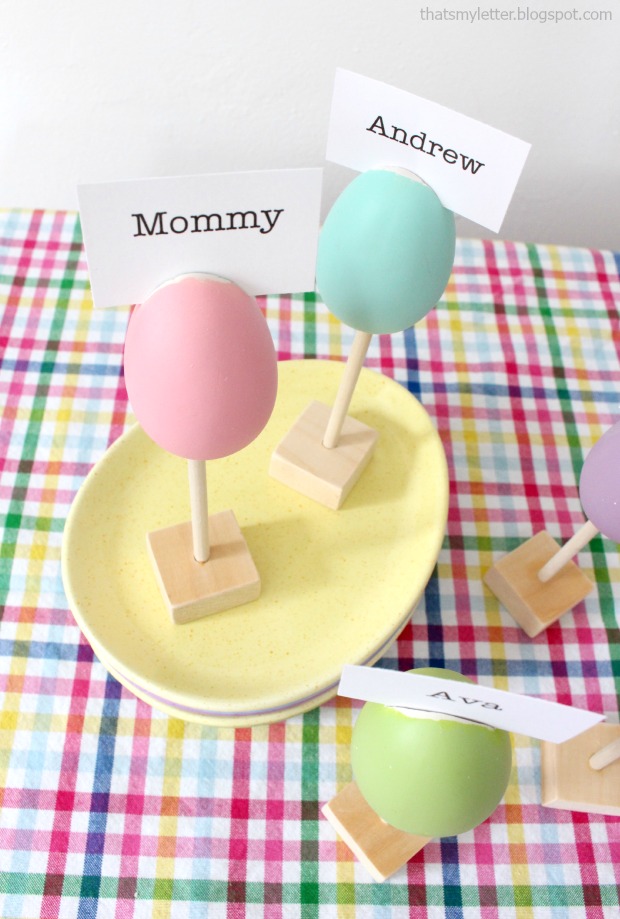
You can simply print the names onto heavy white cardstock and cut them into small rectangles to fit into the eggs.

egg placecard name slot

Follow along to see how to make these egg place cards with a few simple tools.

Supplies:
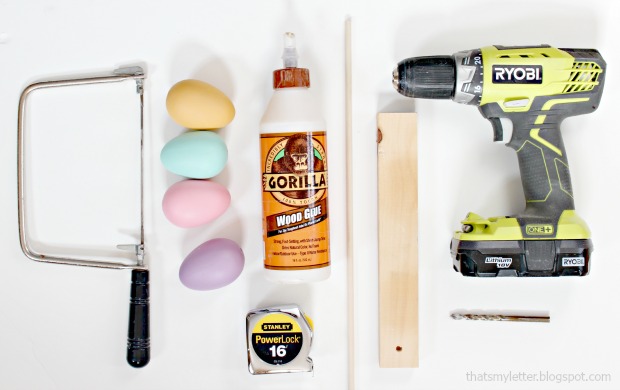
egg placecards supplies

  • craft eggs (I used ceramic painted eggs.)
  • 1/4″ wood dowel (4″ per place card)
  • 1 x 2 pine board cut @ 1 1/2″l (per each place card)
  • drill and 1/4″ drill bit
  • sandpaper
  • measuring tape
  • pencil
  • wood glue
  • coping saw or other small hand saw

Instructions:

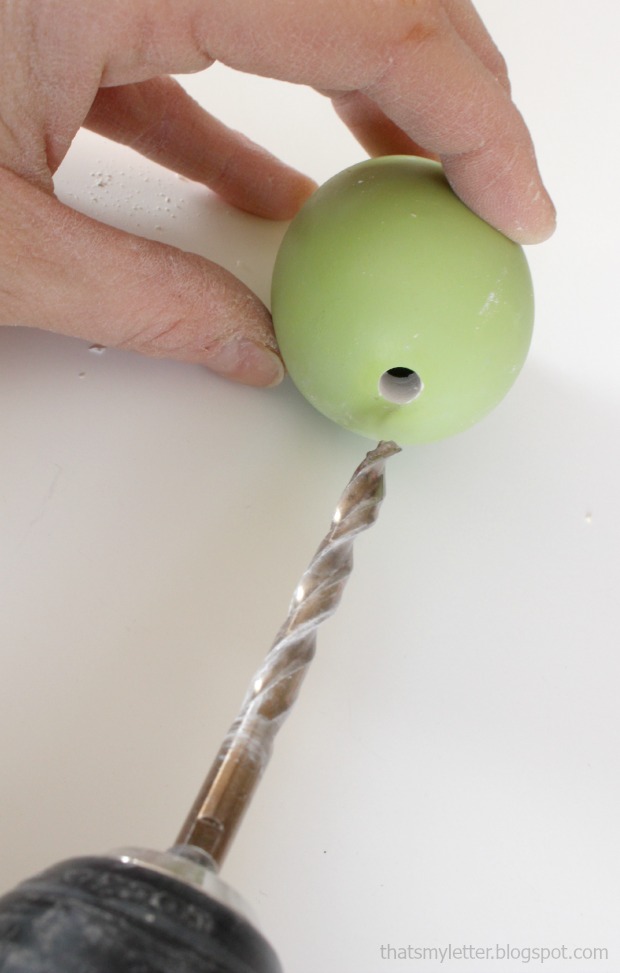
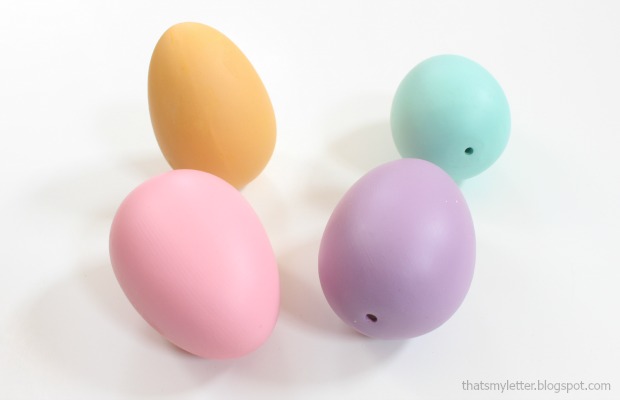
Step 1: The ceramic eggs I used already had a small hole in the bottom but not big enough to fit the wood dowel.
egg placecards eggs

Using gentle pressure enlarge the hole to 1/4″ with the drill bit.

egg placecards step 1

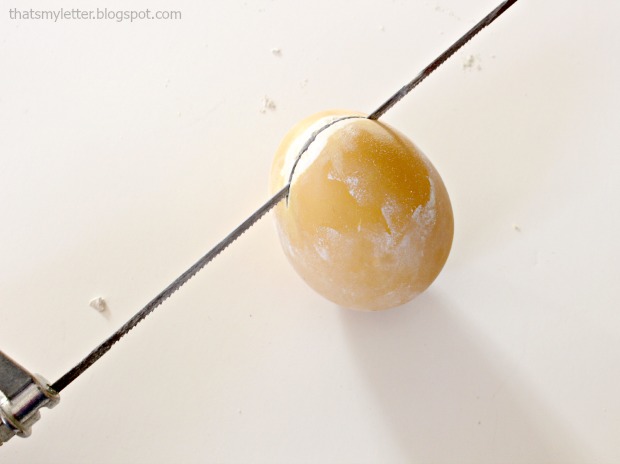
Step 2: Make the slot for the cardstock in the top of the egg with a coping saw.  Because my eggs are ceramic they did chip a tiny bit. Not a big deal, just sand smooth.

egg placecards step 2

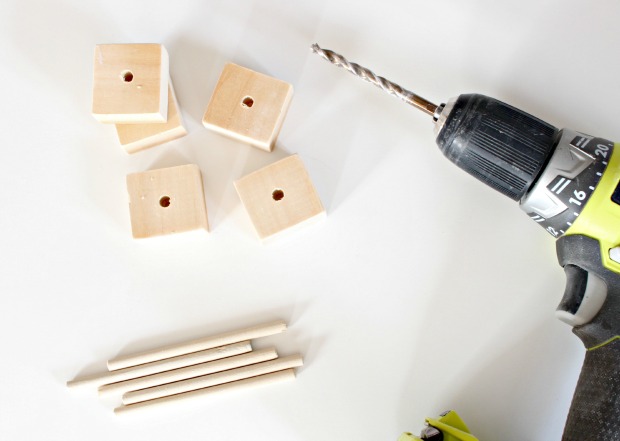
Step 3: Drill a 1/4″ hole in the center of the 1 x 2 pine squares, not all the way through just about 1/2″ down.

egg placecards step 3

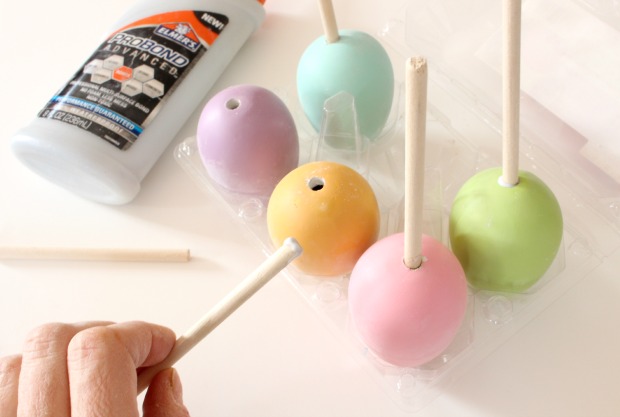
Step 4: Apply glue to one end of dowel and insert into the bottom of egg.  Use the carton to hold the eggs while drying.  (I used Elmer’s ProBond Advance glue here because of the ceramic egg.)

egg placecards step 4

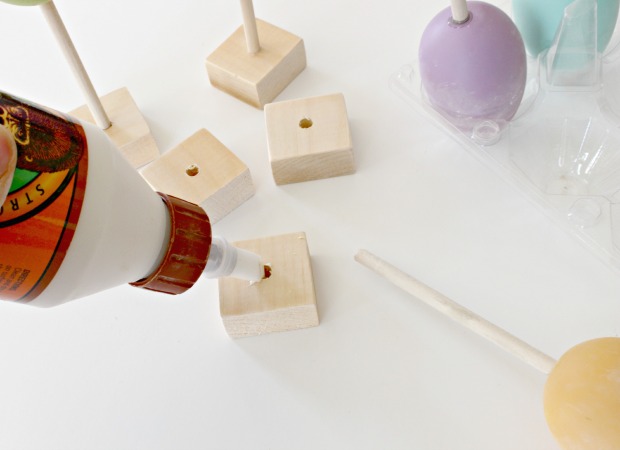
Step 5: Once the glue is dry in the egg, apply glue into the wood square base then insert the dowel firmly and let dry.

egg placecards step 5

Print out the names on cardstock in your favorite font or hand write for a personal touch.  Cut the cardstock to fit and slide into the top of the egg.

egg placecards 1

And now everyone will have their own spot at your Easter table.

egg placecards 3

Thanks for reading and Happy Spring!

Jaime signature


Pin for later!

Pretty Handy Girl shares a simple DIY project for your Easter table: DIY Egg Place Cards | DIY Easter Table Decor | #prettyhandygirl #Easterdecor #tabledecor

109shares
  • Facebook
  • Twitter

You might also like:

accessories, arts and craft, Decorating, Holiday decorating

Comments

  1. Katie @ Addicted 2 DIY says

    March 19, 2015 at 6:11 pm

    Love this idea! They’re so cute!

    Reply
  2. Paige says

    March 18, 2015 at 12:37 pm

    I love these place cards!! They’re so fun and cute!

    Paige
    http://thehappyflammily.com

    Reply
    • Jaime Costiglio says

      March 19, 2015 at 7:59 am

      Thanks Paige. Hope you have great plans for your Easter table!

      Reply

Leave a Reply Cancel reply

This site uses Akismet to reduce spam. Learn how your comment data is processed.

Hi, I'm Brittany aka Pretty Handy Girl. I like the smell of coffee and sawdust in the morning. I live to break stereotypes and empower you to take on your own DIY project.

  • Email
  • Facebook
  • Instagram
  • Pinterest
  • Twitter
  • YouTube

Saving Etta - Follow the Adventure to Flip a Historic House

  • Email
  • Facebook
  • Google+
  • Instagram
  • Pinterest
  • Twitter

Privacy Policy

Affiliate Link Disclosure:

Pretty Handy Girl is a participant in the Amazon Services LLC Associates Program, an affiliate advertising program designed to provide a means for sites to earn advertising fees by advertising and linking to Amazon.com.

Copyrighted Content Permission

All images and tutorials on this blog are copyrighted material. Please contact me if you would like to borrow any media (photos, video or audio files), tutorials, or ideas from this blog. 99% of the time I would be happy to allow you to use one photo with appropriate credit and link back to PrettyHandyGirl.com (preferably to the same post it was borrowed from.) I can be contacted via email: PrettyHandyGirl (at) gmail.com.

© 2021 · Pretty Handy Girl ·

We use cookies to ensure that we give you the best experience on our website. If you continue to use this site we will assume that you are happy with it.Ok