Easy Peppermint Star Ornaments
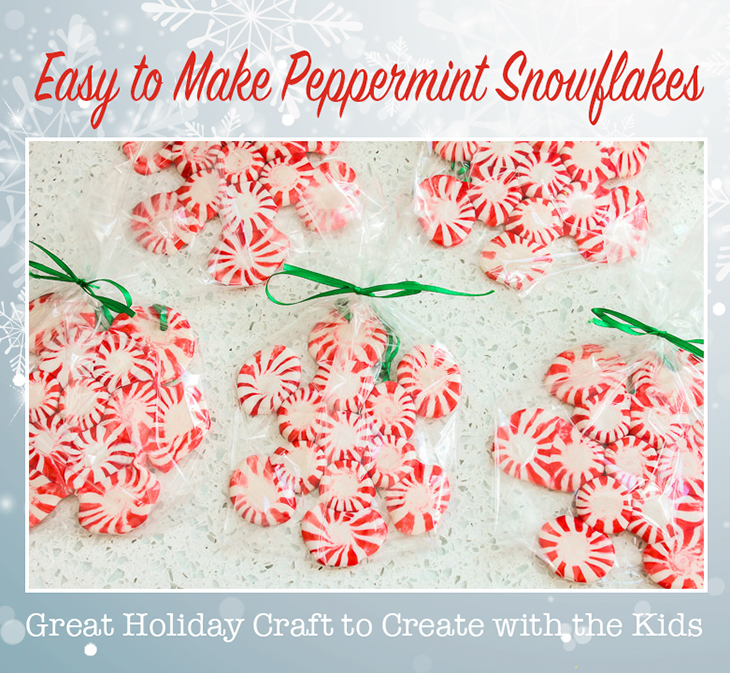
Last year I made these Easy Peppermint Star Ornaments. They were a lot of fun to watch as they melted and fuzed into a snowflake ornament. My son asked if we could make them again this year. Because the kids are officially out of school now, I thought this would be the perfect holiday activity today.
Won’t you join us as we make these Easy Peppermint Star Ornaments?
(I’ve included affiliate links for your convenience. I earn a small percentage from a purchase using these links. There is no additional cost to you. You can read more about affiliate links here.)
Materials:
- Star Brite Peppermint Candies
- Parchment Paper
- Baking Sheets
- Large needle or knitting needle
- Green ribbon
- Gift bags
Directions:
Pre-heat oven to 300˚F.
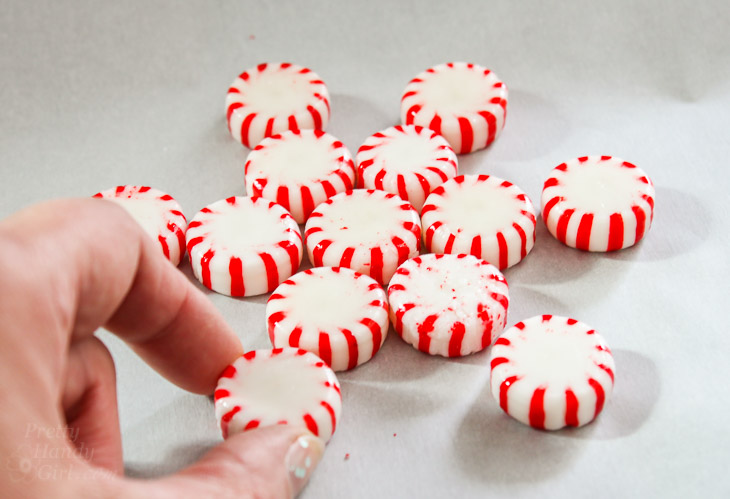
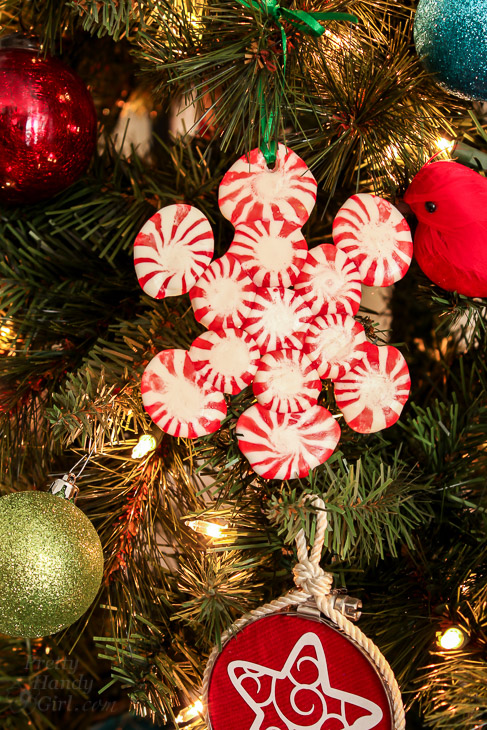
Unwrap the candies. You’ll need 13 candies per star. Lay the peppermints onto a baking sheet covered with parchment paper. Arrange them into a snowflake design:
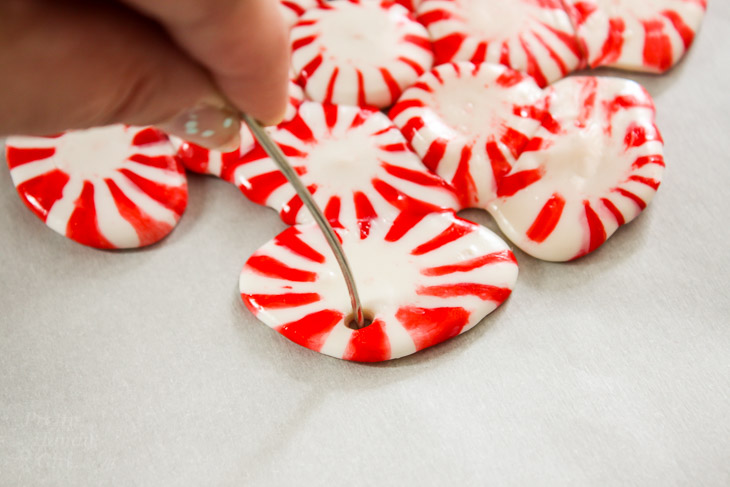
Place the baking sheet into the pre-heated oven. Bake for 8 minutes.
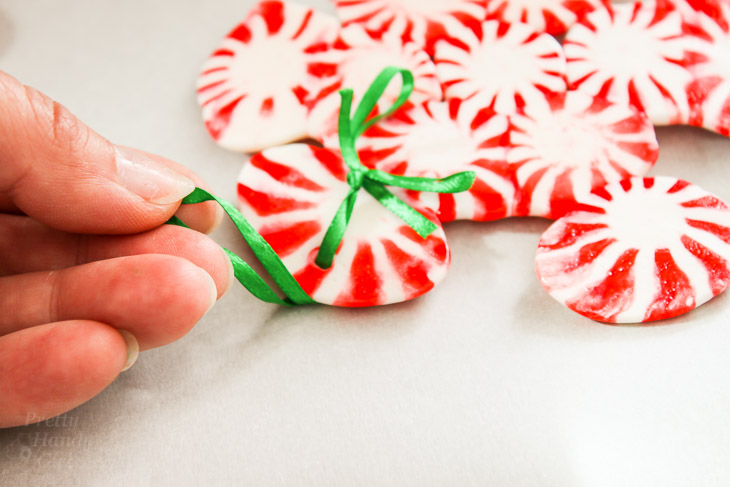
Remove the tray and immediately use a large needle to create a hole in the top of one of the outer points of the snowflake.
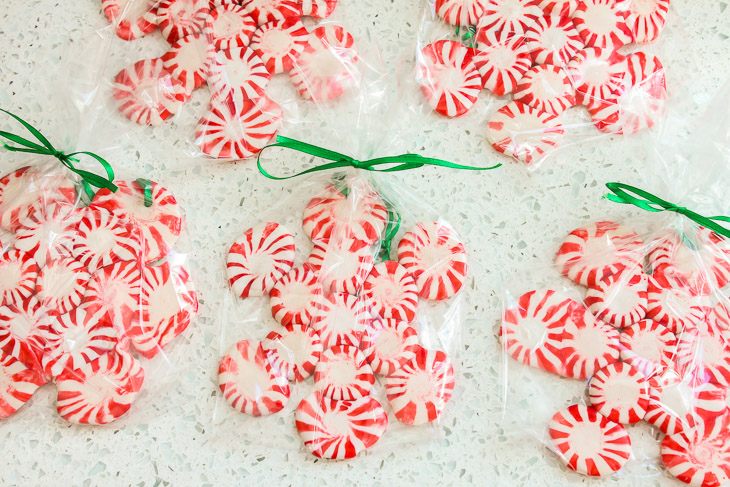
Allow the peppermints to cool and thread a green ribbon through the hole and tie.
Wrap up the Peppermint Star Ornaments in treat bags and give them to your friends and neighbors!
Or hang them on your tree ;-).
Here’s the quick video wrap up for how to make Easy Peppermint Star Ornaments:
Be sure to plan on making more than you need. The melting process can create some not so desirable snowflakes, but they still taste good ;-).
![]()
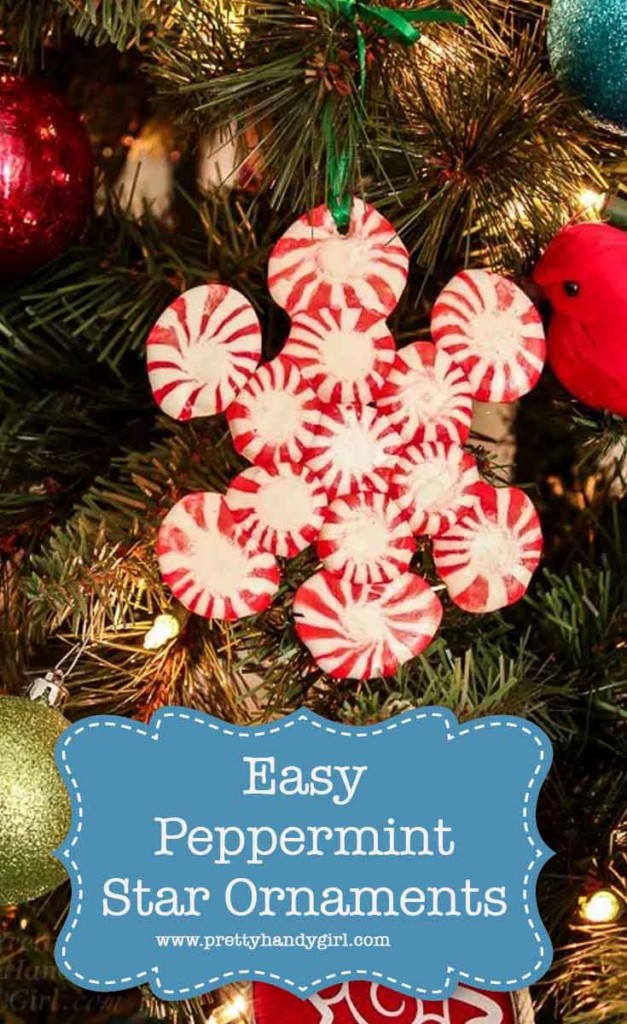
Pin for later!

What a cute & simple idea! I need to make some of these with my granddaughters. Thanks for the great tutorial.