
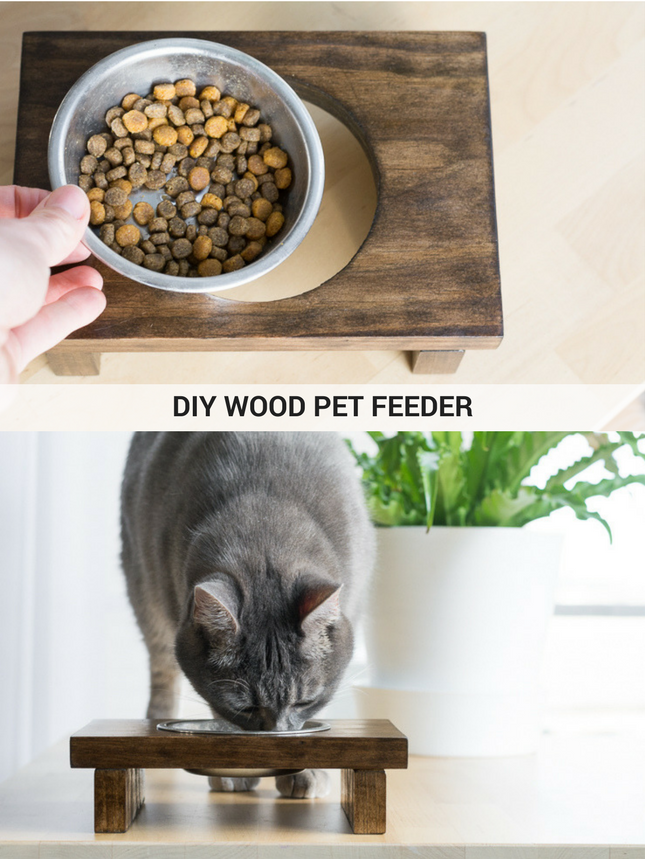
DIY Wooden Raised Pet Feeder
Hello Pretty Handy Girl readers! It’s Brittany from by Brittany Goldwyn popping in today to share a pretty simple woodworking project for you: a raised pet feeder!
I made a pet feeder around this time last year. However—without thinking—I made it with spots for two bowls: one for each of our kitties. A few months ago, we noticed that Blanche wouldn’t eat her food until Henry had finished, but it was clear she was hungry because she’d scarf her food down when Henry was finally done. We got into the habit of taking one bowl out and putting it on the counter so that they could eat at the same time.
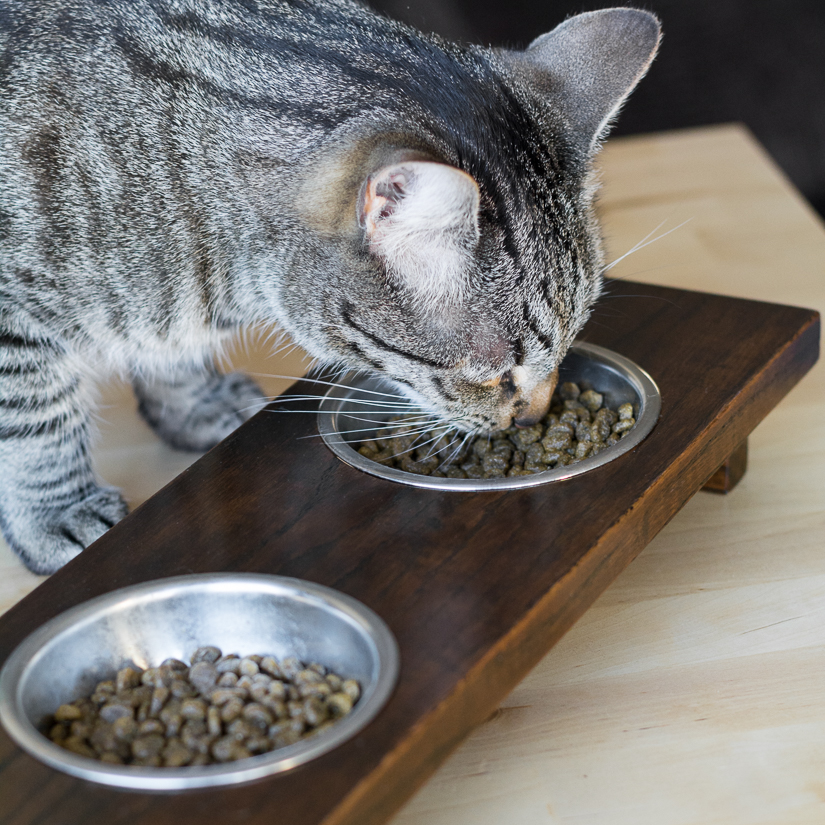
See? Food hog hogging all the food.
This solution was problematic for three reasons:
- I don’t want to encourage them to get on the counters, even though they are cats and they are going to do whatever they want.
- Blanche sometimes pushes her bowl off the counter by accident and spills her food everywhere.
- They weren’t even using the double feeder for its intended purpose.
Back to the drawing board! I decided to replicate the tutorial for a smaller, single-bowl raised feeder for each of them. We’ll separate them and hope all goes well at feeding time.
Want to make one for your pet? Read on.
(I’ve included affiliate links for your convenience. I earn a small percentage from a purchase using these links. There is no additional cost to you. You can read more about affiliate links here.)
- 1×6 pine
- Wood glue
- Pencil
- Clamps
- Wood stain
- Polyurethane
- Medium and fine-grit sandpapers
Tools:
Cut list:
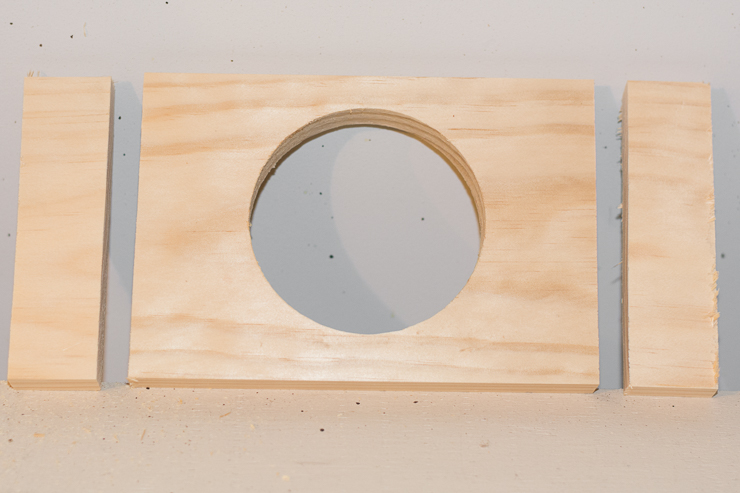
- (1) 8-inch piece of 1″ x 6″
- (2) 1 ½ inch pieces of 1″ x 6″
Instructions:
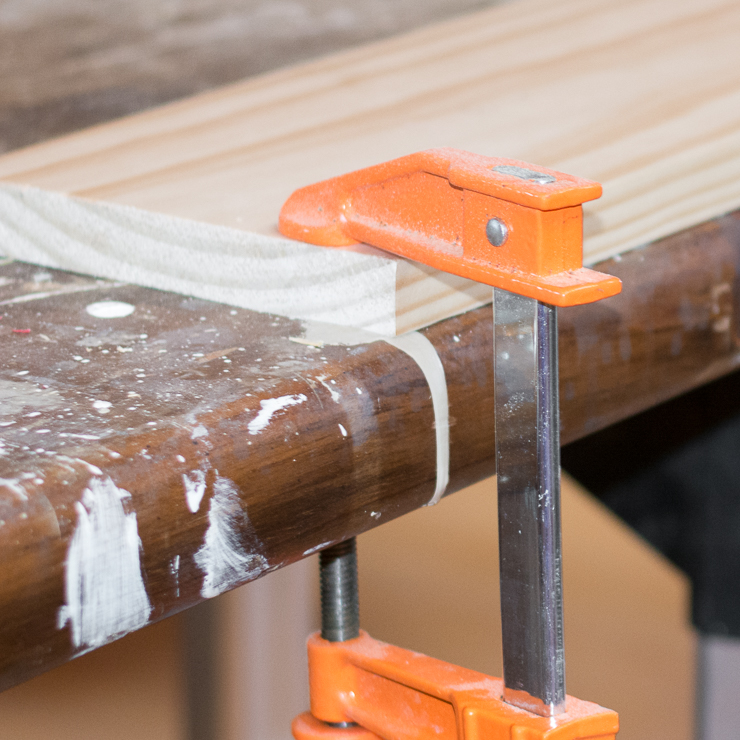
Step 1: Cut your pieces according to the cut list above. Use a tape measure and pencil to mark the center point on the 8-inch piece of wood. Clamp the wood to your work surface.
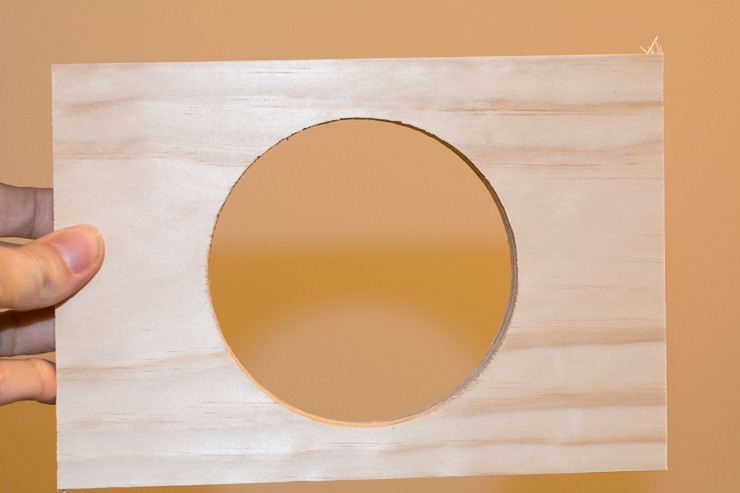
Step 2: Use your drill and 4-inch hole saw attachment to drill a hole.
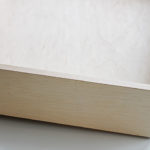
Step 3: Use medium-grit sandpaper to sand down any rough areas on the main piece and two leg pieces. You can also gently smooth over the edges to give the piece a sleek look.
The leg on the left below has been sanded, the one on the right has not. See the difference?
Step 4: Spread wood glue onto the top of each leg. Gently place the top down onto the legs.
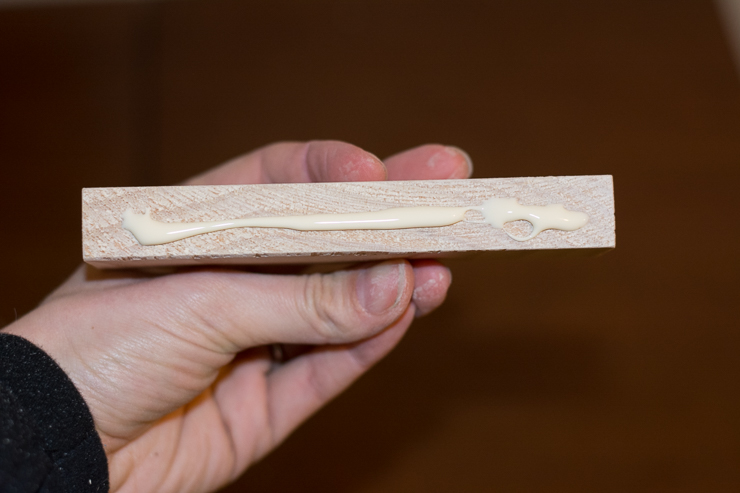
Step 5: Apply pressure from above with clamps or something heavy you have on hand. The key is to apply even pressure as the wood glue dries. (I used a weight from the garage gym!) If some of your glue bleeds out, don’t worry. You can use medium-grit sandpaper to sand down those areas. If you don’t sand off the dried glue, the area will not take a wood stain.

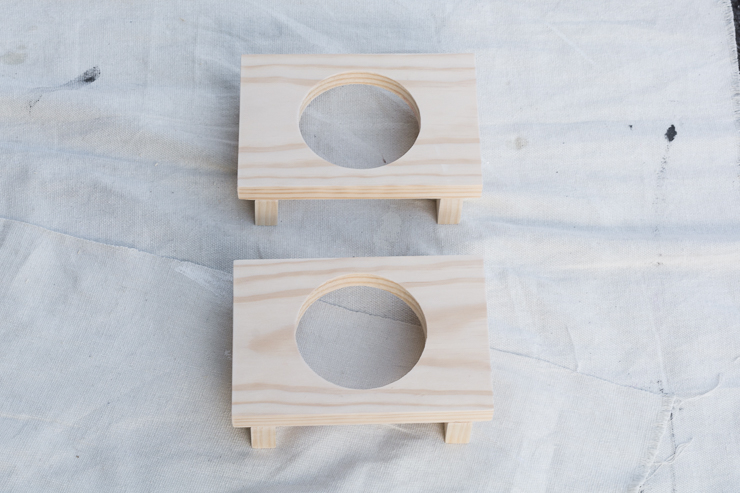
Step 6: Your single bowl raised pet feeder is built! Stain and finish according to your preferences.
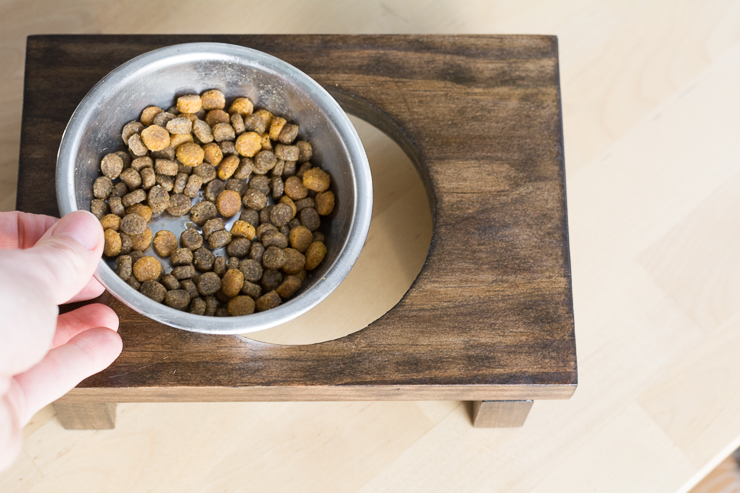
(My raised feeder was finished with Minwax wood stain in Espresso and two coats of Minwax polyurethane in semigloss. For tips on staining and finishing wood, see this post!)
Once the feeder has dried completely, pop your bowls in and fill them with food. These bowls fit perfectly because their circumference is slightly bigger than 4 inches, meaning they won’t fall through the 4-inch hole. Best of all, Blanche and Henry can happily eat at the same time. 🙂
I’ll see you next month on Pretty Handy Girl! In the meantime, if you love your pets, check out my DIY cat tree using real branches, my Ikea cat condo hack, and my Petcube camera review!
Also make sure to check out the industrial dog bowl feeder stand and the vintage coca cola bowl feeder tutorials on Pretty Handy Girl!


What a great idea! Our cat is a big one – part ragdoll at 15 lbs now – he would love to have a more accessible bowl or two! Thanks for sharing this.