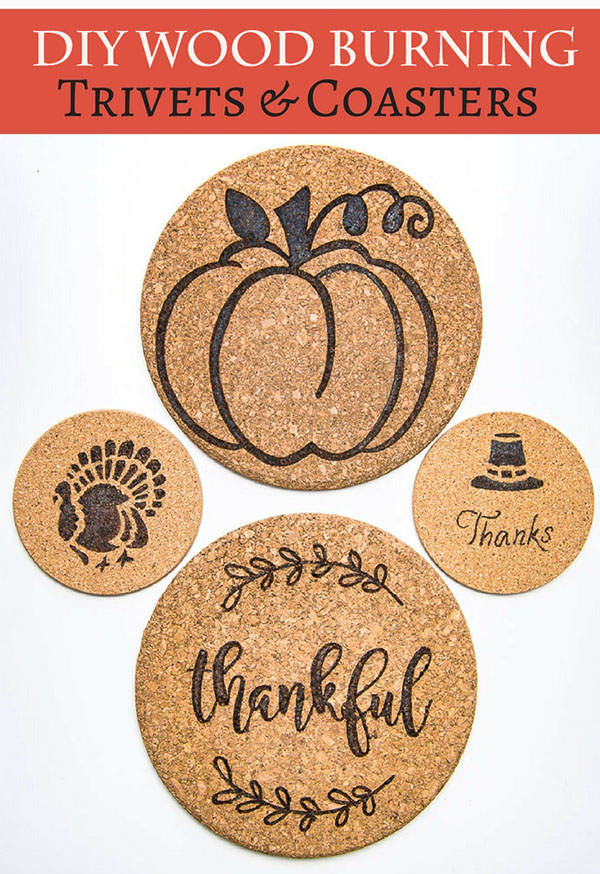
DIY Wood Burning Trivets and Coasters
 DIY Wood Burning Trivets and Coasters
Hi there, Pretty Handy Girl readers! I’m Vineta from The Handyman’s Daughter, back with another tutorial for you! Every time we host Thanksgiving dinner, we seem to run out of trivets and coasters before the turkey hits the table. This year, I’m solving that problem by making a set of trivets especifically for Thanksgiving!
By using a wood burning tool, instead of paint, the design won’t be transferred to the bottom of a hot plate or glass. These trivets would make a great hostess gift if you’re not hosting the feast this year!
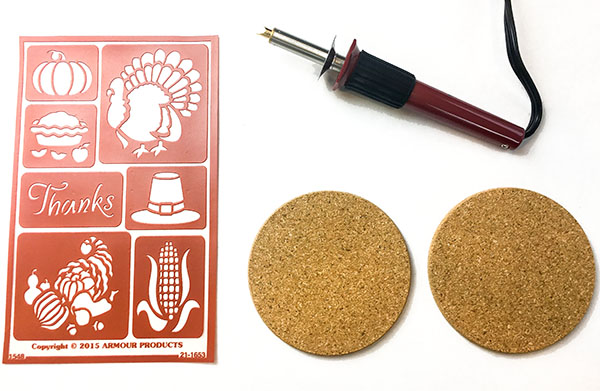
Materials:
(I’ve included affiliate links for your convenience. I earn a small percentage from a purchase using these links. There is no additional cost to you. You can read more about affiliate links here.)
Instructions:
Guess what! This was my first time wood burning, yet it was really easy to learn. If you can color inside lines, you can do this!
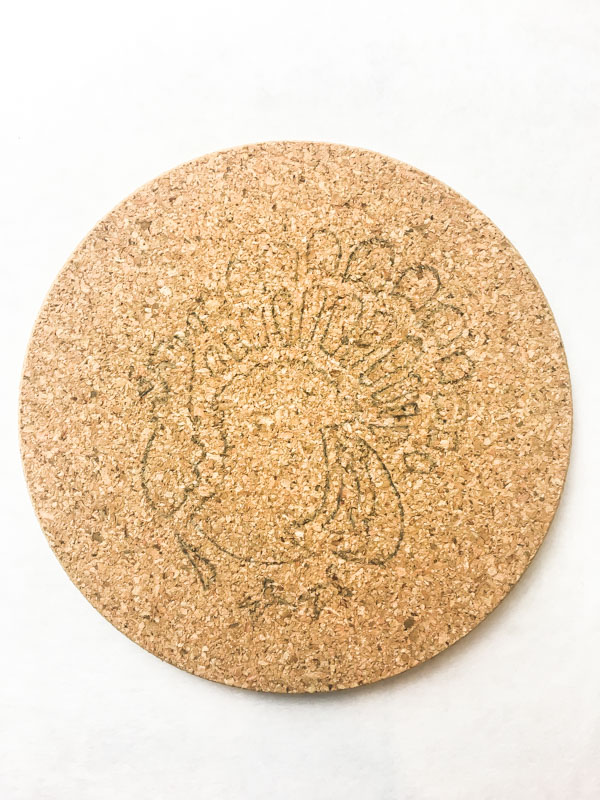
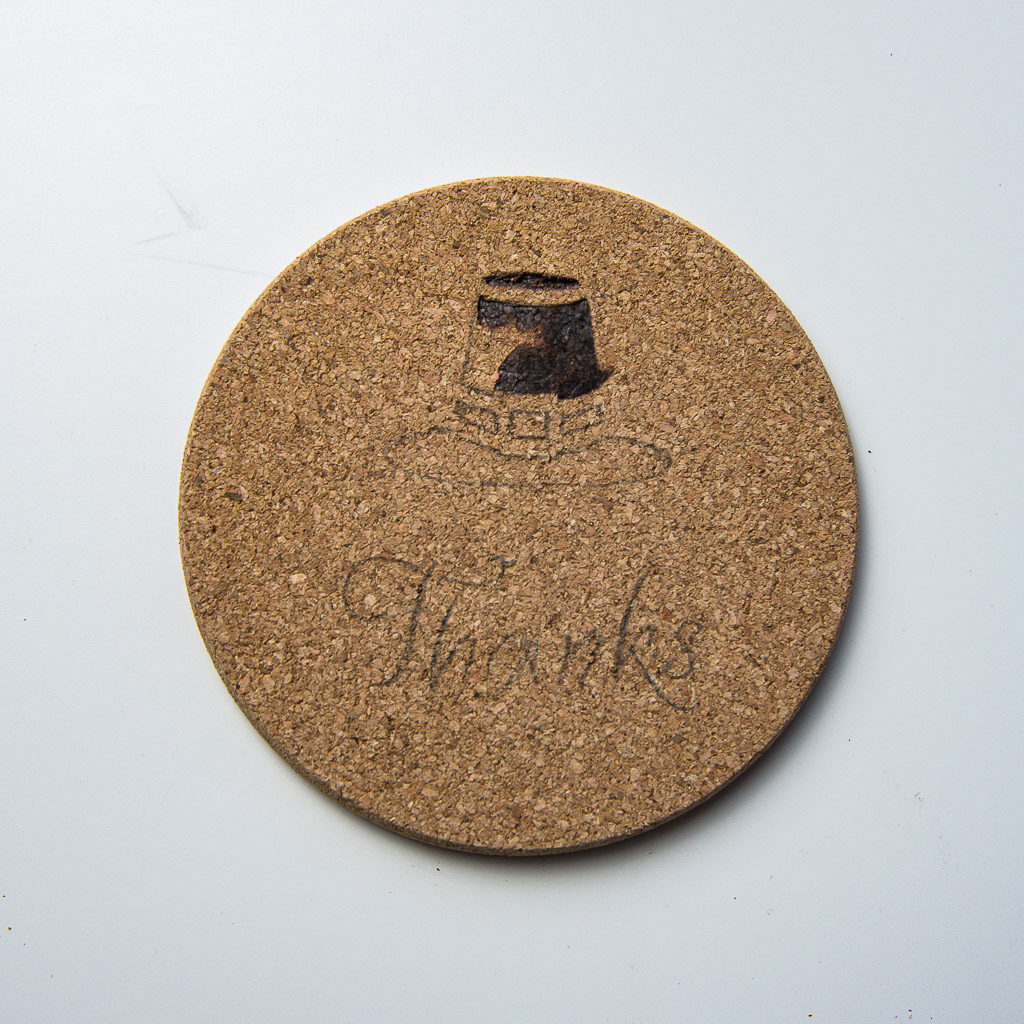
Brush off any loose cork from the surface of your coaster or trivet. Center your stencil on top, then trace around the outside edge with a pencil.
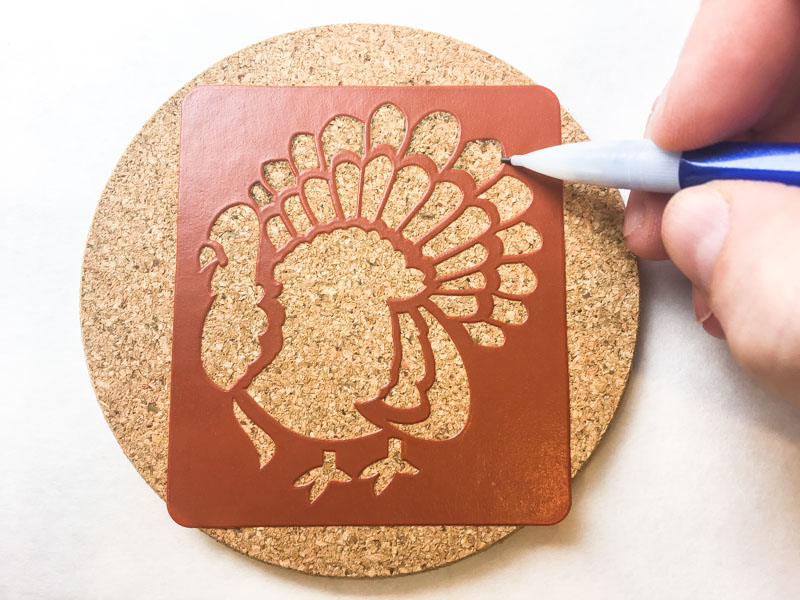
Remove the stencil and touch up any spots that are hard to see.
Open a nearby window before you start. Wood burning cork can create some smoke, and you don’t to set off the fire alarm when you have a hot tool in your hand!
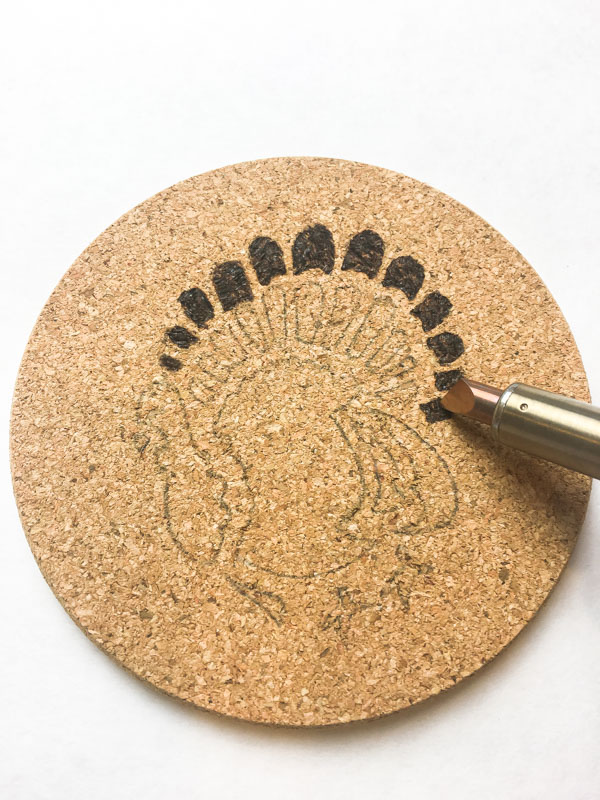
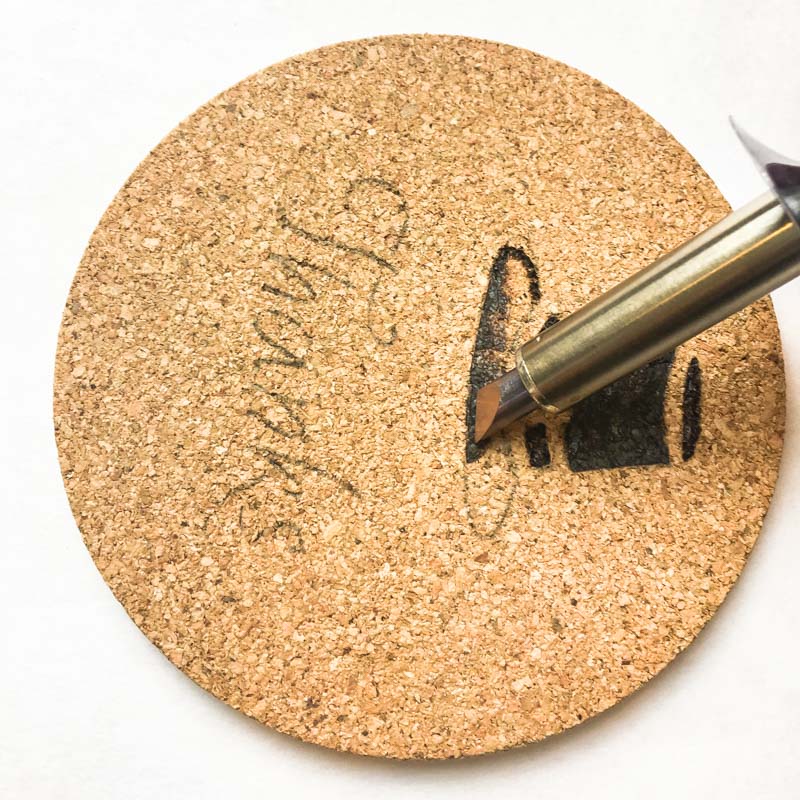
Set your wood burning tool to medium heat. (The guide I used recommended a medium-high heat for burning cork.) Personally, I’d suggest staying on the lower heat end for more control over the color.
Use the tip of the wood burning tool to fill in the small penciled areas.
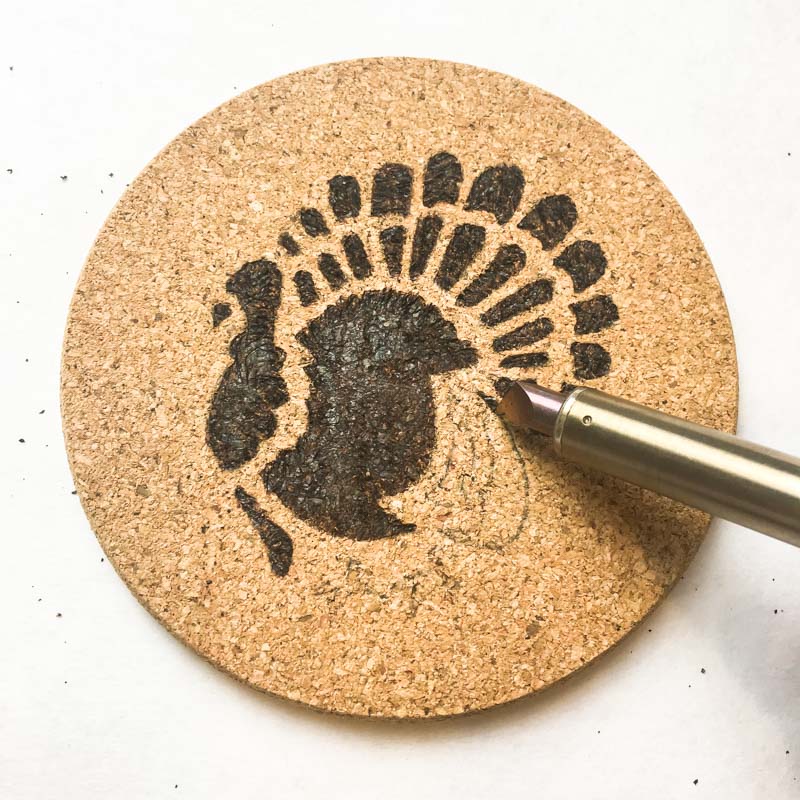
Use the tip to outline larger areas. Once the outside edge is done, fill in the centers. Slowly drag the flat edge across the surface to burn it to your desired color. The cork will flake off if you burn it to a crisp, revealing a new layer underneath. Just repeat the process with a little less heat.
Combine multiple stencils to create new designs!
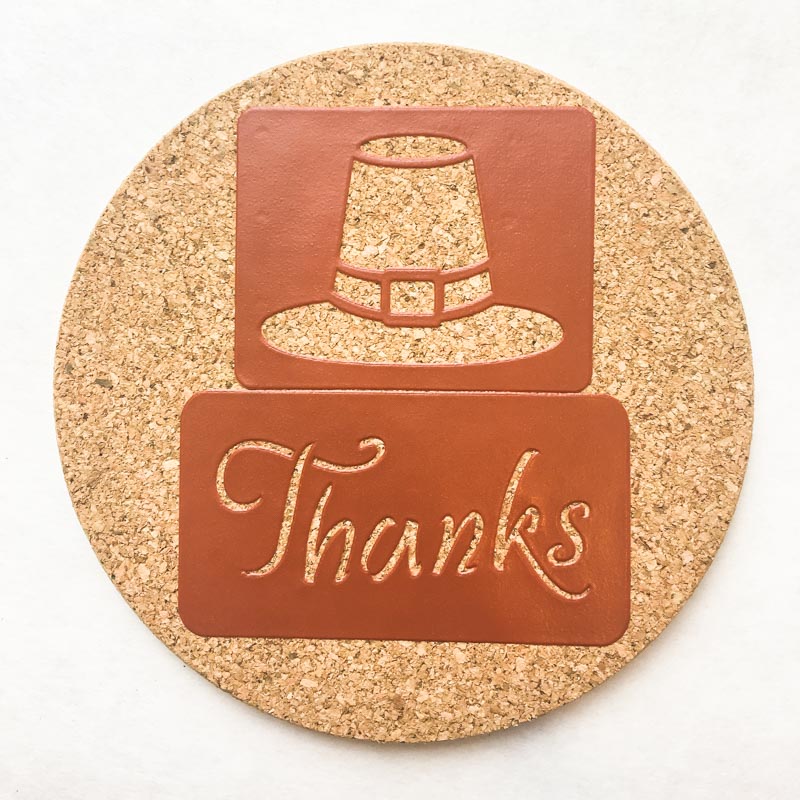
Use the flat edge of the wood burning tip to create crisp, straight lines. Drag the wood burning tool from the edge to fill in the rest.
Keep the wood burning tool as vertical as possible. If the side gets too close to the cork, it will start to burn and ruin the design. Luckily, I bought some extra trivets.
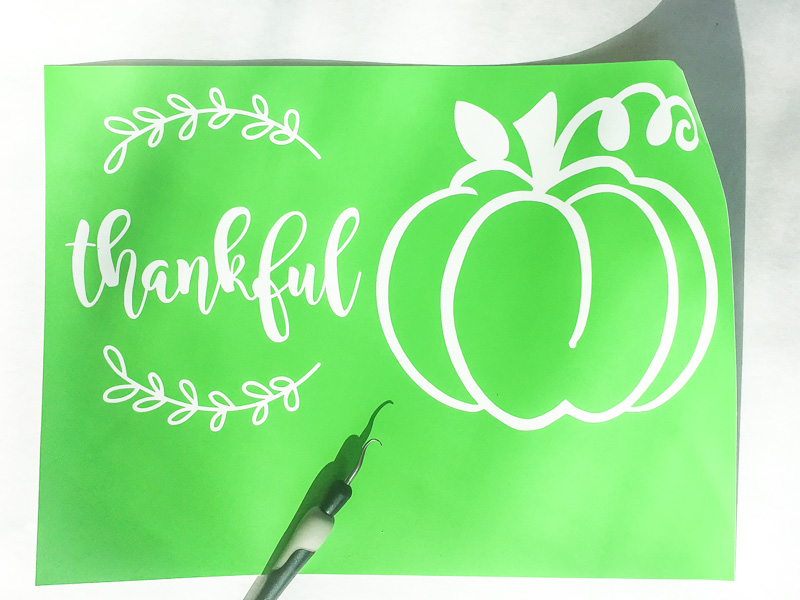
For the larger cork trivets, I cut out a few stencils with my Silhouette machine. You could easily print a design on paper and cut it out too!
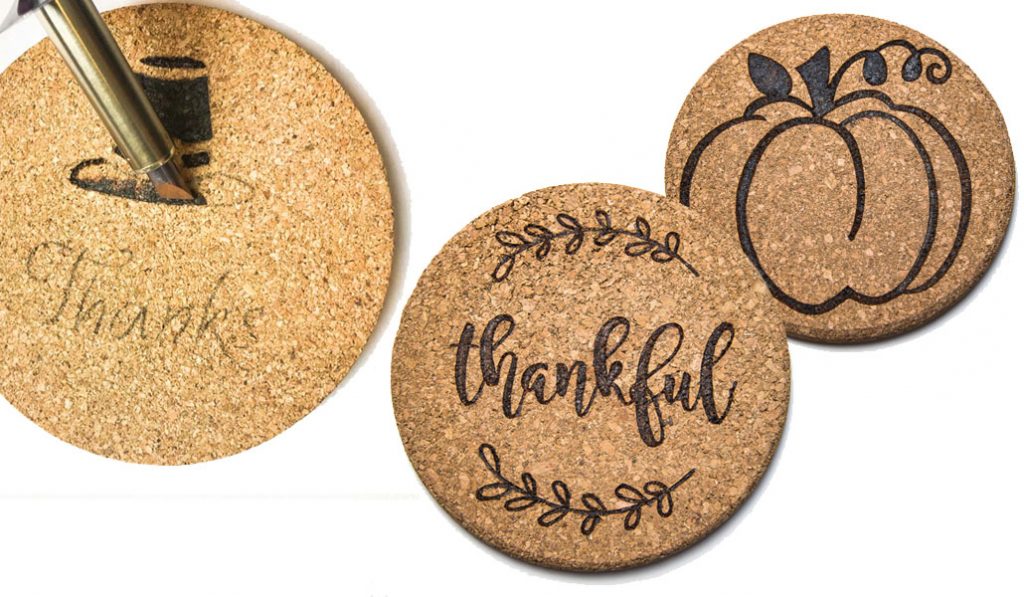
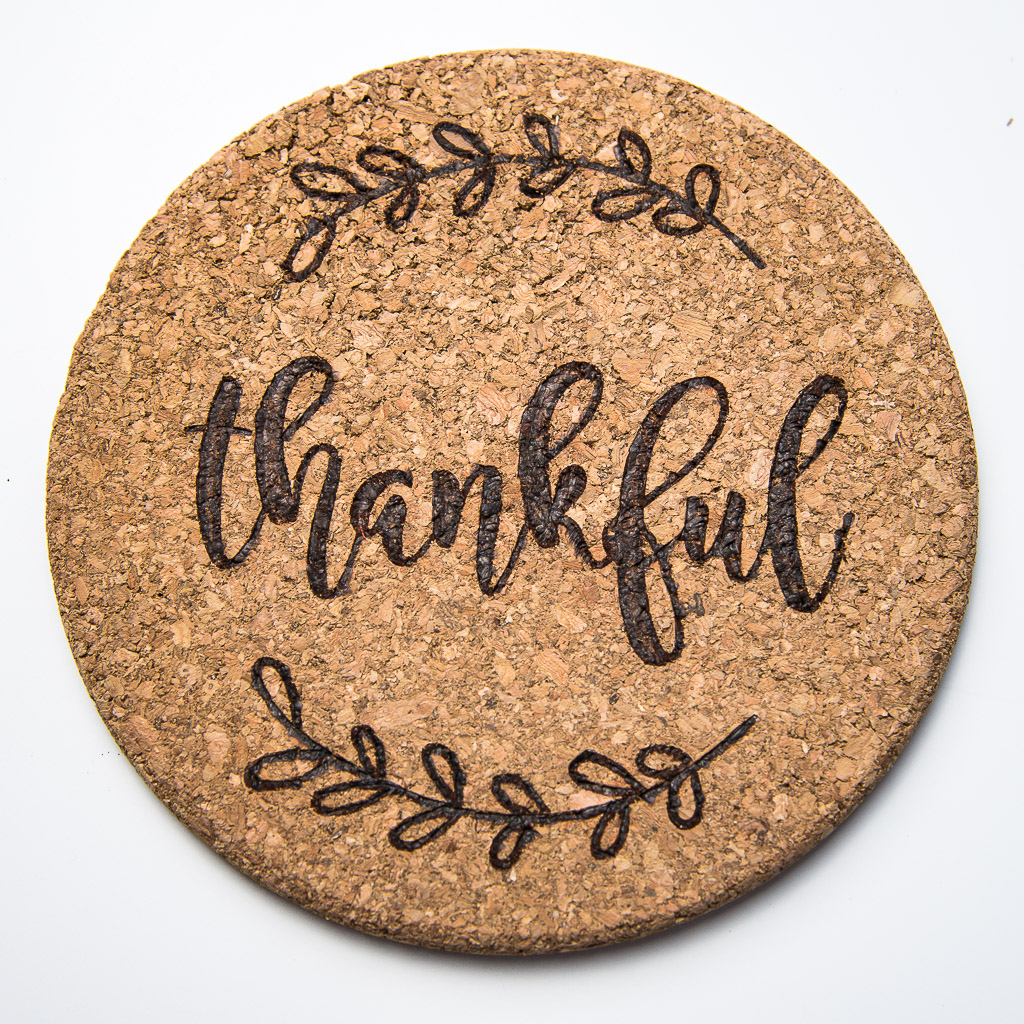
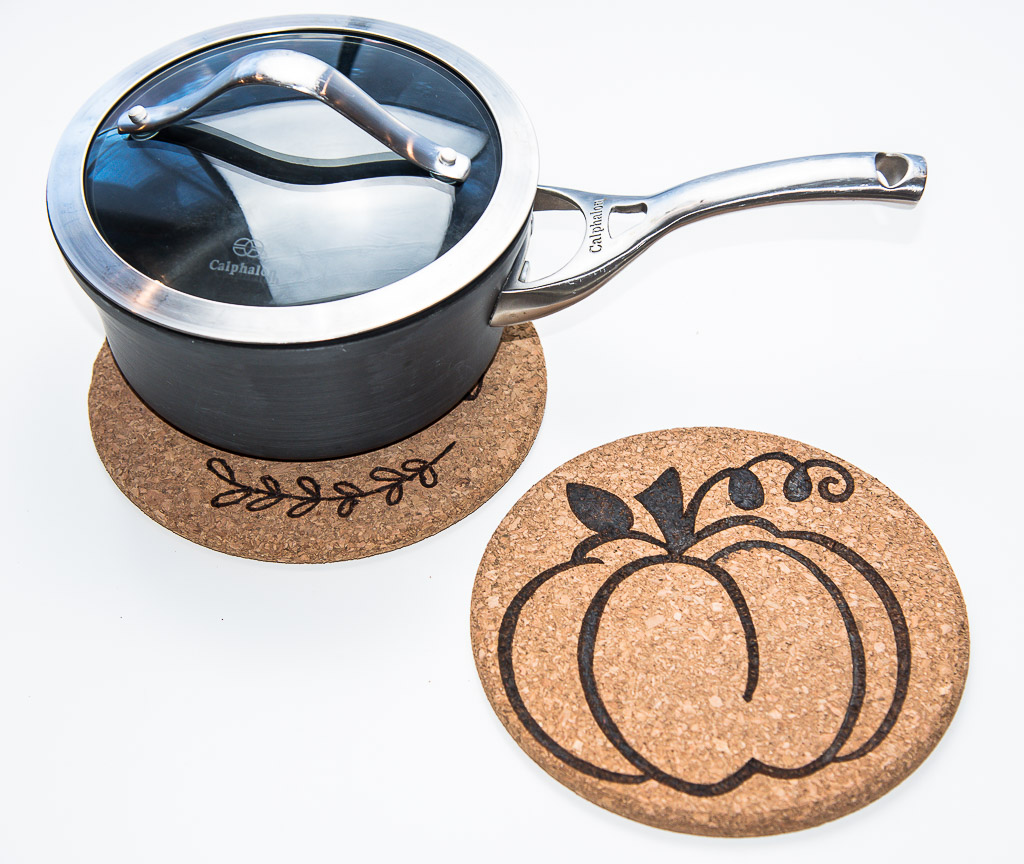
The designs really stand out on the larger cork trivets! I love how this pumpkin turned out.

I’m especially pleased with this Thankful design. I could use it year round.
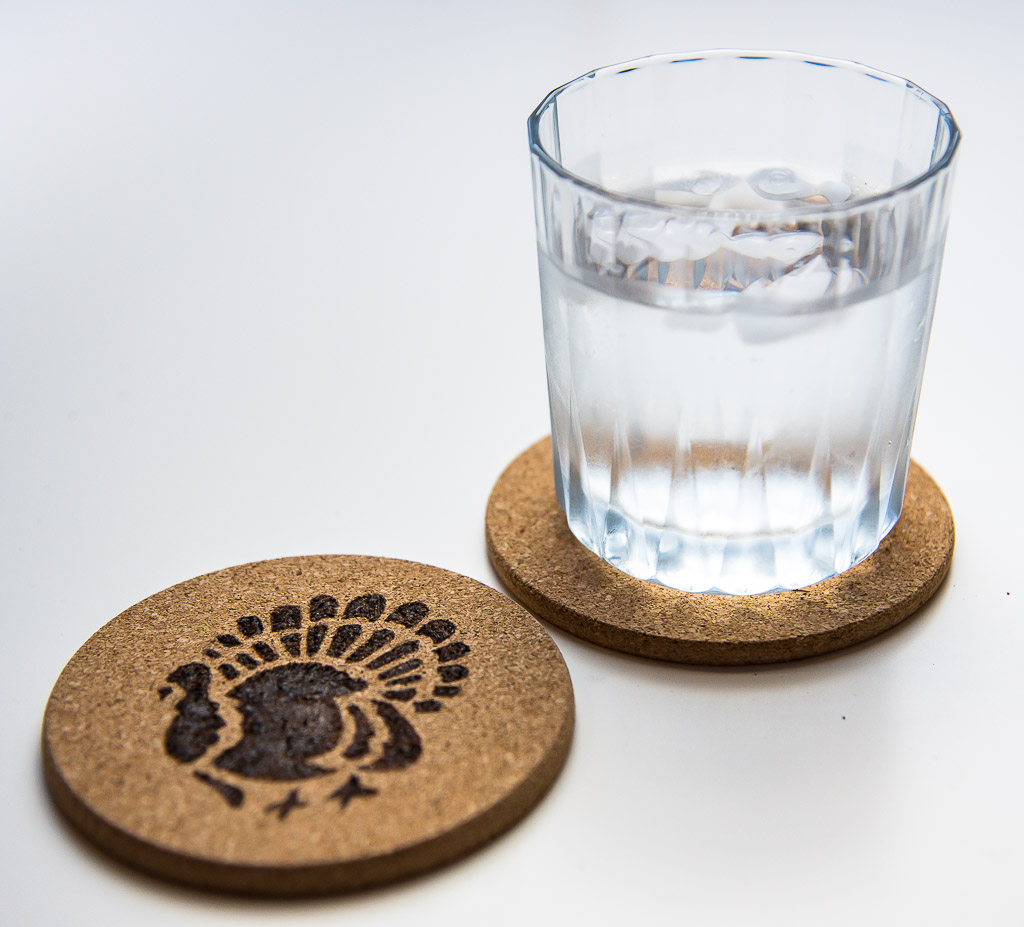
No more water rings on your coffee table this Thanksgiving. . .
. . . or burn marks on your dining room table!
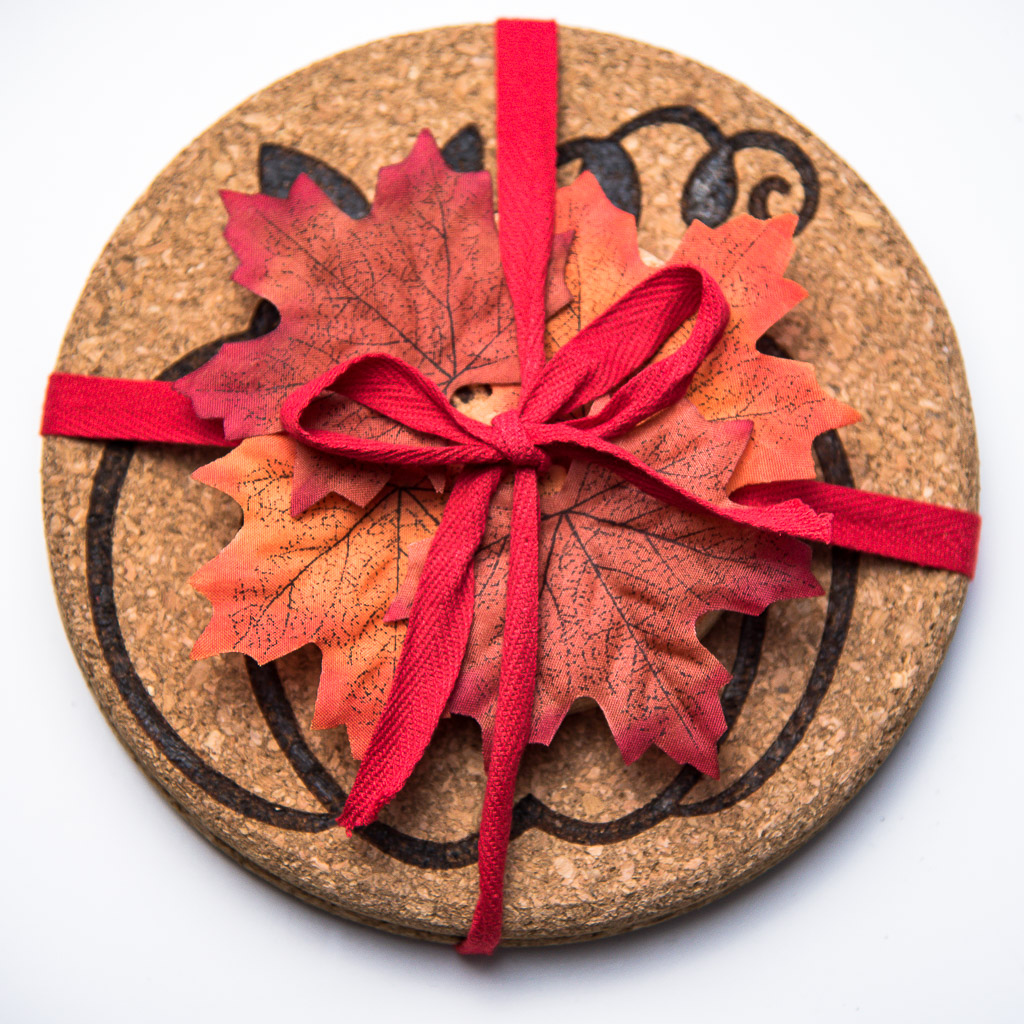
Wrap up a set to give as a hostess gift, or keep them with your Thanksgiving decor for next year!
Hope you have a wonderful Thanksgiving!


I love this tutorial! I tried wood burning on wood slices, but it didn’t go well. Cork might be easier. Thanks for the great idea! Hopefully, I’ll have some great DIY Christmas gifts this year.
I’ve seen some wood burning that has color. Do you think this is just painted? If so, after the wood burning, do you think it would be easy to paint. I have the wood burner, not to find the time! Thanks for your tips. I’m a Minnesota girl and love your blog….
I love, love, so love this creative and talent idea. Thank you, for yes, this to will make a great gift.
Amazing! This is a DIY I love!
What an adorable idea for a gift Thank you for sharing
I’ve always wondered about wood burning! And I always run out of trivets on holidays, too! Such a great gift idea