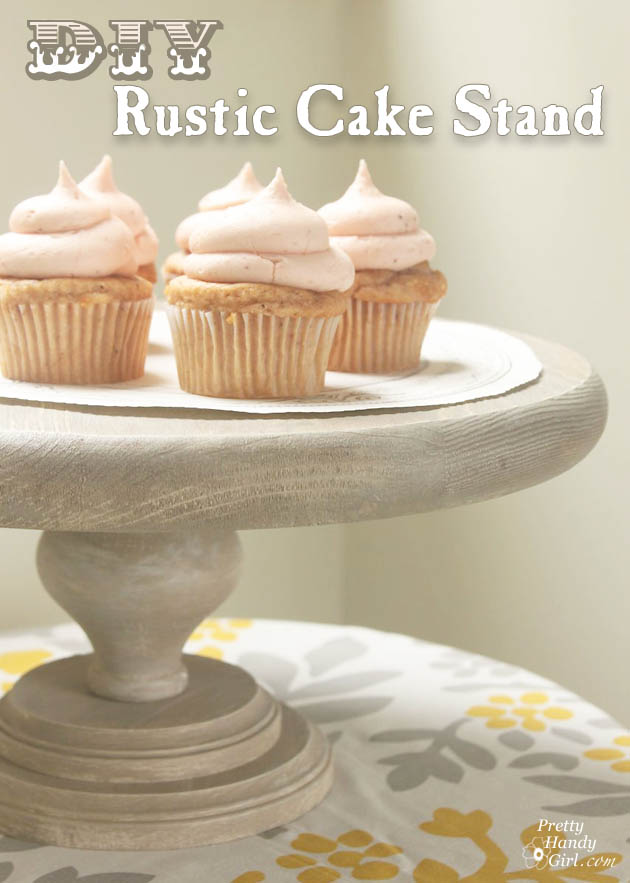
DIY Rustic Cake Stand Tutorial
Day two has arrived and I have ANOTHER fabulous Très Frugal DIY gift idea for you. Honestly, this is one of my favorites. And I owe it all to this little picture from my Instagram friend, Kennesha. She blogs over at Restoration House and has an amazing sense of style!
After seeing her rustic cake stand that she wanted to DIY, my creative wheels began to burn rubber.
I simply picked up a few wood discs and a furniture leg to create a unique cake stand. Here’s the tutorial:
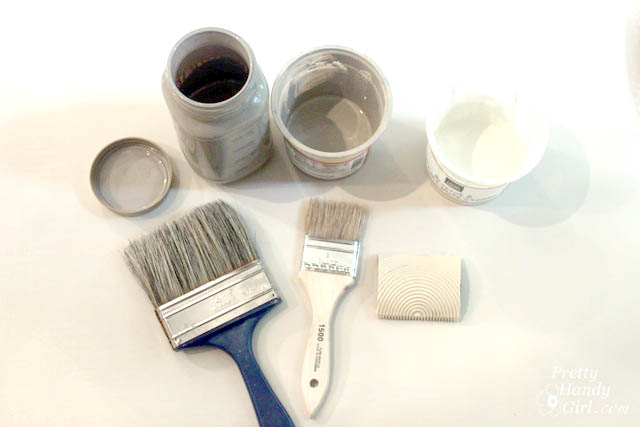
Materials:
- 15″ Wood Disc from Lowe’s
- 5″ and 7″ Wood plaques (from Michaels)
- Turned furniture leg (from Lowe’s)
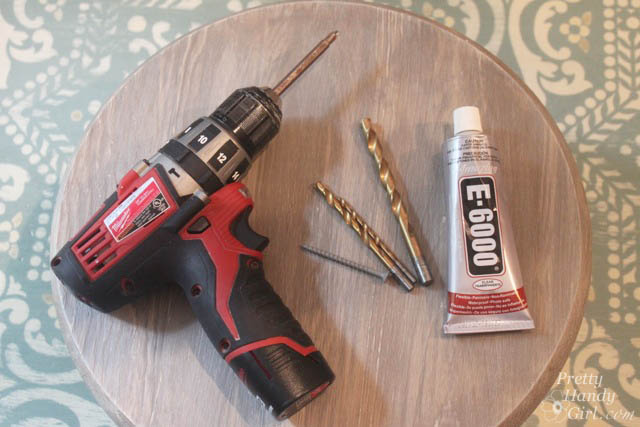
- E-6000 glue (or wood glue)
- 1 – 2.5″ wood screw
- 3M Sandpaper block
- Drill
- Drill bit slightly smaller than the screw
- Drill bit slightly smaller than the furniture leg bolt
- Philips head screwdriver bit
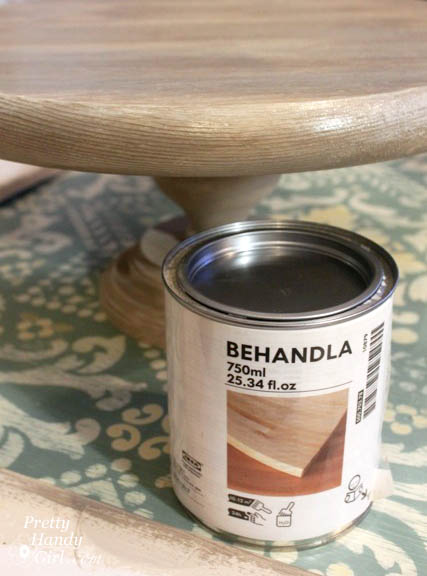
- Food safe sealer (Behandla cutting board sealer found at IKEA)
Optional: Paint & Glazes (all available at Lowe’s):
- Valspar 6006-1A Woodrow Wilson Putty
- Valspar 6007-2A Arid Plains
- Valspar 6005-1A Asiago
- Valspar clear mixing glaze
- Dry brush paint brush
- Paint brush
Not optional: Cake or Cupcakes!!!! (kidding of course)
Instructions:
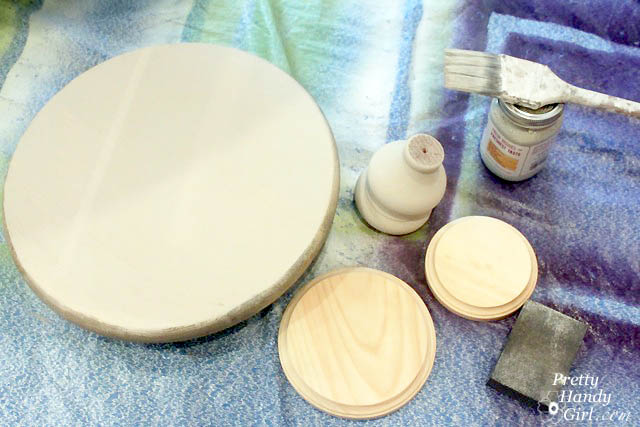
Lightly sand any rough edges off of the wood discs and furniture leg.
Painting and Glazing:
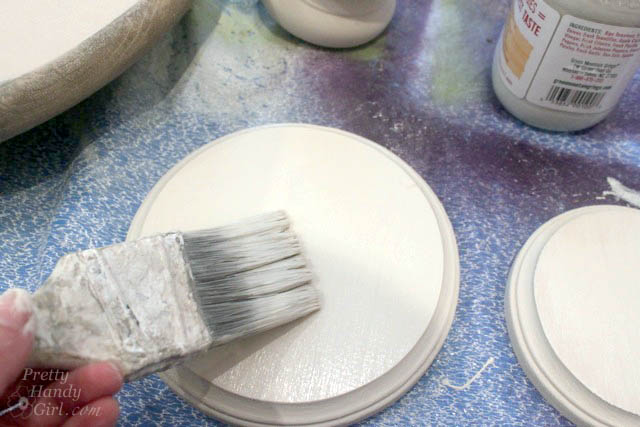
If you wish to give your cake stand a rustic weathered look, paint the base color on all wood parts. (Base color: Valspar 6006-1A Woodrow Wilson Putty )
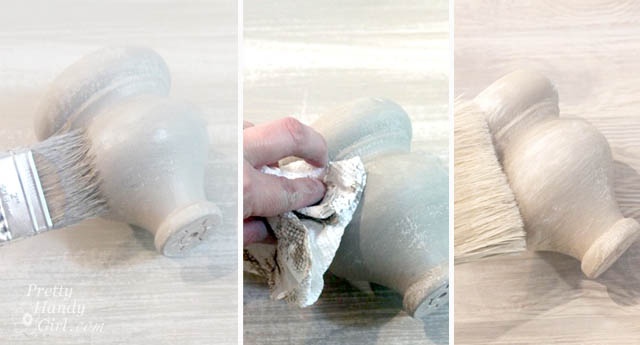
Dark glaze: Mix 1 part Valspar 6007-2A Arid Plains with 1 part clear glaze.
Lightly brush on the dark glaze. Wipe off any excess in a minute or two.
White wash glaze: Mix 1 part Valspar 6005-1A Asiago with 1 part clear glaze.
Dry brush the white wash glaze on all parts. You should see the dark glaze and base color peeking through.
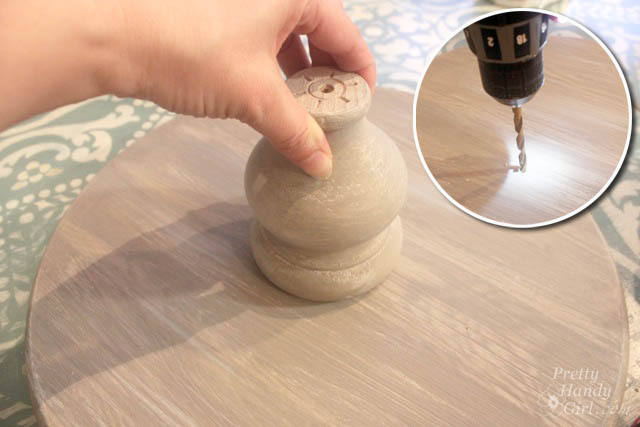
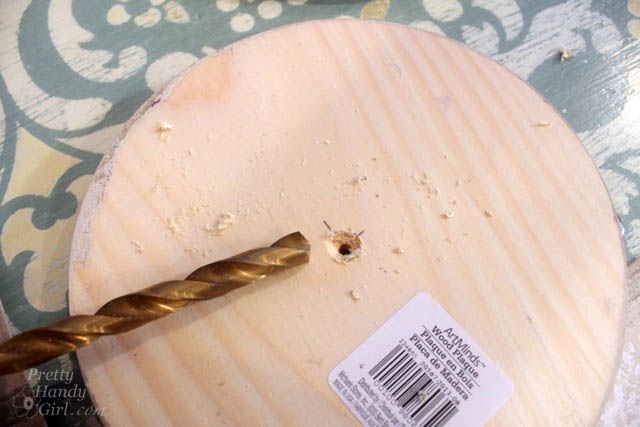
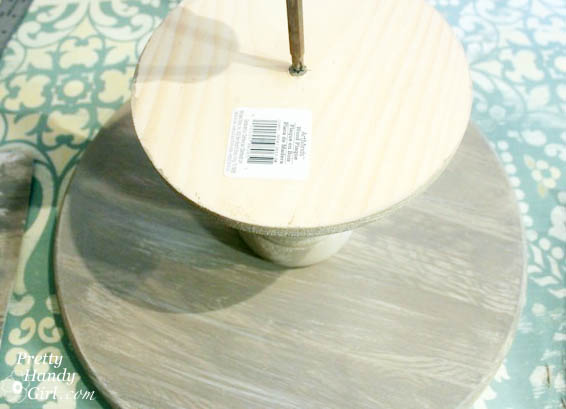
After the paint and glazes have dried. Mark the center of the 15″ circle on the underside. Using the drill bit that is slightly smaller than the furniture leg bolt, drill a hole into the center of the underside of the 15″ wood disc.
Screw the furniture leg into the bottom of the large disc.
Drill holes into the center of the two small discs using a drill bit slightly smaller than the wood screw diameter. Create a countersink hole by using the larger drill bit to drill slightly into the bottom of the 7″ disc.
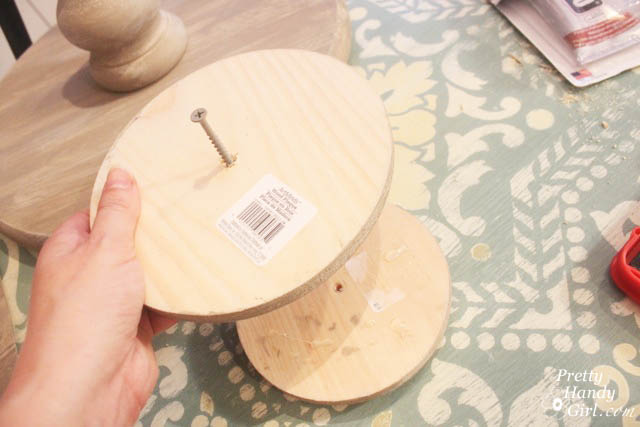
Thread the two small discs onto the wood screw. The larger disk should go on first. Put a few dots of E-6000 between the two discs to keep them from spinning.
Put some more E-6000 on the base of the furniture leg.
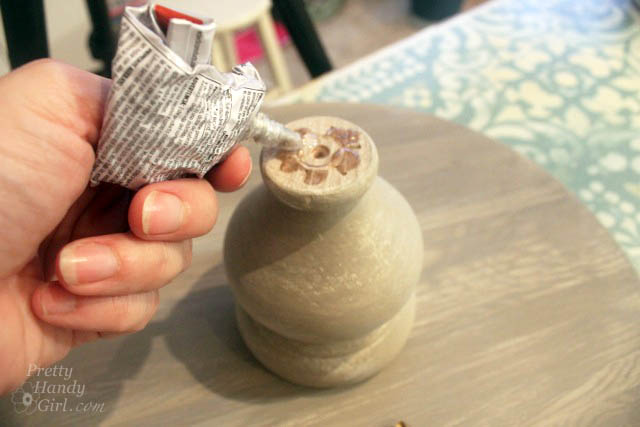
Set the two smaller wood discs onto the furniture leg.
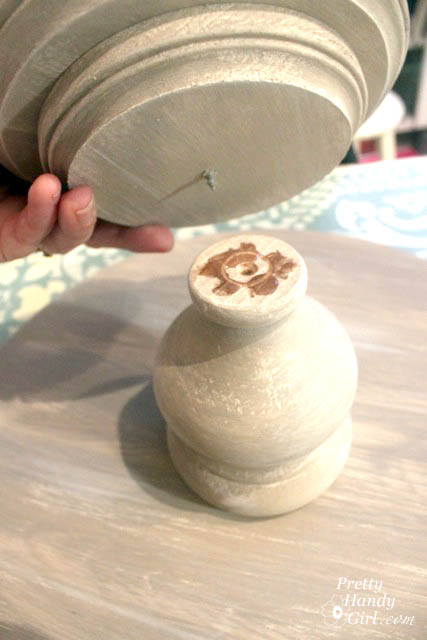
Use a screwdriver bit in the drill to tighten the wood screw into the furniture leg.
Seal the cake stand with food safe sealant. Follow the directions per your sealer.
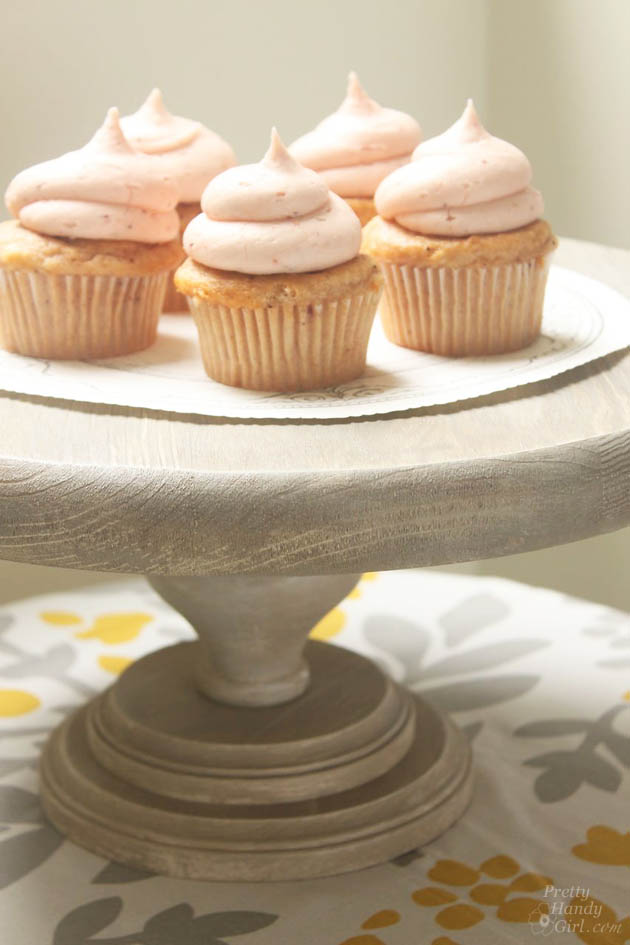
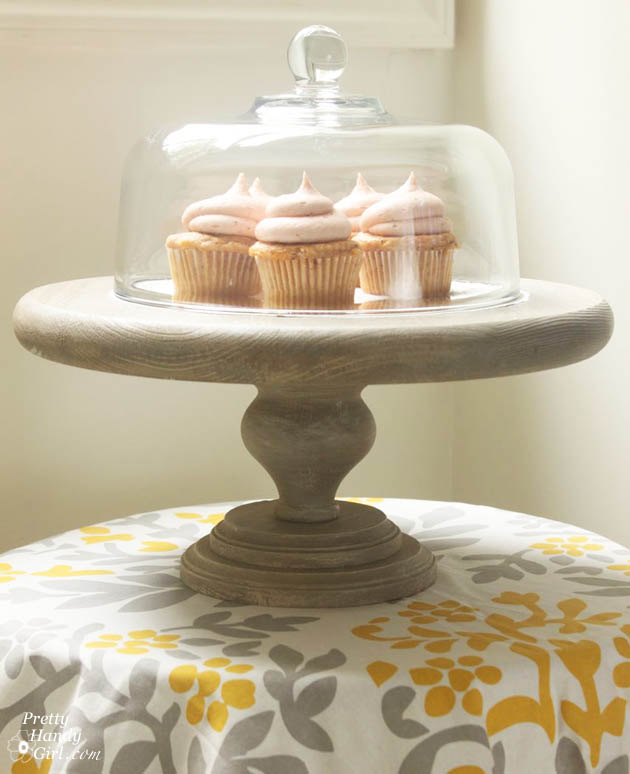
Load up your cake stand with cupcakes or cake. Although the stand is sealed, I use a doily or decorative paper to protect the food. It also protects the cake stand from absorbing oils.
If you have a cake stand lid or cloché, you can use it to keep the food fresh for days.
I can’t wait to use this stand for our next party or to decorate. What? I’m not giving it as a gift…well sometimes you love something you made too much to give away. 😉

Stay tuned for more November Très Frugal DIY Gift Ideas all month long.
![]()
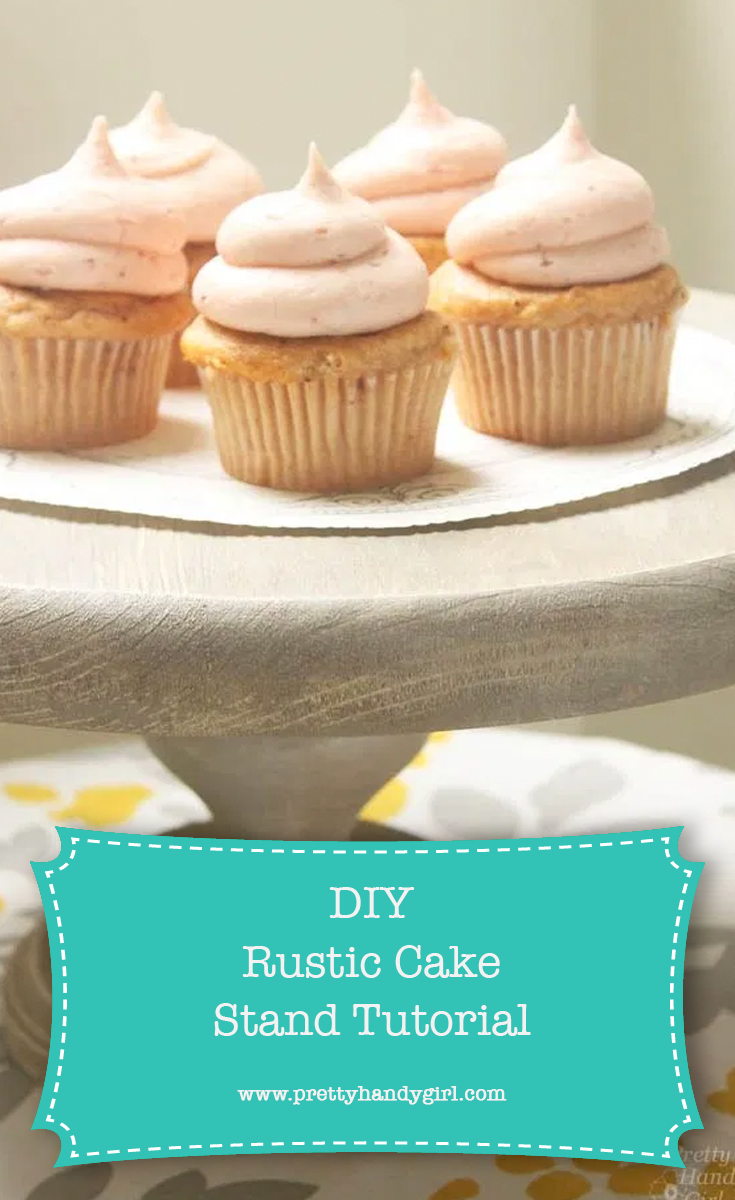
Pin for later!

At this time I am going to do my breakfast, afterward having my breakfast
coming yet again to read additional news.
This looks fabulous, and I definitely want to make it! A couple quick questions: After applying the base layer of paint, how long do you wait before applying the first glaze? Do you let the paint dry completely, just wait a couple minutes, or do it immediately? Also, for dry brushing the light glaze, is the brush a special kind for the job or simply a brush that is dry?
This would retail for at least $50 in a home store I cannot really afford (PB) and $75 in a home store I definitely cannot afford (RH)!
Karen, it is best to let the base coat dry before applying the glaze. Just let it dry to touch. I did use a dry brush used for decorative painting, but any paint brush that is slightly frayed will work.
Thanks Brittany, I’ll give it a try!!
I was wondering if you could answer a question for me regarding the paint/glaze? I’m wanting to achieve the rustic look, but with the main color being mint green. Are all of the steps the same except for replacing the base color (Woodrow Wilson)?
Thank you for sharing this tutorial – love it!
Barbara, go for it! I’d definitely try your own color choices. And yes, use the other glazes, or mix them up with different colors too. A fail safe would be to use three colors in the same color family.
I am obsessed with cake stands and I am totally making this!! I cannot wait to get started! Thank you for the amazing inspiration! 🙂
You are welcome…and I have to ask, Are you obsessed with cakes too? Or just use them for décor. Because I think I’m going to be obsessed with cupcakes soon 😉
I LOVE THIS!! Thanks so much for sharing. xo
You are welcome Kelly.
I am a sucker for cake stands, and yet I only own one! haha Thanks for the super fun idea. Now, to start collecting cloches, as well…
Leilani, I like cake stands too. I have two glass ones, but I think this is my new favorite!!!
I love that! I think a few for Thanksgiving would be perfect. Can I ask how much the wood costs?
Sarah, I think it was under $20? I’m sorry I lost my receipt.
Sarah, I just found my receipt!!! It was only $6.68 for the 15″ disk.
I love this & it does seem easy to make. There are so many ways a person could use this too! Thanks for the great tutorial & post!
You are so welcome. 😉