
DIY Painted Pool Sign
Hey everyone! Katie again from Addicted 2 DIY. It’s hard to believe, but it’s been two months now since we finished building our dream pool. If you’ve ever wondered what you can learn (and save) by contracting your pool out yourself, I’ve got all of the handy details on my blog. Now that we have our own pool to make fun family memories in, I thought a fun sign would be a great addition. I designed this sign based off of one we had by our pool when I was a kid. According to my mom, this one looks way nicer. She wouldn’t lie to me, right?
To help you make your own sign, I’m also including the free SVG file I created for you to download. Please use it for personal use only.
Here’s what you’ll need for your own sign:
- 1×2 plywood project board (2’x4′)
- 3 – 3/4″ x 3′ square poplar dowels
- 1 1/2″ brad nails
- brad nailer
- wood glue
- 220 grit sandpaper
- orbital sander
- 24″ clamps
- wood filler
- paint colors of your choice
- paint roller and/or paintbrush
- adhesive vinyl
- transfer paper
- electronic cutting machine (I have a Silhouette CAMEO)
- Welcome to Our OOL SVG file
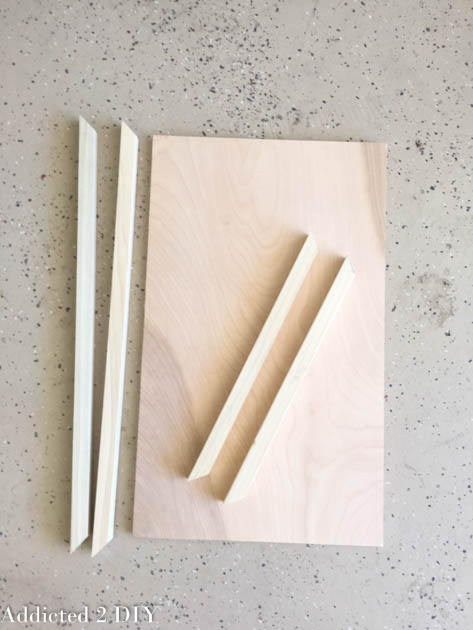
Start by cutting your plywood down to 12″ x 20″. If you don’t have the ability to do this, you can always ask the helpful employees at the home improvement store. Cut the square dowels on a 45 degree angle to frame the plywood. The inside measurements should be 12″ and 20″.
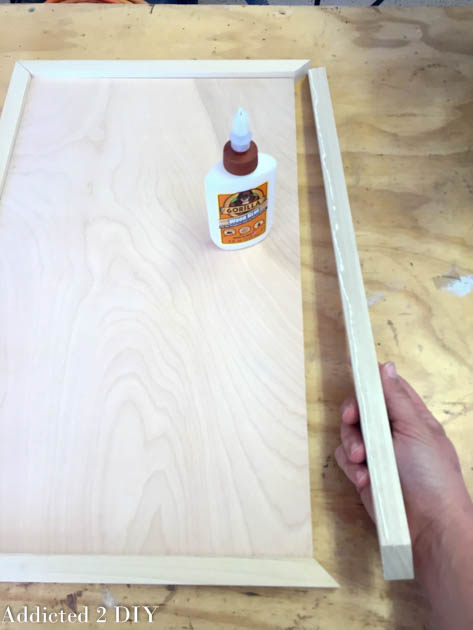
Frame the plywood with the dowels using wood glue.
Clamp the edges…
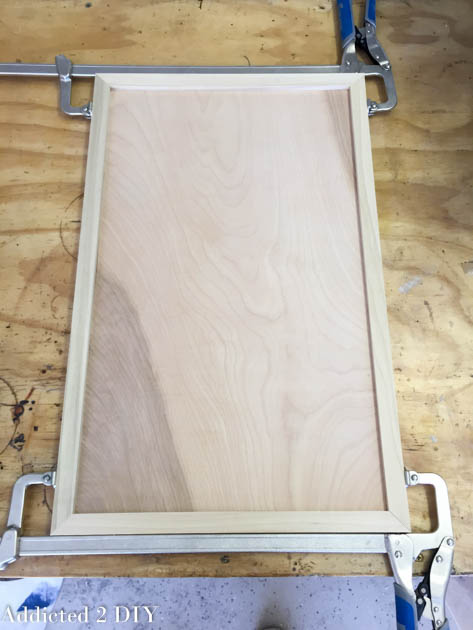
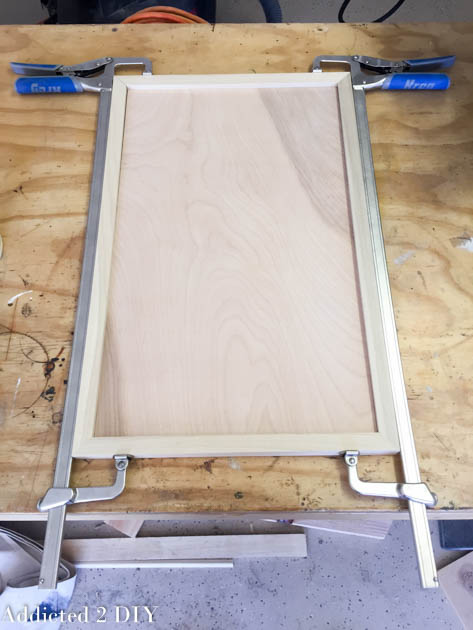
…and nail them to the plywood with your brad nailer.
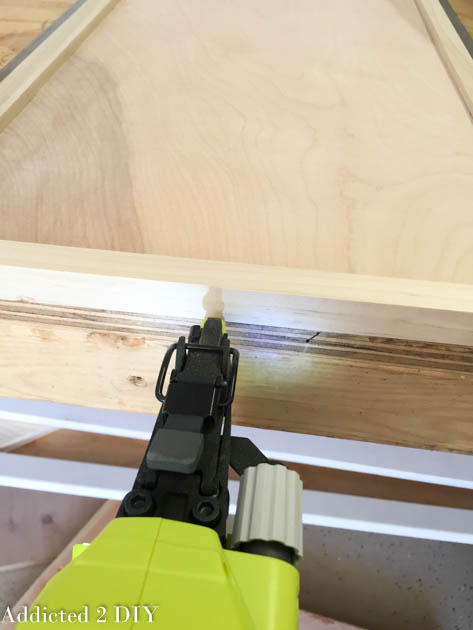
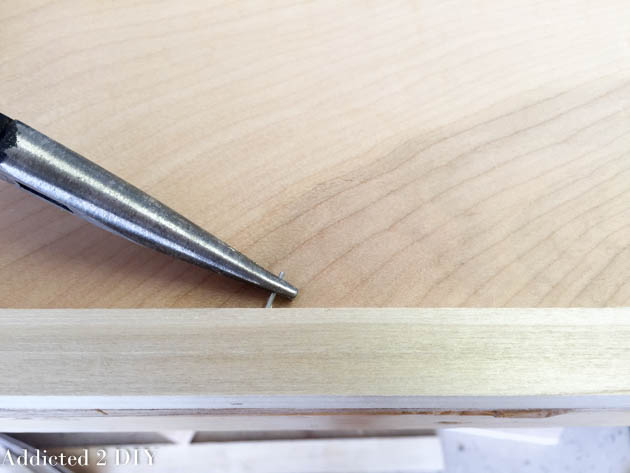
Since the plywood is only 1/2″ thick, you’ll have to be careful not to nail the trim too high. I had one nail go astray, but I was able to get it out with needle-nose pliers. It’s nothing a little wood filler can’t fix later on.
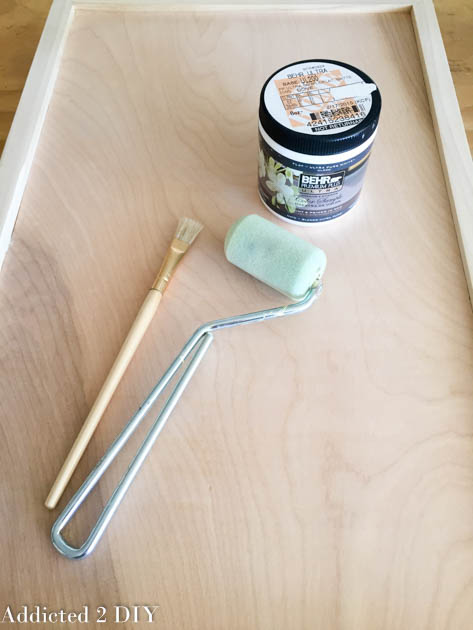
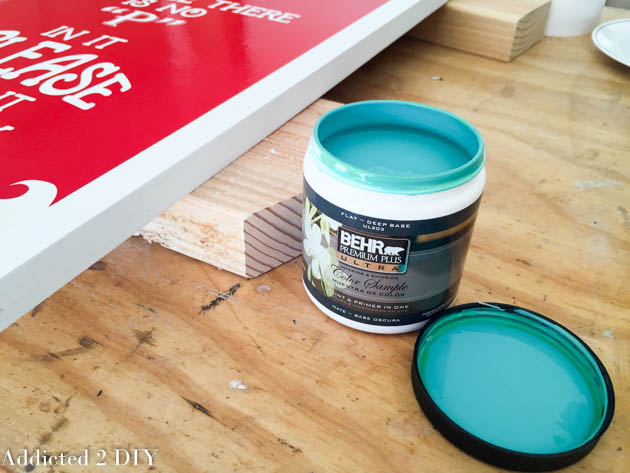
When your entire piece is assembled, sand it with 220 grit sandpaper to get rid of any rough spots. Paint the entire sign, front and back, with your base color. I love using sample size jars of paint for projects like this.
Cut your message out on an electronic cutting machine. Weed out the vinyl design and cover it with transfer tape.
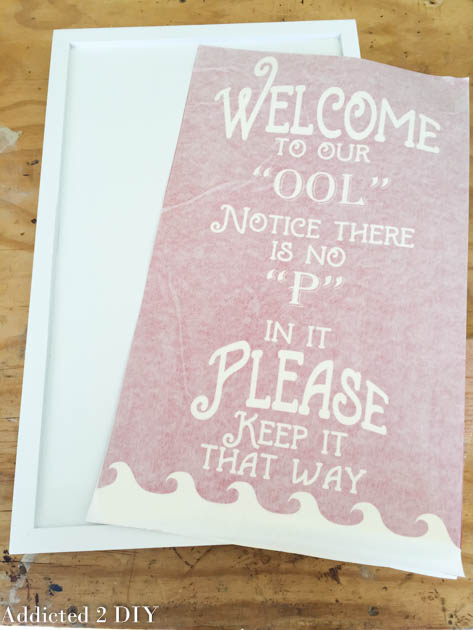
Peel the backing off of the vinyl and carefully center it over the plywood face. Smooth it with a scraping tool (or credit card.) Carefully peel off the transfer paper.
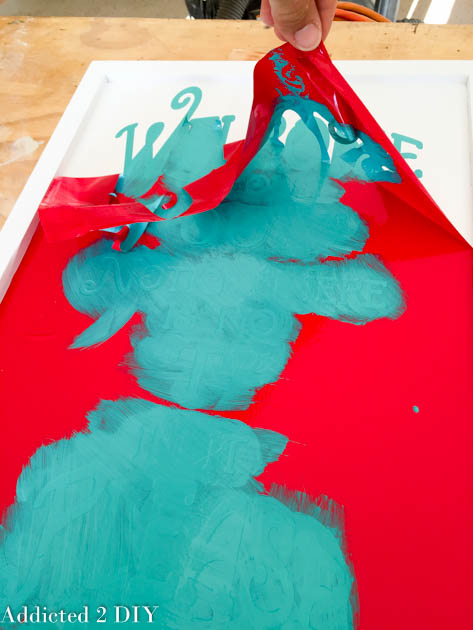
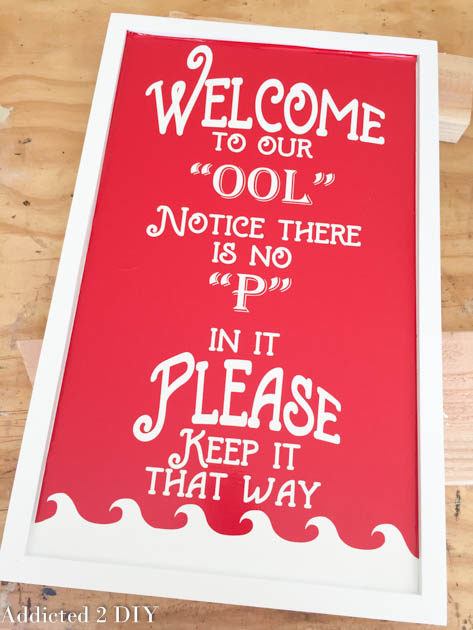 Grab your second paint color and stencil the design with a paint brush or roller. You can mask off the frame of the sign with painter’s tape or paper to protect it from any paint mishaps. I opted to go slow and carefully paint inside the frame.
Once your design is completely stenciled, carefully peel the vinyl off of the face of the sign.
You can leave your sign as it, or distress it a bit. Whatever you like! I love distressing things, but I decided that I really liked a cleaner look for this sign.
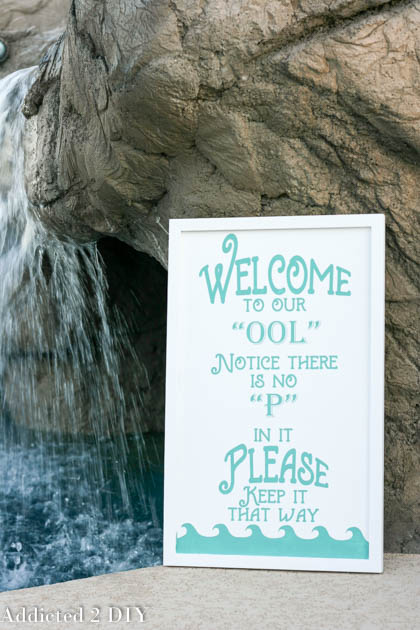

I’m so happy with how it turned out! I’m no graphic designer, so I spent several hours coming up with a design that was just right, but it was well worth it. My kids think it’s hilarious! Let’s just hope everyone that comes and visits us will follow the rules! I’m thinking it will look great somewhere near our grotto/water slide. Once we get that area landscaped, I’ll give it a more permanent location. Now that this sign is done, I kind of want to make another one for the waterfall that says “Mt. Wannahockaloogie” from Finding Nemo. We have a “Nemo” mosaic inside the grotto, so it would tie in perfectly. I may be the only one that gets it, but that’s okay.

Pin for later!


Love this idea. Can be used pretty much anywhere in the house. And I love the saying as well for the pool. Thanks for sharing this great idea!
Very cute sign! I especially love the choice of color there. Lots of potential for cute beachy looks with this! Thanks so much for sharing!
Love this, we have no P in our pool either & intend to keep it that way! Thanks for this chuckle today!
Thanks Colleen!
Loving this sign, super cute!
Paige
http://thehappyflammily.com
Thank you, Paige!