DIY Mobile Mudroom
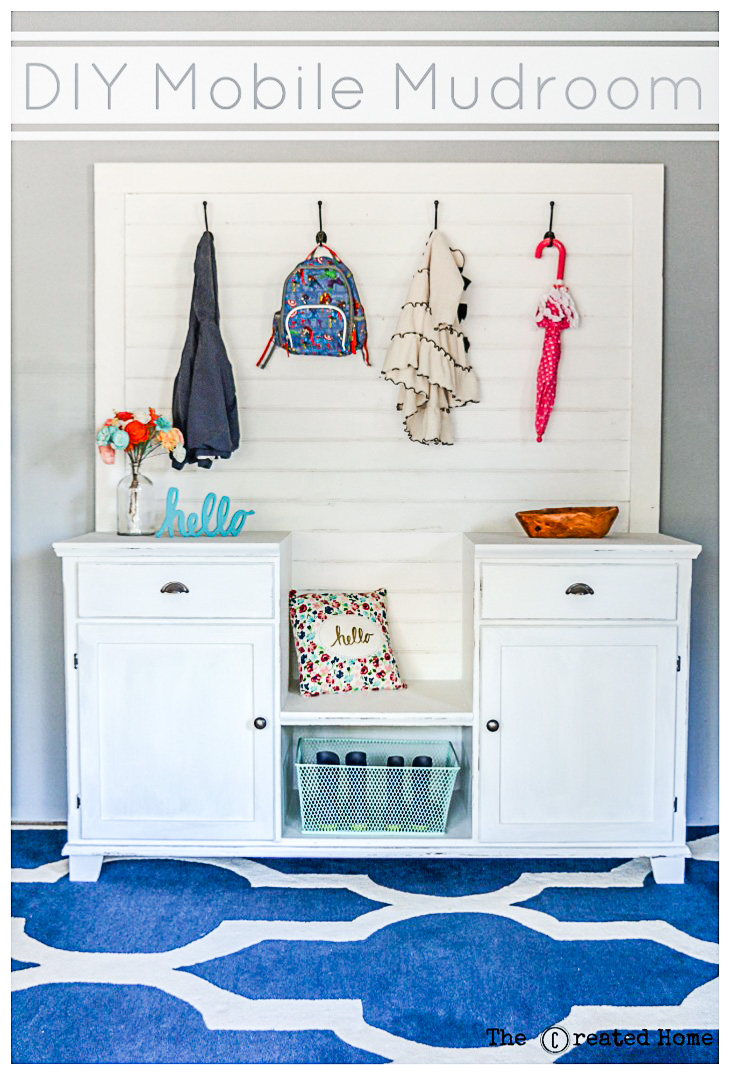 DIY Mobile Mudroom
Hello Pretty Handy Girl readers! I’m Sarah from The Created Home, and I’m thrilled to meet you. I love versatile designs that makes life a little easier. This mobile mudroom is sure to help keep your entryway more organized. It’s a simple storage solution that combines form and function. Best of all this is the perfect project for someone who rents or isn’t ready to take on a custom build.
How simple is it? Well, I have a secret. This DIY Mobile Mudroom is actually an upcycle project.
You can build this from scratch (that’s how I build 98% of my projects), but sometimes it just makes more sense to use existing furniture. You can create this mobile mudroom using an old dresser or buffet and a minimal amount of lumber. The savings in time and lumber will be well justified!
There will be some differences in structure depending on what you start with, but the basic idea will be the same. Be creative, have fun, and please ask if you have any questions!
Let’s get this party started and build a DIY Mobile Mudroom!
Materials:
(I’ve included affiliate links for your convenience. I earn a small percentage from a purchase using these links. There is no additional cost to you. You can read more about affiliate links here.)
- 4′ x 8′ x 1/2″ plywood
- v-groove planking
- stain
- paint
- hat hooks
- 2 – 1″ x 4″ x 8′ boards
- Kreg jig
- 5/8″ brad nails
- 1 ¼” pocket hole screws
- wood glue
- brad nailer
- circular saw
- speed square
Instructions:
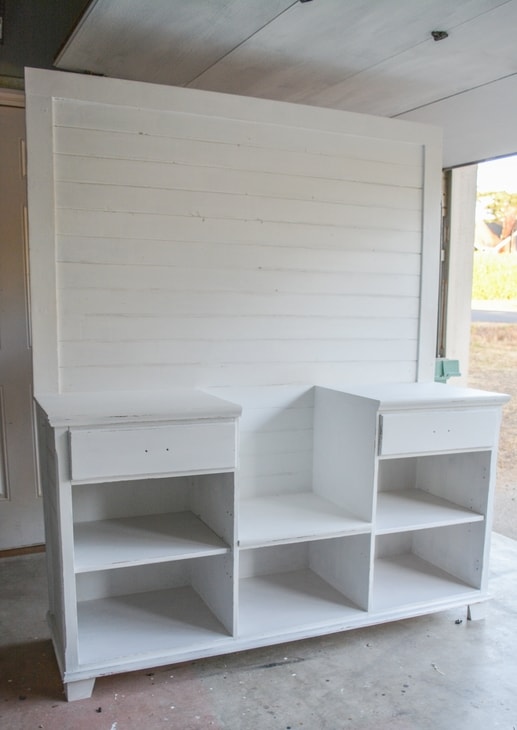
The first step is locating an old dresser or sideboard/buffet. I picked this one up from the Habitat Restore and have been using it for shop storage. Other sources for cast off furniture are Craigslist, side of the road, and family members (or is that just mine?!)
You’ll want a piece that has three basic sections like the dresser pictured below:

Deconstruction:
Remove the middle section by pulling out the drawers and cutting out the shelf supports.

Depending on the dresser construction, you may have all drawers on either side or cupboards. The deconstruction should be fairly straight forward. (This was an Ikea piece, so it came right apart and only required a hammer to take apart.) If it doesn’t come apart easily, grab a pry bar or saw and cut the center pieces out. Leave the bottom support intact to maintain the shape of your piece.
Assess the condition of the top. If it’s dirty or rough, go ahead and clean it and sand any rough spots now.

Creating a seat from the dresser top:
Mark the top where it intersects with the middle section walls using a speed square. Use a circular saw to follow these lines and cut the top middle piece out. (You can see the top has been cut and is now resting in the middle in the photo below.) The middle piece should sit approximately 18″ off the ground for seat height.
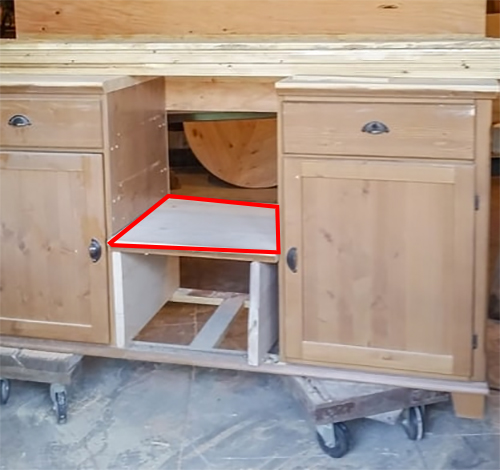
Use scrap wood supports on either side to help you set the piece. Attach the middle section to the sides of the main body using pocket holes and screws. (New to using pocket holes? Follow Brittany’s tutorial on How to Use a Kreg Jig.)
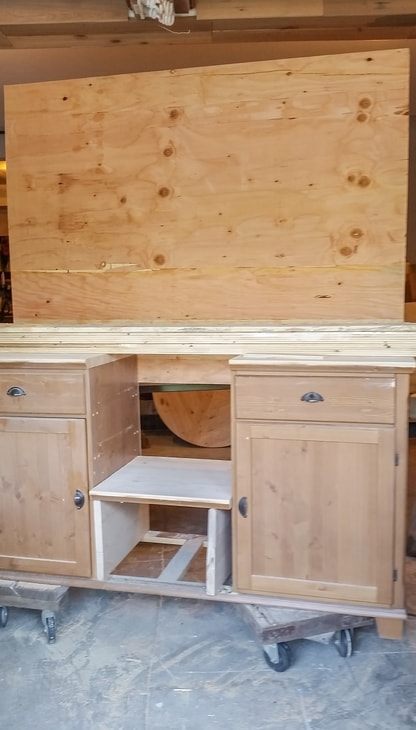
Build the back board:
To create the back section, cut out a piece of 1/2″ plywood the width of your overall dresser. The exact height is up to you, though I found 42″ works well. Allow the plywood to overlap the dresser back by at least 6 inches. This gives you enough to attach to the mudroom base. You can use 3/4″ plywood here for more stability, but it will be heavier, and I’d recommend taking the plywood to the floor in that situation. Attach the plywood to the dresser using screws or bolts. Use at least two fasteners on each side, plus another two in the middle section.
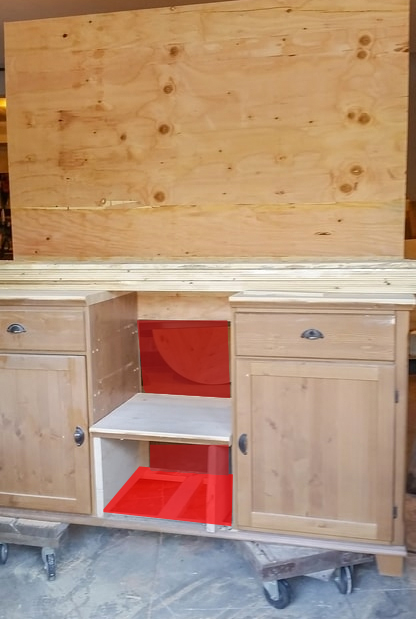
 Frame in the holes:
Use the leftover plywood to frame in under and behind the seat (shown below in red.) Attach with screws. You may need to run the plywood behind the seat a bit wider depending on how the back of your dresser is built. Just make sure there are supports for the screws to attach to.
Use the 1″ x 4″ boards to frame the back piece of plywood. Here’s a look at the framed plywood near its finished state:
Step 4: Add the shiplap (v-groove)
The v-groove planking is where the real magic happens. You can pick planking up at Lowes or Home Depot in economy packs. Typically they cost $10 per pack of six. Clad the plywood back with the v-groove planks using glue and brad nails to secure. Leave an inch or two of the bottom back unclad. (Shown in red below.)
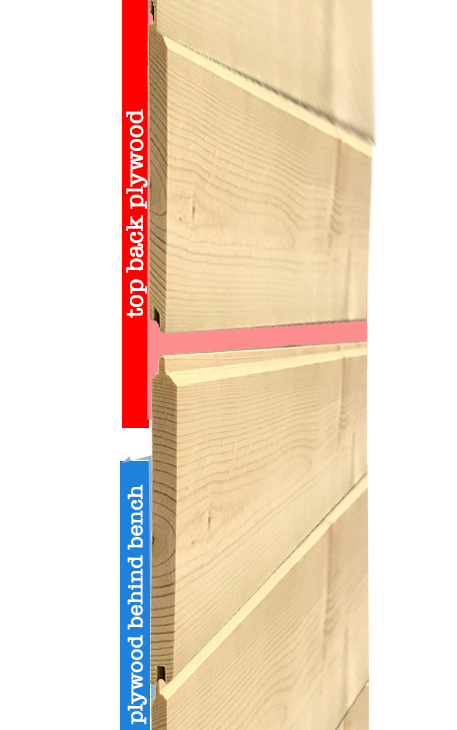
Create an overlapping v-groove piece that extends the same distance above the bench back (shown in blue above.) Then secure the plywood to the overlapping v-groove with screws.This will allow you to remove the back of your mobile mudroom. When assembled, the entire mudroom is difficult to get through doorways and around corners. This step allows you to take the back off to move.
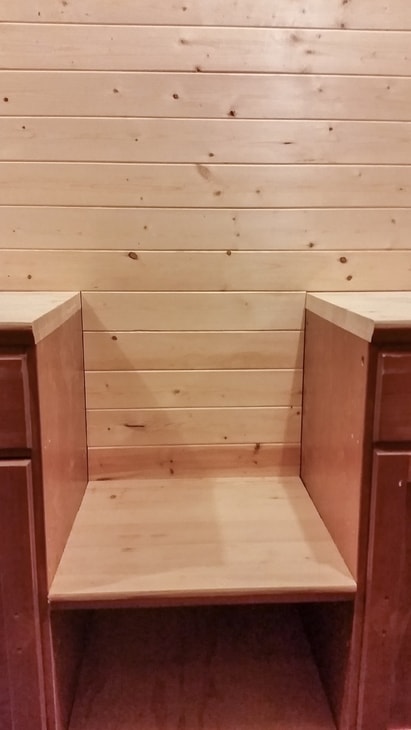
If your dresser has inset side panels go ahead and add v-groove planking to the sides for a more cohesive look.

That’s it for the structure of the mudroom! All that’s left to do is the cosmetic work.
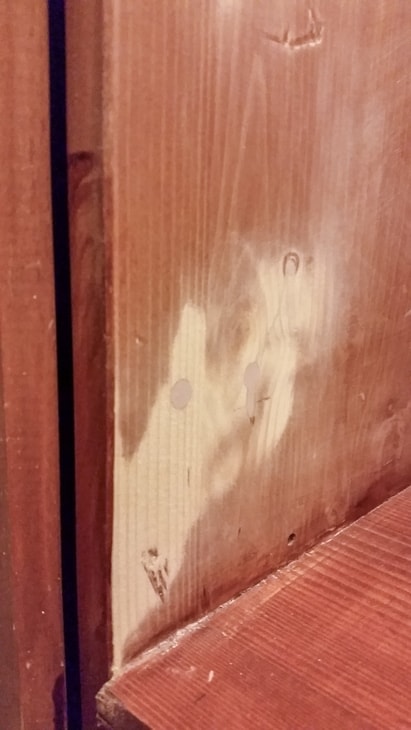
Fill the holes and finishing:
Because this is a repurposed piece, you will have holes leftover from the previous structure. Use wood filler to eliminate those spots and give a smooth finish. I prefer Bondo if you are painting your mobile mudroom. If you are staining it, use a stainable wood filler.
Of course you can finish your mobile mudroom any way you like. To achieve the aged and distressed look, stain the wood, then paint. After the paint dries, sand back some of the paint at edges and give it a distressed look that continues to look great even after being used and abused.
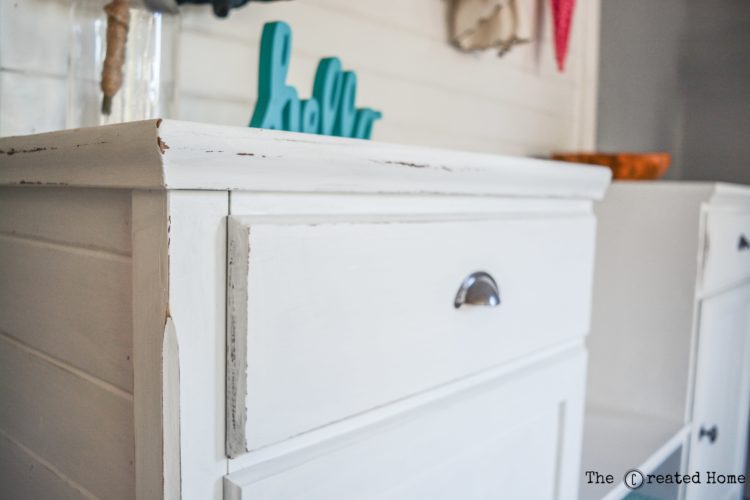
For a seamless finish, caulk any seams. If you are planning to remove the back, don’t caulk where the top plywood back meets the bench seat back. I did add a little caulk to where the v-groove meets the edges to make it look perfect. (My secret is out!)
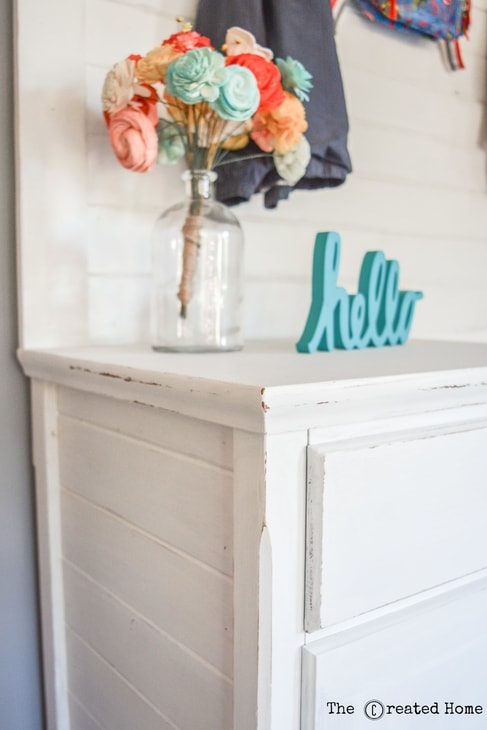
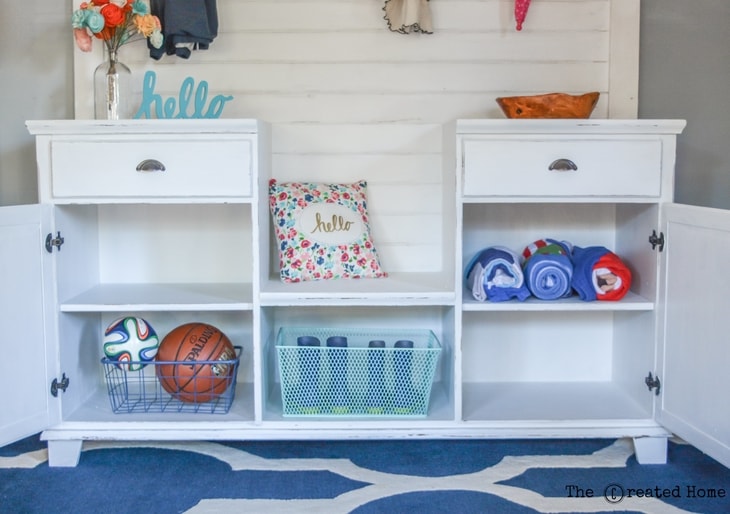
Add a cute little pillow on your bench to invite little ones to sit down.

Add hooks to the back, making sure to attach them high enough for coats scarves and hats.
The spot below the bench is perfect for more storage if you add a basket.
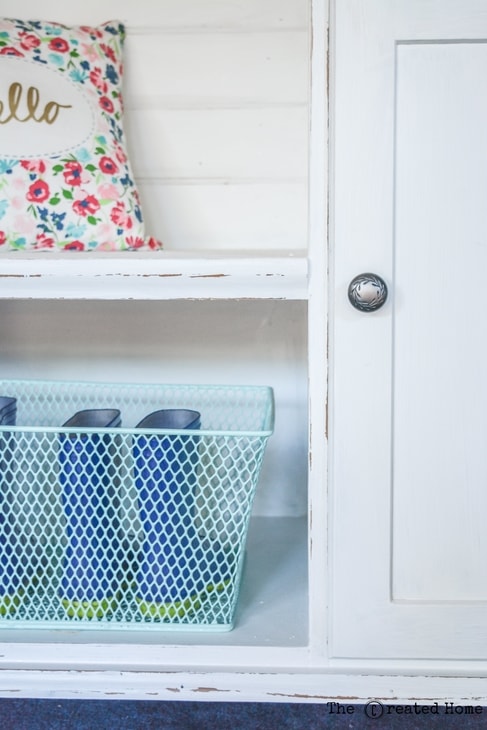
You’ll find plenty of storage in the drawers, cabinets or shelves in your mobile mudroom. Close the doors or drawers to keep your mudroom looking nice and clean.
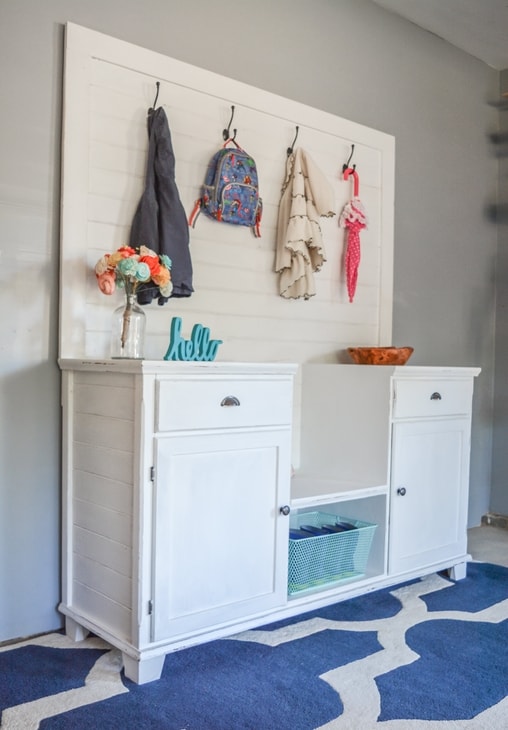
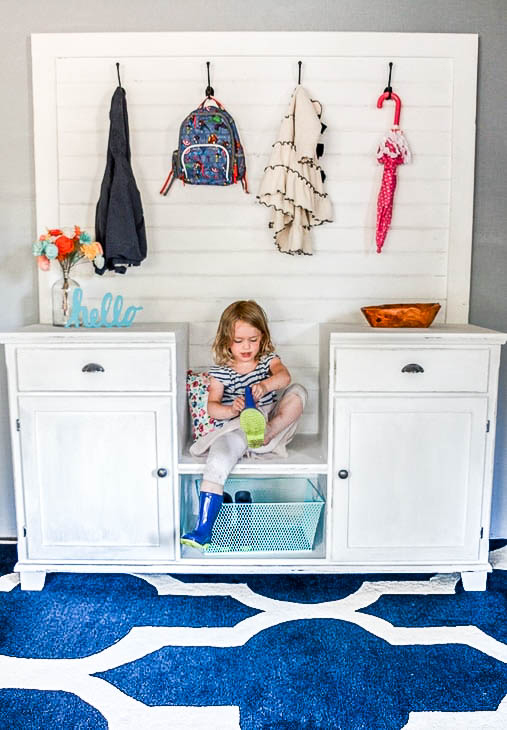
The sky is the limit with how you want to customize your own mobile mudroom. Replace the feet with something you like better, change up the back to give it any look you like. If you move, you can take your mobile mudroom with you! I’ll leave you with a shot of the mudroom in action. If you build one of your own I would love to see it!
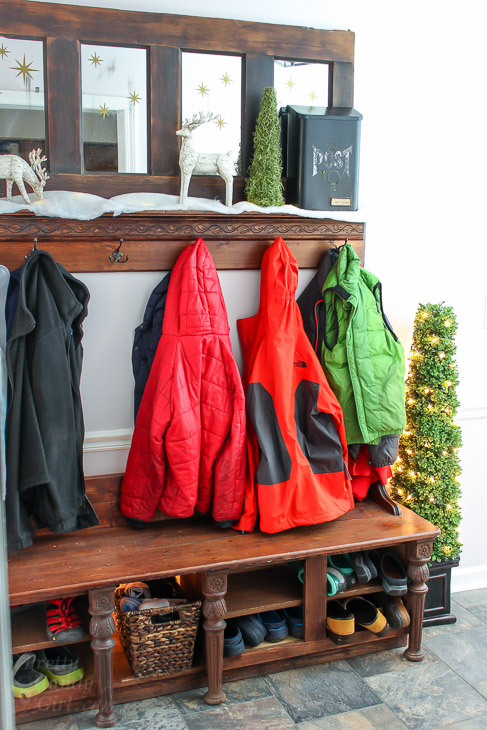
Like this mobile mudroom? You might also like Brittany’s shoe storage bench made from kitchen cabinets:
 Happy building!

LOVELY!!!!!