DIY Industrial Display Frame
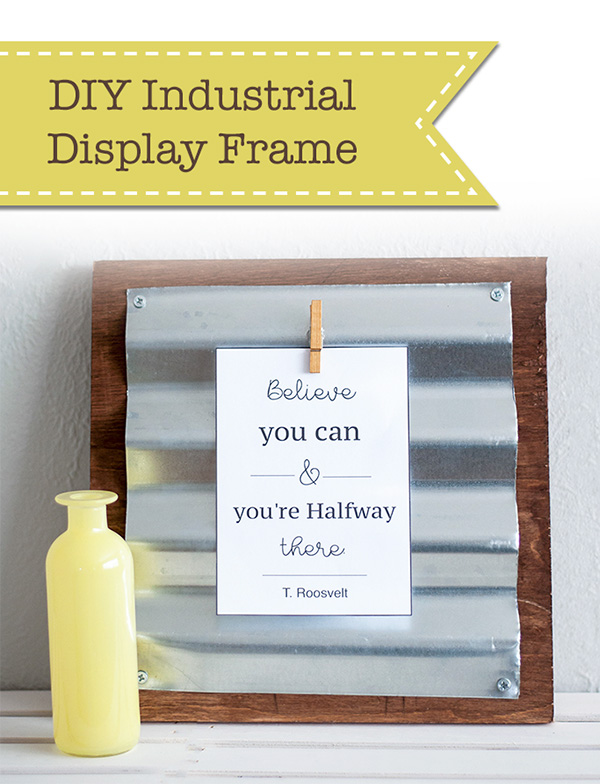 Easy DIY Industrial Display Frame
Hello Pretty Handy Girl readers, Anika here from Anika’s DIY Life with an industrial metal and wood display frame for you to make!
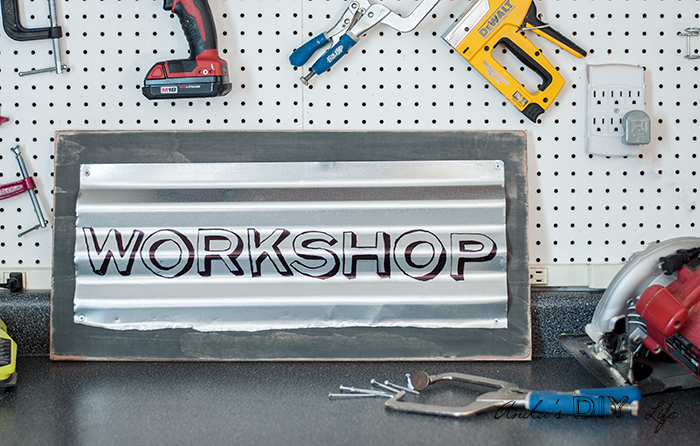
Lately, I find myself drawn to the industrial style with the metal and wood combinations. A couple of weeks ago, I made this sign for my workshop using corrugated metal and I think it turned out amazing.
I loved it so much that I wanted to make something similar for my office. I came up with a simple display frame. This is a super easy and quick project. And DIY Industrial Display Frames would make a great handmade gift for anyone!
Materials:
(I’ve included affiliate links for your convenience. I earn a small percentage from a purchase using these links. There is no additional cost to you. You can read more about affiliate links here.)
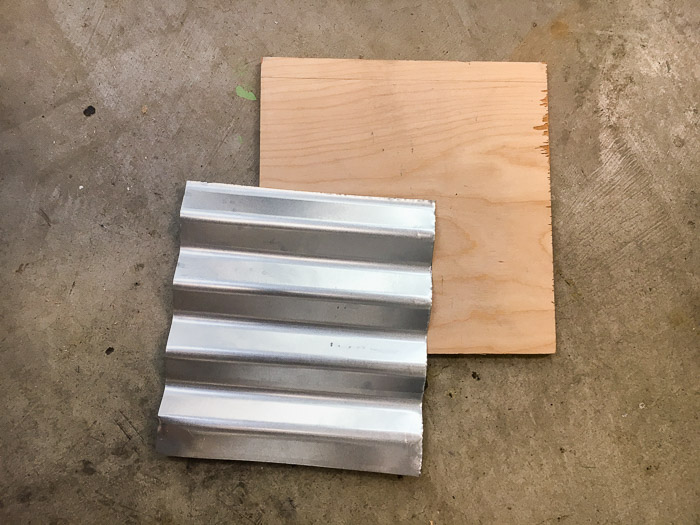
- Corrugated metal sheet – cut to 11.5″ x 11.5″
- ¾” plywood – cut to 12″ x 12″
- [amazon_textlink asin=’B000KWKQTS’ text=’¾” Spax screws’ template=’ProductLink’ store=’prett-wp-001-20′ marketplace=’US’ link_id=’0e9701a6-acfd-11e7-96d4-3f296134737b’]
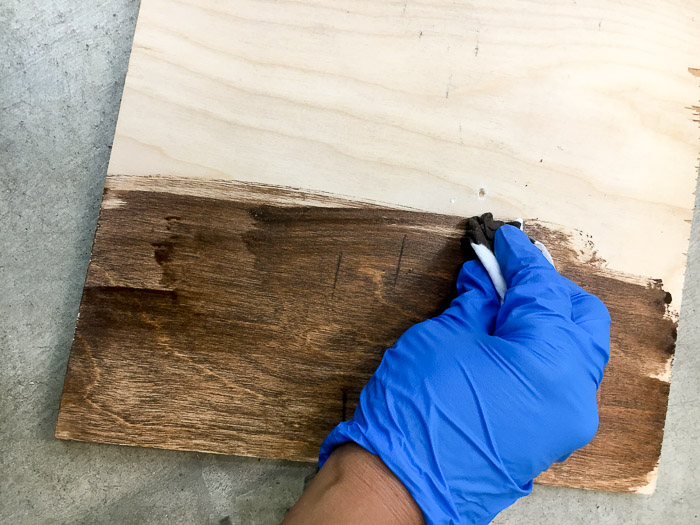
- Stain in color of your choice (I used Early American)
- [amazon_textlink asin=’B003BXE6ZI’ text=’Mini clothespin’ template=’ProductLink’ store=’prett-wp-001-20′ marketplace=’US’ link_id=’f894d98c-acfc-11e7-83c3-1d6e95b98e44′]
- Hot glue
- Drill
- Tin snips or Jigsaw with metal cutting blade
- Gloves
- [amazon_textlink asin=’B01AWK1XAS’ text=’Eye protection’ template=’ProductLink’ store=’prett-wp-001-20′ marketplace=’US’ link_id=’e1f16864-acfc-11e7-8b07-2d86581d9e35′]
Instructions:
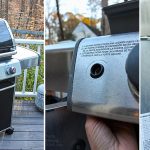
Step 1 – Cut your plywood to size. Cut your corrugated metal sheet slightly smaller than the plywood board. Use tin snips or a jigsaw with a metal cutting blade. Be sure to take appropriate precautions (wear work gloves and safety glasses because the metal is really sharp.)
Step 2 – Stain the plywood in the color of your choice.
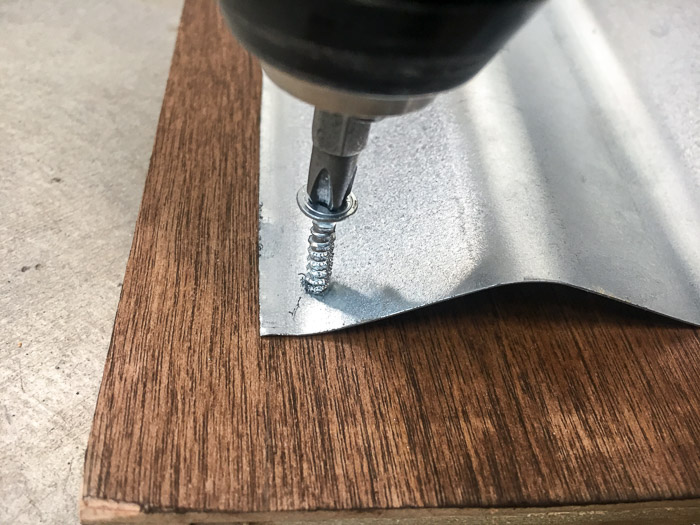
Step 3 – Attach the corrugated metal sheet to the plywood using the Spax screws. Leave ½” on each side to prevent the screws from splitting the metal. (Why Spax screws? They go through metal and wood easily without the need to pre-drill.)
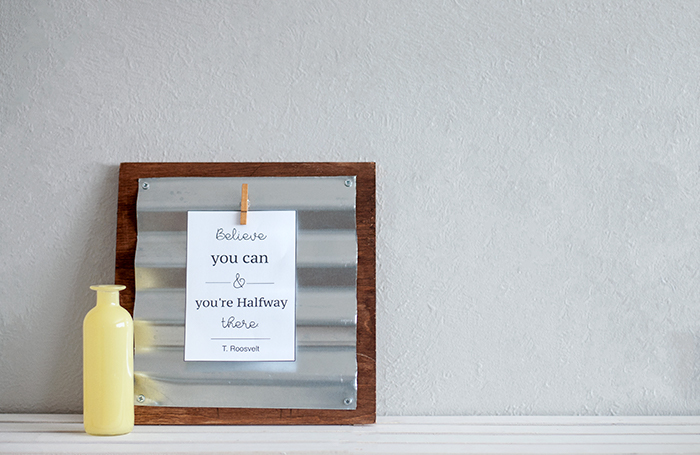
Step 4 – Decide if you want the display frame in landscape or portrait orientation and attach the mini clothespin using hot glue.
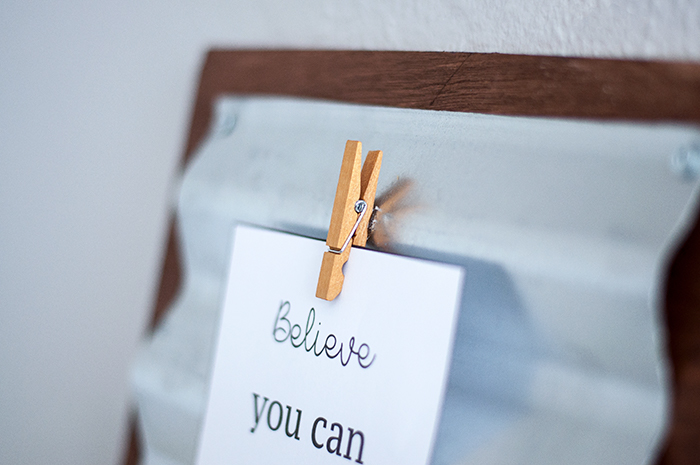
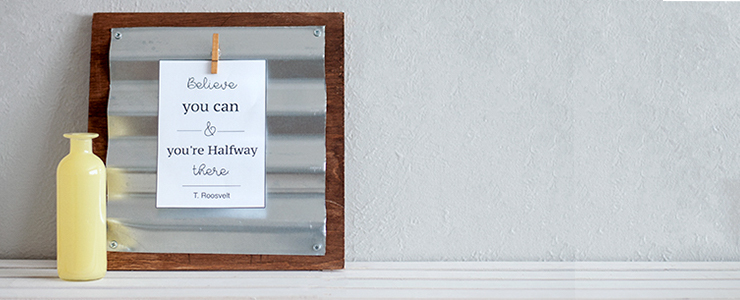
I chose the portrait orientation and popped in one of my favorite quotes. The size is perfect for a 5×7 picture and I can easily switch out the quote for a picture when I want.
I hope you liked this fun DIY Industrial Display Frame. Until next time!
 ~ View more of Anika’s DIY Tutorials ~
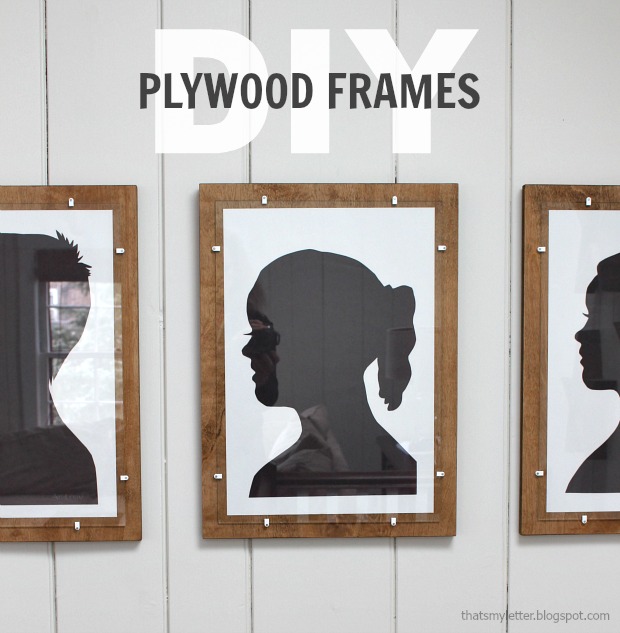
Did you like this project? If so, I think you’ll love these simple DIY Plywood Frames:

Nice!!!! What a great idea!!! Thank you for sharing with us