DIY Framed Pumpkins
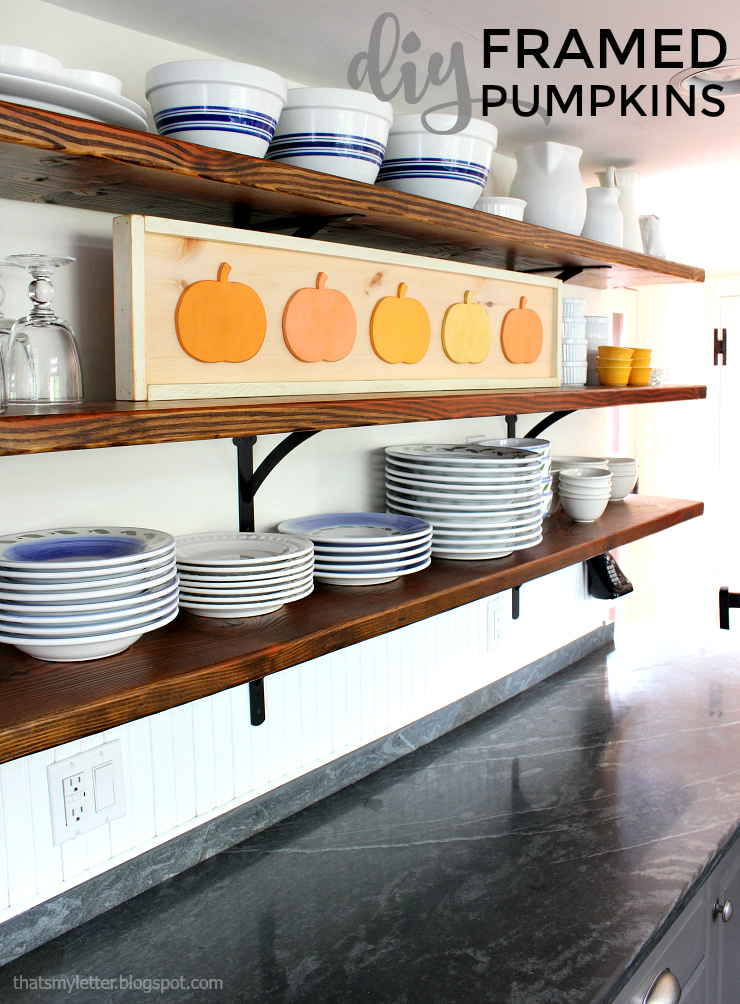
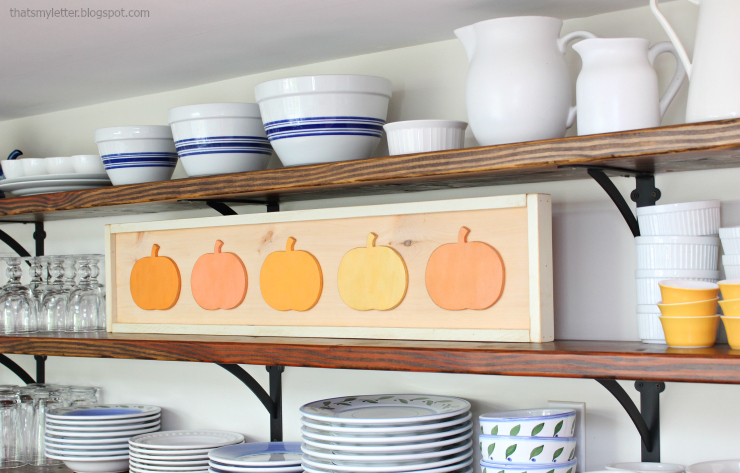
Hooray, Fall is on the way and that means it’s time to bring out all the pumpkins. Jaime here from That’s My Letter sharing this DIY Framed Pumpkins artwork which is easy, fast, and makes a very big statement for little cost.
I scoured my scrap wood pile for this project but if you were to go out and purchase the supplies I’d estimate it to cost about $20, including paint for this jumbo pumpkin wall art. I made five pumpkins because odd numbers are always better when decorating and I have five people in my immediate family so everyone is accounted for.
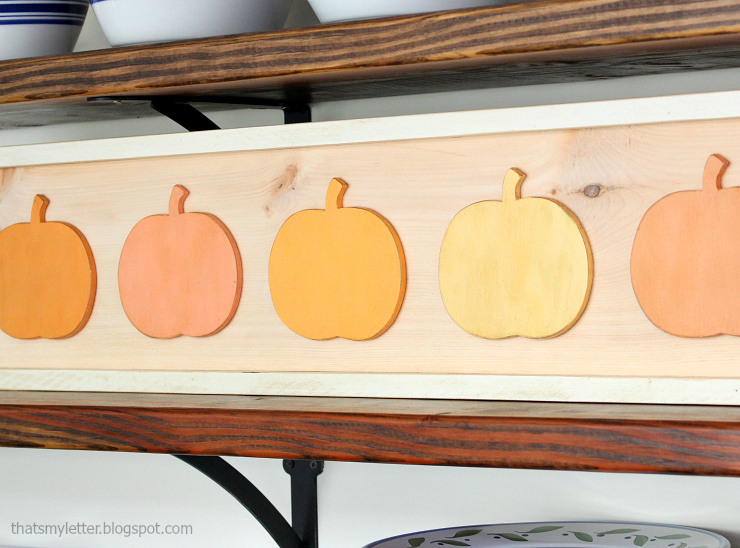
My best advice to make this project easy and fast would be to scour google for a good pumpkin shape that has simple lines. Once you have your shape, you can adjust the size to fit your background board. I used a 1″ x 8″ pine board (which is actually 7 1/4″ high) so my pumpkins are about 5″ height and 6″ width each.
Amazingly I had five different shades of orange paint on hand, but you could paint them all the same color, add some personalization or even spell out a fun Fall word.
(I’ve included affiliate links for your convenience. I earn a small percentage from a purchase using these links. There is no additional cost to you. You can read more about affiliate links here.)
Materials:
- pumpkin clip art (search google)
- scissors
- pencil
- tape measure
- scroll saw
- sandpaper
- 1x8x6 pine board (cut at 40″l)
- 1x2x8 pine board (2 cuts @ 40″, 2 cuts @ 8 3/4″)
- orange acrylic or latex paints
- off-white acrylic paint
- paint brush
- wood stain
- cloth for staining
- wood glue
- power finish nailer (or a hammer)
- 1 ¼” finish nails
Cut list:
- 1″ x 8″ pine board cut to 40″ length
- 2 – 1″ x 2″ frame edges cut to 40″ long
- 2 -1″ x 2″ frame edges cut to 8 ¾” long
Instructions:
Step 1: Print out pumpkin clip art to desired size and cut out shape using scissors.

Step 2: Trace around pumpkin shape onto 1/4″ plywood scrap piece. Using a scroll saw cut out pumpkin shapes and sand edges smooth.
Step 3: Prepare background piece (the 1″ x 8″ pine board cut to 40″ length). Lay the two long 1″ x 2″ frame pieces on top and bottom. Lay the short 1″ x 2″ frame edges on the sides.

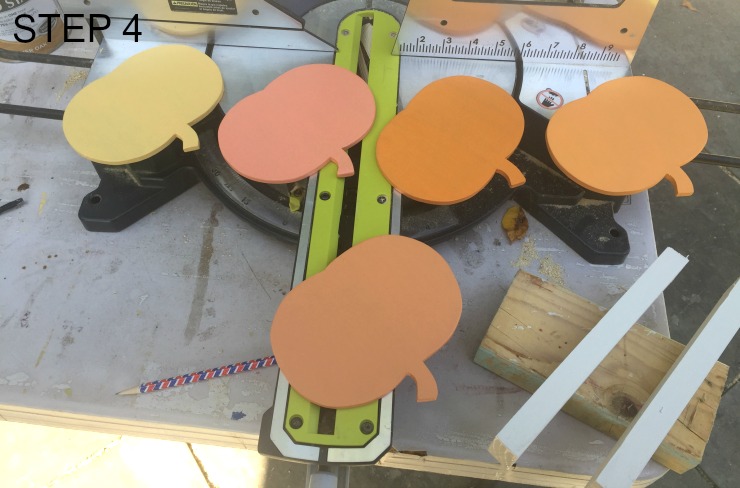
Step 4: Paint pumpkins in various orange colors. Paint frame pieces off white.
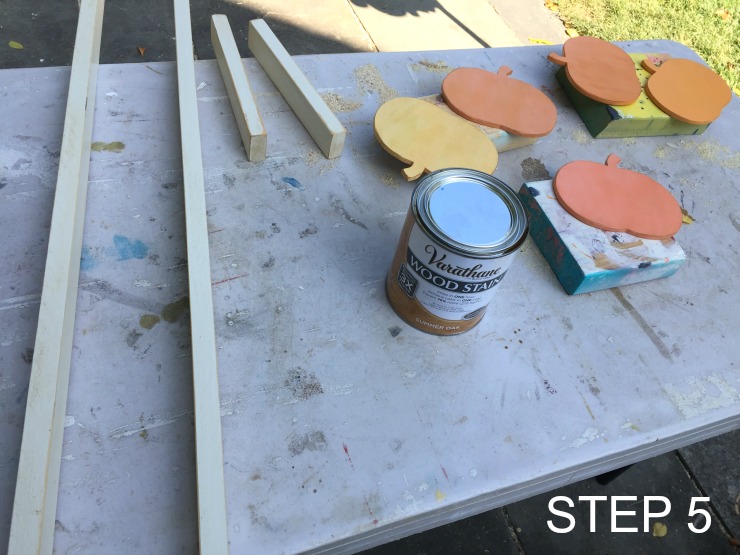
Step 5: Sand the pieces to distress them. Apply stain along edges using the cloth. (I used Varathane in summer oak.)
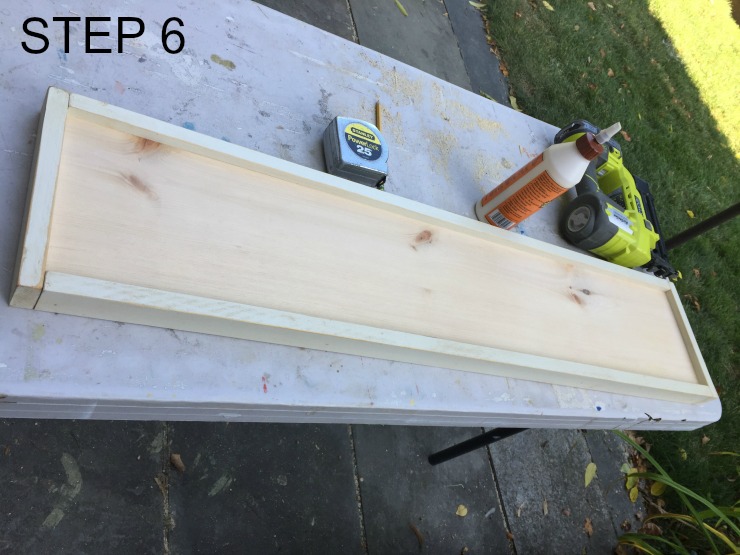
Step 6: Attach 1″ x 2″ frame pieces to the edges of the 1″ x 8″ board using wood glue and 1 ¼” finish nails.
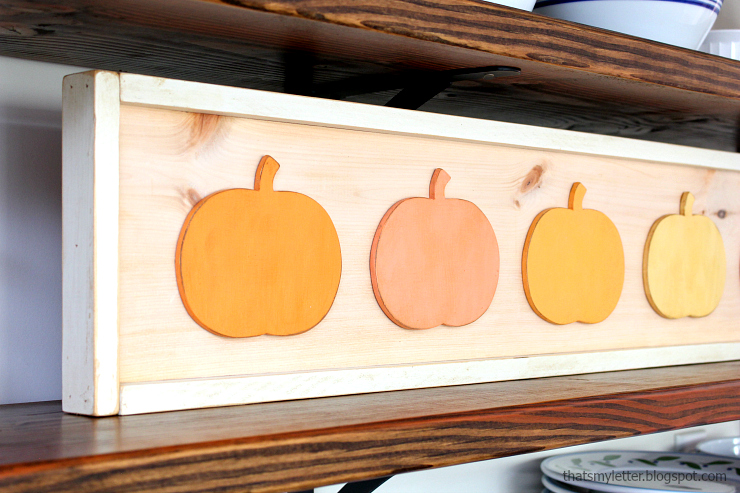
Step 7: Attach pumpkins to 1″ x 8″ background board using wood glue. Start at center and measure for equal spacing.

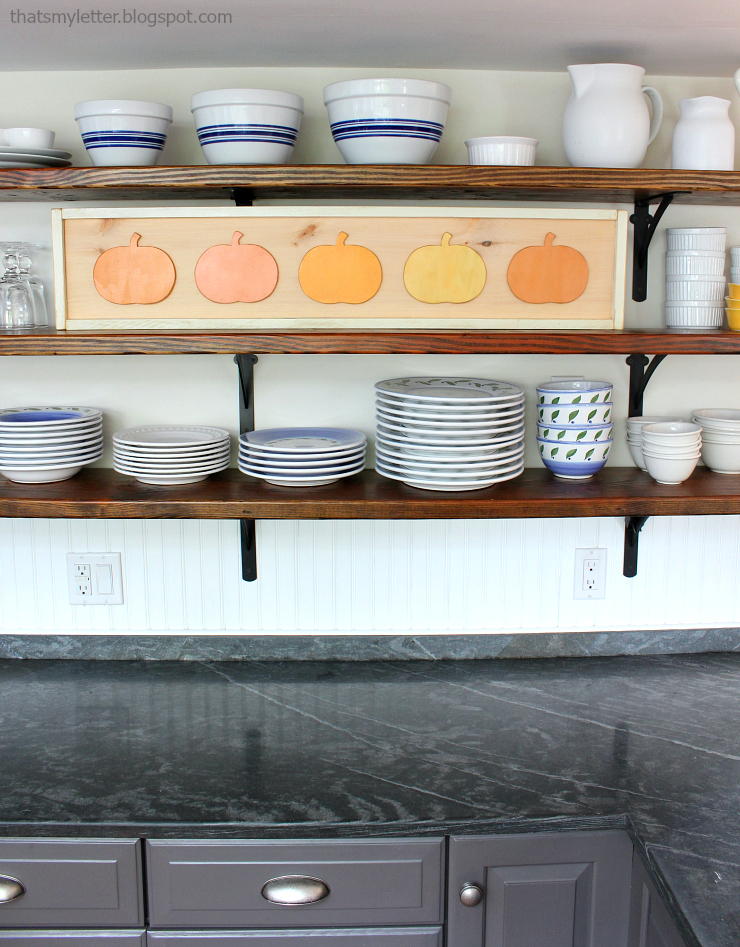
Let the glue dry and then place framed pumpkins on a ledge, your mantel, or add a sawtooth hanger to hang above a doorway.
So many possibilities and just the perfect touch of Fall!

I have already made some pallet pumpkins this year this would be a good follow up to that. I unfortunately do not have as many hues of orange paint . This is a great project and get much respect from me since it came from the scrap wood pile. peace.
This is fun and I would love to see it in wall. This kind of framed decor should have a place in my home. Thanks a lot for letting me see and and for giving us ideas how to do it.
what are the countertops?
Oh! I love this! so cute