
DIY Bread and Cheese Board
 DIY Bread and Cheese Board
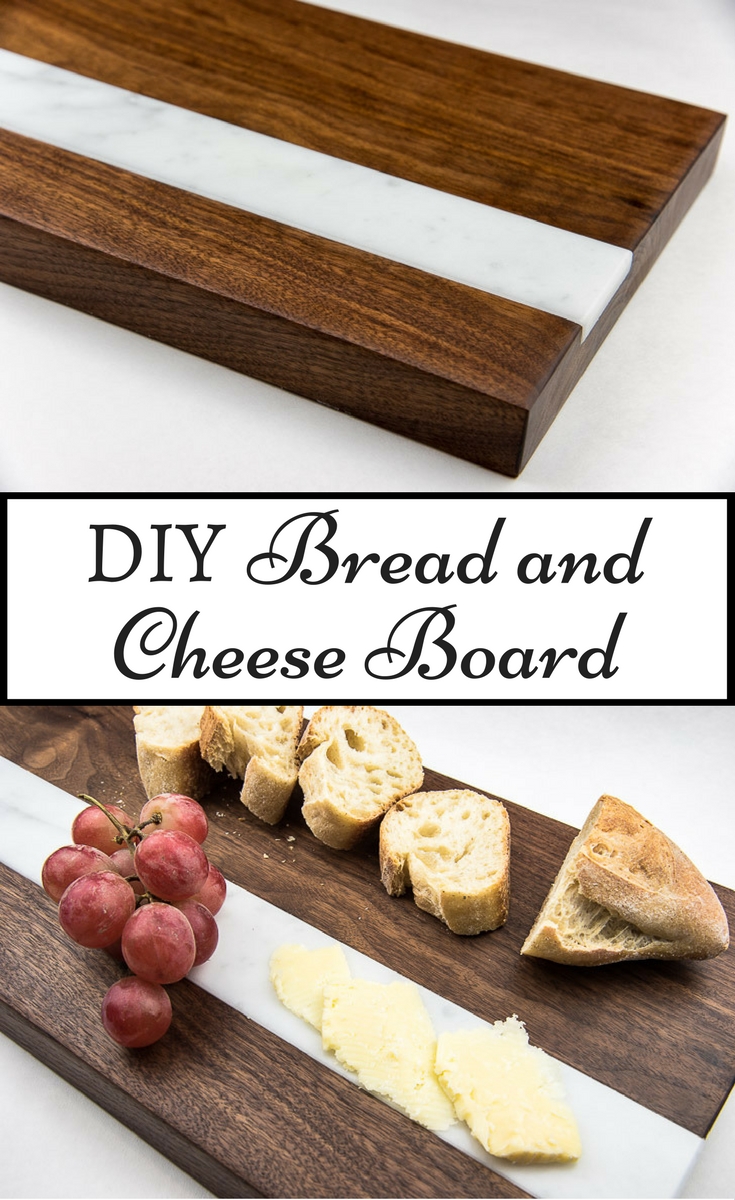
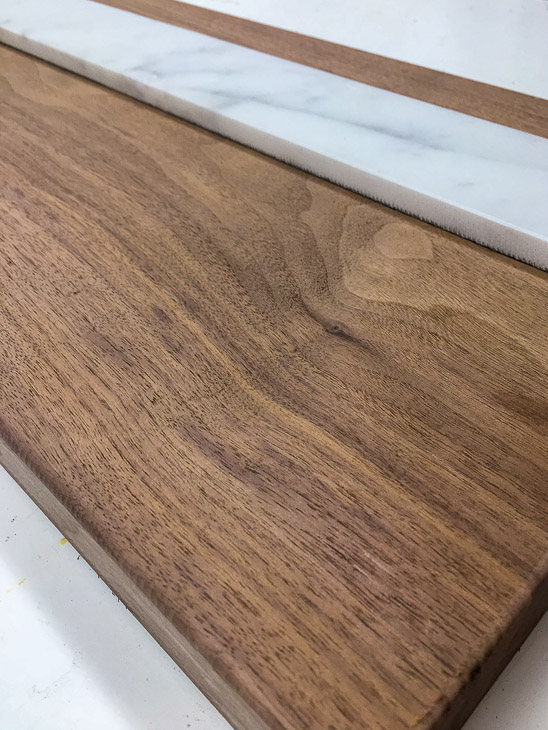
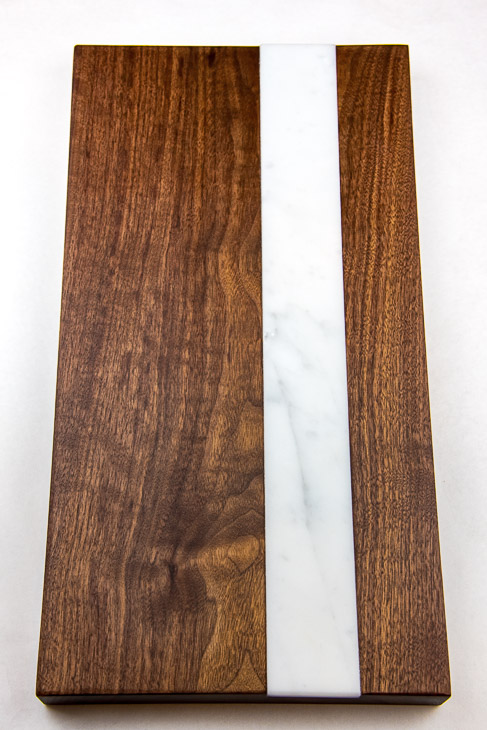
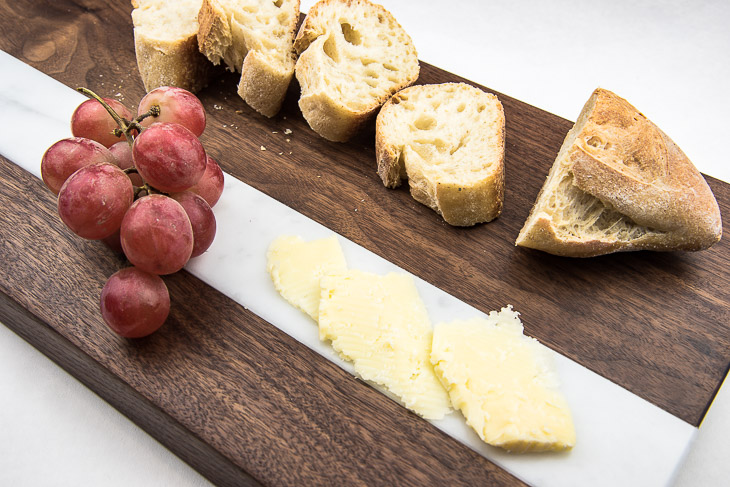
Hi there, Pretty Handy Girl readers! I’m Vineta from The Handyman’s Daughter, back with another tutorial for you! This bread and cheese board was a gift to my mom for Christmas, and she absolutely loved it! The marble inlay is perfect for keeping cheese cool, and the walnut cutting surface contrasts beautifully against the white marble.
I was nervous cutting into this gorgeous walnut piece. I decided to wait until my dad, The Handyman himself, visited for Christmas. The whole process was actually quite simple, and we finished just in time to put the present under the tree!
Materials:
(I’ve included affiliate links for your convenience. I earn a small percentage from a purchase using these links. There is no additional cost to you. You can read more about affiliate links here.)
- Walnut wood at least 3/4″ thick and 8″ wide (I went to my local hardwood lumber store and found a gorgeous piece that was 1 1/4″ thick and 9 1/2″ wide.)
- Marble tile (I had a 2″ x 18″ long piece of marble tile left over from building my fireplace hearth.)
- 100% silicone adhesive (must be food safe)
- Painter’s tape
- Table saw with dado blade
- Router and 1/8″ roundover bit
- Sander and sandpaper
- Mineral oil or cutting board wax
Instructions:
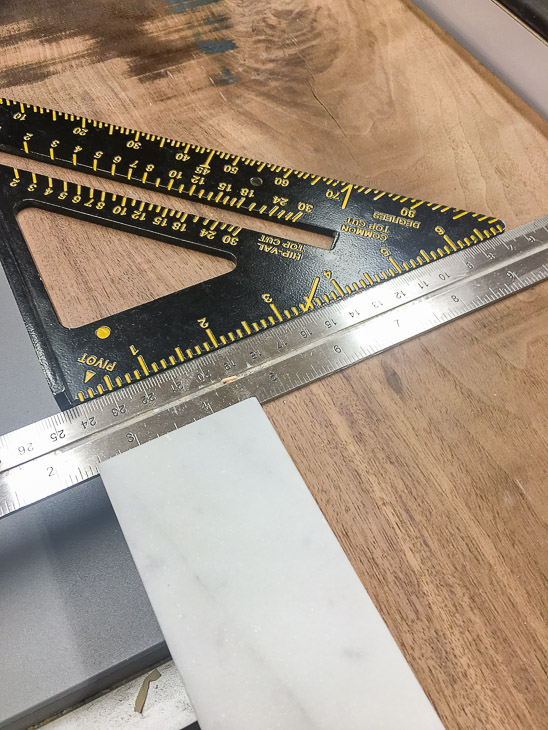
Start by cutting a piece of marble tile to your desired size. (Mine was already 2″ x 18″, so I just sanded down the cut edges to remove any bumps from the tile saw.)
Next, cut your walnut to the length of the tile. Make sure the ends are square before proceeding.
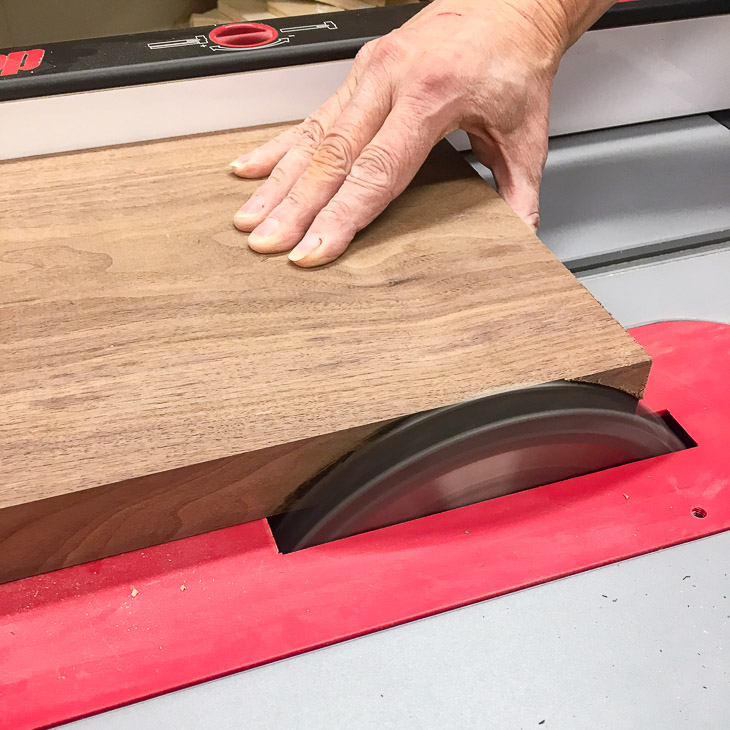
Run your walnut through the table saw to make sure is square. (The dado blade was already in place, so my dad just used the blade closest to the fence to make the cut.)
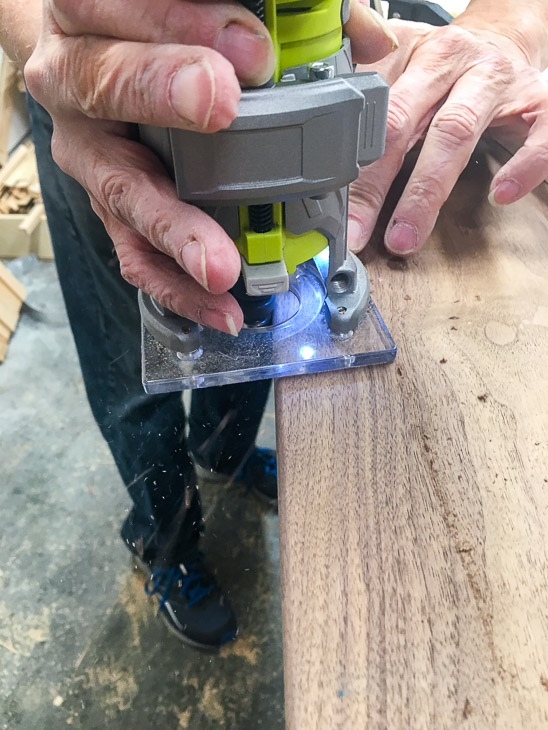
Using a 1/8″ roundover bit in your router, remove the hard corners from each side.
Determine where you want the marble to go in your finished piece. (I wanted my marble stripe to be asymmetrical, so I placed it 2″ from the edge.)
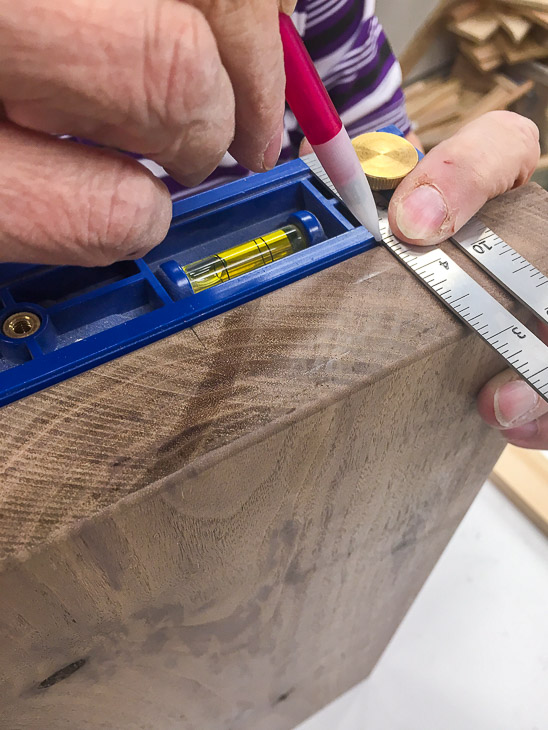
Mark the width and depth of the marble tile on the end grain of your walnut.
Set the depth of the dado blades on the table saw to the same depth as the marble. Line up the edge of the blade with your markings, then make the cut. Repeat the cut until you reach the mark for the other side.
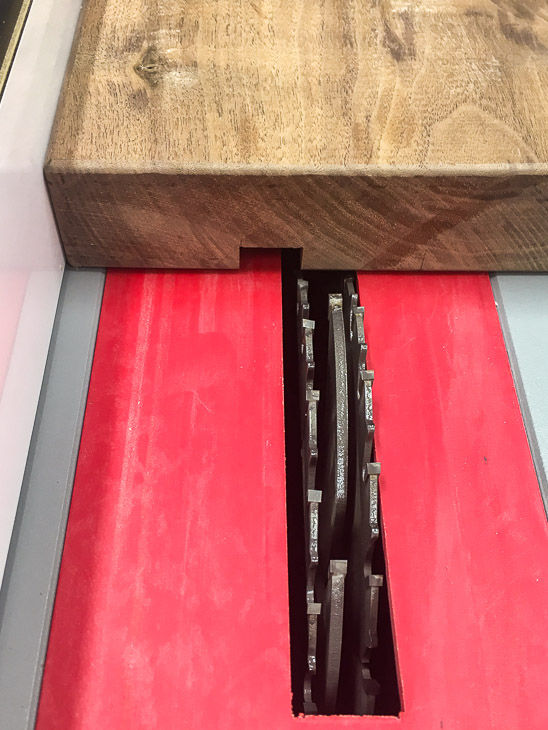
Test the fit of your marble tile inside the groove. There should be a tiny bit of room on either side to allow for wood movement. If the marble rocks when you press down on one side, you can clean up the bottom of the groove with a straight router bit.
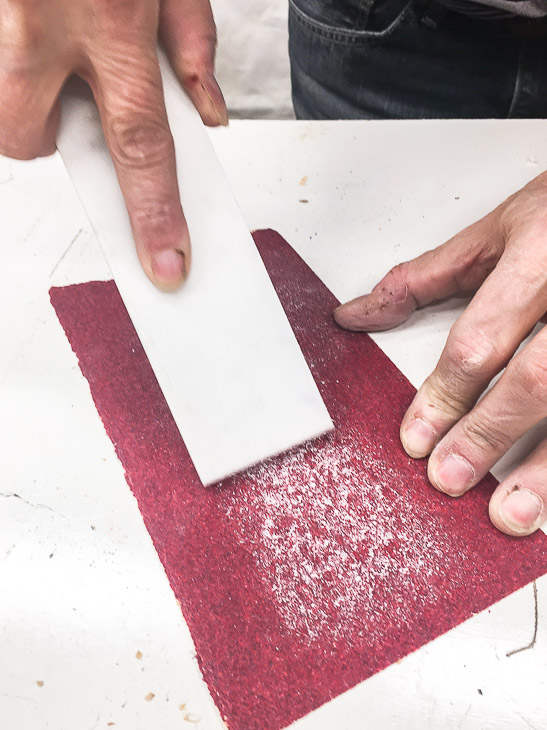
We soon realized that the corner of the marble was sharp, while the rest of the cutting board edge was curved. Luckily, marble is very soft, so we were able to round over the corner with 80 grit sandpaper.
Sand your cutting board with progressively finer grits of sandpaper. Be careful not to round over the edges of the groove.
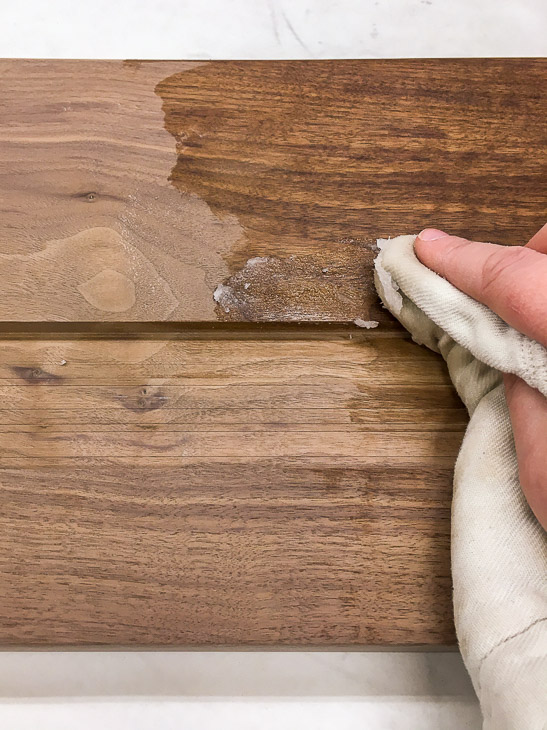
Give the surface of the wood an initial coat of mineral oil or cutting board wax. This will prevent the silicone from seeping into the grain. (Isn’t it amazing how the wood comes alive as it soaks up oil?)
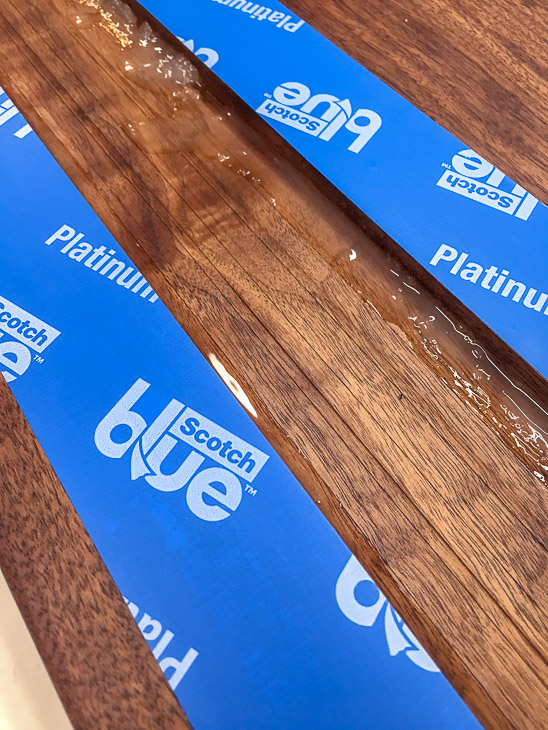
Tape off the edges of the groove with painter’s tape. Then apply a line of silicone along the perimeter. Check the label to make sure it’s food safe 100% Silicone.
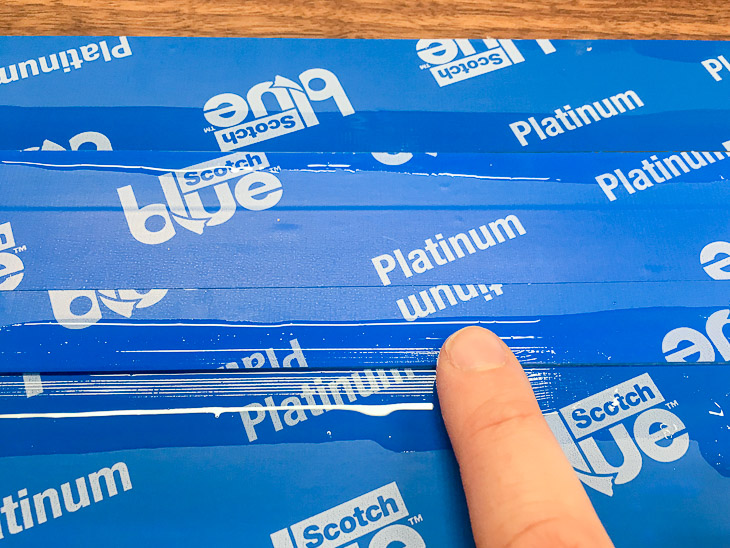
Cover the top of the marble with painter’s tape, then lay it in the groove. Run another bead of silicone in the gap between the marble and the wood, and run your finger along the seam. This will prevent crumbs from getting into the cracks, while also allowing for wood movement. Let the silicone set for at least 24 hours before use.
Remove the painter’s tape and clean up any silicone that might have squeezed out with a razor blade. Then give it another coat of mineral oil and it’s ready to use!
We put the bread and cheese board to work right away serving appetizers on Christmas Day!
I plan to make a few more of these to give as gifts in the future. It’s such a simple project that’s sure to impress!
If you loved this project, check out my other woodworking projects over at The Handyman’s Daughter!

~ view more of Vineta’s projects ~
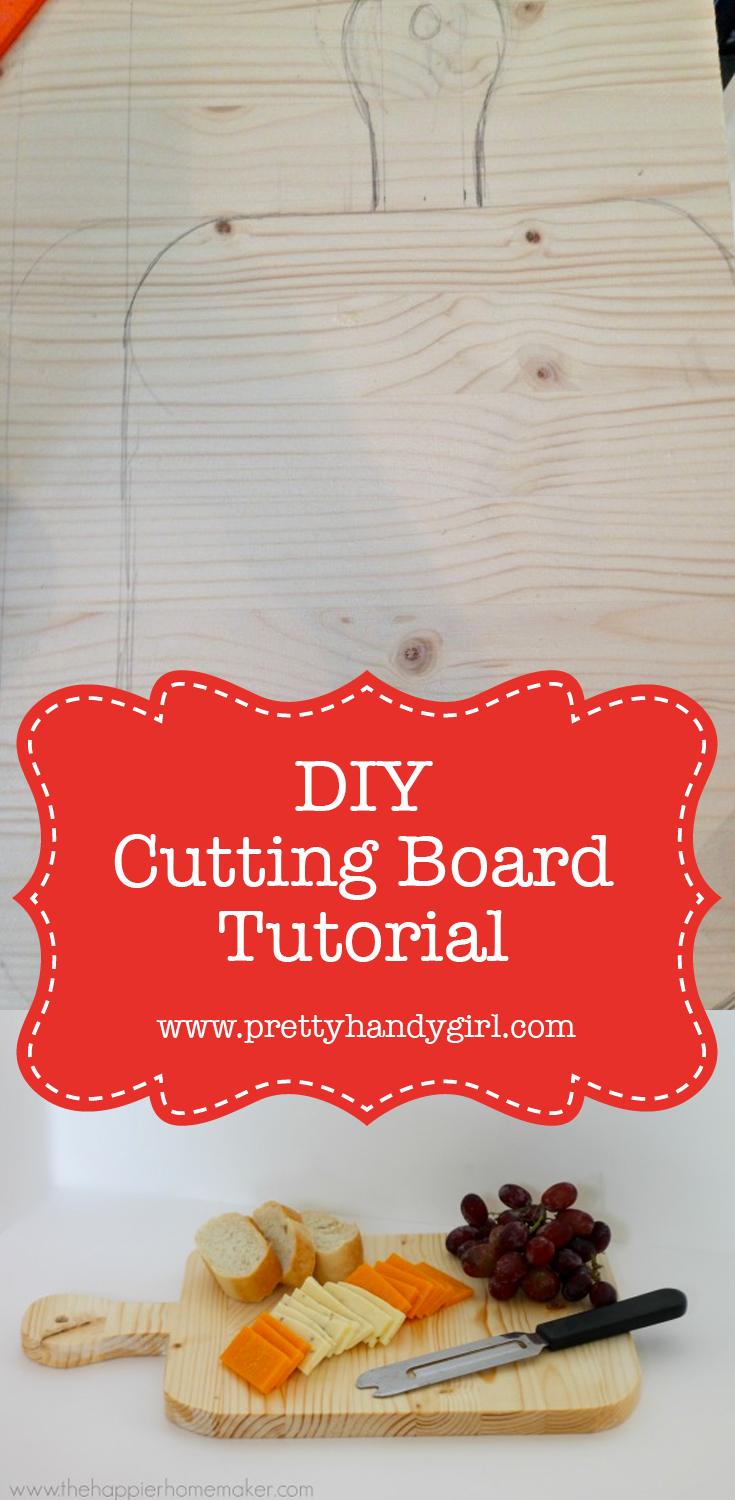
Liked this tutorial? You may also like this DIY Wood Cutting Board:


This is absolutely beautiful. What a lovely gift to make for your mother.
How adorable