
Creating Silhouetted Gifts
Now that the Christmas hype has died down and my cold has lost its grip on my sinuses, I’m back with a quick little tutorial on creating a special silhouetted gift for your child.
Thank you to my dear Pretty Handsome Guy for his guest post. I’m glad you all enjoyed a good laugh at his expense.

Christmas morning my boys were greeted by magical North Pole snow footprints (baking soda) leading up to the tree.
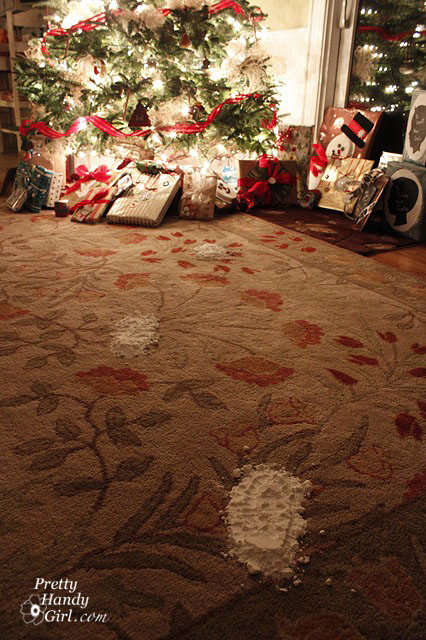
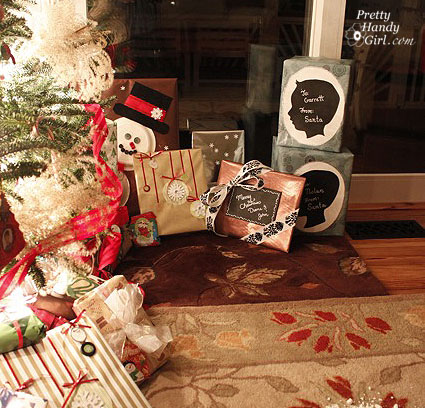
In an effort to keep the Santa myth alive, the two presents from Santa were constructed in a different style from the other presents under the tree.
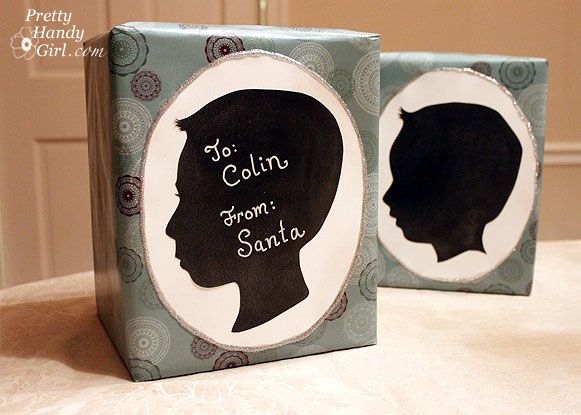
My six year old exclaimed Christmas morning, “MOM! Santa knows what we look like!” So, I think I fooled them again this year.
Materials:
Scissors
X-acto knife (optional) and cutting surface
Profile picture of your child
Spraymount
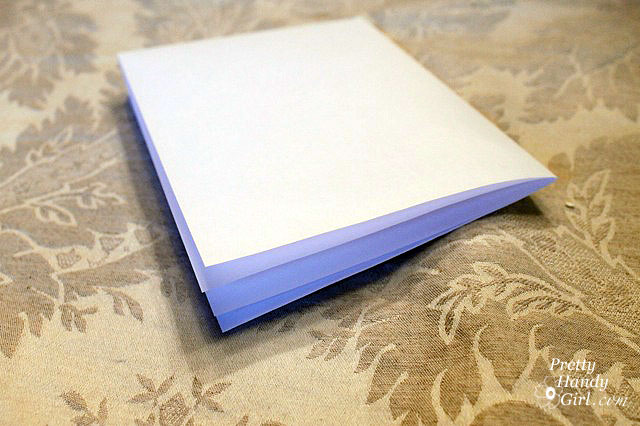
White sheet of letter size paper
White cardstock paper
Black cardstock paper or construction paper
Chalk, Bistro marker, or White paint pen
Pencil
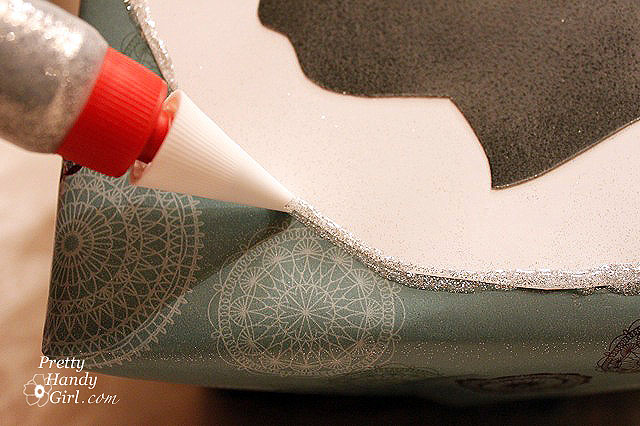
Glitter spray
Glitter glue
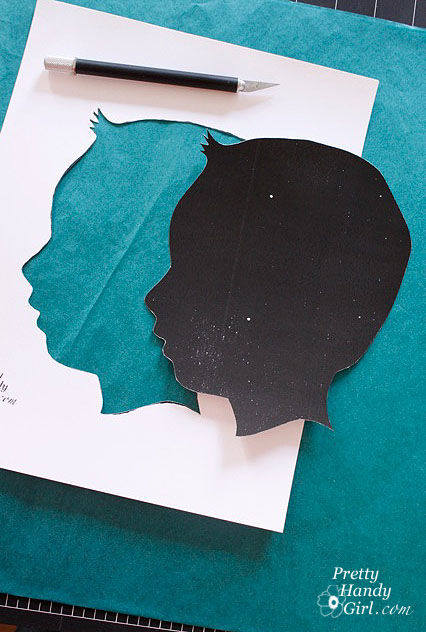
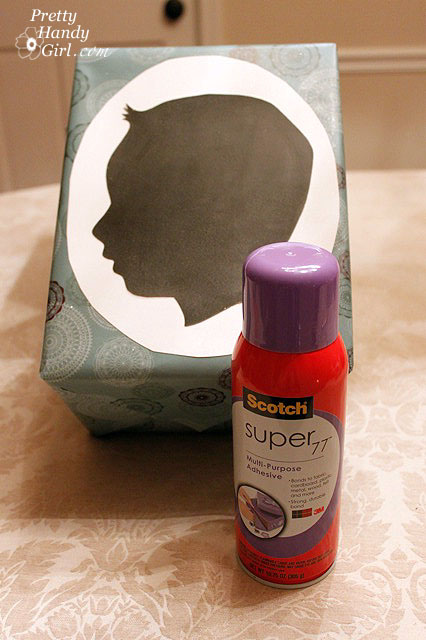
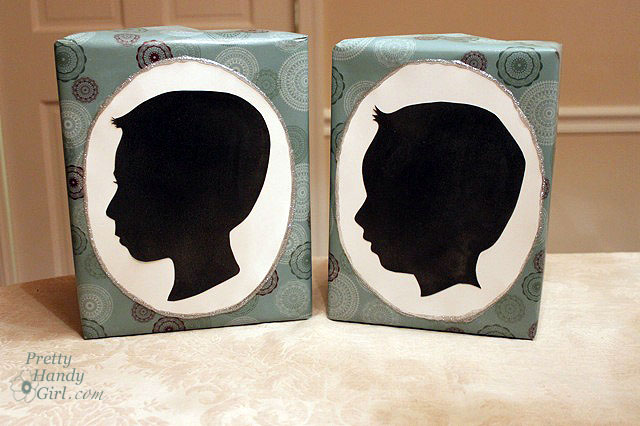
Start by creating your child’s silhouette. (My silhouettes took many steps in Adobe Photoshop, but I’ll give you instructions for the easy way.) Simply take a photo of your child turned sidewards (preferably in front of a blank wall.) Then enlarge the photo on a copier to the size you want to use. Lay the paper on top of the black cardstock and cut them both at the same time. I prefer to use an X-acto knife for the cutting, but you can use scissors if you like.
Unless you have a graphic program or a template to draw perfect ovals, you will need to draw one freehand. Wait, wait, don’t freak out. You can do this!
First, fold a letter sized paper into fourths.
Draw a curve on the paper with the fold sides inside the curve.
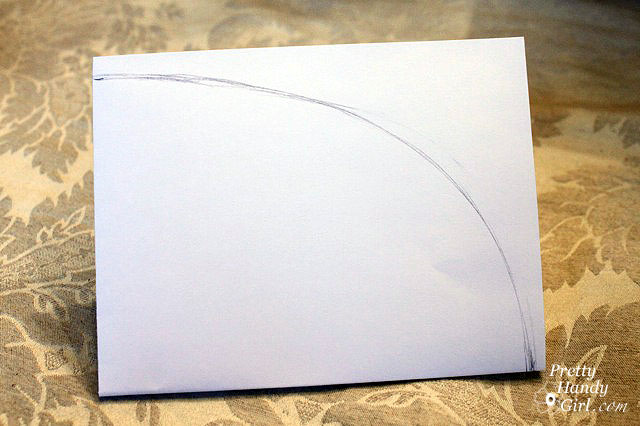
Cut along the line.

Open up your paper to reveal your oval. If you don’t like it, try it again.
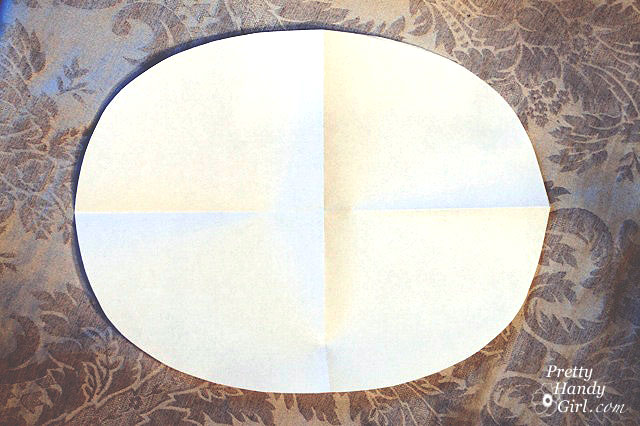
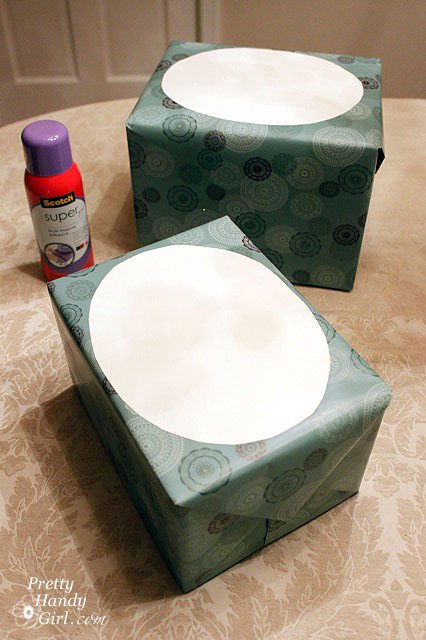
Once you are happy with your oval, trace the folded oval onto white cardstock paper and cut it out.

Wrap your present (be sure to use wrapping paper that your child has never seen in your home!)
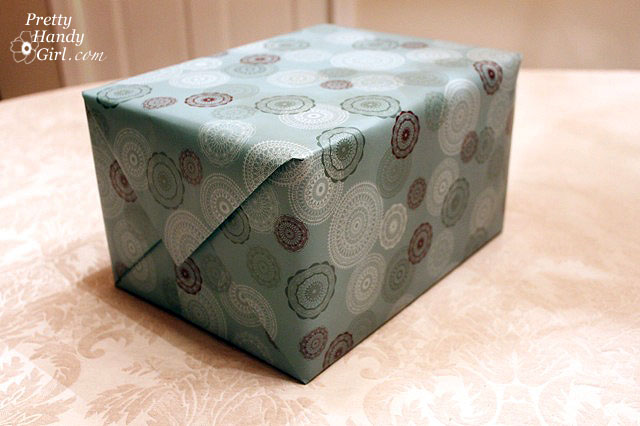
Spray the back of your cardstock oval with spray mount and adhere it to the present.
I added some glitter spray to the wrapped package to give it a little extra sparkle! (I know, it doesn’t really show up in the photo.)

So, here is a close up of the glittery goodness:

Spray the back of your silhouette head with the spray mount and lay it inside the oval.


Wow, that is such a great idea for gift wrapping! I'll definitely try that next year (post saved in creative file in favourites- check!)! And how sweet of your boy to save the gift wrapping- I love that!
I used your bear to make a special gift wrapping for my grandson. It was a huge hit with everyone. Thanks.
On those silhouettes–As a volunteer coordinator, I was just asked to find volunteers to make 25 silhouettes of the residents on one wing of our nursing home by the end of January. I was in a complete panic. Your method, however, should be easy enough. A double thanks for that;-}
What a sweet boy! And I love how you made the Santa footprints! I'm definitely stealing this idea for the future. Also, just wanted to let you know that I'm featuring your awesome closet-reading nook on my blog tomorrow:)
Oh that is too cute that he saved your package fronts! You have taught him well! The silhouettes were adorable too 🙂