
How to Create an Inexpensive Mulch and Stone Walkway
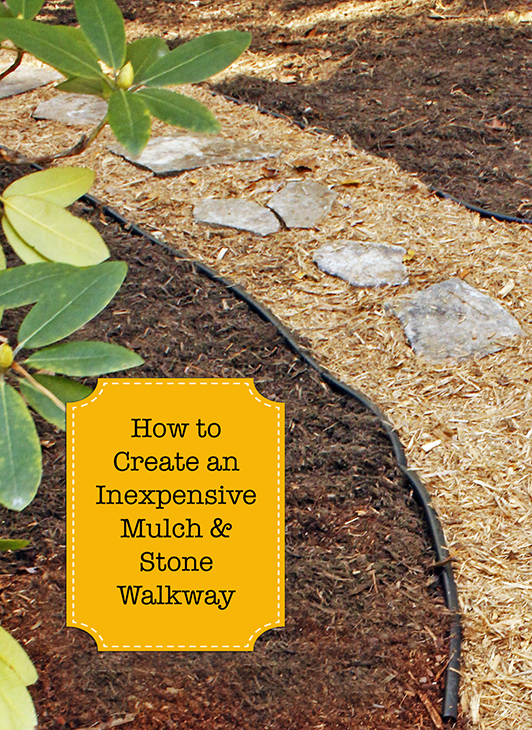 How to Create an Inexpensive Mulch and Stone Walkway
Spring is on its way and that means more rain. It’s also the time of year when the grass has been dormant and there is more exposed dirt and mud in your yard. Let’s be honest, everyone tends to have problem spots in their landscaping that end up looking like a mud pit. And if you have kids or pets running around, it won’t be long before that mud comes walking into your home.
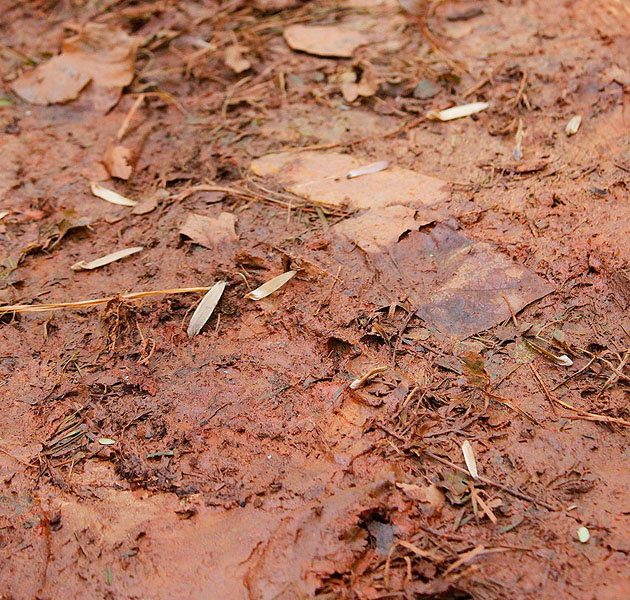
For those of us that live in the south, mud is not just wet dirt. It’s usually red clay! And unfortunately, it will stain everything you own and make housekeeping a nightmare. Time to come up with a fast and inexpensive solution to the mud problem.
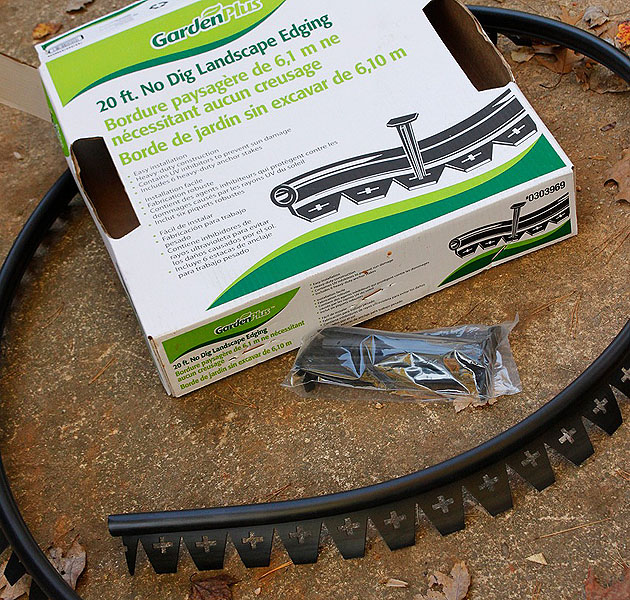
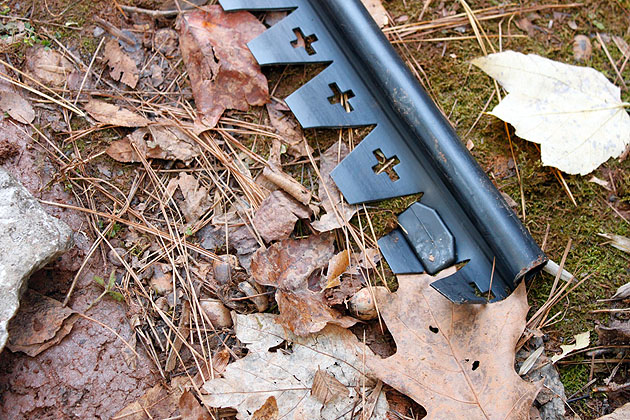
While searching Lowe’s for some ideas, I stumbled across this no-dig landscape edging. I was very excited to see that I wouldn’t have to dig a trench to bury half of it! Instead, it comes with pegs to nail into the ground. Suh-weet!
Materials:
(I’ve included affiliate links for your convenience. I earn a small percentage from a purchase using these links. There is no additional cost to you. You can read more about affiliate links here.)
- Flat stones or stepping stones (cost will vary)
- No Dig Landscape Edging Kits
- Two different colors of mulch (I used 20 bags -10 for each color) $3 each
- Yardstick for your width template
- Hammer
- Garden Rake
Instructions:
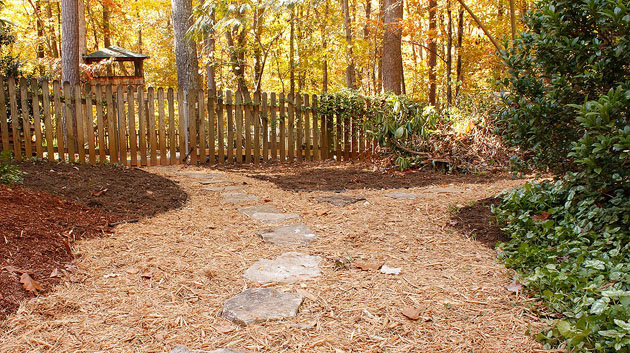
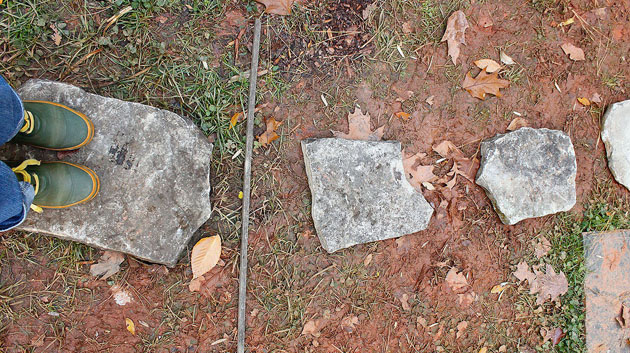
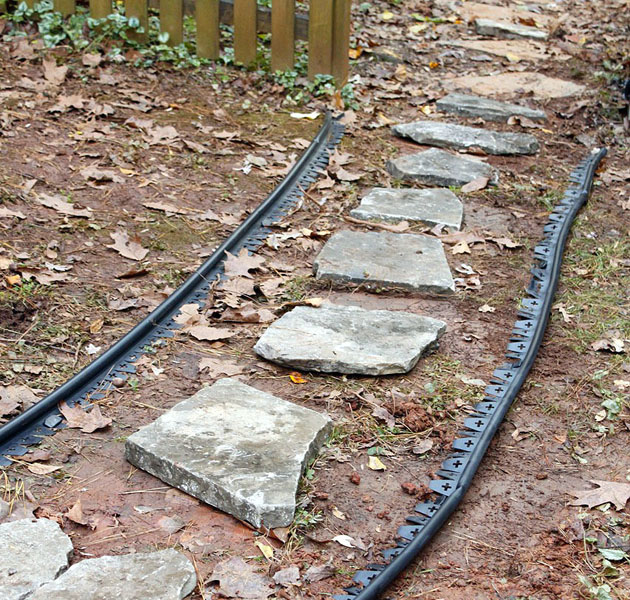
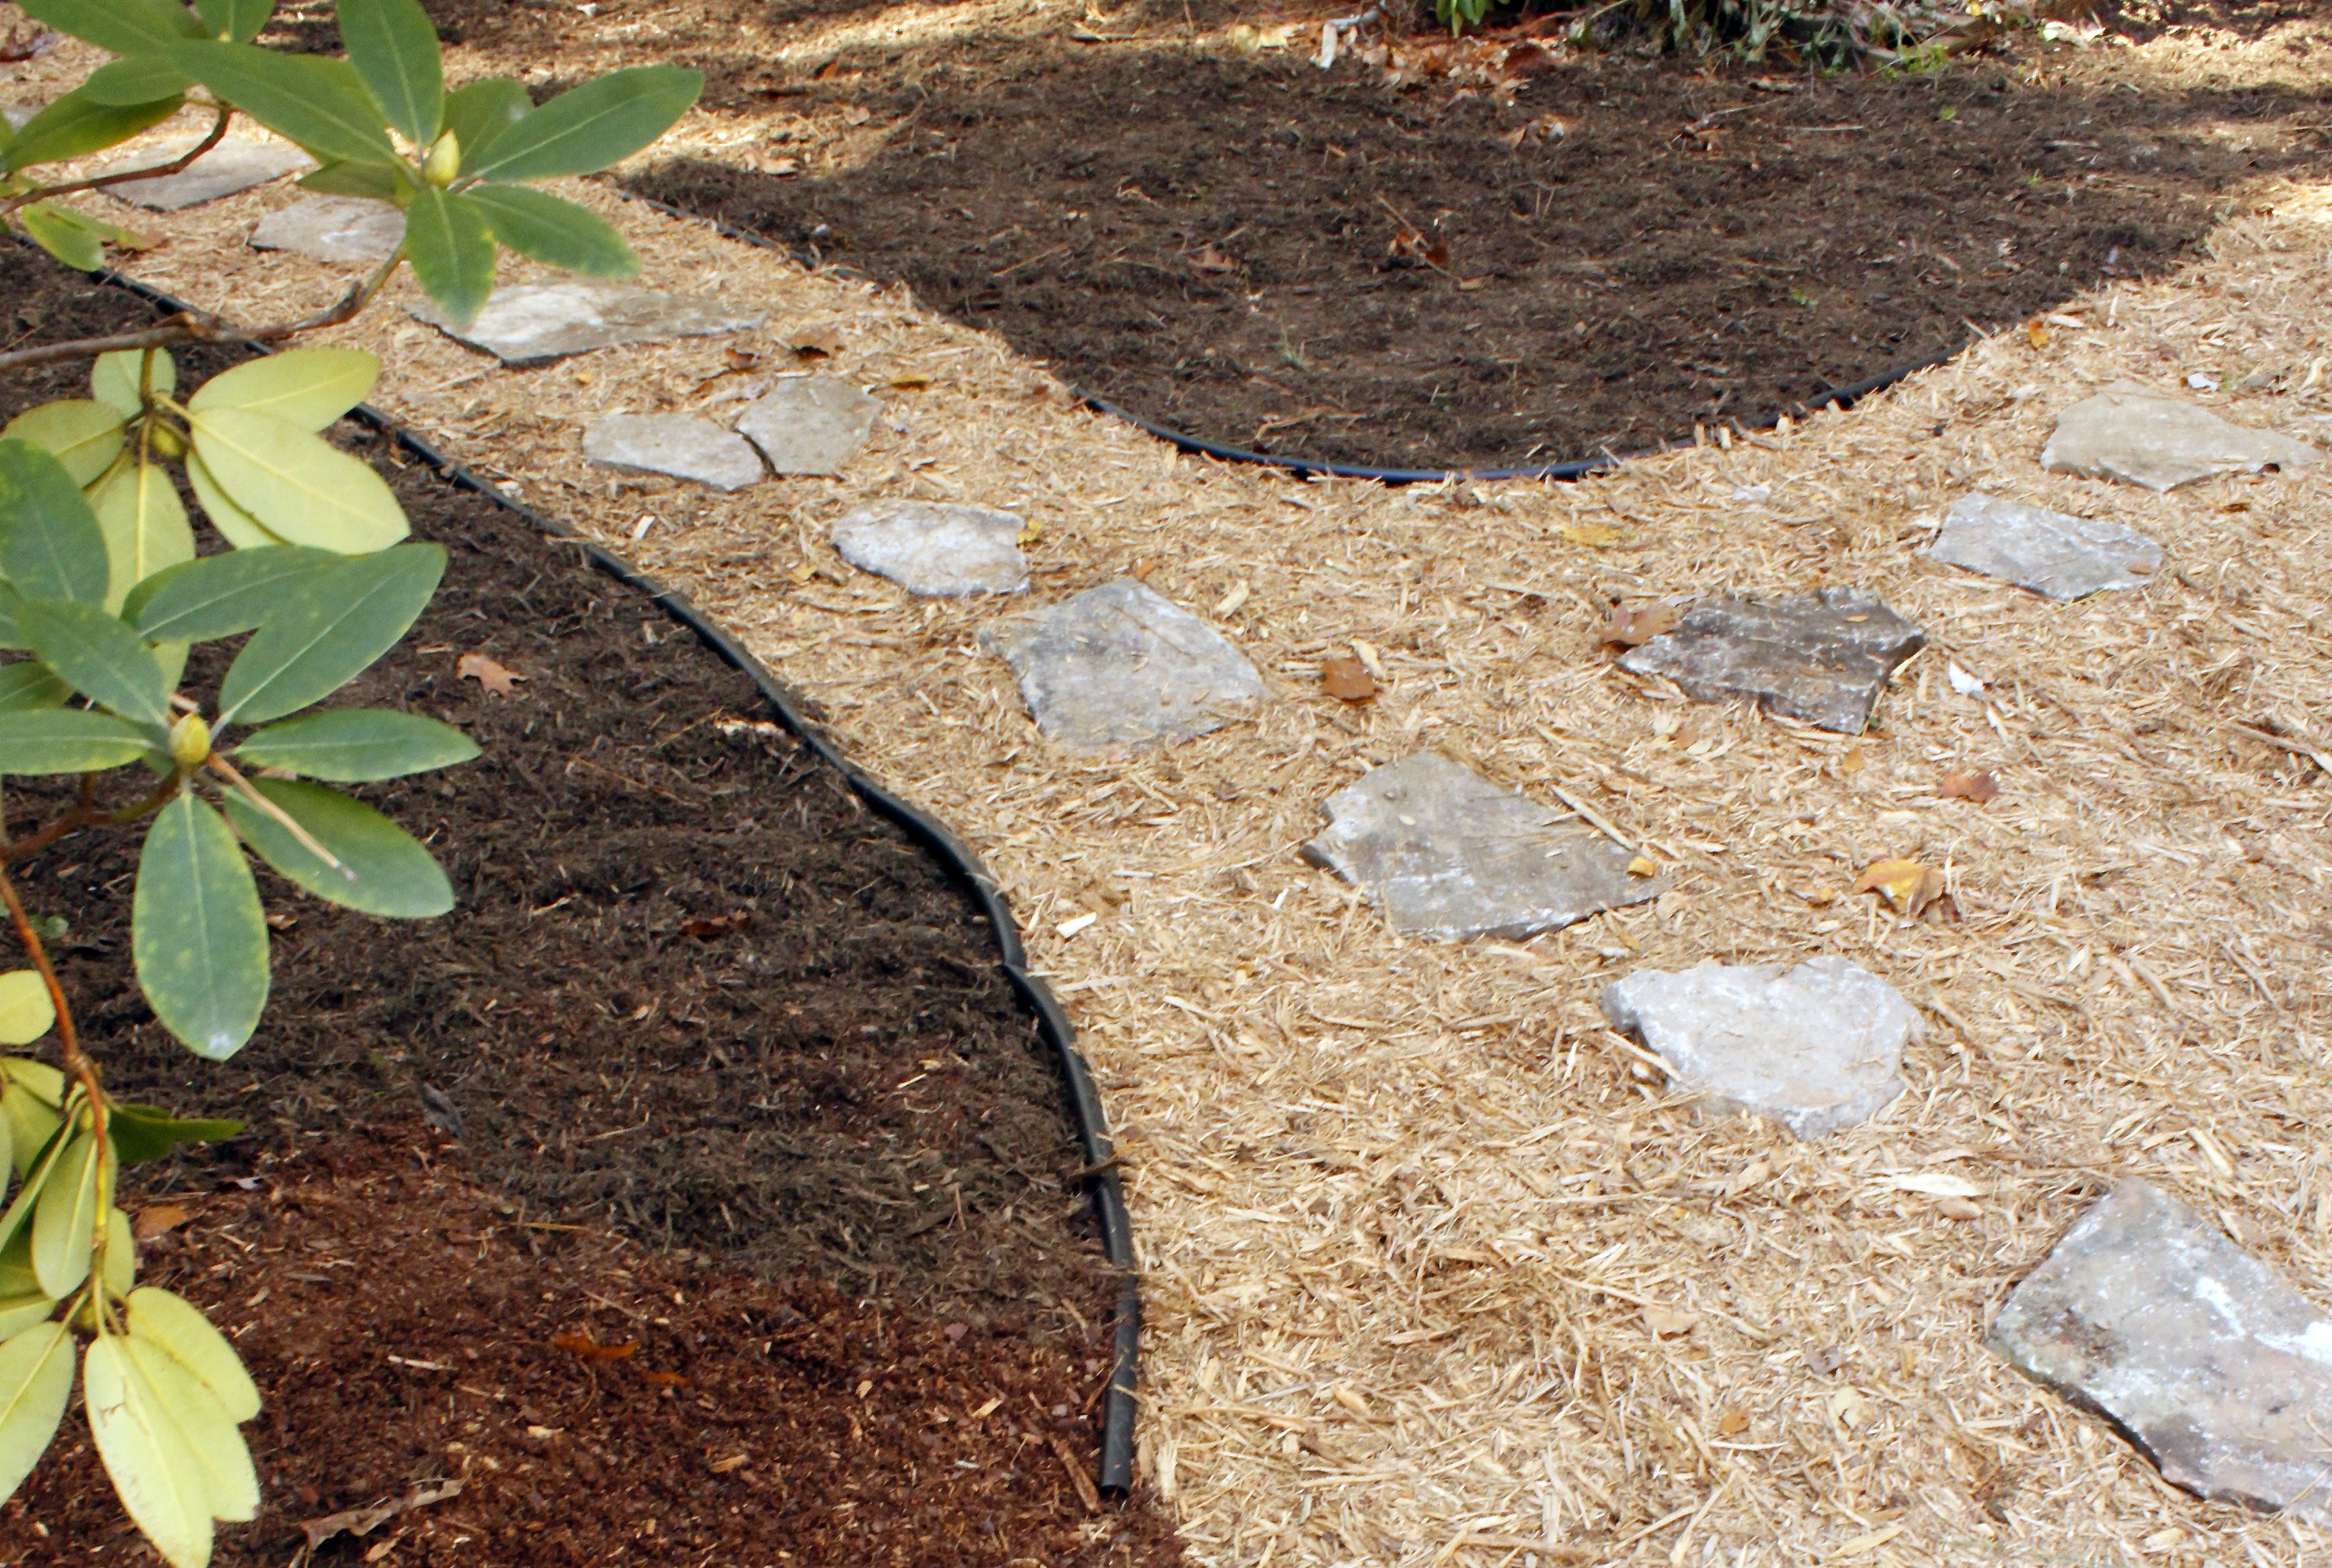
Gather all your materials near the path site. Layout your stones and walk on them to make sure they are spaced for a comfortable gait. (Do you see that stick in the above picture? That is my path width guide.)
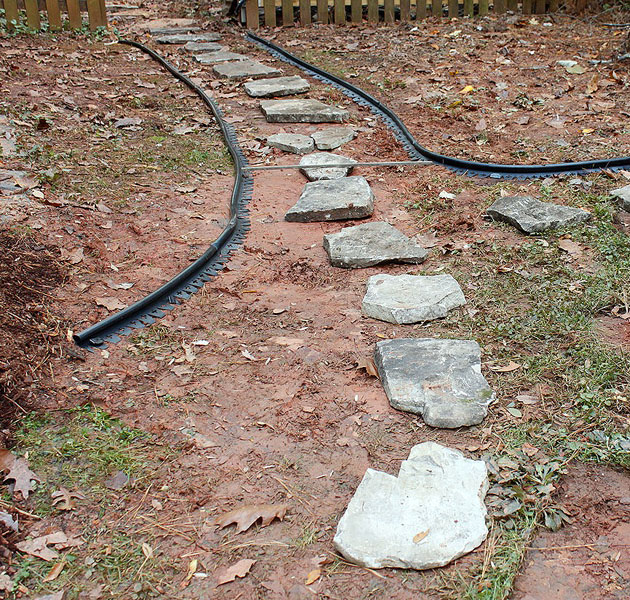
Use your path width template (aka stick) to keep your edging equal distance apart the entire length of your path. (You may need to put a weight on your edging or set a peg in halfway to hold the edging in place.)

After the path and edging are laid out, step back and take a look. Make any tweaks to your pathway now.
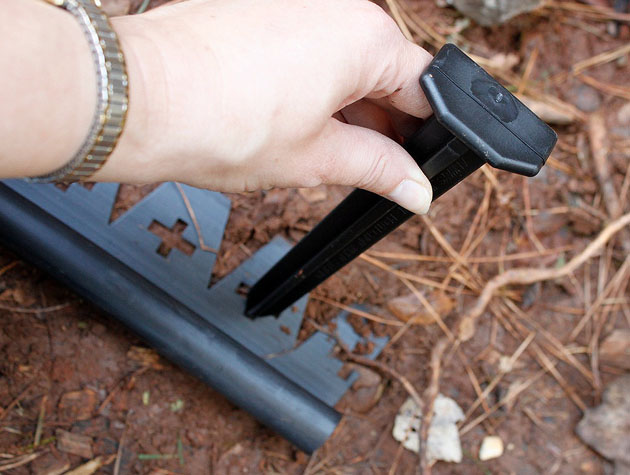
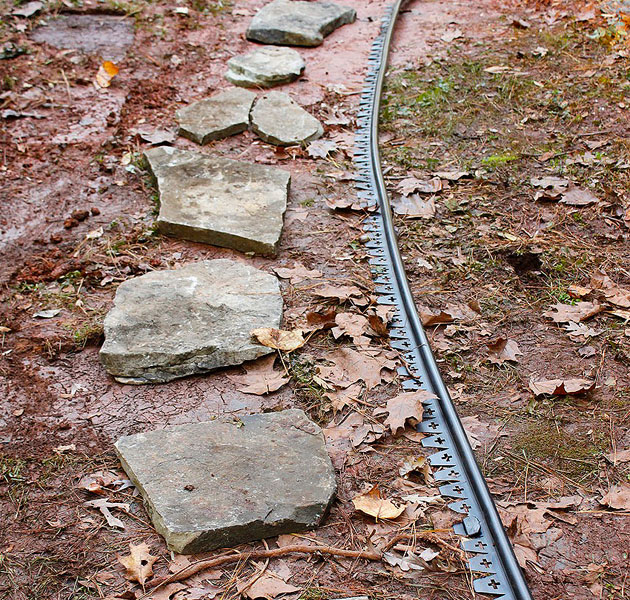
To set the path, start from one end and insert a peg into one end of the edging.
Then hammer the peg into the ground…
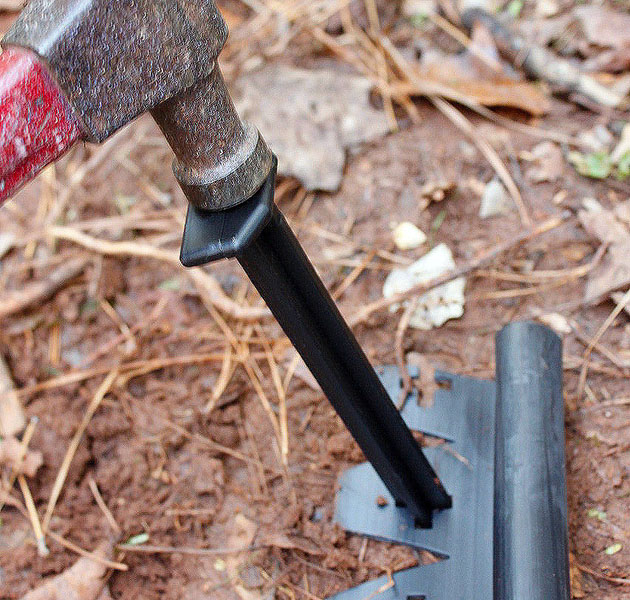
…until it is flush with the earth.
Continue setting a peg every 4-6 feet (and especially at the peak of any curves.)
Repeat for the other side of your path.
Open a bag of mulch and spread to the top of your stones and the edging. Use the back side of your garden rake to smooth the mulch and eliminate any high or low spots.
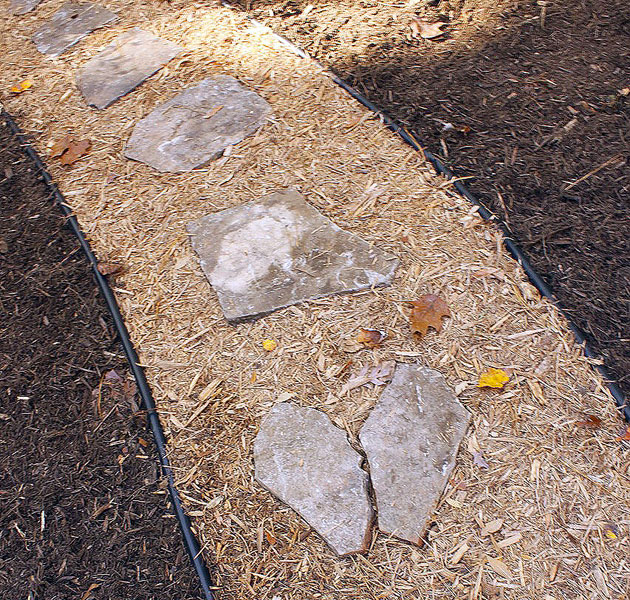
Repeat until you have filled your entire path. Then spread the second color mulch on the outside of your path.
Don’t you just love the contrast between these two? The lighter colored mulch is cypress and the darker is hardwood mulch. Walk on your stones and put some dirt or sand underneath any that wobble. Now stand back and admire your finished path! I think my favorite stepping stone is the broken heart stone I made with two rocks.
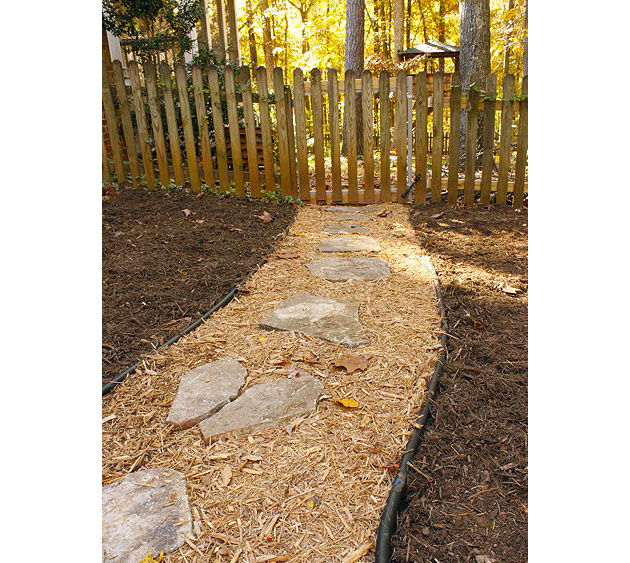
The entire path took me just over two hours. Not bad, and the bonus is that I didn’t need to go to the gym to workout that day!
![]()
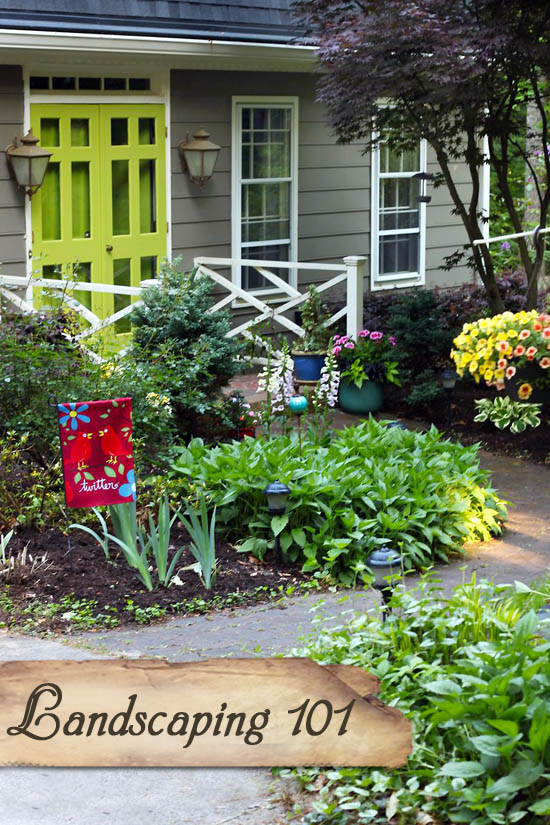
Want to improve your curb appeal? Here are some tips and tricks to improve your landscaping in no time!

Your yard looks great! I love the flagstone. We really need a path that goes around the house up to the driveway. I like the edging you used. I am constantly raking the edge of our cypress chip path!
It looks great! A GREAT solution. Thanks for linking up to Topsy Turvy Tuesday's.
Wow, what a great solution! I love it. It looks nice and neat as well. I'm all about the thrifty, low-time answers. Thanks for linking up!
That's really pretty and I love how easy it is compared to some of the other options. Thanks so much, I'll be linking.
That path is great. Lots of hard work went into that. I know because I do most of our yard work. Thanks so much for joining the party. I ask that you add my link in your blog. People do not know to go to the side and click on the linky parties nor do they know what party you are linked to without posting it. It just helps others to find the party. Thanks so much!
You are my hero!
I love this idea 🙂 I've been trying to make our front walk beautiful and I think this will be just the ticket!
I always love everything you do.
I'd be honored if you'd stop on by and take a look around our blog!
-Emily
http://crispinteriors.blogspot.com/
http://crispinteriors.goodsie.com/
Sadly, I know that red clay firsthand (says the VA girl). It gets everywhere! How pretty your new path looks.
Do you think weeds will grow through the mulch?
Weeds will grow through the mulch to a point. Especially dandelions and Thistles. When I did this even in my raised flower and shrub beds I put down a weed barrier cloth and cut out where the plants were. This has eliminated most of the weeds. However, I still get the odd one coming up around the plants or at the edge of the raised brick work.
That is awesome! I would love for you to come link up at our Strut Your Stuff Party!
http://danajeanward.blogspot.com/2010/11/strut-your-stuff-link-party-and.html
I've done the edging that needs digging in. What a pain! On top of the digging needed,it tends to sink down pretty quickly. with the flat section, this looks as though it would eliminate that second problem as well. The two colors of mulch really make this stand out!
I'm going to have to steal this idea for an area we walk on too much to get grass growing.
Thanks for another great idea.
Wow, that looks great. What a transformation.
I am with Becky, So Cal gal too. But what a great solution you did. It looks great, and I can't believe you did it in two hours!
I think it looks great!
Ok…now I see the reason for the mud rooms. I'm a So. Cal. girl and we don't have that mud! That's incredible…that path is going to be a life saver to your house!
That's so cool! I love it!