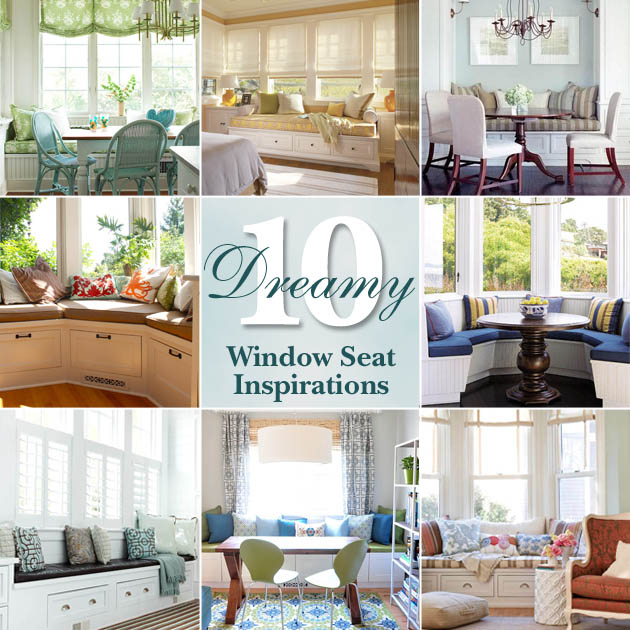
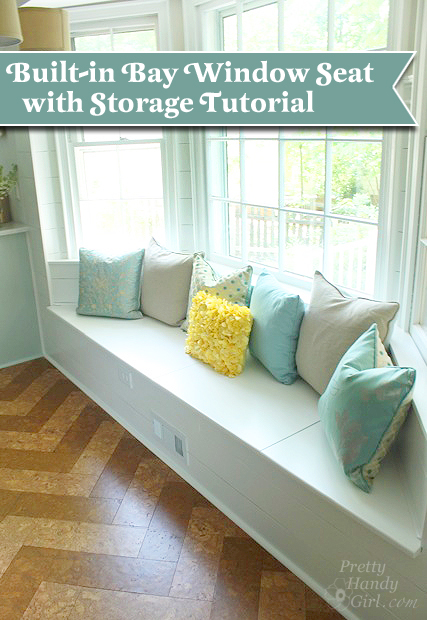
Dreamy Window Seat Inspiration Photos
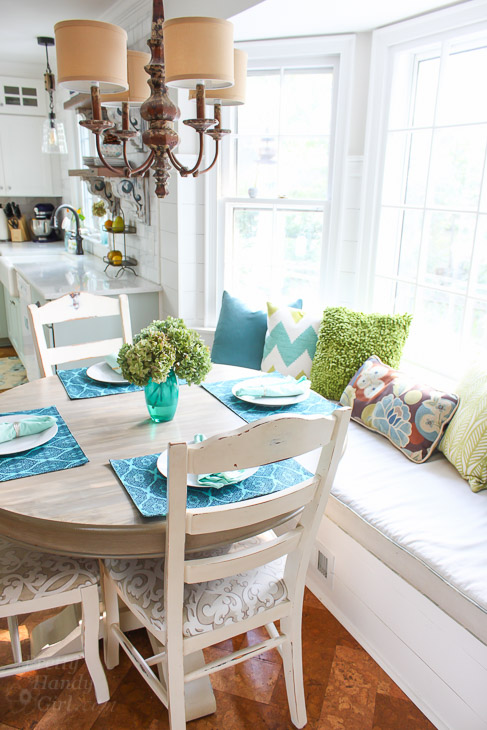
I have a friend, named Claire, who is an interior design genius. She would beg to differ, but honestly she is brilliant when it comes to design decisions. This friend was the visionary who created our kitchen floor plan for us. She was also the person who envisioned a window seat in our bay window. Magnifique! Adding a window seat to the bay window was a great way to free up floor space, add storage to the kitchen, and give us a cozy spot to sit and eat. You can read how I built the window seat with storage in our bay window here.
Before building our window seat, I scoured the web for window seat inspiration photos and here are my Favorite Dreamy Window Seat Inspiration Photos (of the MANY more photos I pinned):
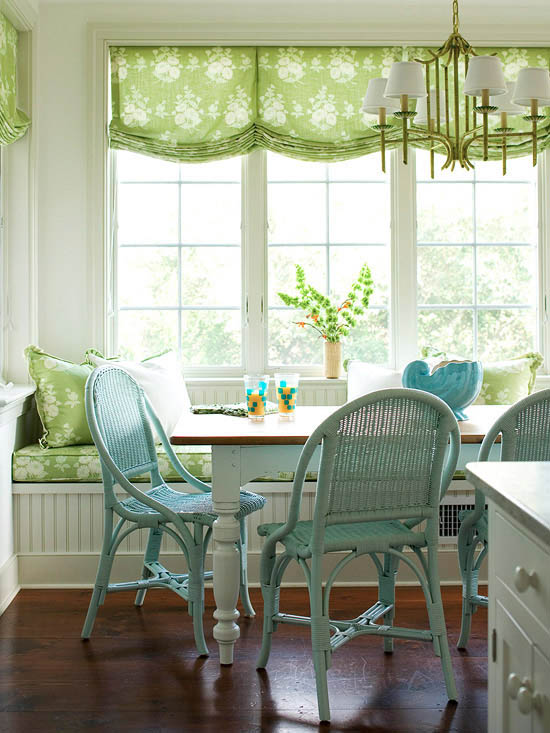 Designer Carrie Miller created a relaxing beadboard window seat via BHG.com
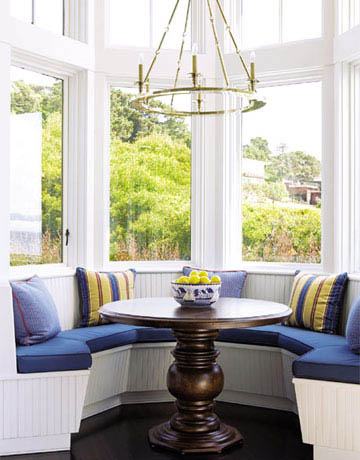 Gorgeous tower breakfast nook. Photo by Karyn R. Millet via House Beautiful
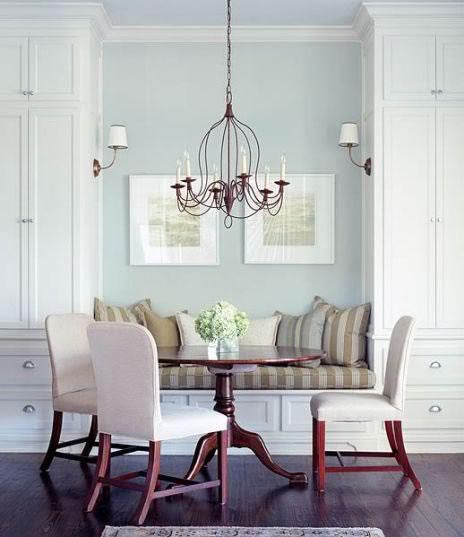 Elegant built-in seat (without a window) via: London Painting Group
 Refrigerator cabinets used to build a window seat via Centsational Girl
 Window seat with storage drawers via BHG.com
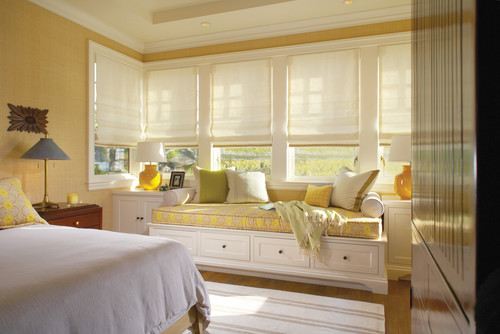 Bedroom window seat by Newport Beach Interior Designer Wendi Young Design via Houzz
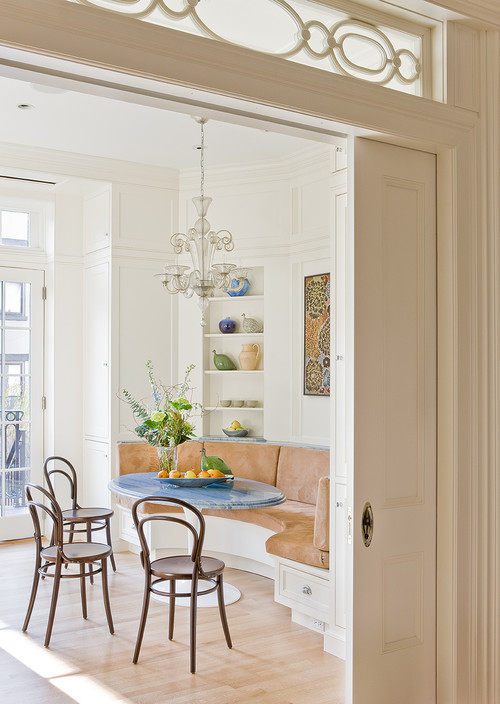 Curved banquette by Brooklyn architect Ben Herzog via Houzz
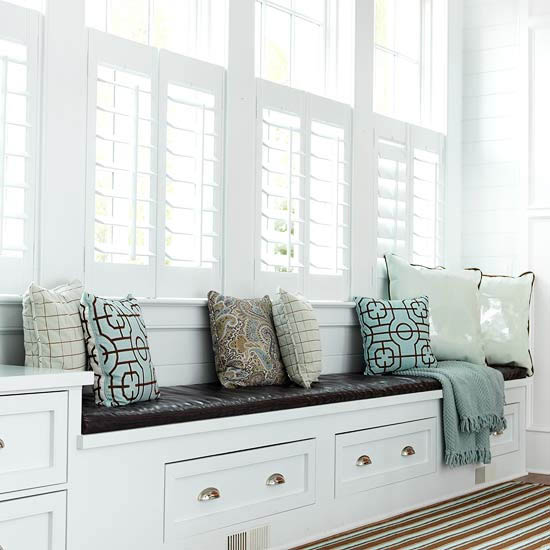 White and black built in storage bench via BHG.com
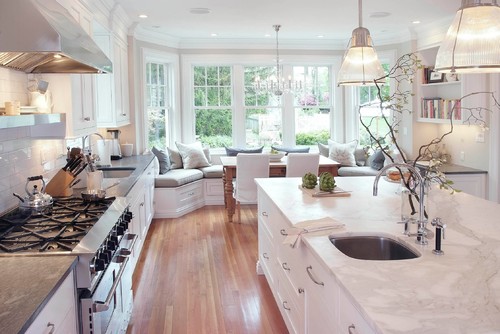 Huge bay window seating by Flemington architect Pickell Architecture via Houzz
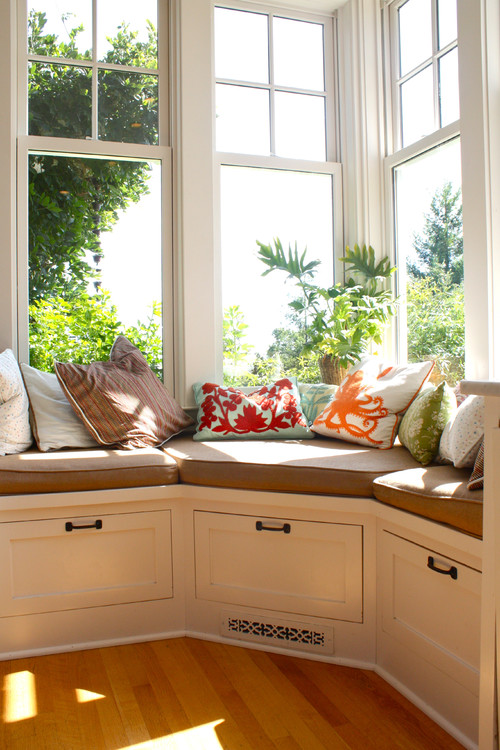 Small corner window seat by Santa Cruz Media and blogs Shannon Malone via Houzz
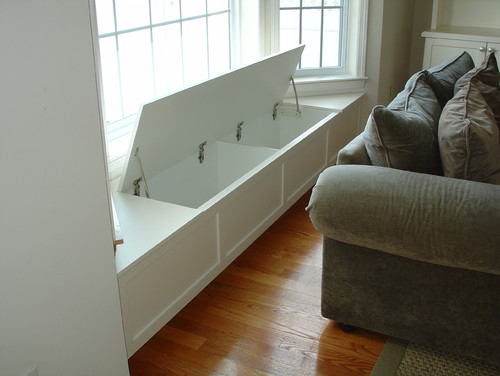
Finally, this was the photo that set my wheels in the right direction for construction via Houzz
Want to build your own? I have a great tutorial for how to build a window seat in a bay window with storage.
Hope you find some window seat inspiration! Happy building!