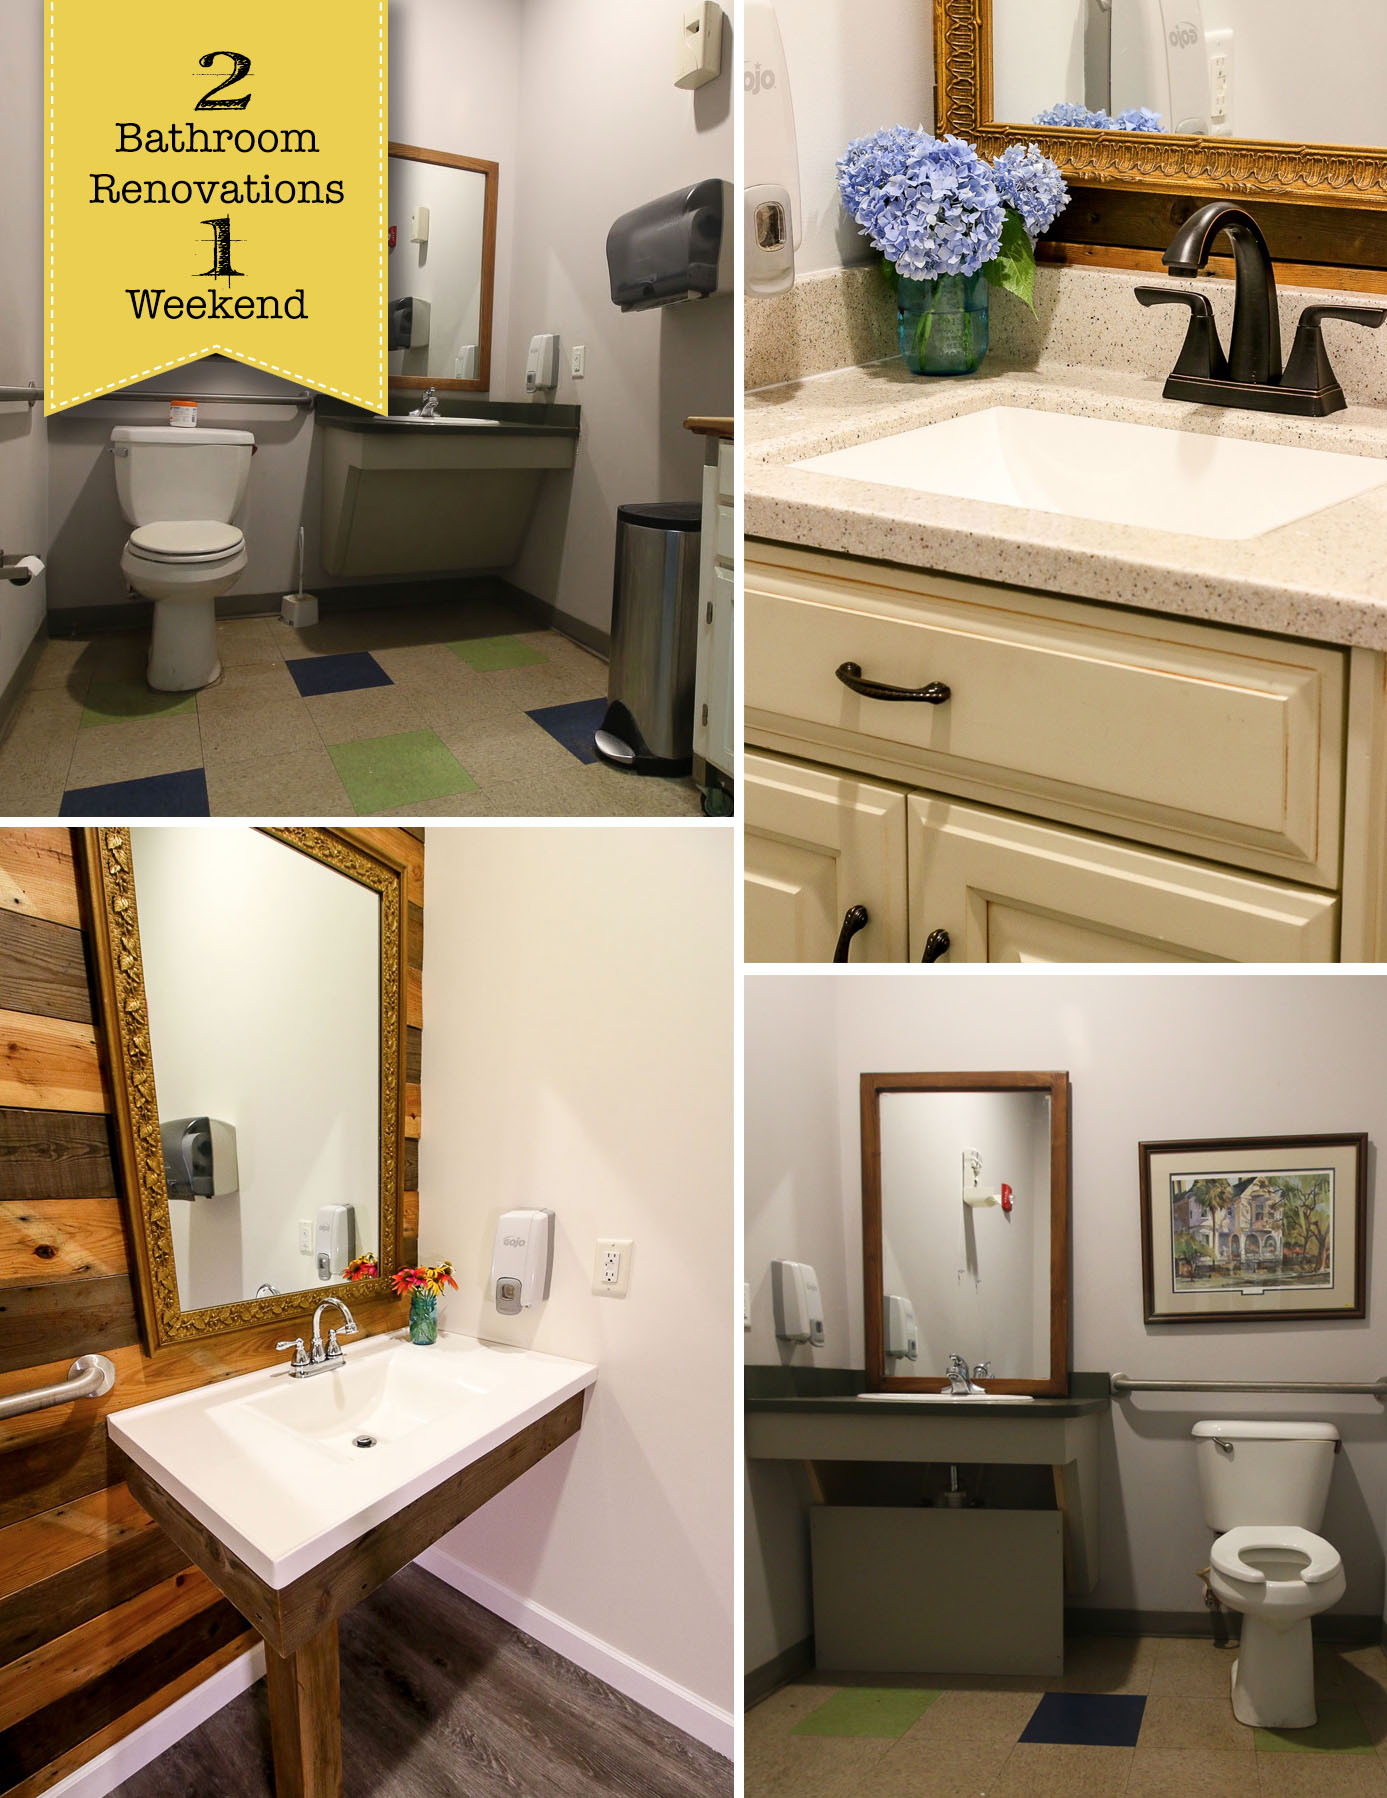
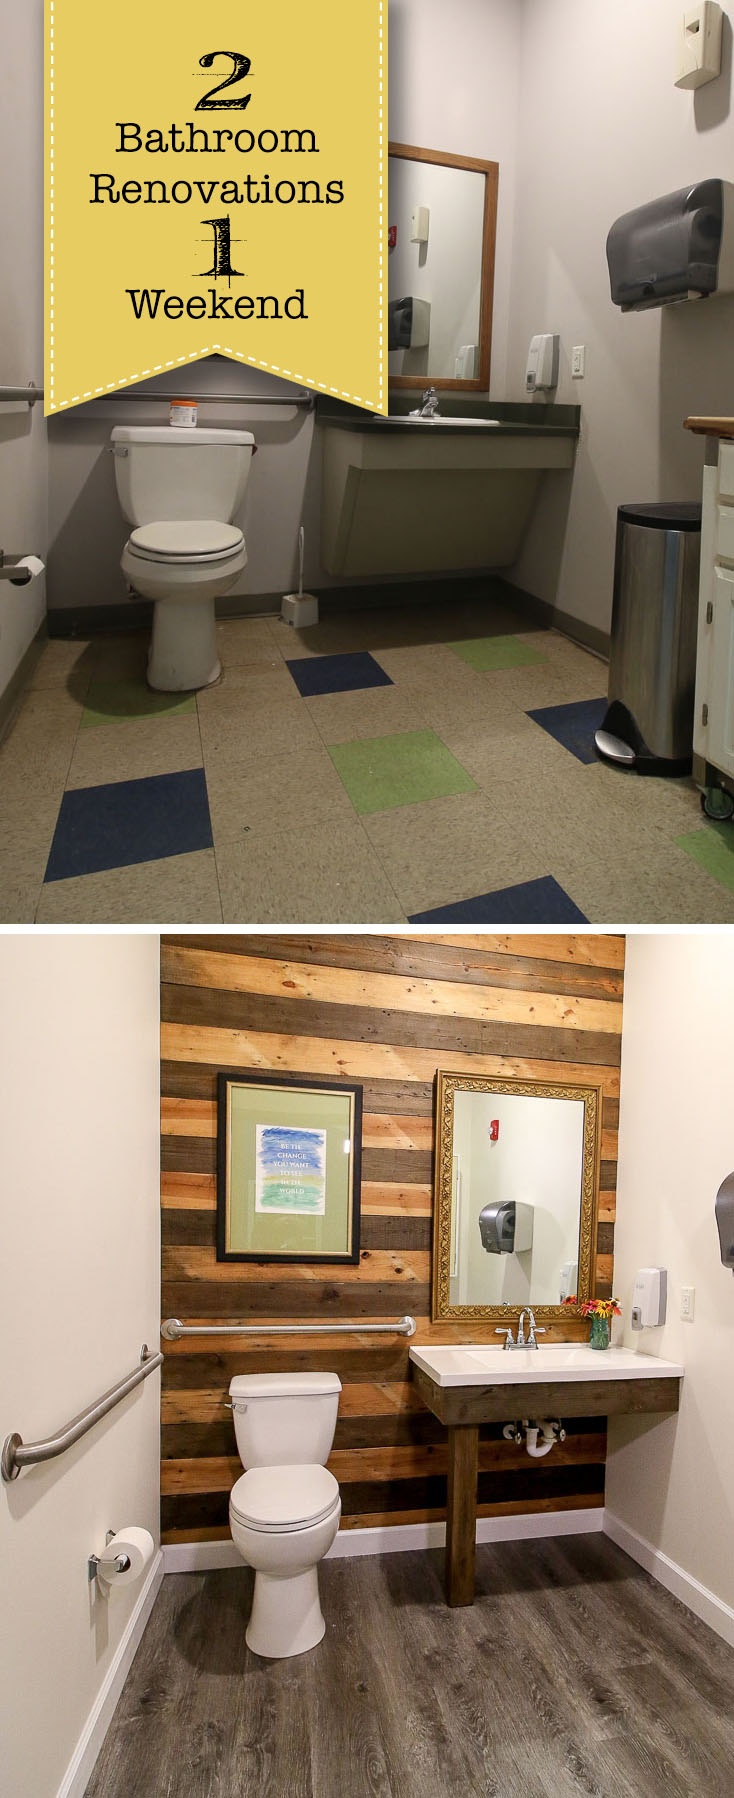
We recently completed Habitat for Humanity Bathroom Renovations in a Weekend.
I don’t usually work for others, but when the executives at my local Habitat for Humanity office asked me to come in and take a look at their dated bathrooms, I said I could. But, I quickly stated I don’t traditionally offer my general contractor services to anyone. Most of you know that Habitat for Humanity is one of my top charities. And for good reason! Our local Habitat for Humanity has built over 600 homes to help address the affordable housing crisis in our area. I would do anything for this organization, but renovating two bathrooms wasn’t a job I’d usually tackle unless it was for one of my own properties.

However, when I saw their sad and dated twin bathrooms, I changed my mind about offering my services. I knew I could improve the bathrooms as a way of thanking the employees for the work they do for our community. I also knew it would be a great way to keep busy before closing on Millie’s Remodel. Between Habitat for Humanity’s calendar and mine, we finally settled on the last weekend before I signed the contract on Millie.
In my head, I thought it would be a quick two day renovation easily accomplished over a weekend. Instead, it turned into a four day marathon working into the evening on two of those days. In an effort to explain my faulty time estimation skills, I submit two facts:
- I’m an overly optimistic person. I will always see the glass half full.
- I’m not the sharpest math person and forgot to multiply my time by two for two bathrooms.
Oops! Luckily, I got some help from two local friends: Sophie from @TheHipperFam and Stephanie from @UncommonOutpost. Without their help, I might still be working on these bathrooms.
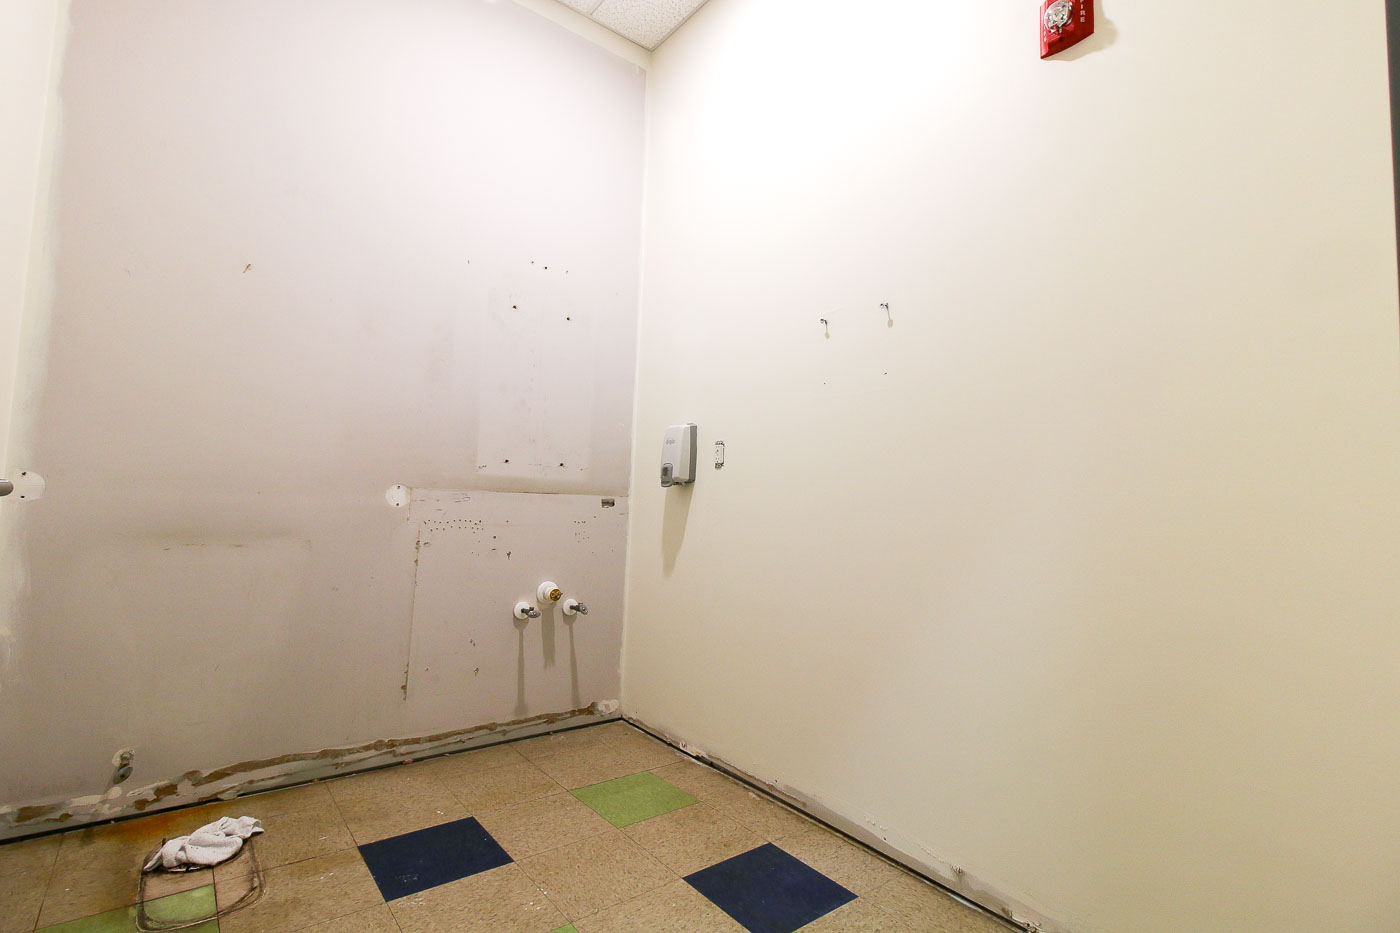
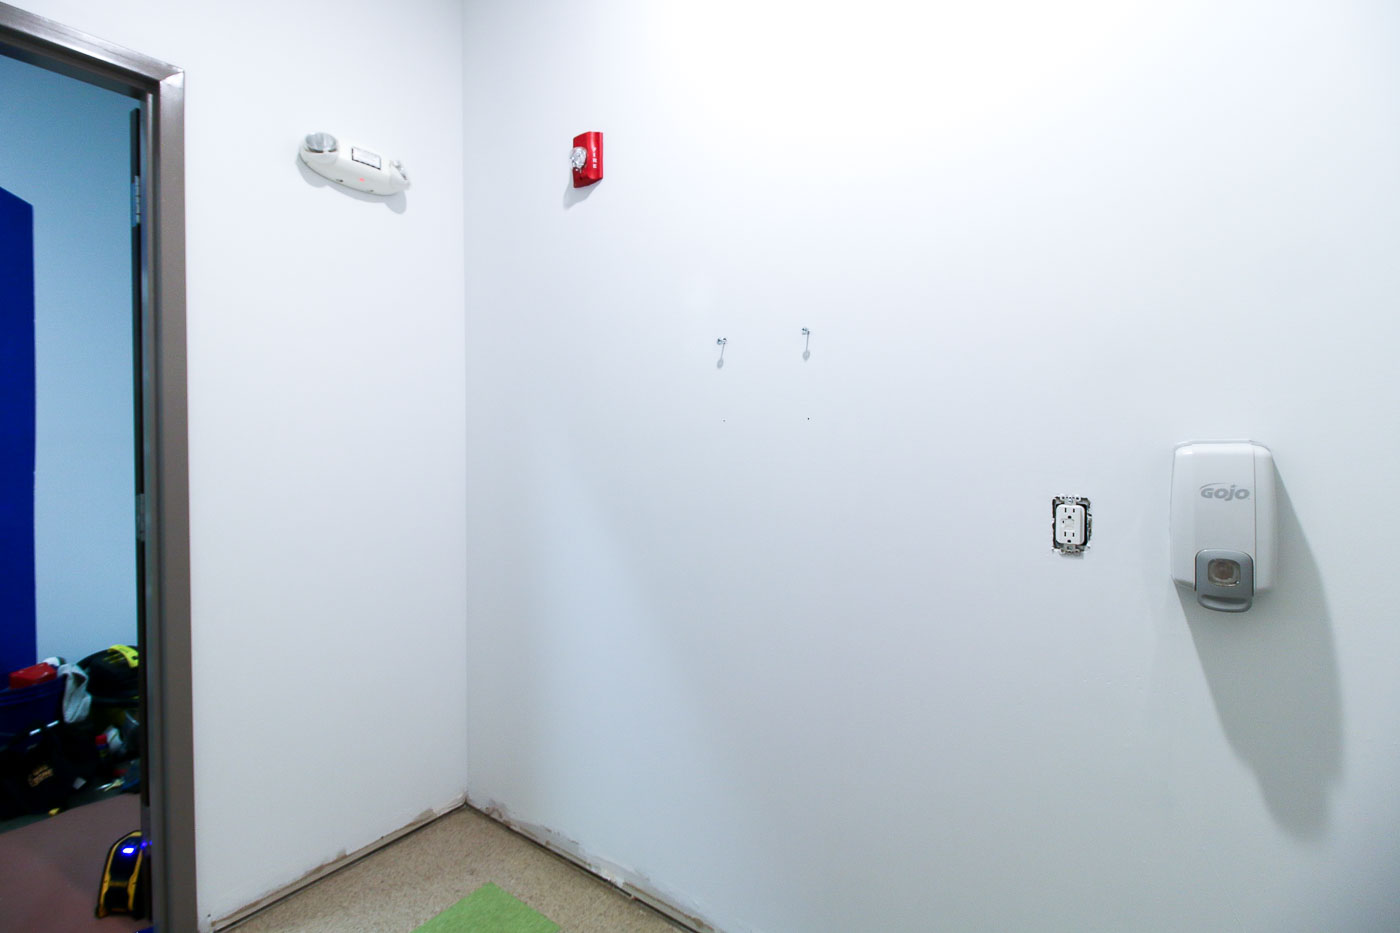
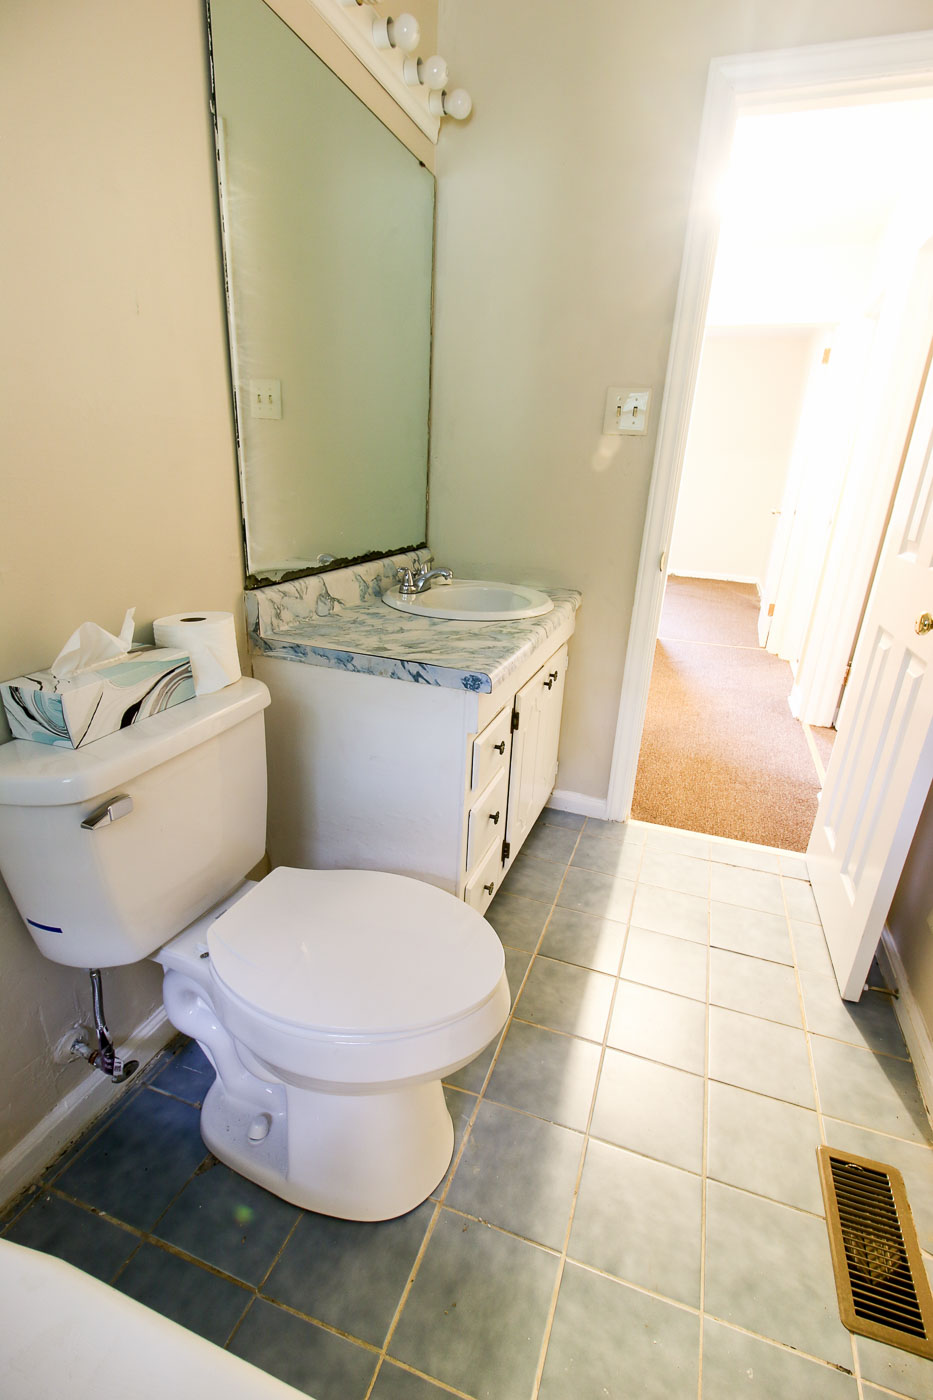
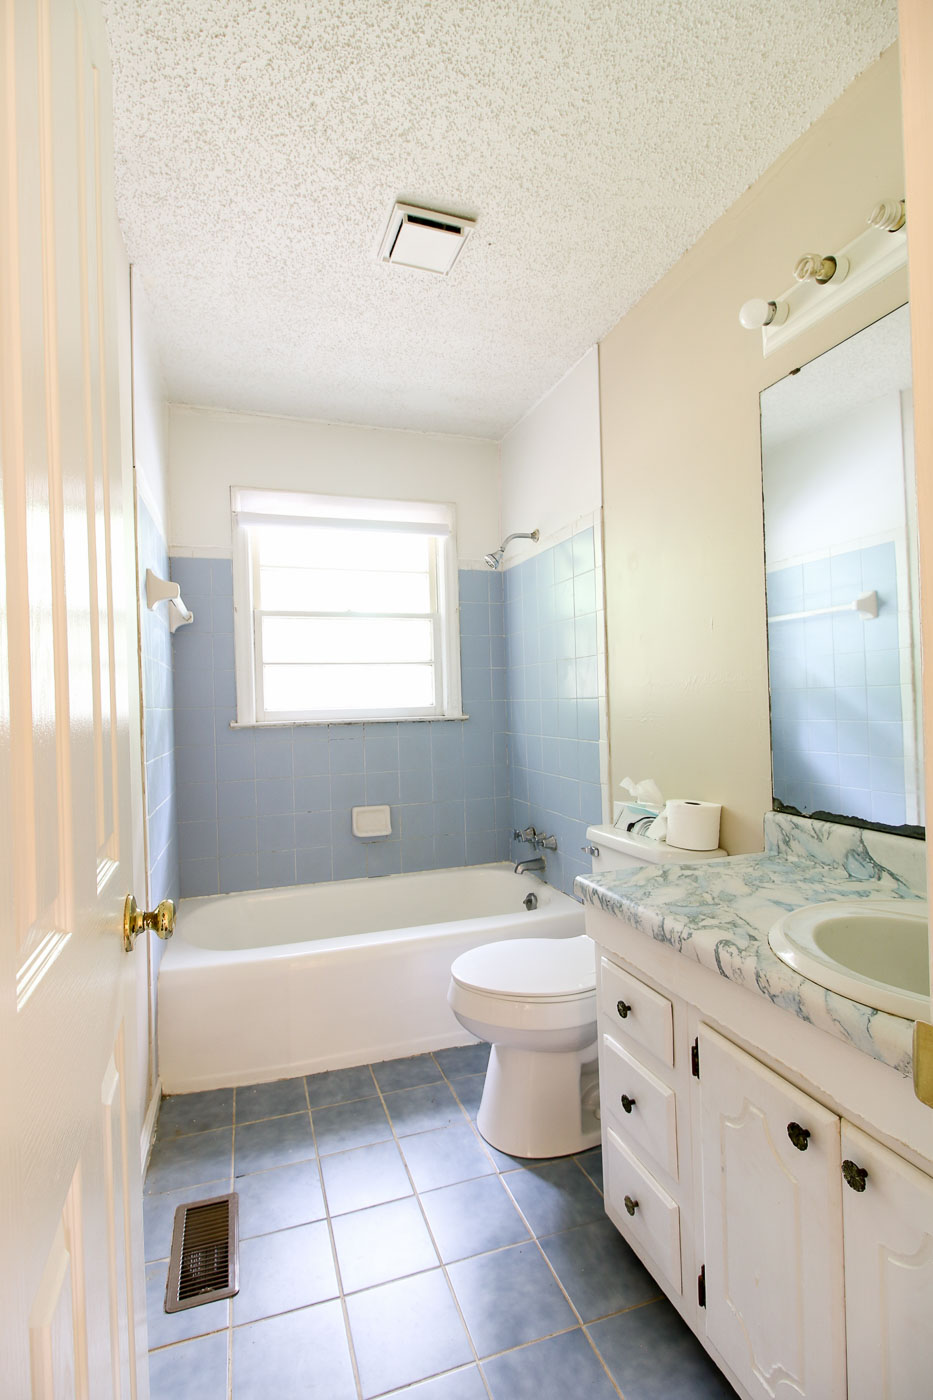
The Before:
Although the pictures look dark, what you can’t see in these photos is the horrible flickering fluorescent light fixtures. The lighting was so dismal, I knew I had to change out the fixtures. Because no matter what updates were made, the lighting would always act as a wet blanket on the new look.
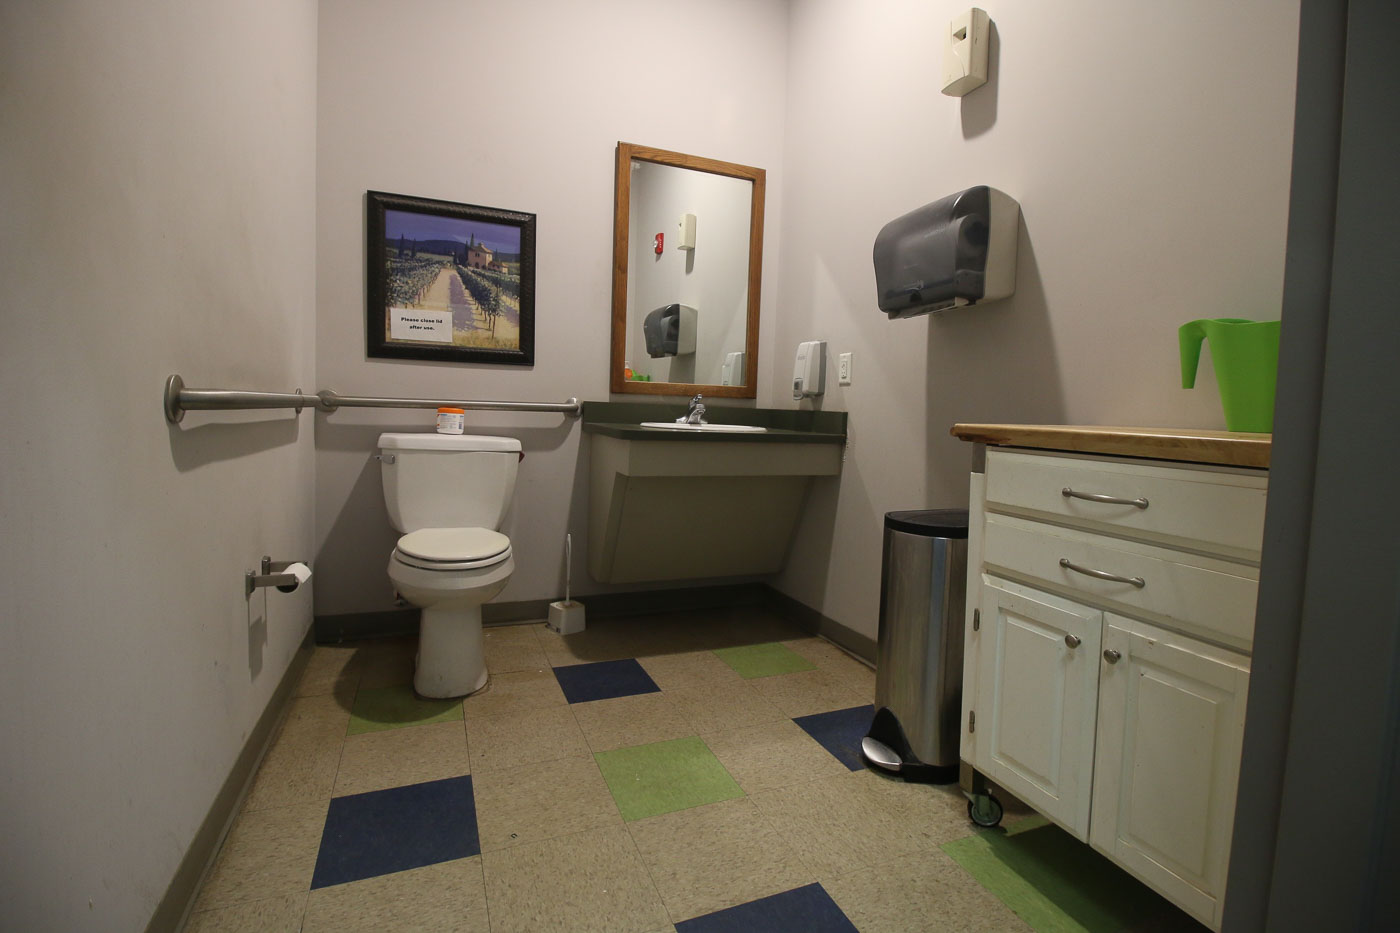
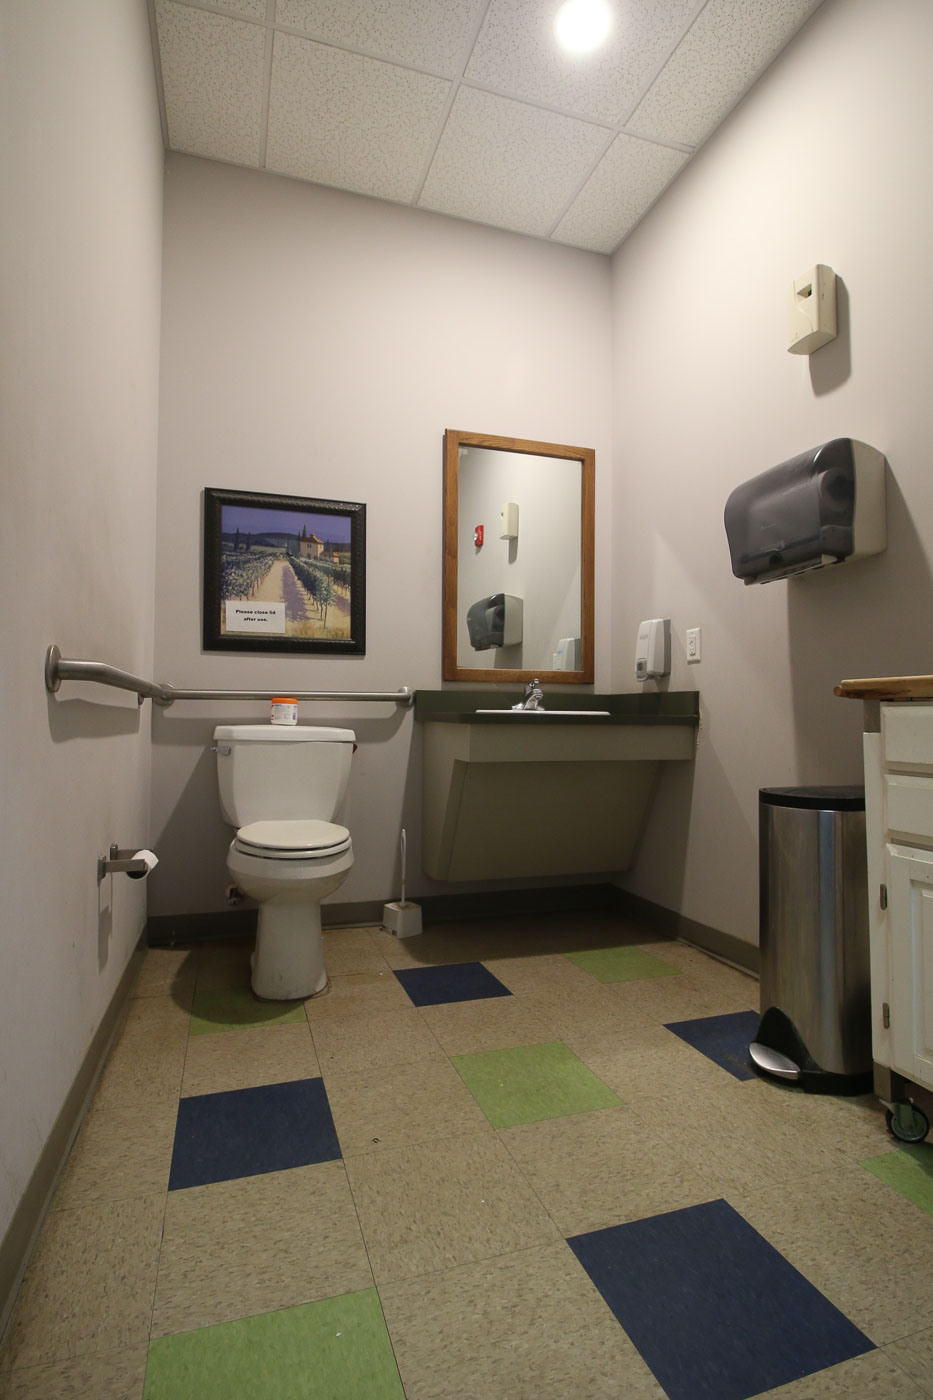
The old vanities were both built for handicap accessibility which left no room for storage under the sinks. Therefore, each bathroom had a ReStore salvaged kitchen cart to make up for the lack of storage. But, the carts were dirty and looked out of place in the bathrooms. I knew I had to come up with a plan to get rid of them.
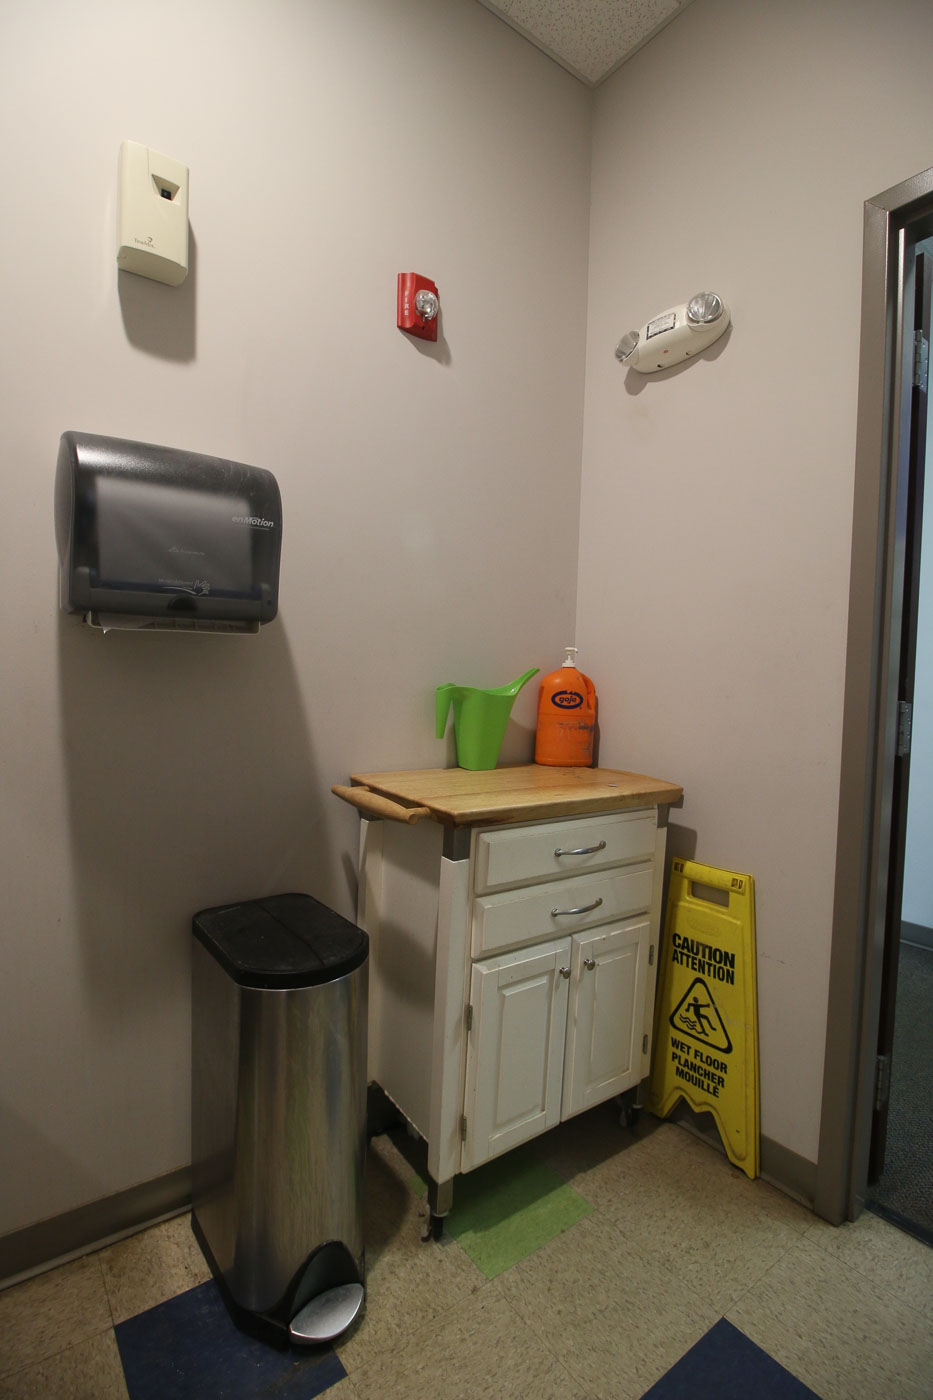
Speaking of dirty, the walls definitely needed a new coat of paint. The grime and scuffs were everywhere.
The Design:
For the design plans, I challenged myself to work within a small budget and use as many items as possible from the Habitat ReStore. With this in mind, I created a plan in Photoshop and submitted it to Habitat for Humanity for approval.

Luckily they loved the design idea and gave me the go ahead to renovate the bathrooms. But, I kept a few things secret from them. After all, what fun is a makeover project without a little surprise, right?!
The Renovation Plan:
- Electrician to replace CFL tube lights with LED Recessed Can Lights
- Pretty Handy Girl build storage cabinet and one handicap sink frame
- Plumber to Remove Sinks and Toilets
- Remove all Fixtures from Bathroom
- Remove Flexible Vinyl Baseboards
- Clean and Patch Walls
- Clean floor with TSP Cleaner
- Paint Walls
- Lay Waterproof LVT Flooring
- Sand and Prep Reclaimed Lumber
- Install Reclaimed Wood Wall
- Install Vanities
- Add Wood Baseboards and Paint
- Plumber Replaces Toilets and Installs Faucets
- Add Mirrors, Art, and Replace Fixtures
- Stand back and admire the renovation results (and snap a few pictures)
Let the Habitat for Humanity Bathroom Renovations Begin:
A few days before I started the renovation, my electrician stopped by the offices to swap out the old fluorescent lights with brighter (and less flickery) recessed LED lights. Immediately the room felt brighter, but it wasn’t as bright as I had hoped. To help lighten the space more, I chose light paint shades for the walls. The colors I selected are from Magnolia Home Paint Line because I loved working with the paint in the Saving Etta house.
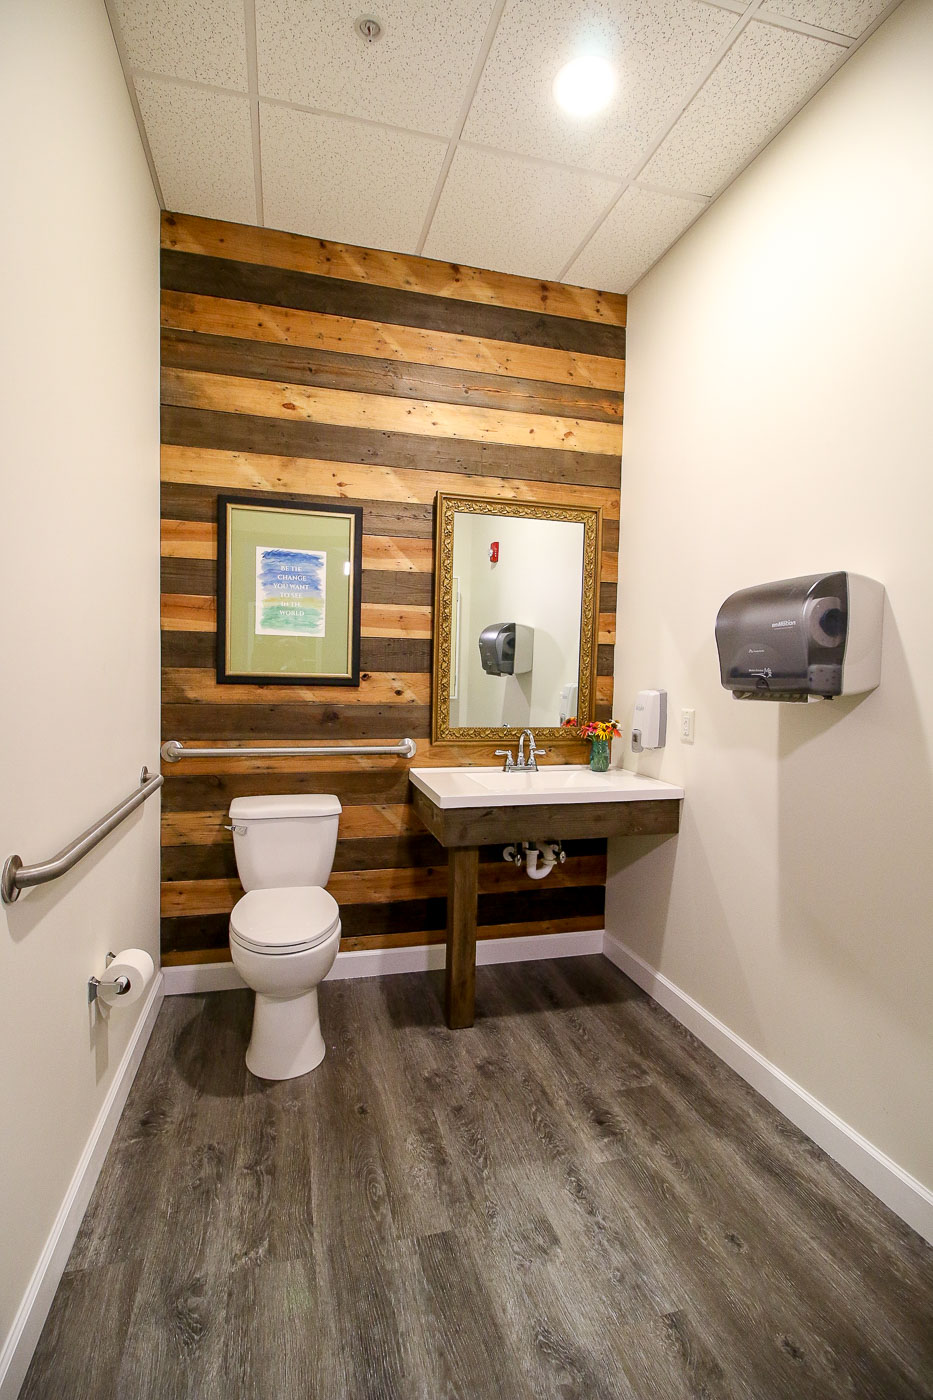
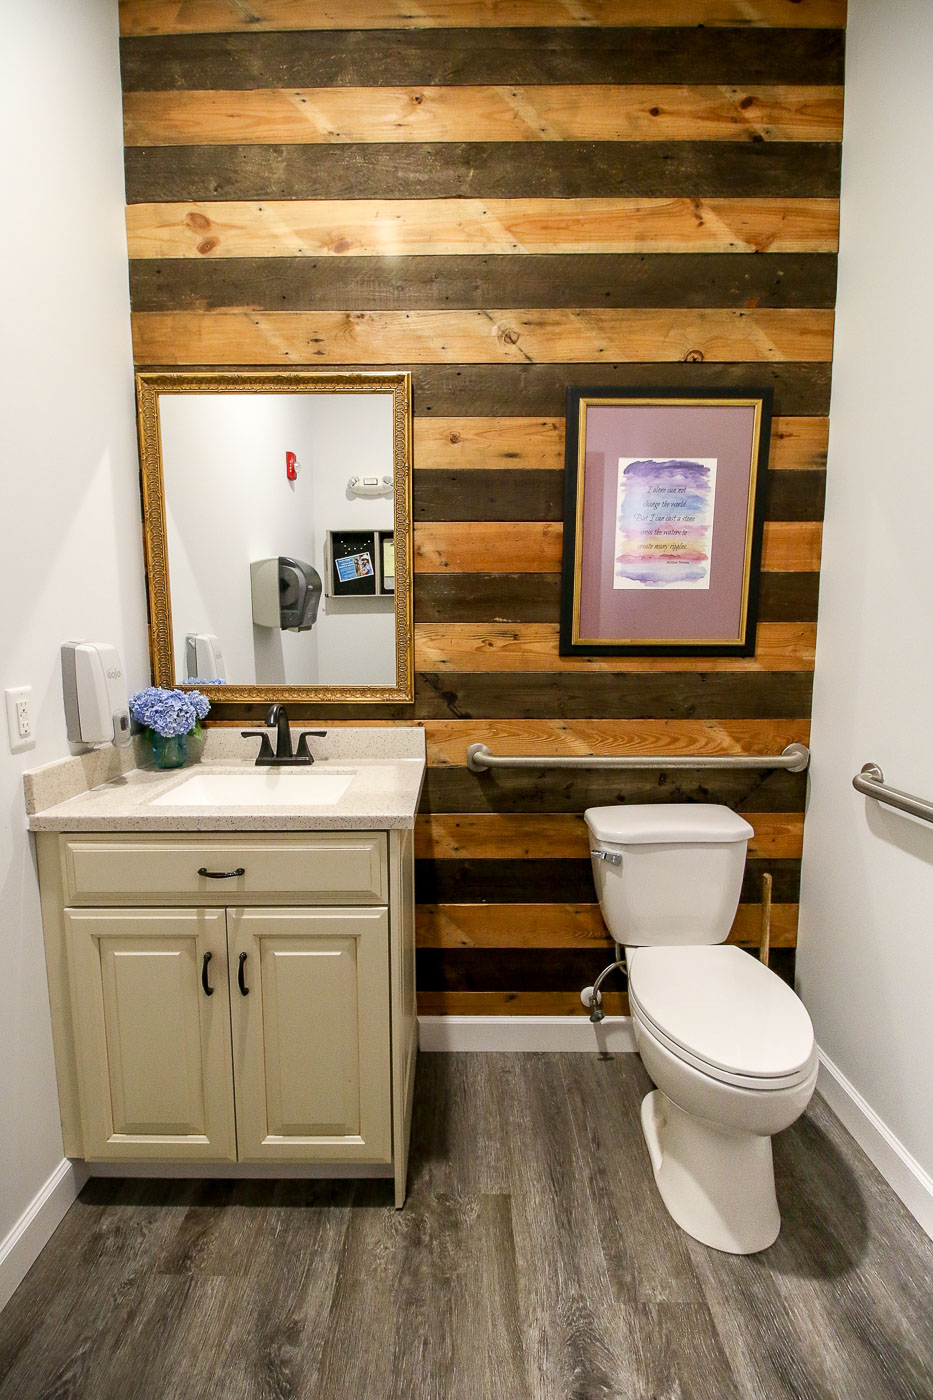
The handicap accessible bathroom was painted Carter Creme. I knew this color would look beautiful with the reclaimed wood wall and add a little warmth to the room.
I would have liked to use the same color in the other bathroom, but the vanity color was already a cream color and I didn’t want to draw attention to the slightly dated vanity color (or accidentally match it). Using Cloudy Gray, a paint color with cool tones, helped tone down the warmth of the vanity and provided some contrast.
Both paint colors were light enough to do wonders for improving the light in the windowless bathrooms.
After painting, Sophie and I worked the afternoon to lay LVT waterproof flooring (also from the ReStore) in one bathroom. The flooring went in very easily, but we did have to slow down to cut around the toilet flange and the doorway.
After Sophie left, I tackled the second bathroom floor, working late into the night. It’s amazing what a difference the new waterproof LVT flooring made in these bathrooms.
On Sunday, Stephanie helped sand and prep reclaimed lumber from the ReStore for installation. We ran out of weathered boards, so had to improvise with a vinegar and steel wool concoction I whipped up the night before. My friend, DIY Pete, has a great tutorial for making this solution here. After the boards were dry, she and I clad the back walls of the bathrooms with the reclaimed lumber.
To achieve the striped look, we alternated the weathered side with the protected side of the wood. These boards were originally subflooring in an old house, so they have lots of character, nail holes, and a beautiful warm color. To protect the boards from water and to keep them from flaking, we coated them with a clear varnish.
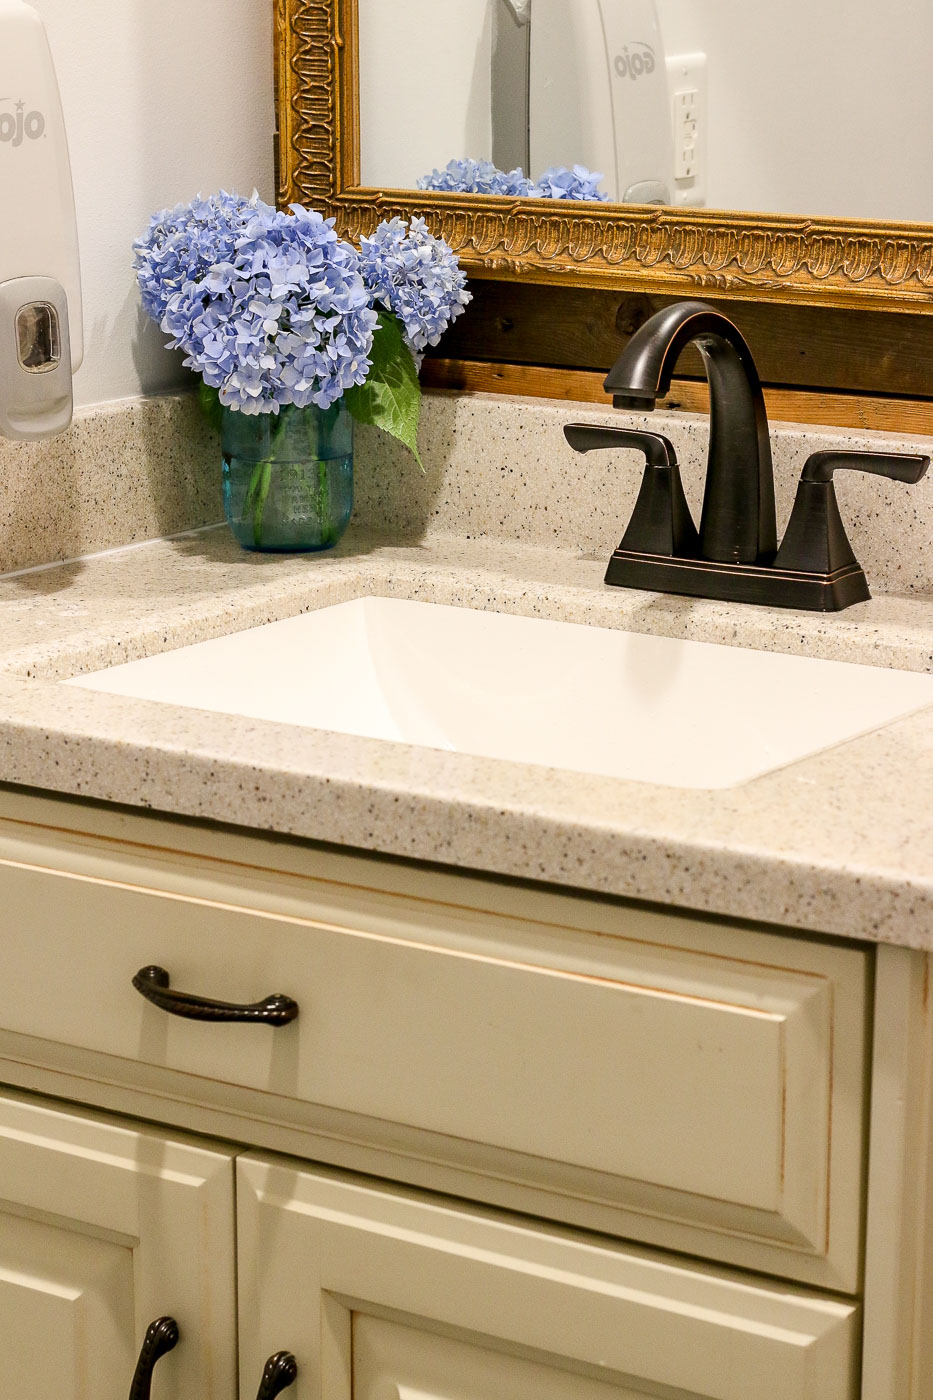
Finally on the afternoon of Day 4, I gave my plumber the go ahead to come back to install the new toilets (courtesy of Wilkinson Supply Co.) and the sink faucets. Stephanie and I worked feverishly ahead of him trying to hang the mirrors and art.
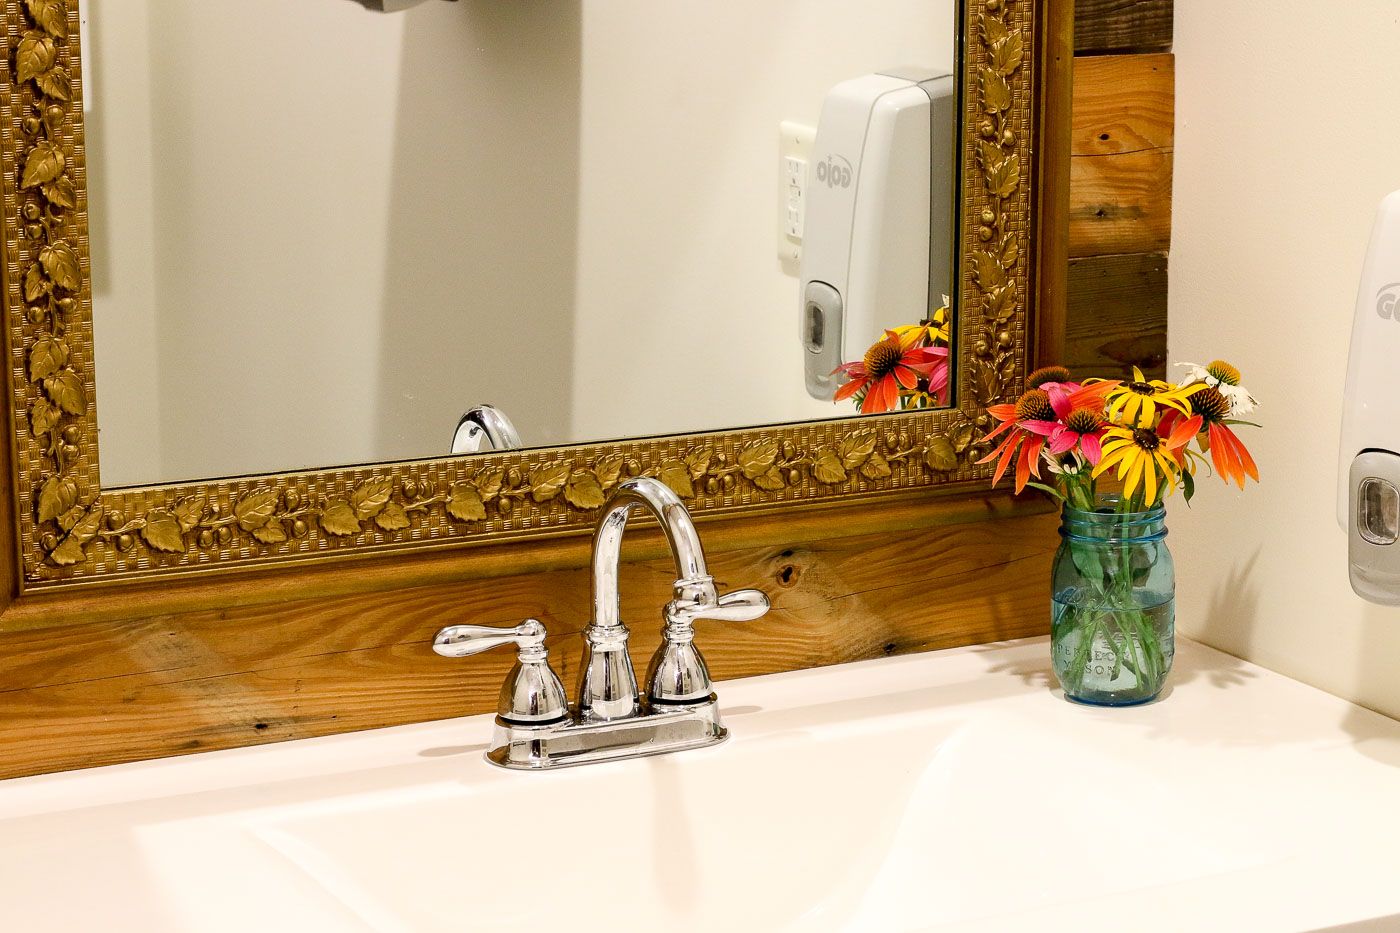
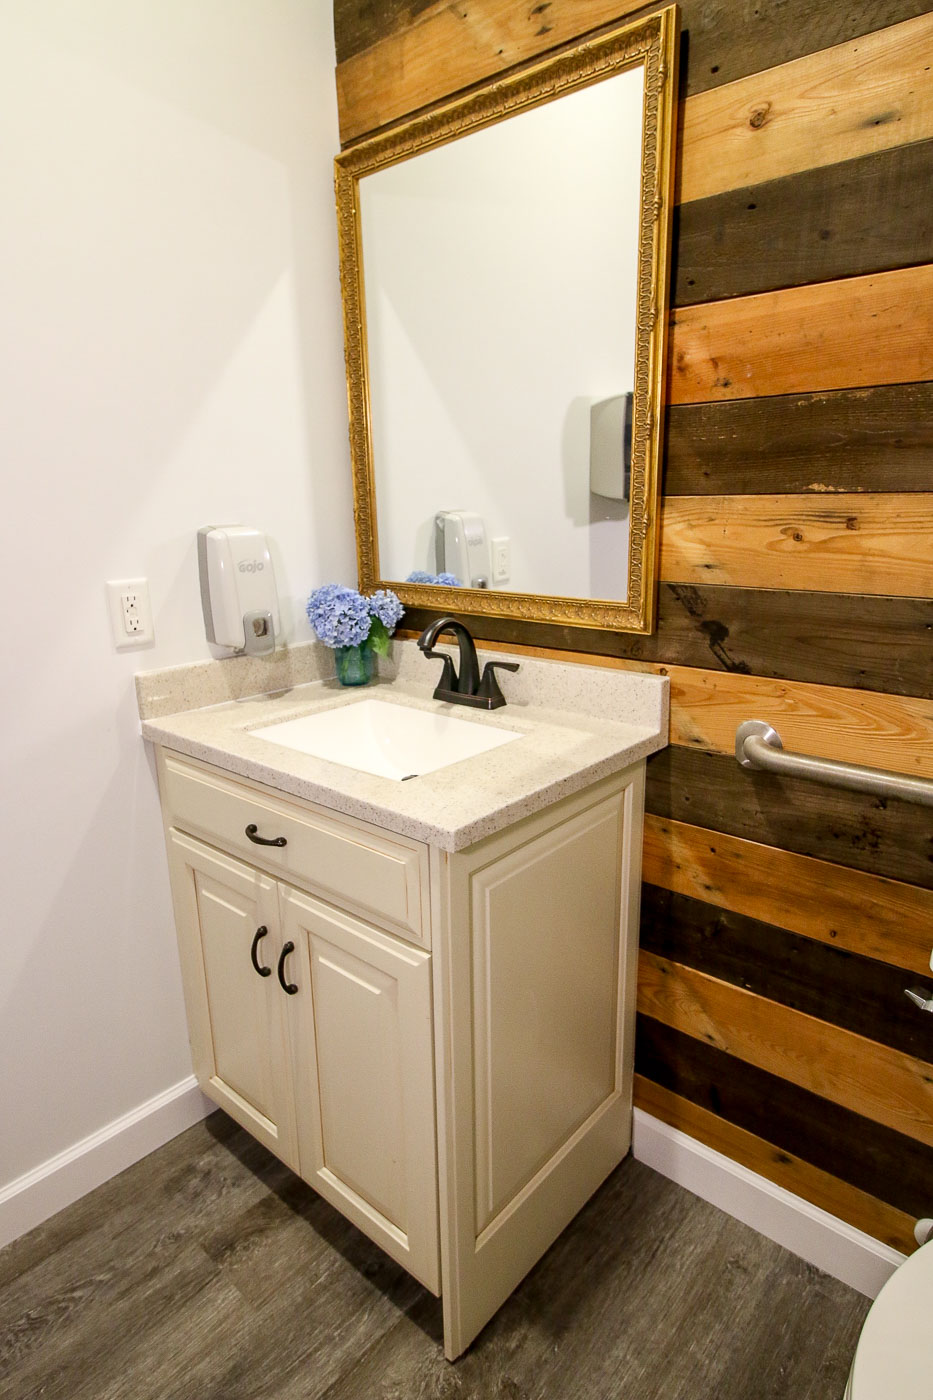
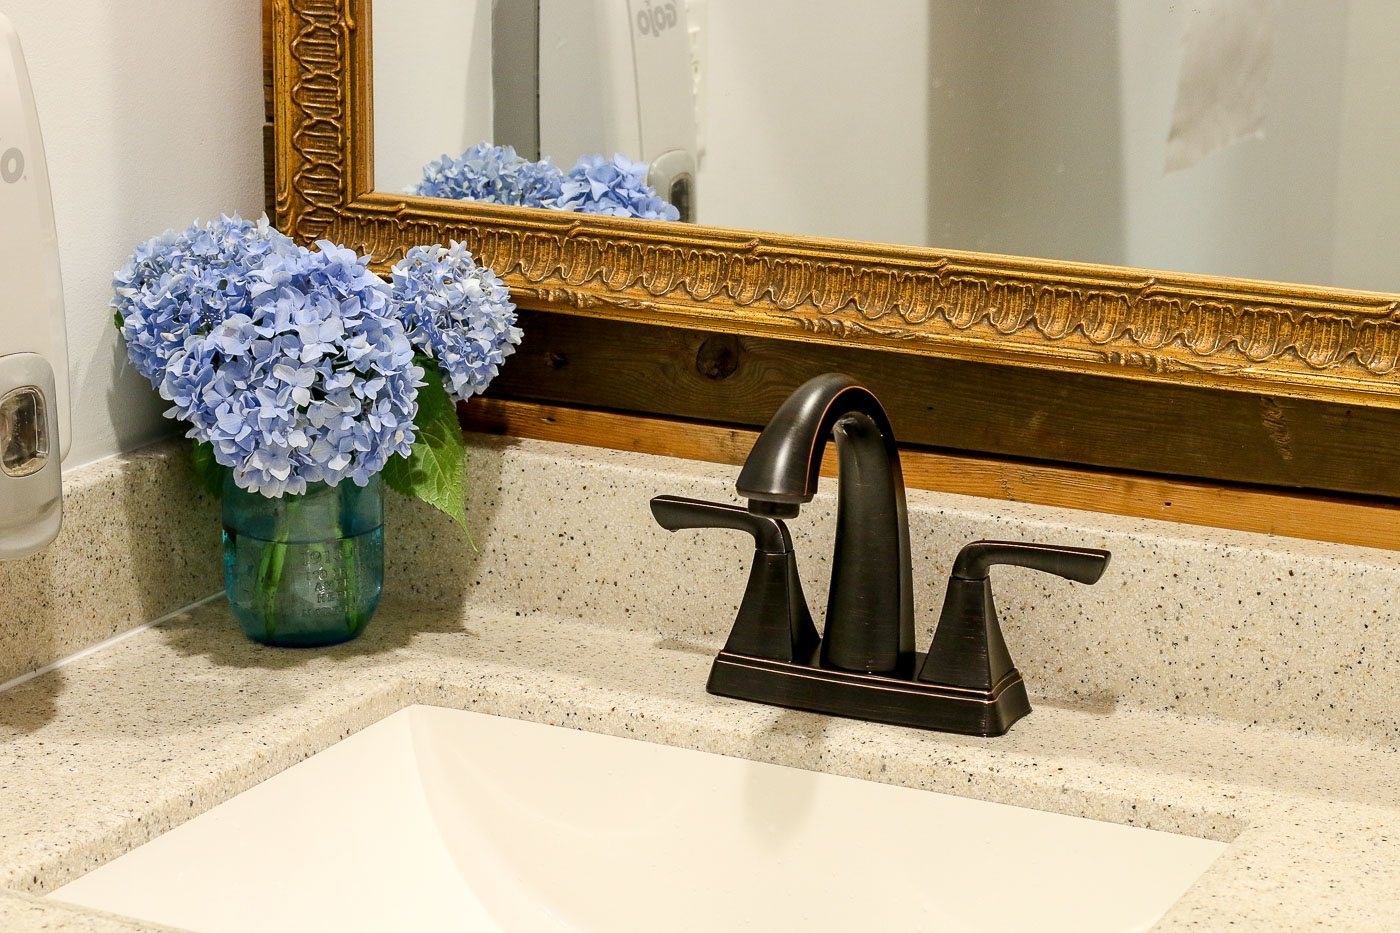
We replaced the dated oak mirrors with pretty gold framed ones. I found the first mirror super cheap at a thrift store.
The other one was a gold art frame from the ReStore. I replaced the picture with mirrored glass and it looks like it was always a mirror!
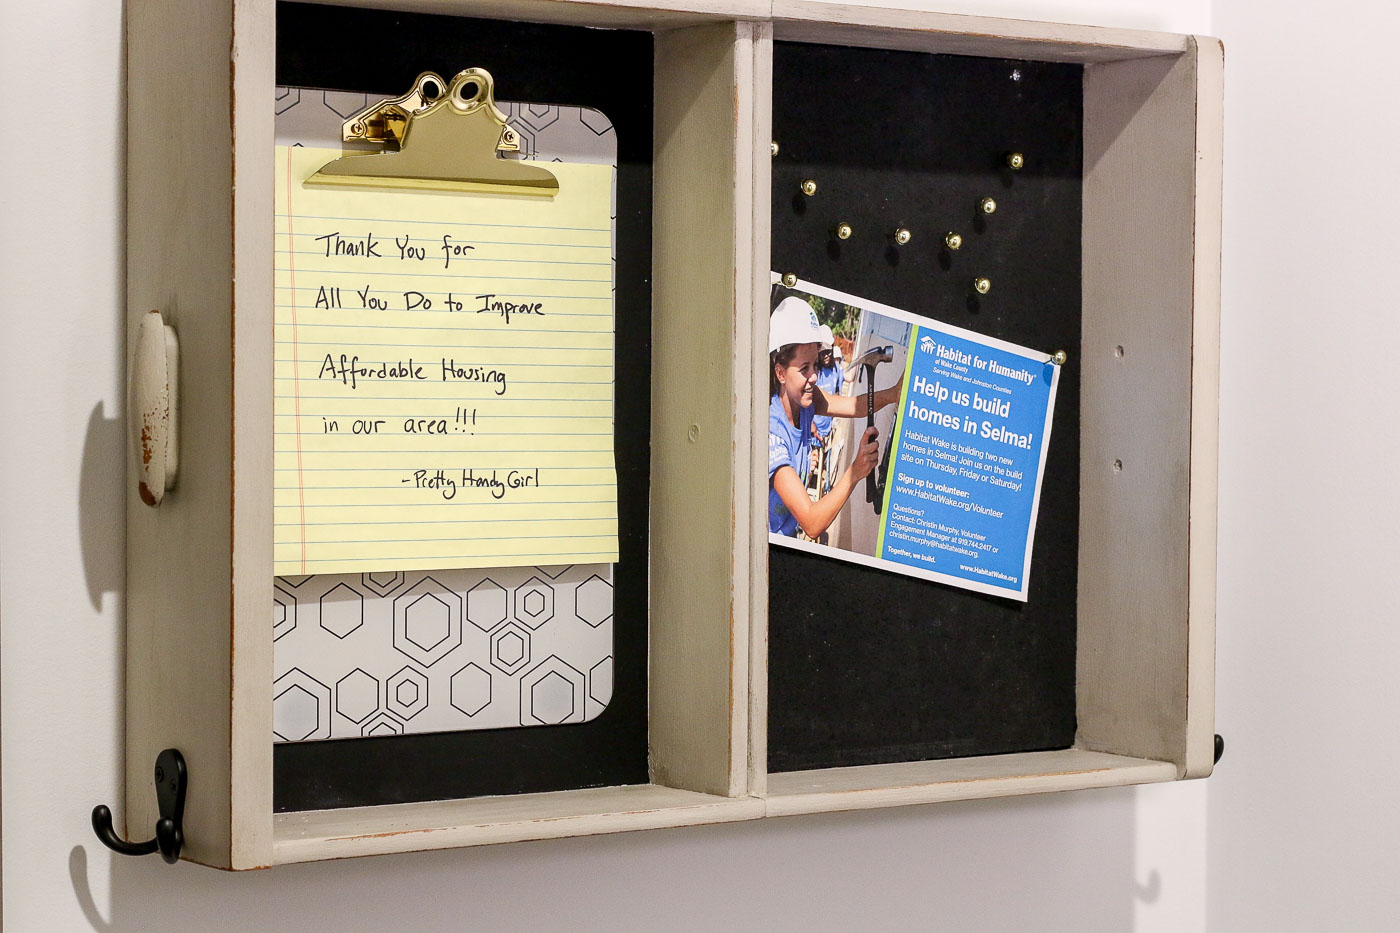
This is a little message area was created by screwing two drawers (salvaged from the ReStore) together and adding cork and a clip board.
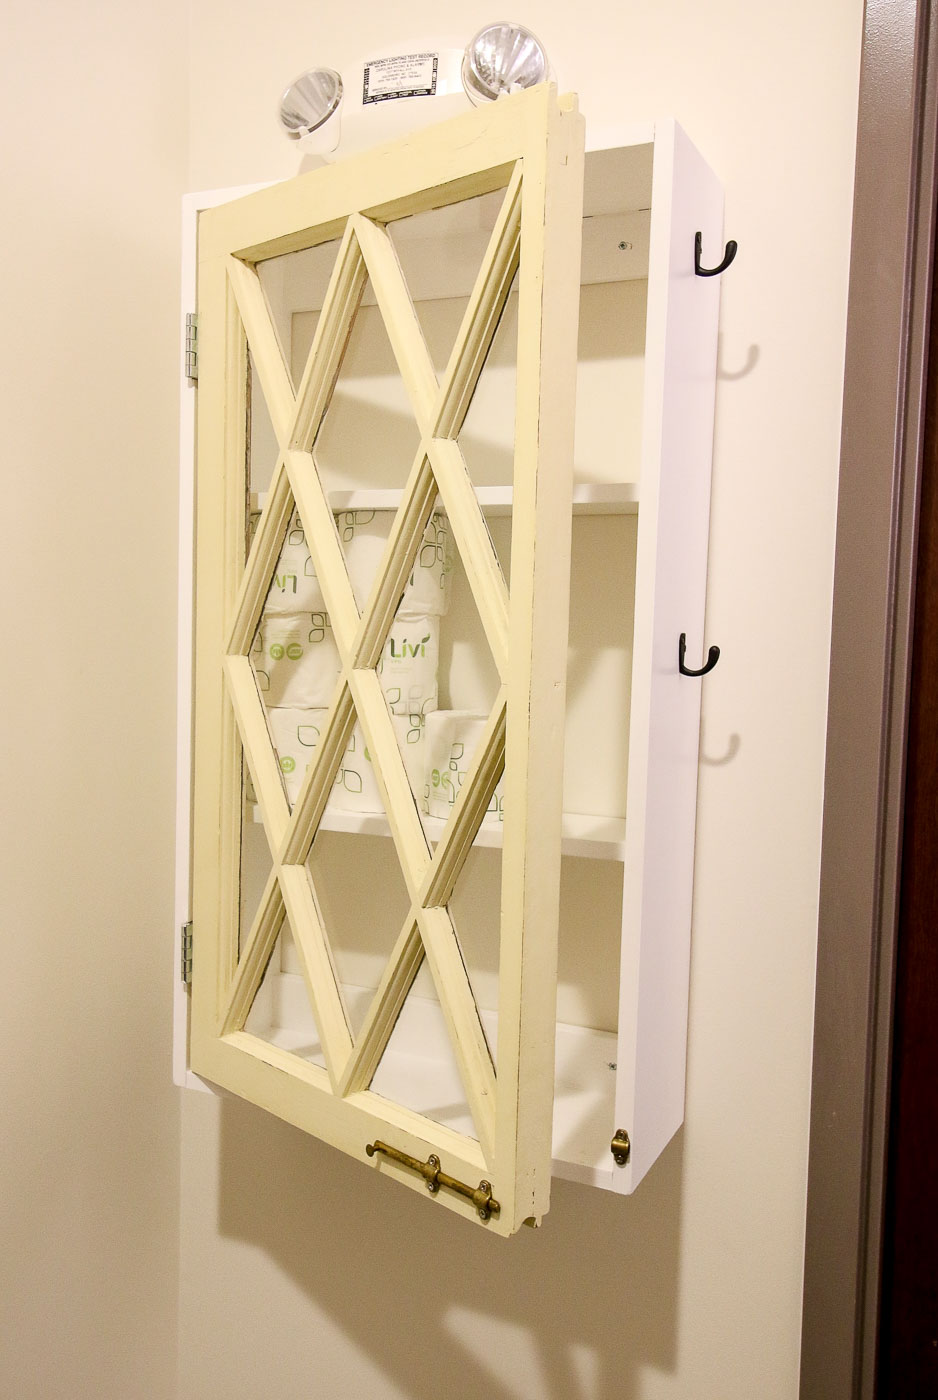
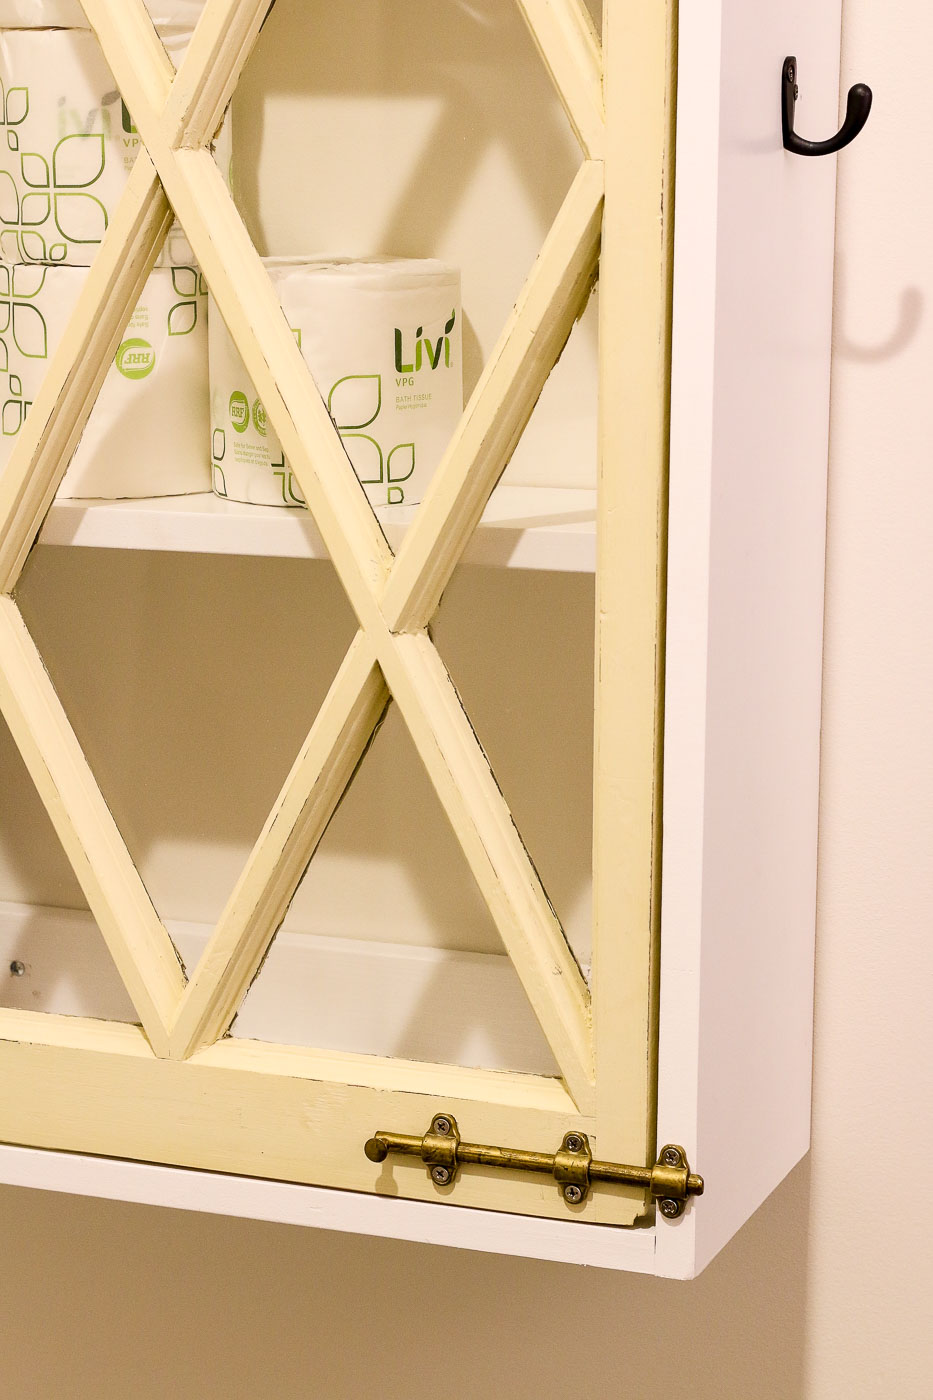
The handicap bathroom needed additional storage since it didn’t have a sink cabinet. To solve the issue, I built this little wall cabinet using an old window from the ReStore.
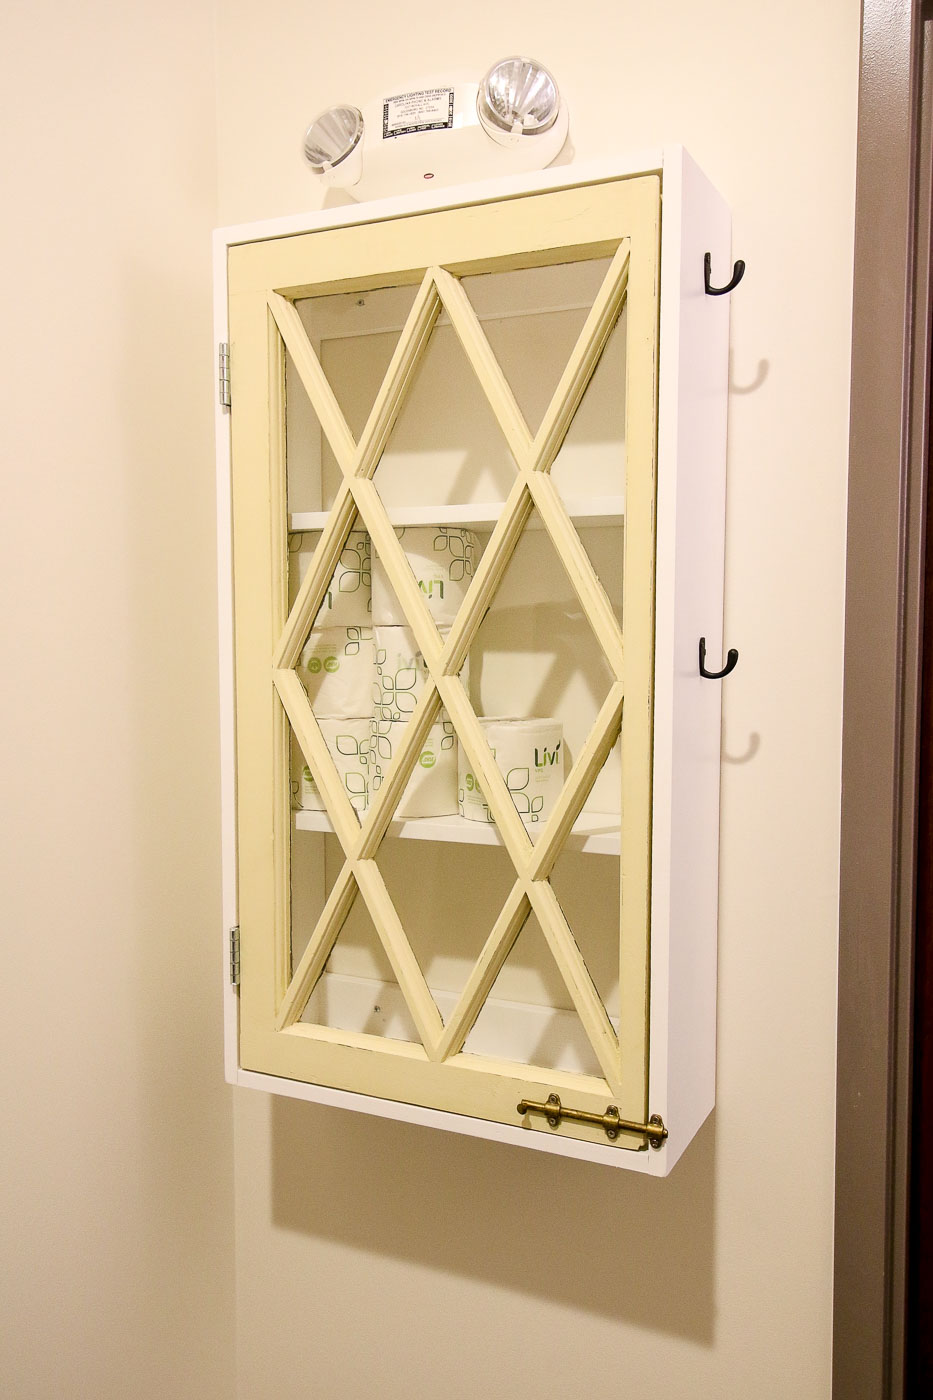
Then I added a little reclaimed door latch to keep the door closed. Hooks on the side are for hanging up a purse or light jacket.
Two Bathrooms in One Weekend – The Reveal:
Are you ready to see the final results? First here’s a reminder of what the bathroom looked like four days earlier. (The new LED light was already installed by my electrician in this photo.)
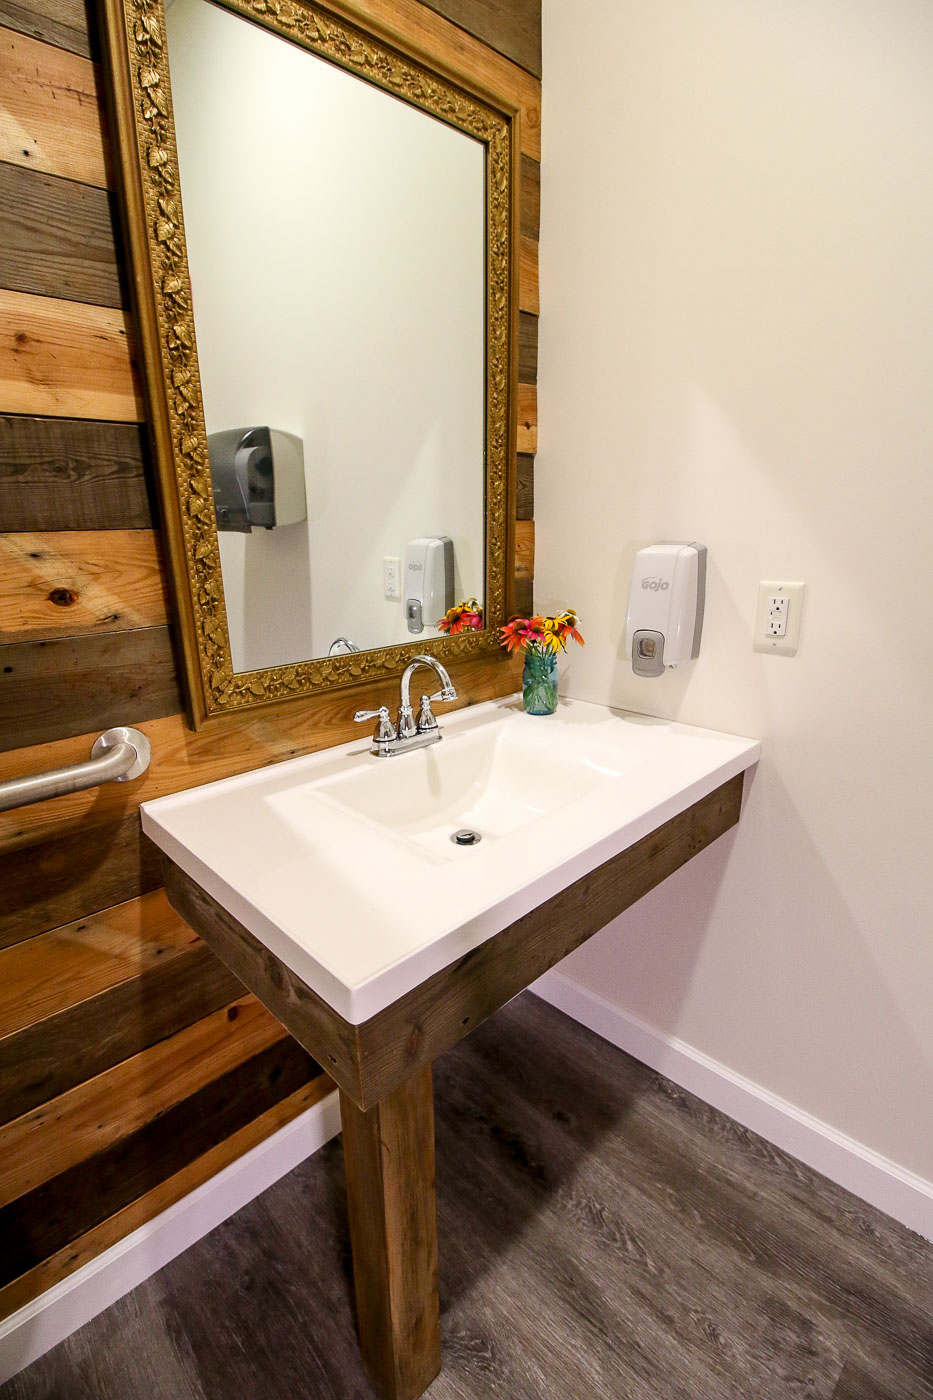
And here’s what the same bathroom looks like now!
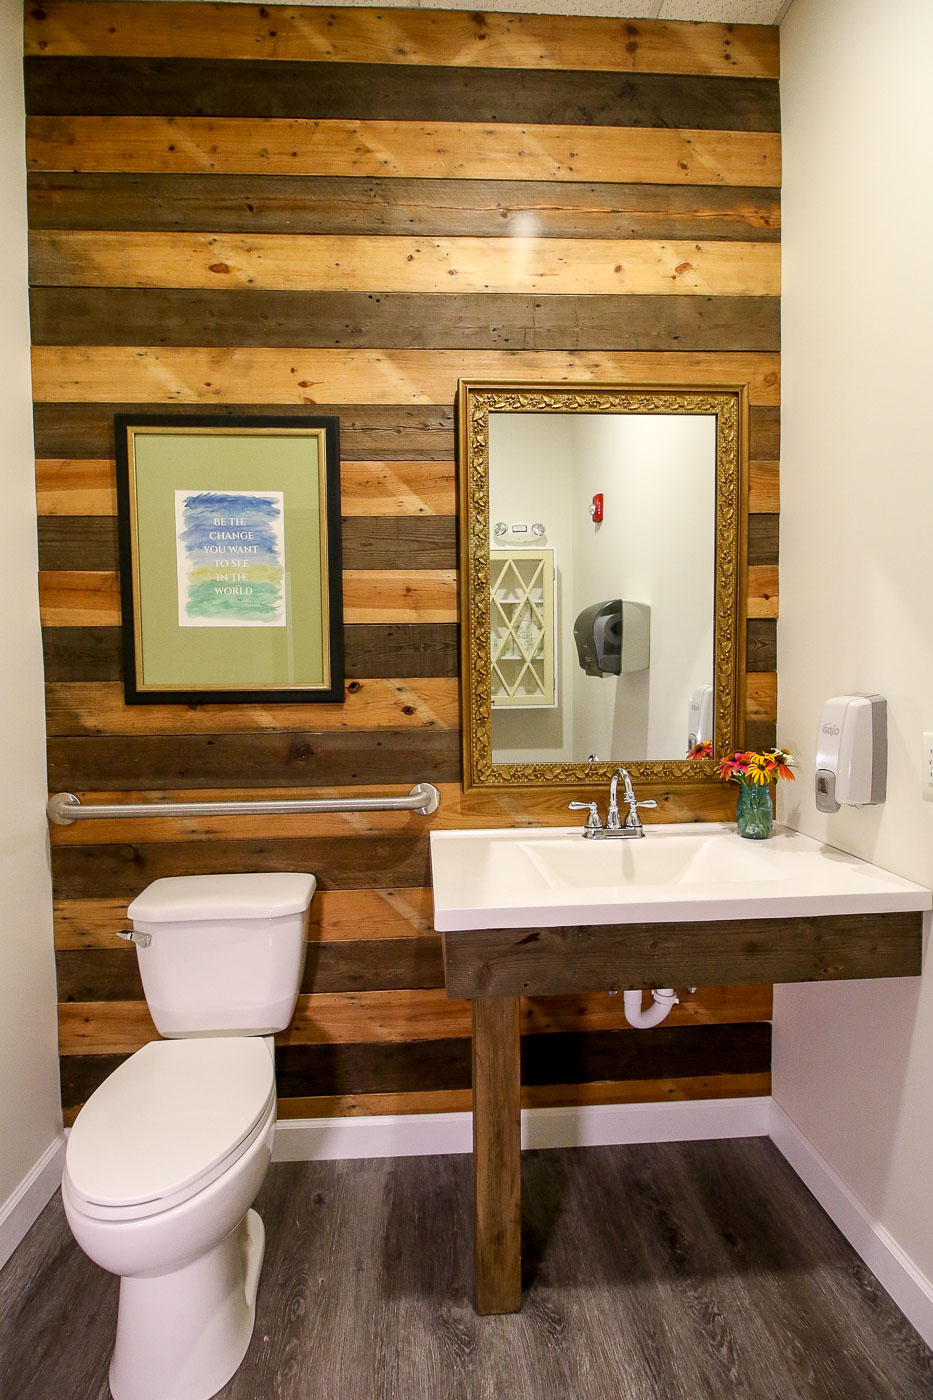
Originally I thought we could secure the sink base to the studs. But, after discovering the studs were all metal, we decided to add one leg to the front corner of the sink apron for more support.
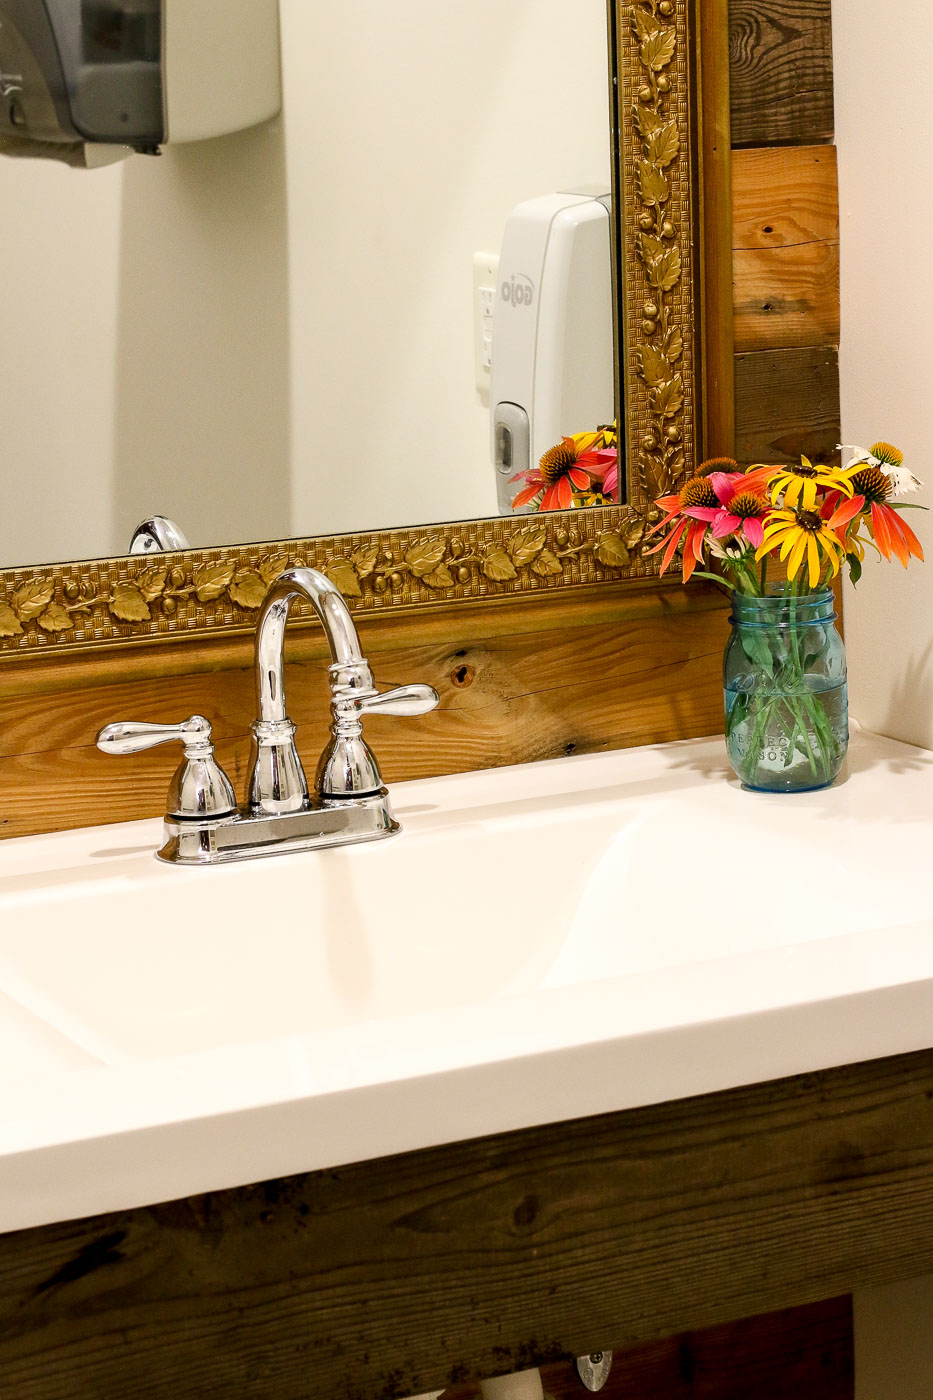
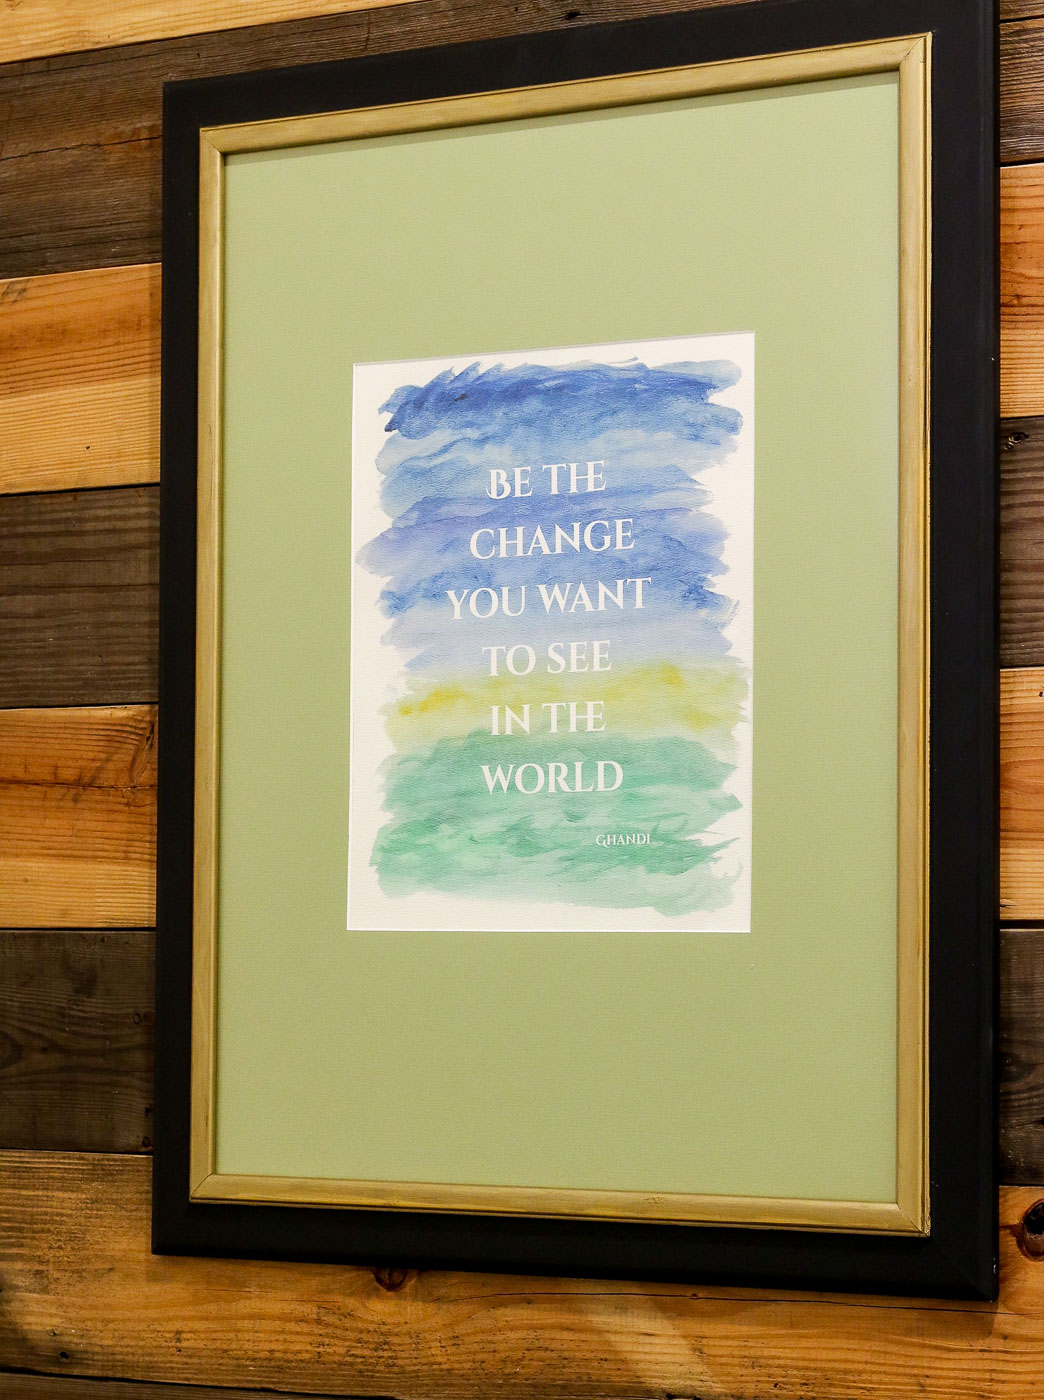
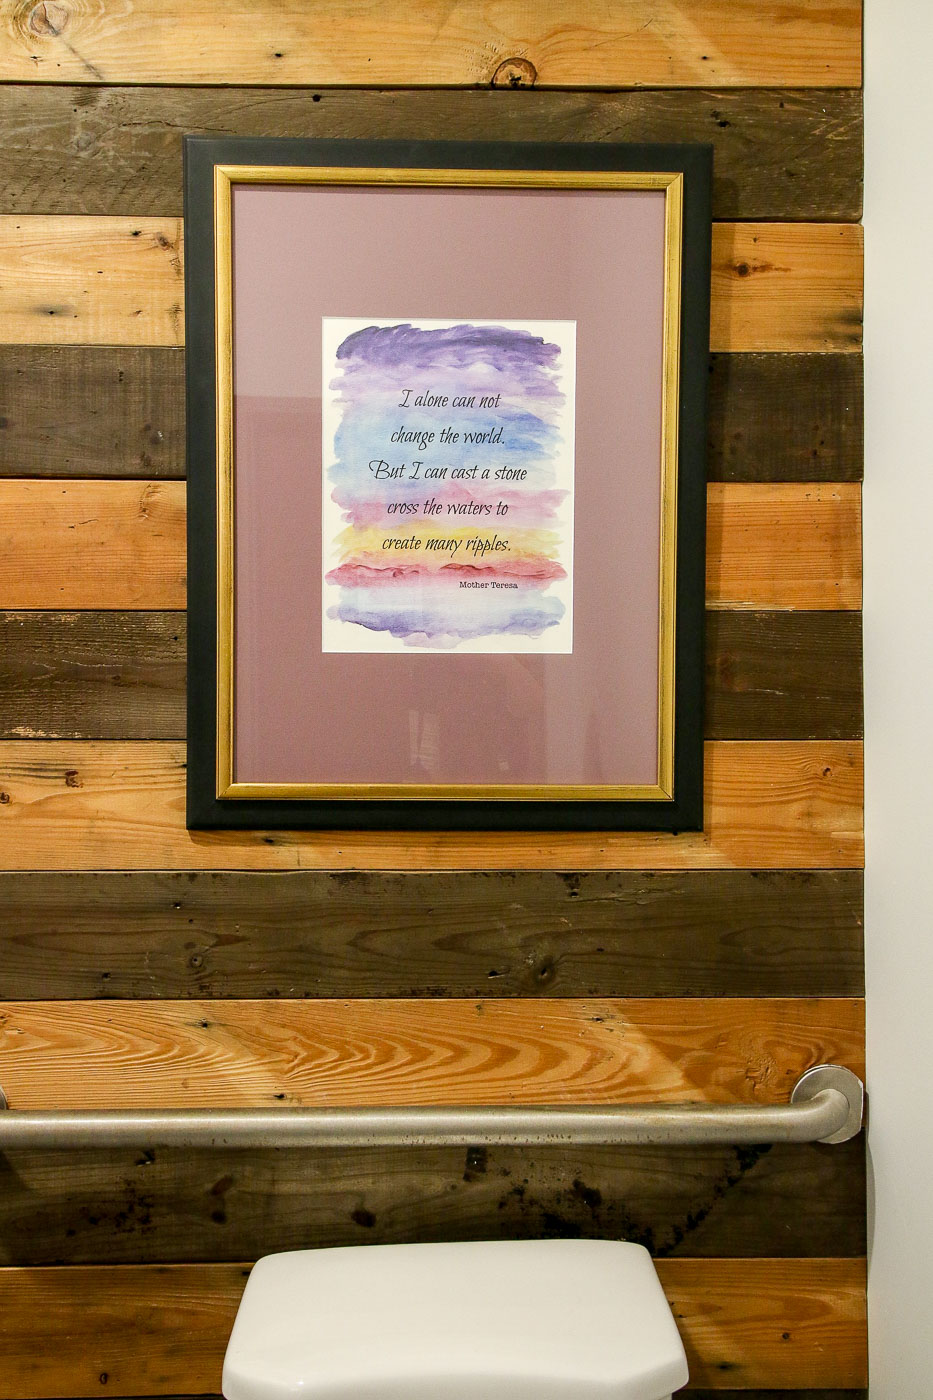
The art quotes were created by reusing ReStore art frames. I simply created some watercolor art and added the quote in Photoshop.
The twin bathroom looked like this before:
And now!
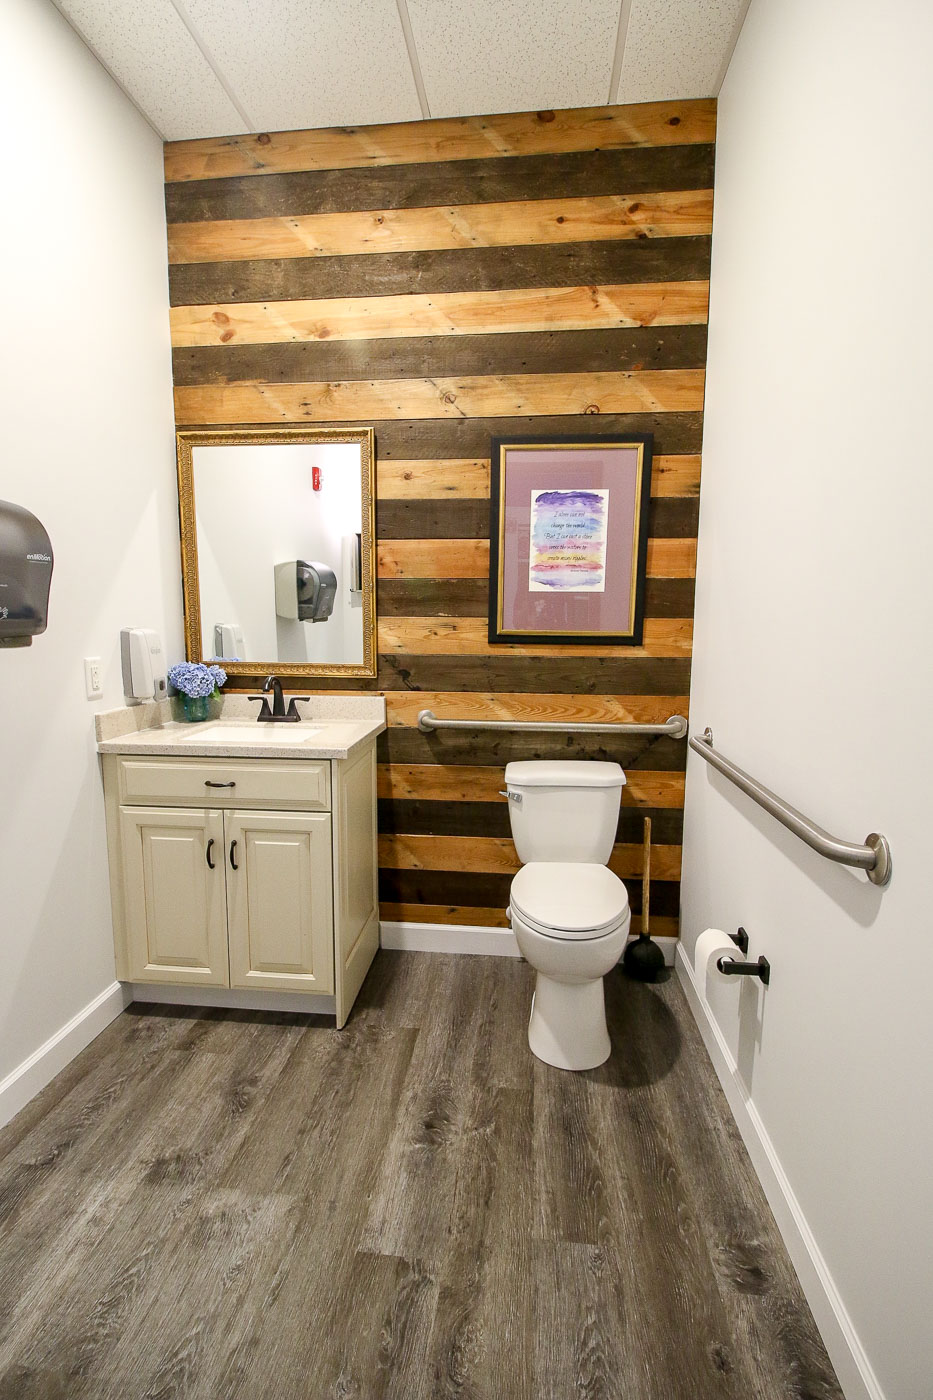
The sink vanity was from the ReStore. We were lucky the Raleigh ReStore has a huge selection of donated cabinets.
I documented the entire renovation on video, hopefully, you’ll enjoy watching the whole Habitat for Humanity Bathroom Renovations process.
Want to Help Habitat for Humanity and Work Along Side Me?
Have you ever wished you could work next to me? Learn some tricks and tips of the trade? Well, now you can! I’ve signed up to volunteer for this year’s Women Build, She Nailed It Campaign with our local Habitat. This is a one day opportunity to help build a house with ALL WOMEN! Don’t be intimidated, you won’t be asked to do anything you aren’t comfortable with. But, you may gain a little empowerment and learn a new skill or two!
The date is Saturday, September 28th in Wake Forest and I’d love to meet you there and share a day of swinging hammers. What do you say? Want to join me? If you can’t, but still want to contribute, please make a donation to the Women Build Campaign. Even the smallest donation will help us accomplish our goal.
![]()
Again, I have to give a huge shout out to Sophie from @TheHipperFam and Stephanie from @UncommonOutpost who came to help me on this project and gave up their weekend. Also, a big thank you to ALM Plumbing and Wilkinson Supply Co. for donating the toilets.
I hope you liked the video. If you aren’t subscribed to my YouTube channel, definitely do so now to stay up to date on all my tutorials and renovation projects!

See you all soon.
![]()
Be sure to pin this image to share how to accomplish a bathroom renovation in one weekend!

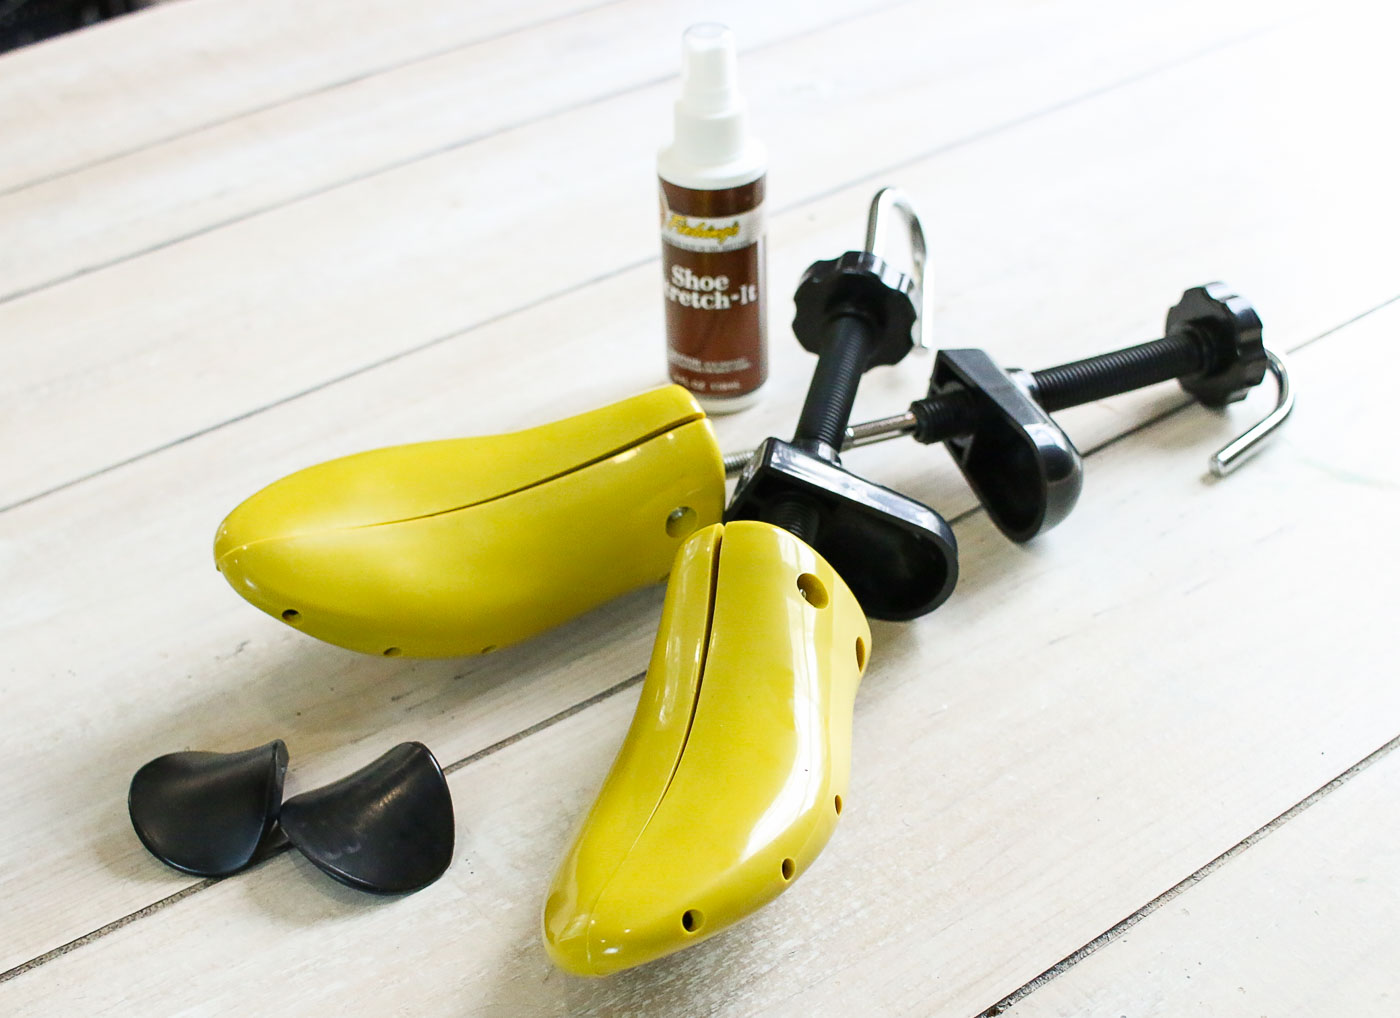
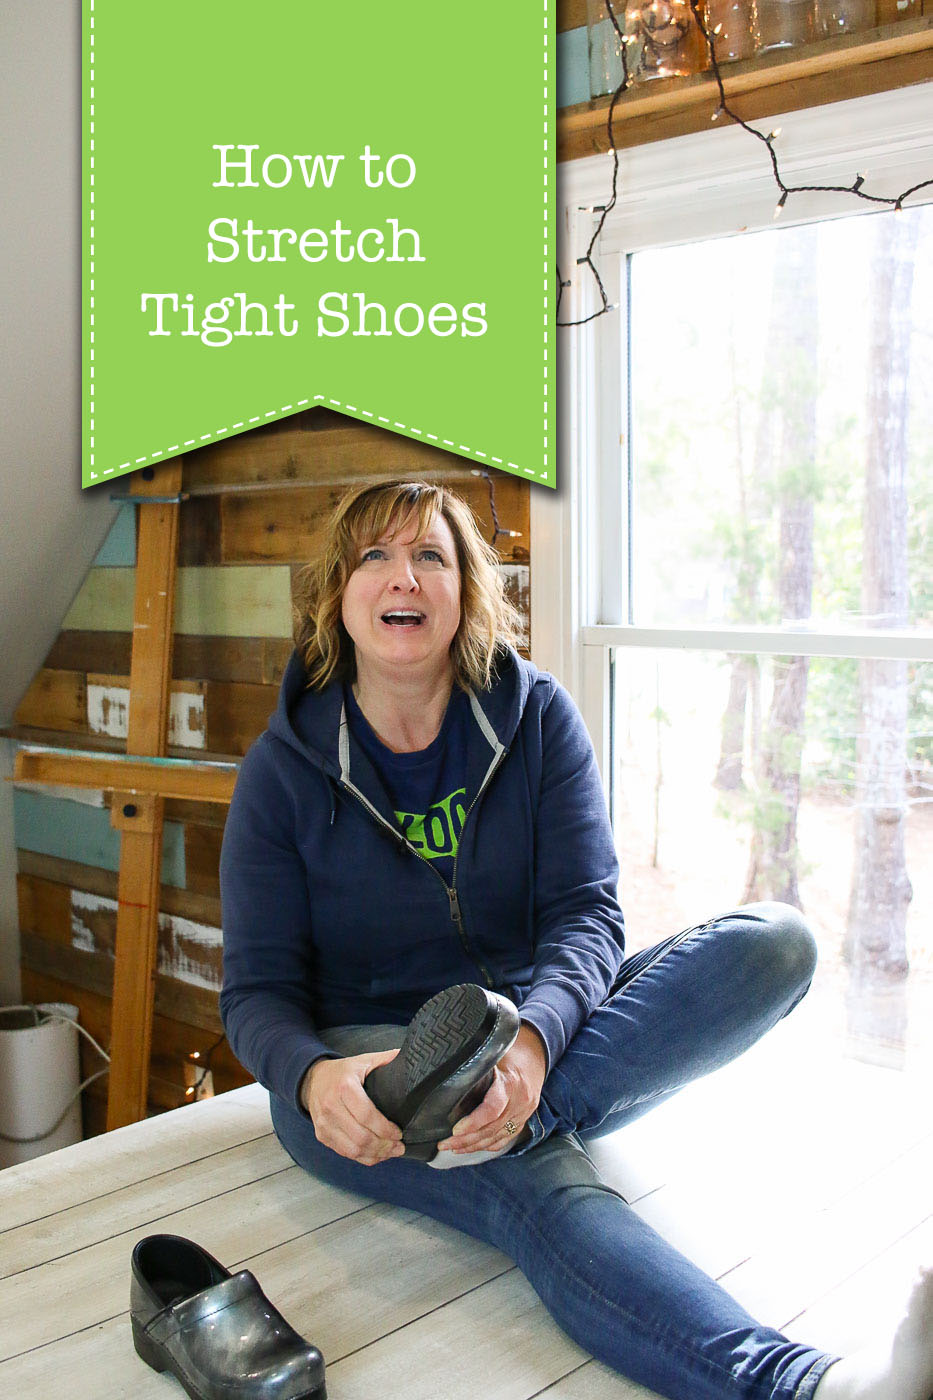 How to Stretch Tight Shoes
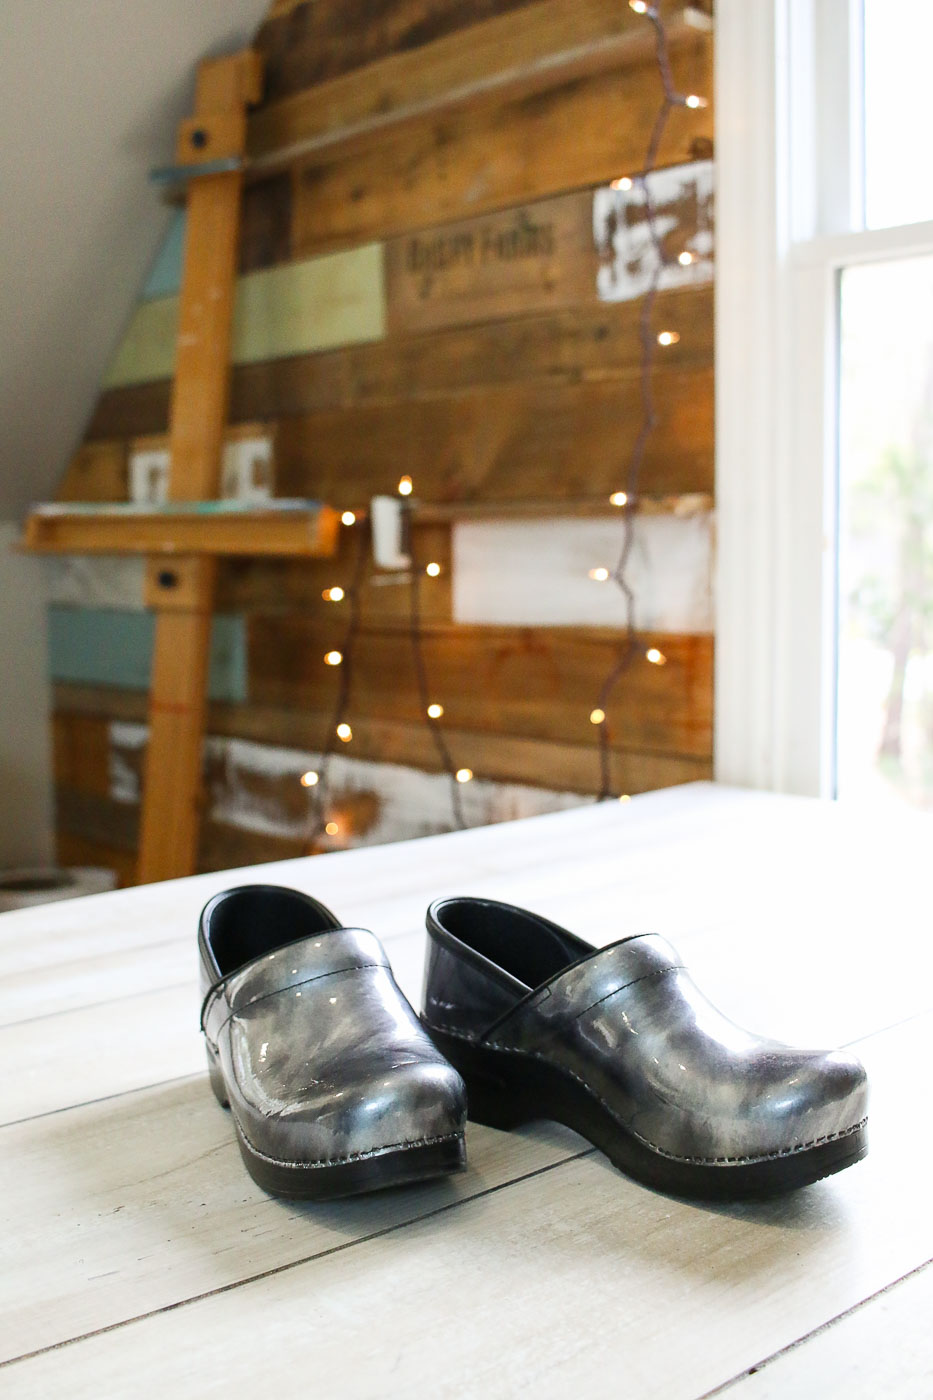

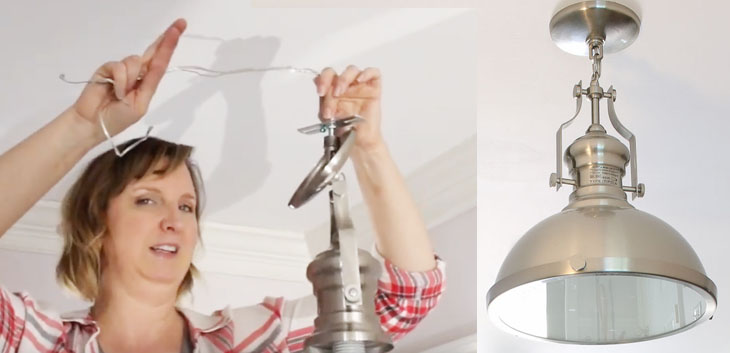
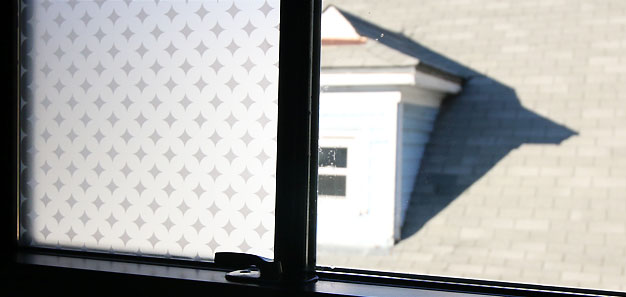
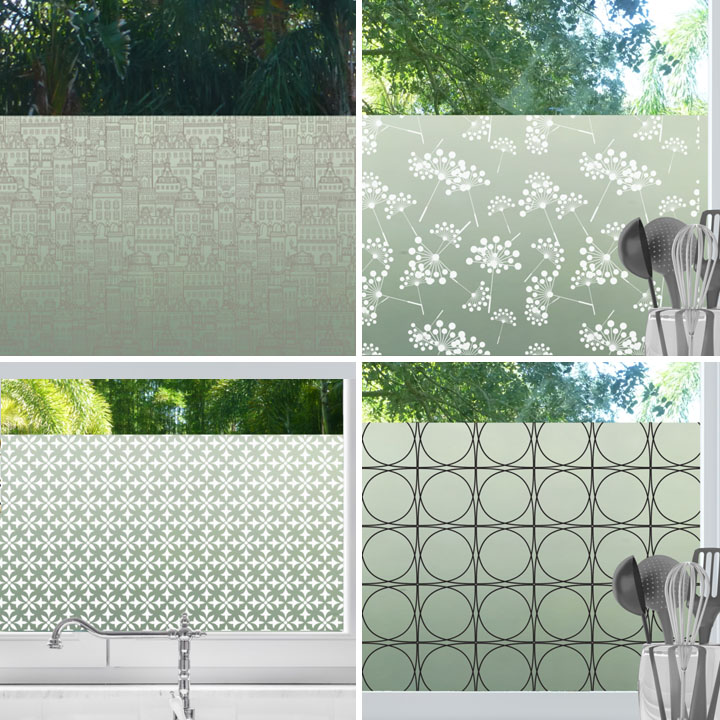
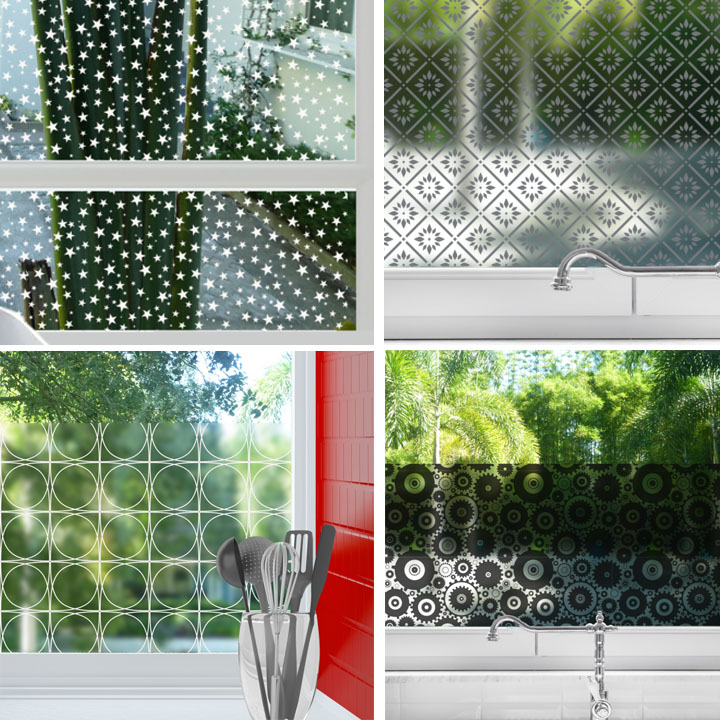
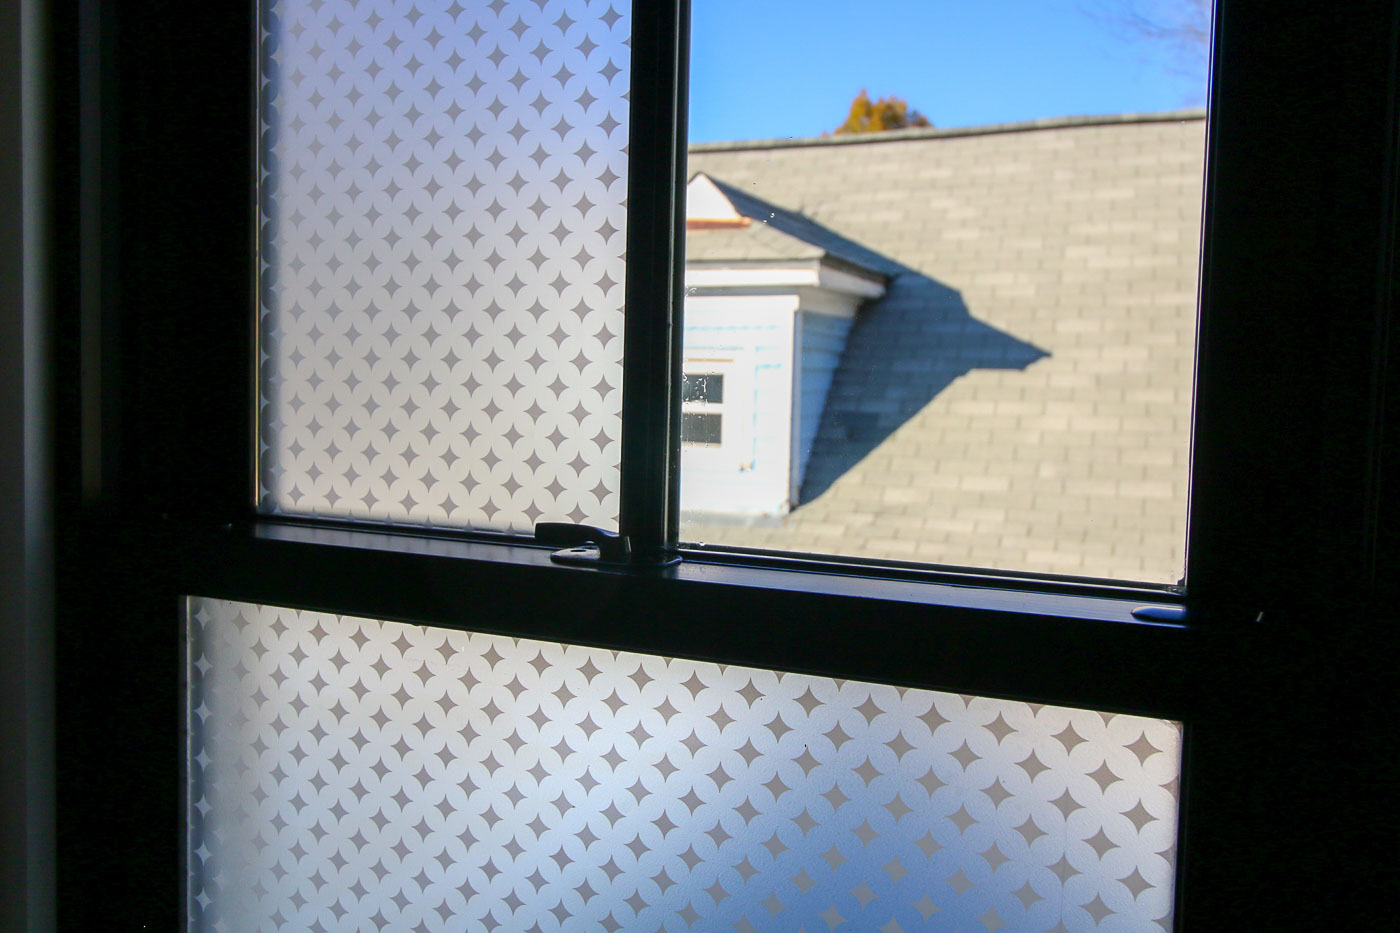
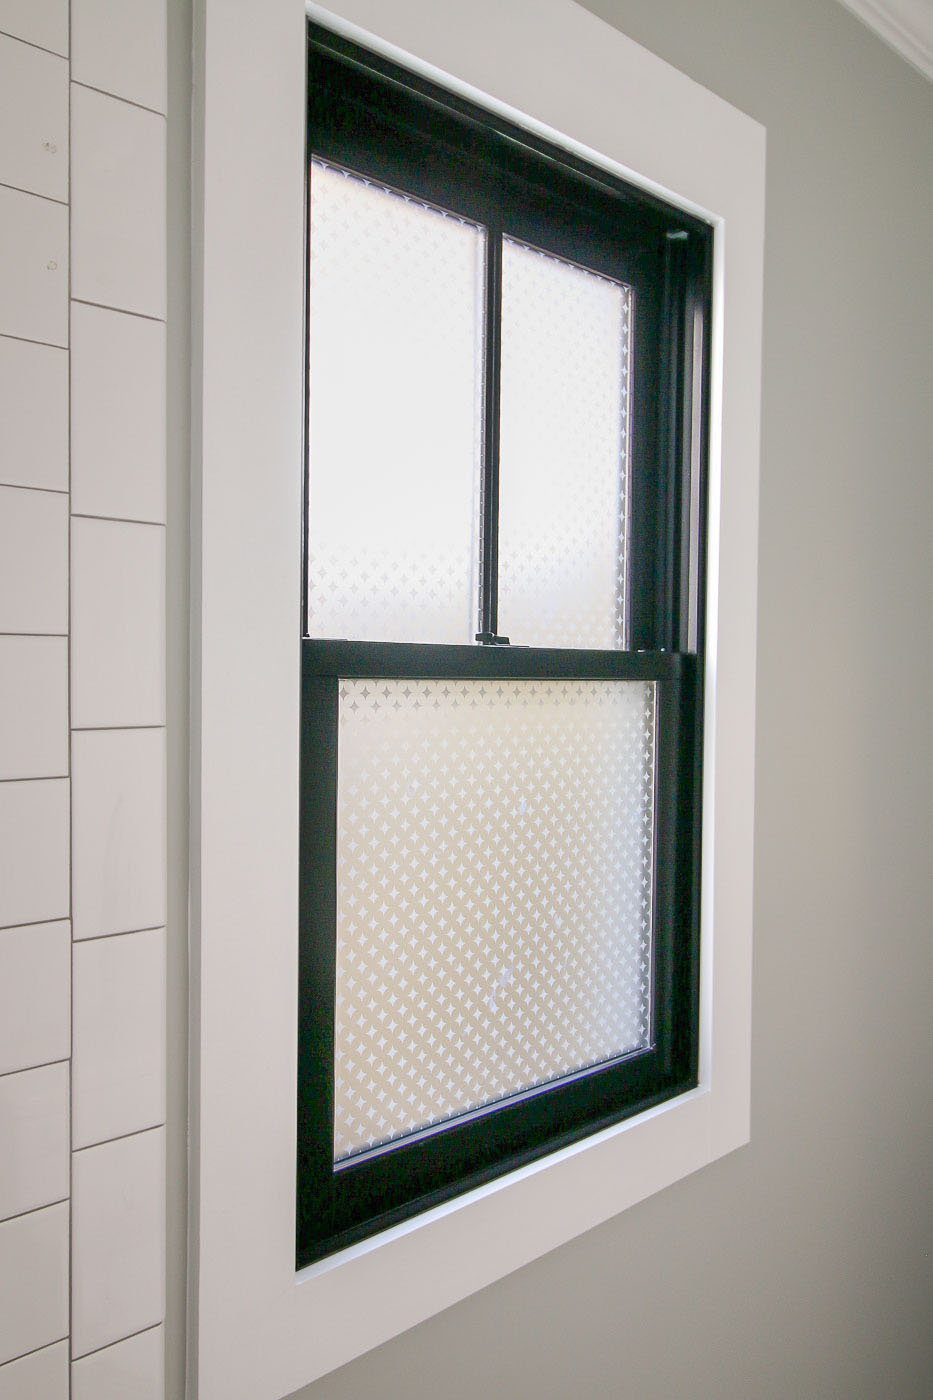
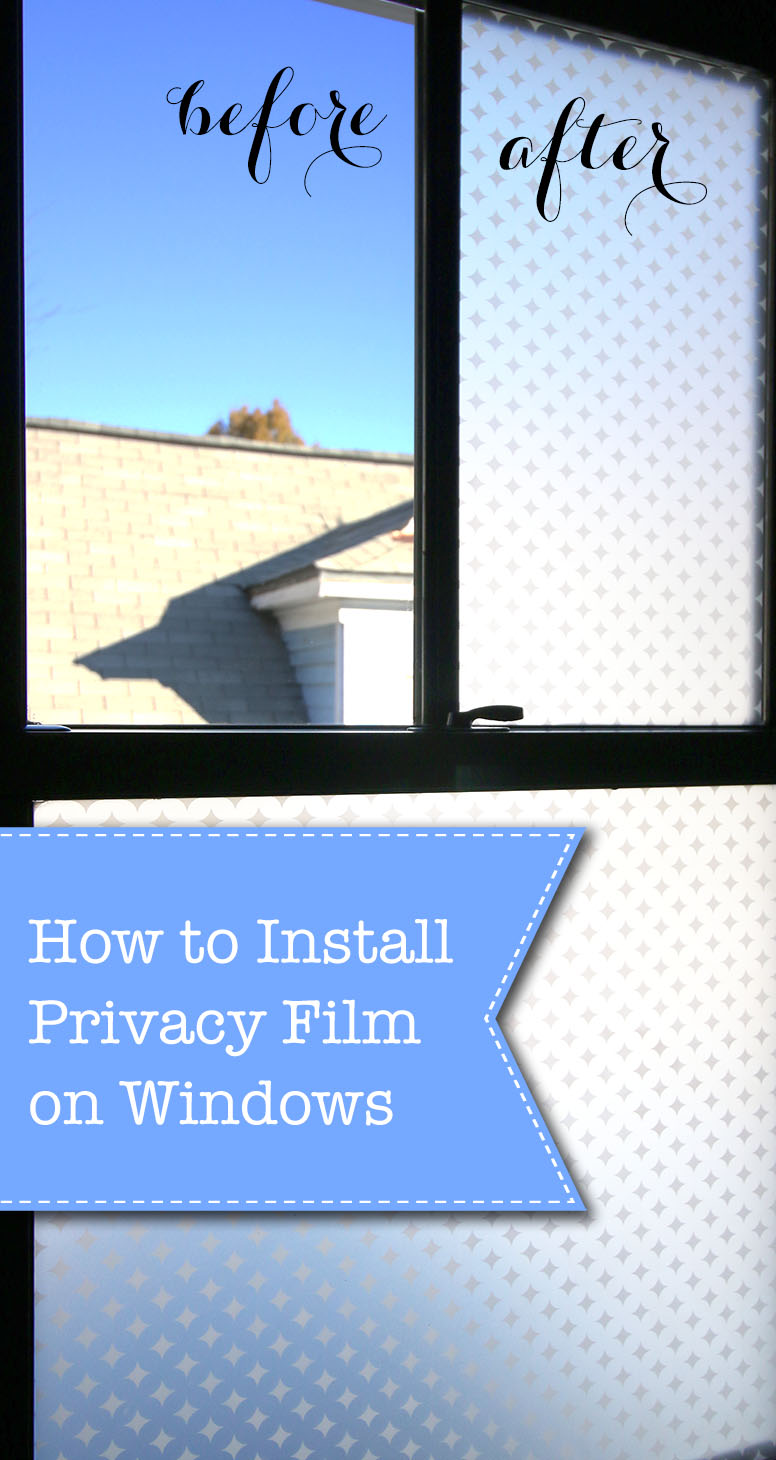 How to Install Privacy Film on Windows