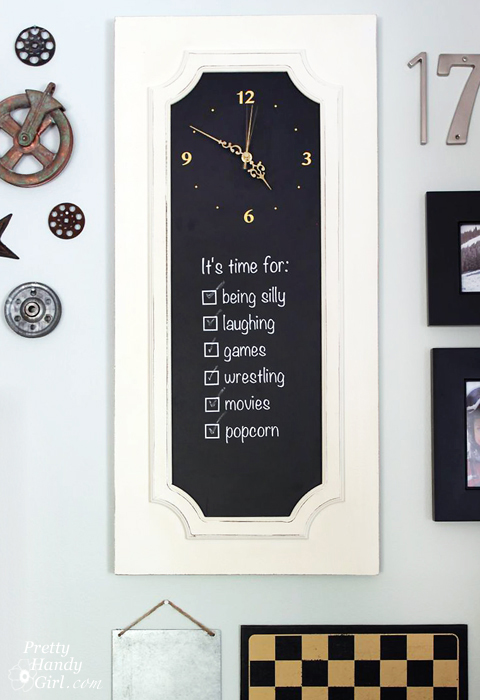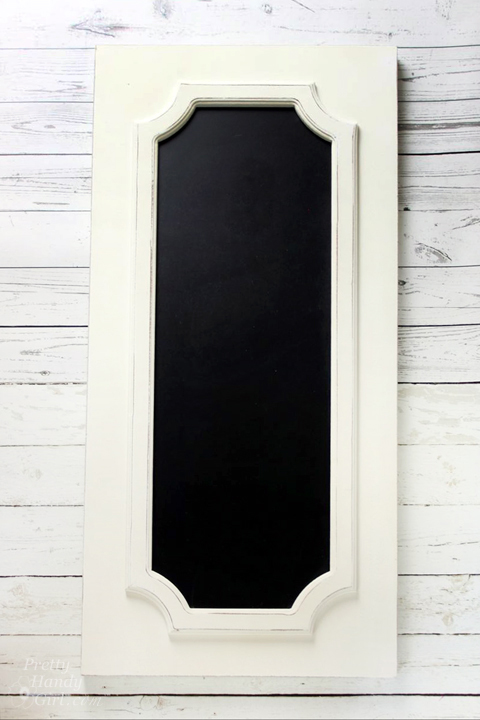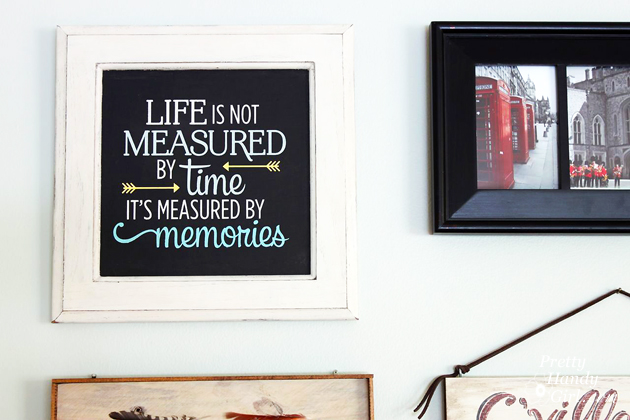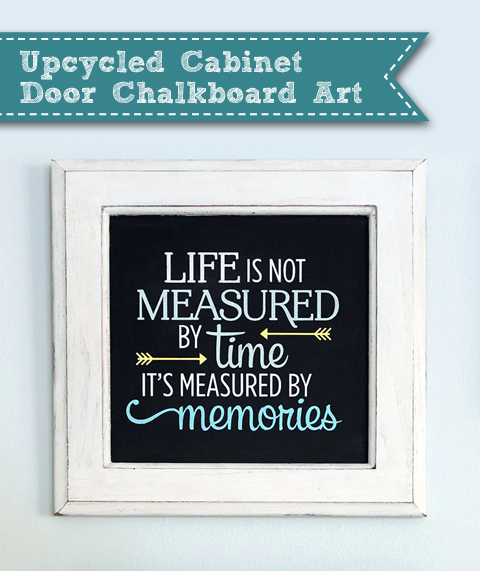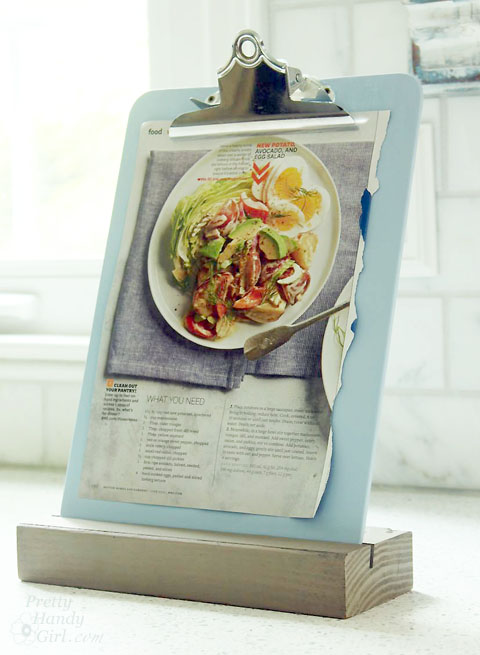
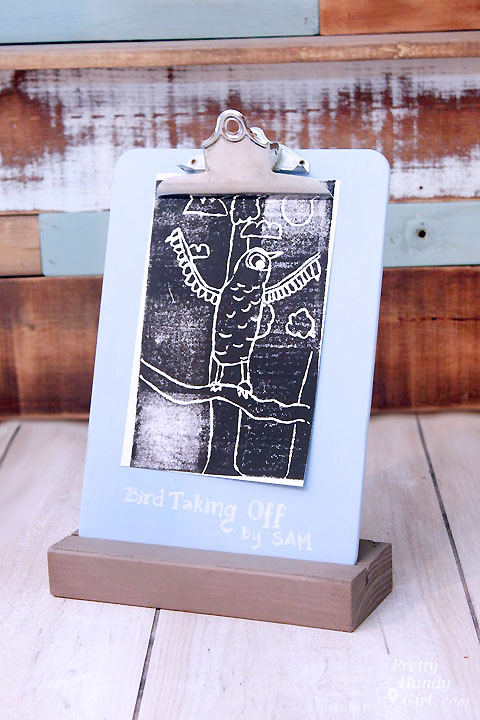
Today’s project is so easy, I named it the Easy Clipboard Stand (catchy name, no?) This is a great way to upcycle an old clipboard and a scrap 2×4. This clipboard stand is super versatile. It can be used as a traditional stand for announcements; a copy stand; a recipe holder; an art frame or anything you need to bring attention to. Plus, if you use a dark chalk paint color, it can be used as a chalkboard sign. Bonus.
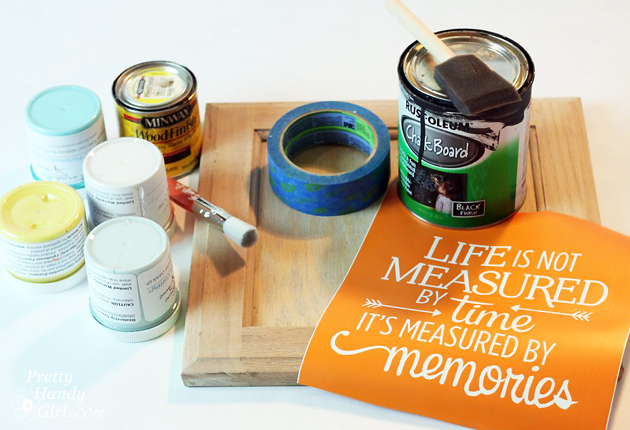
Materials:
(contains affiliate links)
- 2×4 scrap of wood
- Clipboard
- Shim
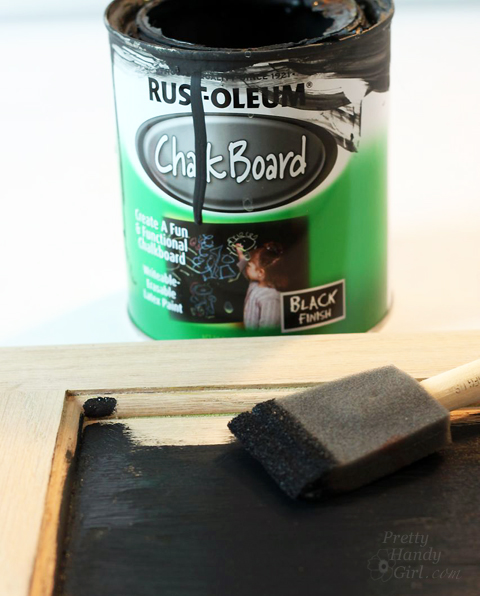
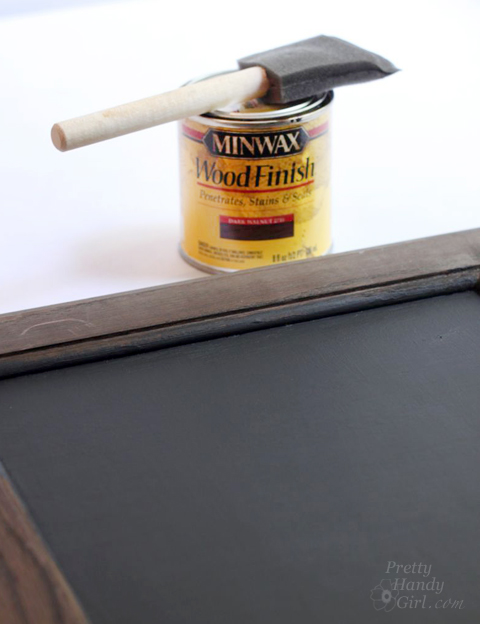
- Chalk Paint
- Foam Brush
- Paint Brush
- Sanding block
- Antiquing Wax
- Clear Furniture Wax
Tools:
- Table Saw
- GRR-Ripper 3D Push Block
Instructions:
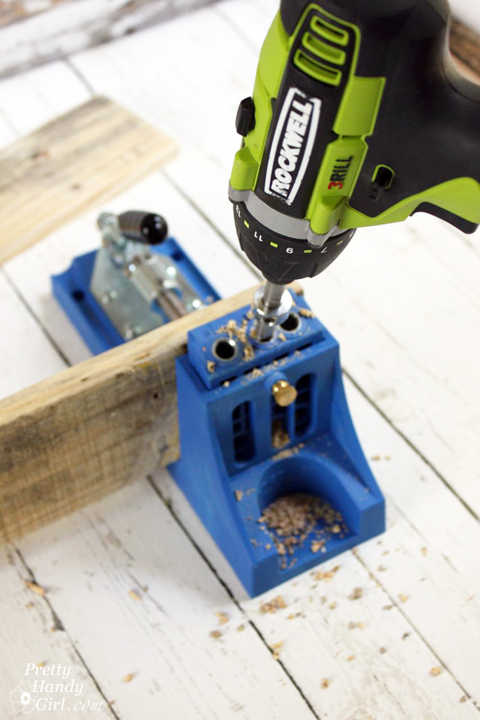
Cut the 2×4 scrap to the same width as the clipboard. Set your table saw blade approximately 2/3 height of the 2×4 block. Angle the blade to 15 degrees. Carefully slide the block over the blade. You’ll notice I use a GRR-Ripper Push Block to keep my hands away from the blade. (If you own a table saw, you need one of these!)
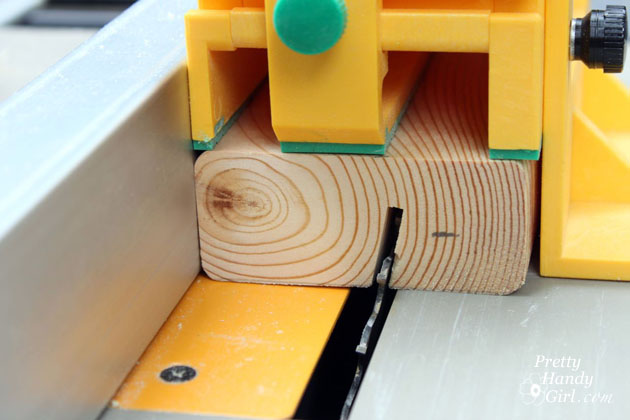
The 2×4 should look like the photo below. Read more