DIY Fabric Coasters

DIY Fabric Coasters

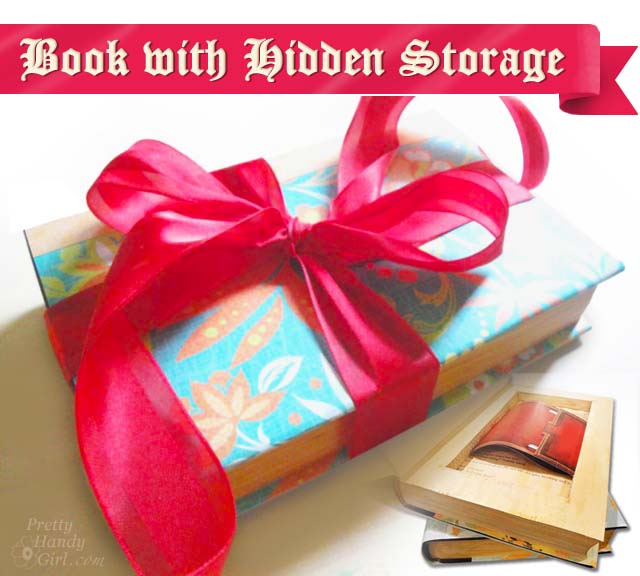
Hi everyone! I’m more than excited to be here at Pretty Handy Girl with Brittany and to be joining the amazing team of contributors. Are you enjoying the fabulous Très Frugal DIY gift ideas so far?

I’m Jessica and I blog at Decor Adventures, a place for you to find furniture makeovers, home improvement projects, craft and lots more DIY and home decor inspiration. Not to mention how to survive decorating a 113 year old house.

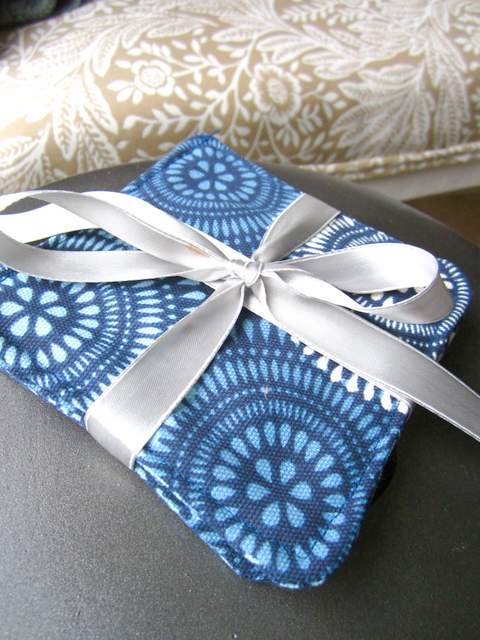
I’m really looking forward to sharing my ideas for how you can make your home a beautiful and meaningful place too. Today I’m going to start with an easy and super cheap fabric project, DIY fabric coasters. I love sewing and find it to be a relaxing yet productive activity. When I’m done making something like a table runner or reupholstering an ottoman I always try to think of what I can do with the leftover fabric. These small coasters were just the solution. Plus they make a great gift idea and tis the season for giving something specially made by you. Your family will love them, I promise. Here is how to make DIY fabric coasters.

DIY Fabric Coasters Supplies:

  • Fabric
  • Thread
  • Scissors or cutting mat and rotary cutter
  • Measuring tape or ruler
  • Pencil or disapearing ink sewing marker
  • Sewing machine and thread
  • Batting for in between is optional, but I did use it

DIY Fabric Coasters Instructions: Read more

DIY Book with Storage Inside | Pretty Handy Girl

Book with Hidden Storage | Pretty Handy Girl

Do you remember when you were a kid and you wanted a super secret place to hide things from your sibling? Having a secret book with a hidden storage compartment would have been perfect! Even as an adult, it’s nice to have a spot where you can hide something personal, valuable or sweet (think dark chocolate!) 😉

This DIY Decorative Hidden Storage Book is a relatively easy project, but it takes a little patience and a very sharp X-acto knife (so have a few fresh blades to replace when your blade dulls.)

Materials:

Materials


  • Fat book (shop Goodwill or repurpose an old book you already own)
  • X-acto knife
  • 4-5 New X-acto blades
  • Ruler with a metal edge
  • Self-healing cutting board
  • Paint brush
  • Mod Podge
  • Gold craft paint (optional)
  • 3 Sheets of scrapbook paper (2 the same design and 1 coordinating design)
  • Scotch tape
  • Rubber cement
  • Wax paper (cereal box bags work great)
  • Cup to mix mod podge in
  • Weights or heavy objects
  • Ribbon


Instructions: Read more

Faux Etched Soap Dispenser

Faux Etched Glass Soap Dispenser Gift

Hi everyone! I’m so excited to show you a fun Très Frugal DIY gift idea today – a faux etched soap dispenser.

Of course you could use this paint technique on any glass item – a vase, votive, or pretty up a simple jar – but, to me, there’s something luxurious about dish soap in a beautiful decanter. Even if the actual process of using the soap isn’t quite so luxe.

Materials:

Faux Etched Soap Dispenser

  • Glass dispenser (available at some dollar stores and most kitchen sections of large discount stores)
  • Rubbing alcohol
  • Cotton balls
  • “Frost” medium in either spray or liquid (*see below for types of frost paint)
  • Removable tape – you can use almost any type of masking tape, washi or even painter’s tape
  • Foam make up sponges

Optional: sticker shapes or stencils


*Types of Frost Paint:

Frost paint is simply a translucent white paint giving the appearance of etching without the chemical acid of true etching cream. It’s available as a spray paint, both by Krylon and Rustoleum, as well as others.

It’s also available as a liquid, made by Plaid, which is the product I used because I had it on hand. I’ve used it a few times with great results, most recently on some Pantry JarsThe tutorial below is for liquid frost medium.

The spray paint is definitely faster, however the liquid can be tinted with regular craft paint, which might be kind of fun.


Instructions: Read more

Rustic Wood Cake Stand | Pretty Handy Girl

Rustic Wood Cake Stand | Pretty Handy Girl

Day two has arrived and I have ANOTHER fabulous Très Frugal DIY gift idea for you. Honestly, this is one of my favorites. And I owe it all to this little picture from my Instagram friend, Kennesha. She blogs over at Restoration House and has an amazing sense of style!

After seeing her rustic cake stand that she wanted to DIY, my creative wheels began to burn rubber.

I simply picked up a few wood discs and a furniture leg to create a unique cake stand. Here’s the tutorial:

Rustic Wood Cake Stand | Pretty Handy Girl

Materials:

  • 15″ Wood Disc from Lowe’s
  • 5″ and 7″ Wood plaques (from Michaels)
  • Turned furniture leg (from Lowe’s)
  • E-6000 glue (or wood glue)
  • 1 – 2.5″ wood screw
  • 3M Sandpaper block
  • Drill
  • Drill bit slightly smaller than the screw
  • Drill bit slightly smaller than the furniture leg bolt
  • Philips head screwdriver bit
  • Food safe sealer (Behandla cutting board sealer found at IKEA)

Optional: Paint & Glazes (all available at Lowe’s):

  • Valspar 6006-1A Woodrow Wilson Putty
  • Valspar 6007-2A Arid Plains
  • Valspar 6005-1A Asiago
  • Valspar clear mixing glaze
  • Dry brush paint brush
  • Paint brush

Not optional: Cake or Cupcakes!!!! (kidding of course) Read more