Do you remember that cute little blue striped bin in Renee’s storage unit? The one that she uses for junk mail and recycling.

How much do you think she paid for that? Would you believe nothing?! I made it for her out of a cardboard box and art supplies I had on hand.

Materials:
Cardboard Box
Black Spray Paint (or other color)
Spray Mount (Spray Adhesive)
Elmer’s Glue
Scissors
4 sheets of scrapbook paper (wrapping paper, fabric or wallpaper)

Instructions:

1. I started with a square Huggies Pull Ups box. I knew you wouldn’t believe me, so here is the picture to prove it.


2. Spray paint the inside of your box (be sure to wear gloves because the spray will coat your hand since it swirls around inside the box.)

3. Spray adhesive on the back of 2 sheets of scrapbook paper.

4. Attach them to opposing sides of the box.

5. If your scrapbook paper wraps around the sides, that is good. Be sure to snip the top of the paper at the corners of the box so it can fold over inside the box.

6. Cut your other two sheets of scrapbook paper to the exact width of the uncovered box sides. Spray adhesive on those two sides and attached them to the box. Then fold over the top edges of the paper.

7. If the folded top edges don’t stay glued, put a little elmer’s glue underneath and then use a book, clothespins, or binder clips to hold it down while it dries.


And you are done! Cute, easy and cheap! That’s how I like my men projects.

If you are an addicted blogosphere surfer, you are probably aware that there are two contests being sponsored by Home Goods right now. If you blog or write about your own personal Mom Cave, you could win $250 to spend at Home Goods! And what Mom couldn’t use that?!

Enter Your Mom Cave at Centsational Girl or at Between Naps on the Porch.

So, I wracked my brain trying to think of a space I could makeover into my own personal Mom Cave. Then I realized – HELLO – I already have a Mom Cave! My guest room is just that, a retreat from the 3:1 boys to girls ratio in our home!

From the moment I enter my Mom Cave I smell sweet blooming roses,

and a potpourri of floral soaps in a dish by the window.

This is the room where I sit to sew and create,
or read a new design magazine.
This is the room I can lock myself inside and stop being Mom for a while.
Among the fluffy pillows is where I sleep…
…when Pretty Handsome Guy is sick.
(Secretly, I can’t wait for him to travel for work so I can sleep in my girl’s retreat again.)
 
The walls are the perfect english cottage garden green.
A perfect palette to display fresh flowers and greens against.

Lest you think I spent a lot of money in this room, you will be surprised to learn that almost everything in this room was a trash-to-treasure creation. You can read more about my finds for this special room here.


A small desk and chair both broken and discarded.


And this little trash bench was made new again and given a  home by the window.
 

So, do you have a Mom Cave? If so, definitely show it off! Give us mamas something to drool over!

Whether you do have a Mom Cave or not, I encourage you to enter the Mom Cave contest here or here. Good luck y’all!

I am in love with those adorable french provincial dressers. The flourishy handles are what really get my heart pounding.When I saw this dresser on Craig’s List for $35 dollars, I pounced!

 Disclaimer: I stole this picture from the previous owner’s Craig’s List Ad.

Oooo baby, don’t you just love that faux gold outlined accents and off white laminate top. Yes, I said laminate. But I wasn’t afraid of it. For $35 who cares if it gets messed up. If you never take the risk, you’ll never learn anything new, right?!

The drawers were still in good shape, but a little loose around the joints, so I squirted my new favorite Gorilla Glue into the joints and clamped lassoed them up!

Then I used newspaper to protect any of the areas I didn’t want sprayed.

After sanding all the surfaces to rough them up, I put a coat of primer on everything. Loving that crisp clean white, but the dresser told me to “Keep Calm and Carry On.”  So, I cooperated and continued on to another color.

Next, I sprayed Rustoleum Heirloom White and distressed the surface with a wood stain.

The drawer pulls got their own treatment of automotive primer followed by Oil Rubbed Bronze paint. Thank goodness they were happy with their new color because – I’m telling you – that dresser was certainly acting like a diva! She was still demanding a new color.

I have seen many Nantucket Fog makeovers and decided to make a run to Ace Hardware to pick up a small sample of that blue gray color. And I grabbed a can of artistic glaze.

After two coats of the Nantucket Fog glaze, that little dresser still wanted something else. Sheesh! So I pulled out some leftover blue paint from my dormer window shutters.

Finally, she shut up! It’s a good thing too, because I LOVE this color. I love it so much that I hauled my tired hiney back over to Ace to match the color just for you.

Does anyone else get starry eyed and entranced by all these fabulous colors?

The closest match is Buxom Blue from Benjamin Moore. Not too far off from Nantucket Fog, but you know those divas they want what they want!

Now, all important divas need something to wear that gets them noticed. Thus, I decoupaged some wrapping paper on the side (tutorial is here.)

And then because I liked the pattern so much, I blew it up and added it to two corners of the dresser top (tutorial for adding a sharpie stencil.)

I added some beachy blue glaze over the wrapping paper and the top graphic.

And I have to tell you that – halleluiah – I finally figured out the proper technique when using the valspar glazes (the tutorial is here.)

I finished up with three coats of a semi-gloss polyurethane.

And here is that stunningly beautiful diva of a dresser. Transformed from Cinderella to the Belle of the ball!

Isn’t it amazing what a little oil rubbed bronze can do!
 
 Hard to believe this was wrapping paper in a previous life!
 Peek-a-boo I see a cute stencil.

Now, I have to convince Pretty Handsome Guy that our master bedroom furniture doesn’t have to be all matchy matchy!

 Because I LOVE our Pottery Barn Sleigh Bed. 
But not the matching dresser.
 I love the new-old dresser! What do you think?

Any helpful hints on using Jedi mind tricks on unsuspecting Pretty Handsome Guy?

Update: Thank you to my readers that pointed out that I installed the handles upside down. They have been fixed now ;-).

Okay readers, so the truth is out, I just can’t seem to pass up discarded furniture. They look so sad and pitiful awaiting the trash trucks. They plead with me to rescue them from life in the dump. That is how I found this coffee table.

It was resting against a dumpster. The legs and skirt of the coffee table were in good shape structurally, but the top was cheap masonite (compressed and glued fibers of wood.) This type of wood will swell and absorb water like a sponge. I’m one of those unfortunate homeowners who’s house is sided with hardboard (essentially the same as masonite.) Now you can see why that isn’t a good thing:

Moisture causes mold to grow, and the retained moisture also causes the wood to swell, become misshaped and will eventually rot away. The first thing I did was unscrew the top and throw it away! Yuck.

Sorry Mr. Tabletop, there was no rescuing you.

I also removed the hardware from the table skirt and saved it with the screws.

I cleaned the base of the coffee table with bleach cleaner to get rid of all the mold.

After it dried, I roughed up all the surfaces on the legs and base.

Then I primed it to seal the wood and prepare it for painting.

I painted the legs and skirt with two coats of Benjamin Moore Impervo white paint (leftover from our living room trim.)
I always paint the undersides or the hidden side first, then I use a technique for elevating my object and keeping it from sticking to the drop cloth.

Simply tap a nail into each leg after you have painted the foot. Then turn the table over and continue to paint. Some other bloggers have found the Rockler painting pyramids, but I have yet to find any in my local stores to try them out. Hey Rockler, if you are reading this, send me some painting pyramids so I can give them a spin and see if they work better than my nail technique!

After the paint dried, I removed the nails from the bottom of the legs and hammered floor protectors in their place.

Now, to replace the masonite top with something with more age and character. I searched through my wood stash and found these two discarded boards that I think used to be in someone’s closet or pantry.

The boards fit well on the skirt of my coffee table, but it had a funny cut out on the edge of one of the boards. It was probably a profile cut.

It didn’t look very old or interesting to me, so I drew a line diagonally along the board and cut it off with my jigsaw. That looked much better! More like a salvaged board. Then I flipped the cut board to the inside edge.

I distressed my new table top with a heavy chain, pry bar, and hammer (read more here.)

At this point, I went to my “oops” paint stash and chose this gallon of $5 baby blue color.

I know it looks like a nursery color, but I wanted something vibrant to show through after glazing and antiquing. I painted the whole table top this light blue color. Luckily I was able to skip the priming step because the boards had previously been painted.

After the boards were dry, I sanded, glazed and then applied a stain to antique it (more on these techniques here).

Then I turned the boards upside down, and used the screws I set aside to attach my boards to the table skirt.

I decided not to re-use the handle hardware that was originally on the coffee table.  Instead I wanted to give this table a beachy look. So, I added some shells to the front of the coffee table using my new favorite glue, E-6000 glue. This glue holds super strong, I even set the table down on the shell edge (forgetting they were there,) and the shell broke, but all the shells remained glued to the table. Now that is a strong bond!

My last step was to put a protective coating of polyurethane over the whole coffee table. I used an old can of oil based polyurethane that had yellowed. This added the perfect age to my coffee table.

And here is my Trashy Coffee Table turned into a Beautiful Beachy Babe!

Uneven boards = instant character


Glazed legs and table skirt


Now isn’t she beautiful?
One more look at the before and after:
 

Not bad for a new coffee table for our porch that essentially cost me NOTHING, since I already had all the paint and supplies leftover from other projects. What do you think? Do you like her color? Or too baby blue for you?

Next Up: More tips on antiquing, distressing and adding age to objects. I hope you come back soon.

(I’ve included affiliate links for your convenience. I earn a small percentage from a purchase using these links. There is no additional cost to you. You can read more about affiliate links here.)

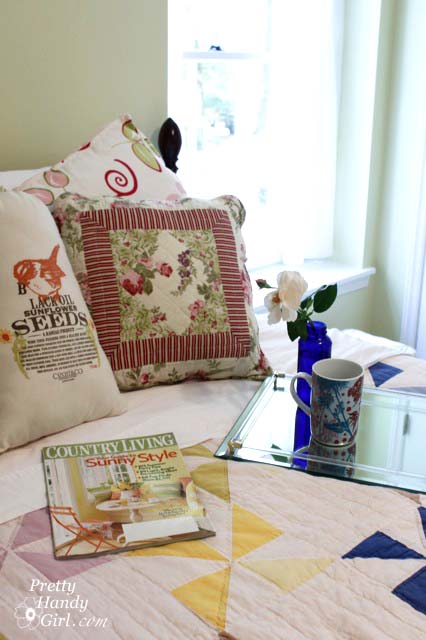
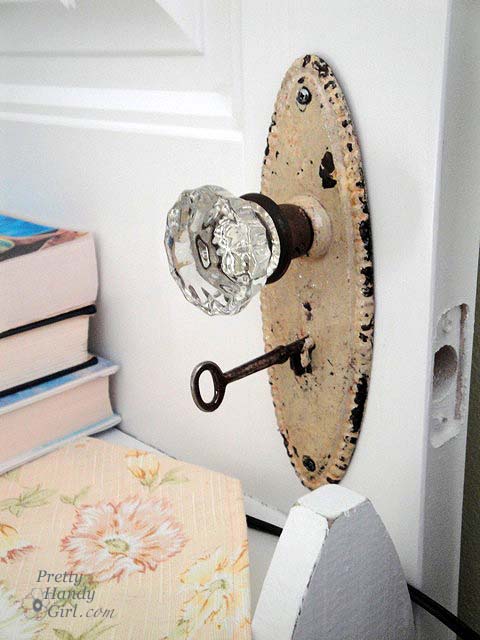
Welcome! If you are a friend, you know that all our friends and family enter through our mudroom. This door is the closest to our driveway. Only the door-to-door salesmen go to our front door (heh, heh, heh!)

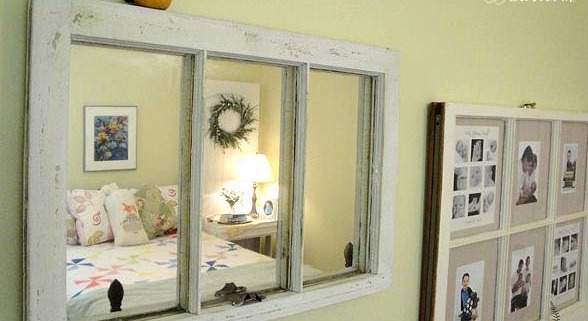
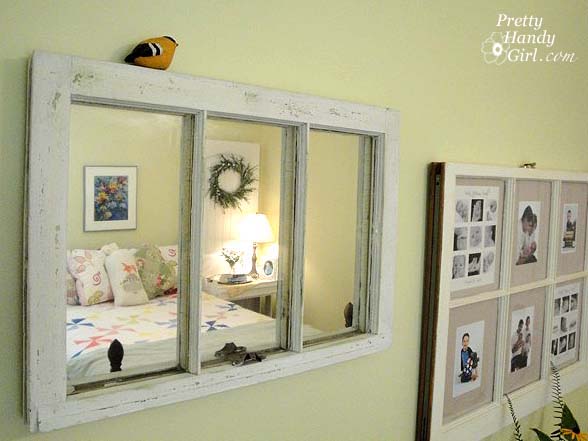
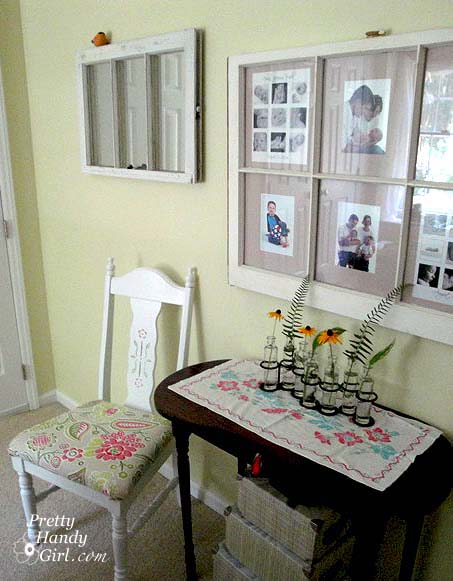
Come on in! This blackboard, mirror and memory board used to be a discarded window.
Make one of your own! Tutorial here.


This is my pride and joy! My mudroom bench and coat rack. Yes, I made it myself.
And no, I didn’t have any help from my husband. I am the handywoman of our home.


I’ll give you a little background about how this bench came to be. I really loved having a mudroom to begin with. But, the piles of shoes and coats that accumulated behind the door were making me nuts! Who knew that a flip flop could double as a door stop, not allowing me to enter my own house!

My son tried to help out by piling all the shoes on top of the coat rack. Better, right?!


Sure, I could have hopped over to Pottery Barn and bought a mudroom bench and shelf, but I balked at the price tag. So, I continued to ponder a solution. I dreamed of having a perfect storage solution to streamline my mornings of getting two little boys out the door to preschool. A bench to perch the kids on while putting on their shoes. (A task I know someday I will miss doing, but for now I can’t wait for them to learn to tie their own shoes.)  Everyone’s socks and shoes would be at hand but not in the way. And a place for every jacket, book bag, and hat. The final product was beyond my dreams. I love it more than any other piece of furniture in my house. It is my sanity saver!

My dreams began to form when I stumbled across some kitchen wall cabinets on clearance at Lowe’s. These are the short cabinets that mount over your fridge. They were marked down to $45 each.

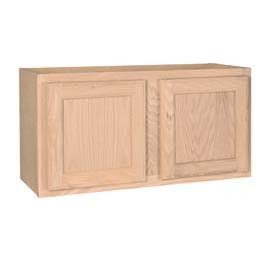
The wheels in my brain began to turn. I started to see how I could use these cabinets to solve our shoe dilemma.

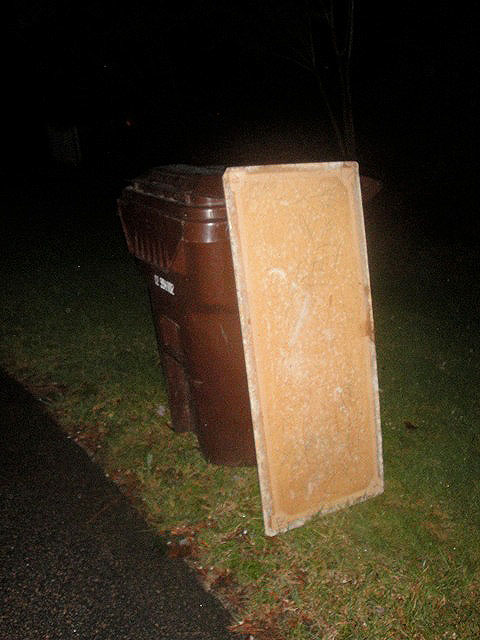
I bought some lumber. I also had some salvage pieces that had been collecting dust in our attic. An old door with recessed panels, four ornate old coffee table legs, and some shelf brackets from a yard sale.

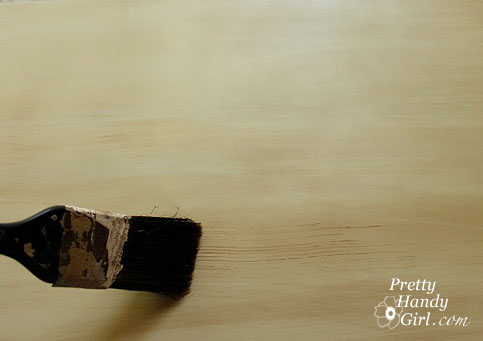
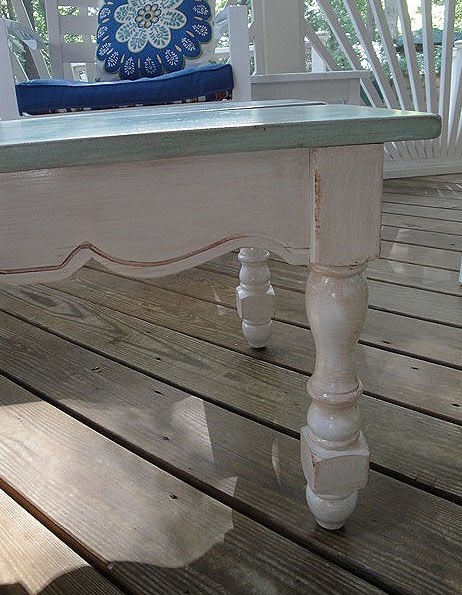
After a few days of distressing and staining boards, cutting lumber, rounding some edges, hammering, nailing, driving screws and sweating, this is what I ended up with!

Chain throwing and hammer marks add a distressed look to new wood.

Decorative shelf brackets add nice character to the back rest.

Salvage coffee table legs add that much needed detail.

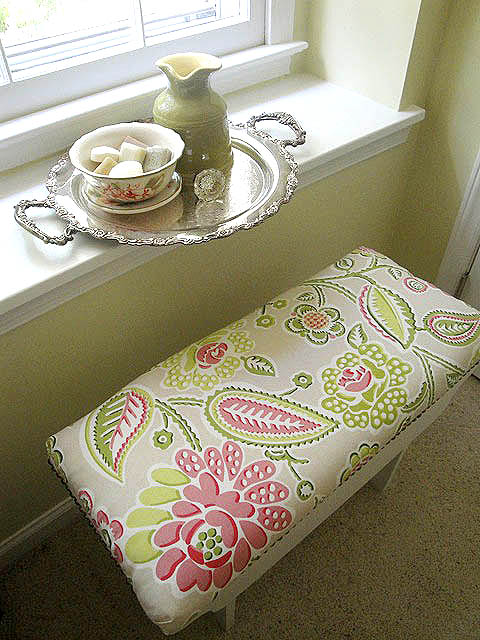
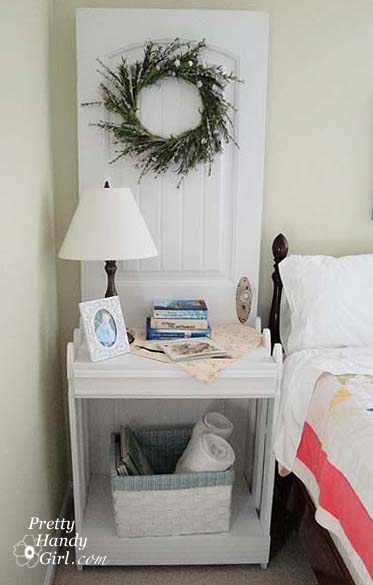
The finished bench (the only time it was ever empty.)


Loaded with shoes and with the salvage door on top as a coat rack. A mudroom bench with shoe storage and a clear floor! My sanity has returned.

If you are intrigued as to how I constructed this bench – keep reading. If not, thanks for stopping by. I hope you will come back again soon. And, the tutorial for the coat rack is here!


Building the Shoe Storage Bench (the Tutorial)

I have to apologize up front for not having the usual step-by-step tutorial for this bench. But, I built it pre-blogging days when I didn’t have to stop and start after every step to take a photograph. I hope you’ll forgive me. And now the abbreviated tutorial:

Here is the bench flipped on its back to show you the base construction:

I built the base frame by nailing 2x4s together.

Added a 1×4 board (toe kick) to hide the cheap 2×4’s. Then finish nailed the toe kick to the base frame.

Now the upright view to show you the bench construction:

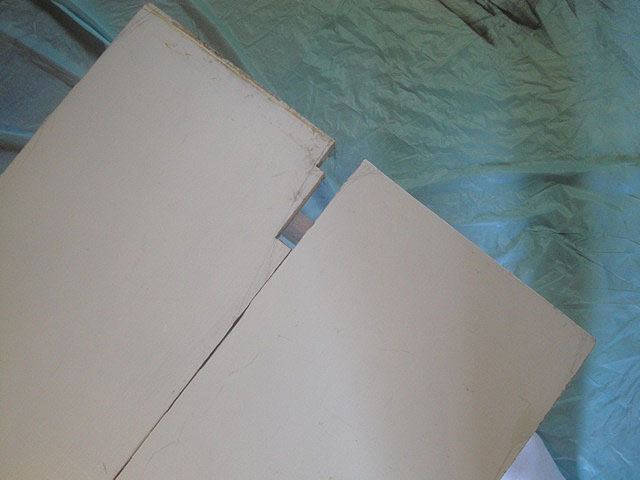
I attached the two wall cabinets to the base frame with screws.

Added a 1″ thick pine board cut to size to fit between the two cabinets. This board also hides the base frame.

Used two 1×4 pine boards with rounded top corners for the back rest.

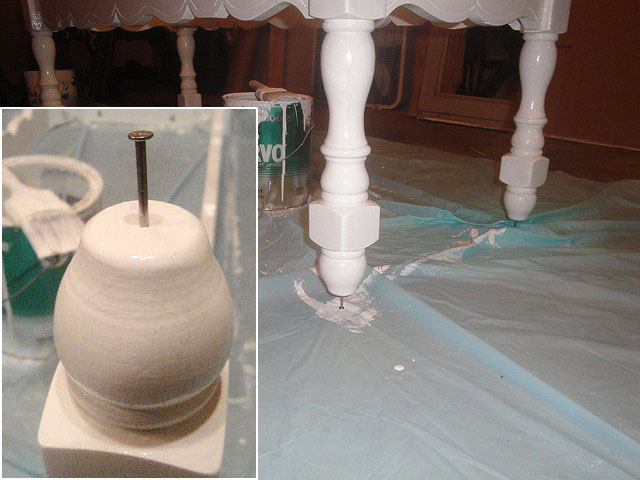
Mounted decorative coffee table legs by driving a screw down through the bench seat.

From the back, the bench looks like this (not pretty, but no one sees it.):

You can see the two wall cabinets from the back side.

Another view of the two 1×4 back rest boards.

Shelf brackets were used to mount the back rest to the bench seat.

Screwed 2×2 cleats to back of cabinets, then attached the bench seat by driving a screw down through the seat and into cleats.

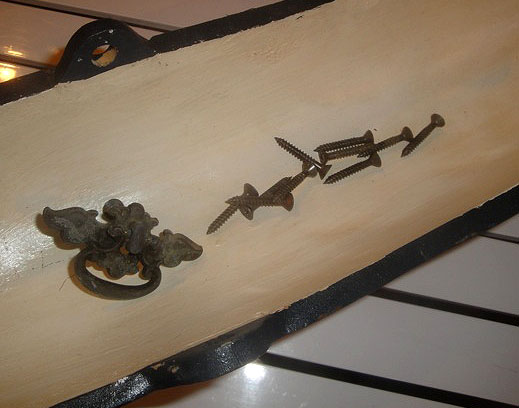
Now to show you how the pieces were attached, the close up below is a view of the shelf bracket and corner section:


This corner shows how I used screws and nails to attach the parts (definitely ignore my sloppy nailing skills. I’m still working on perfection y’all.)

Base cabinets had particle board construction, so I added veneer end caps.

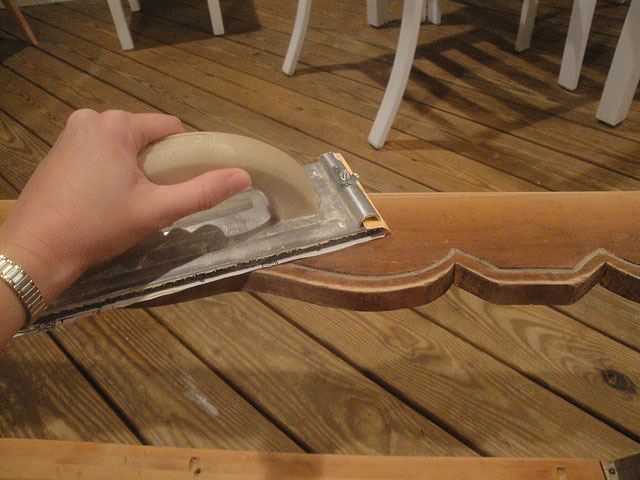
Close up of end cap veneer with base moulding profile cut out.

Read more about scribing and cutting a profile here.


Then I added L brackets inside the cabinets to support a shelf.

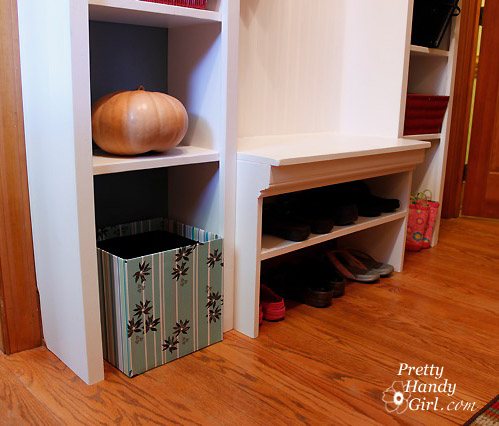
Add the shelf and you’ve got double the shoe storage.

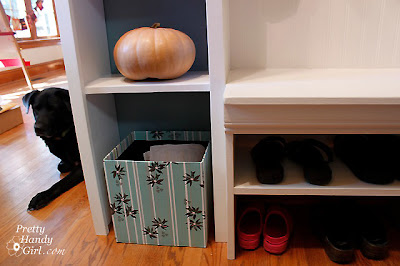
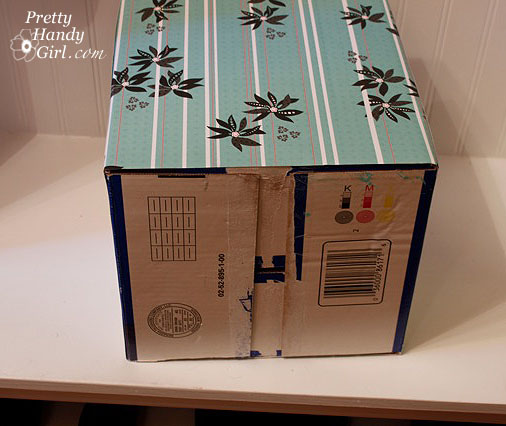
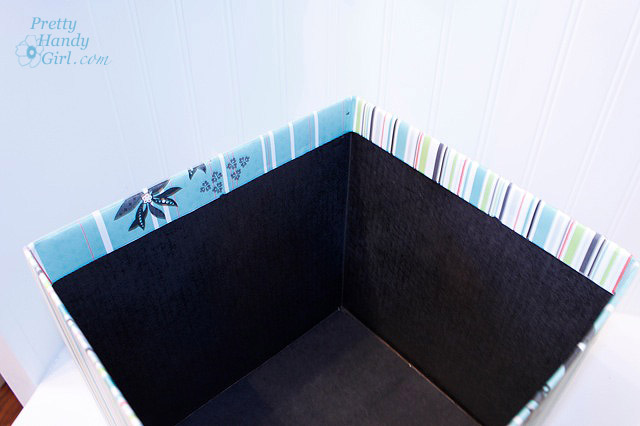
Hmmm, but if you have shoes, you need to have sock storage as well. I purchased one magazine basket at Target.

And filled it with our socks. Old baby wipe containers are used to divide the socks for each of my sons.


And voila, I have an efficient sock storage spot.

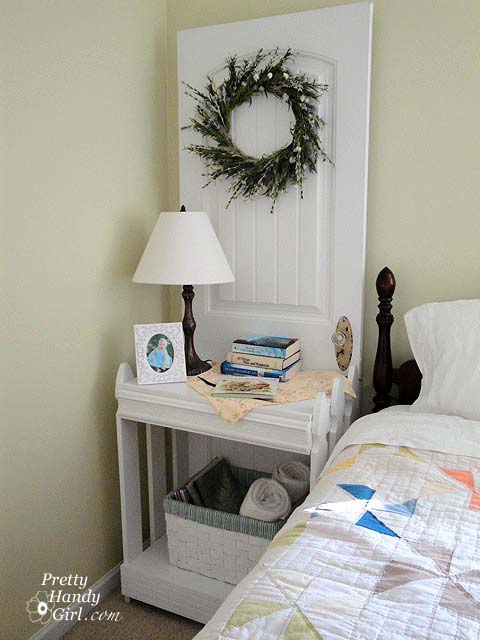
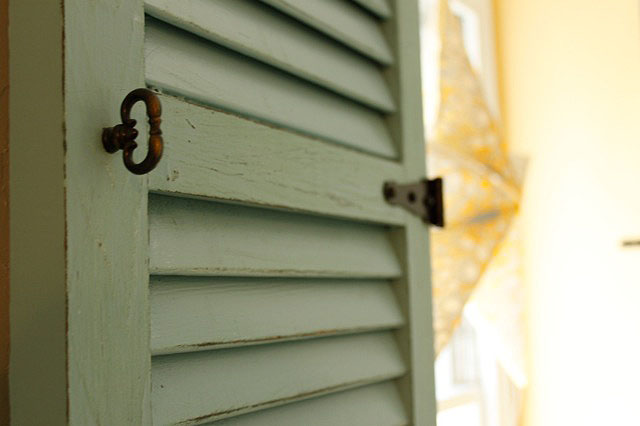
Here is the final result loaded with socks, shoes and coats! The coat rack is made from an old door, antique hooks, and yard sale shelves.
Coat rack tutorial is here!

Not bad for about $200 in materials! I love my mudroom bench and get oodles of compliments on it.

See y’all later.

Sharing this organizational project with:

If you liked this tutorial you might want to follow me on some more DIY adventures, complete with step-by-step tutorials!

Or follow me on Twitter, Facebook, or Pinterest so you can be the first to know what I’m working on next!