Customize a Tote Bag with an Old Shirt | Pretty Handy Girl

Customize a Tote Bag with an Old Shirt | Pretty Handy Girl

Welcome to another Tote Bag Week Post! Are you getting lots of ideas for how to make and dress up tote bags? If you’re just joining in here’s the line up:

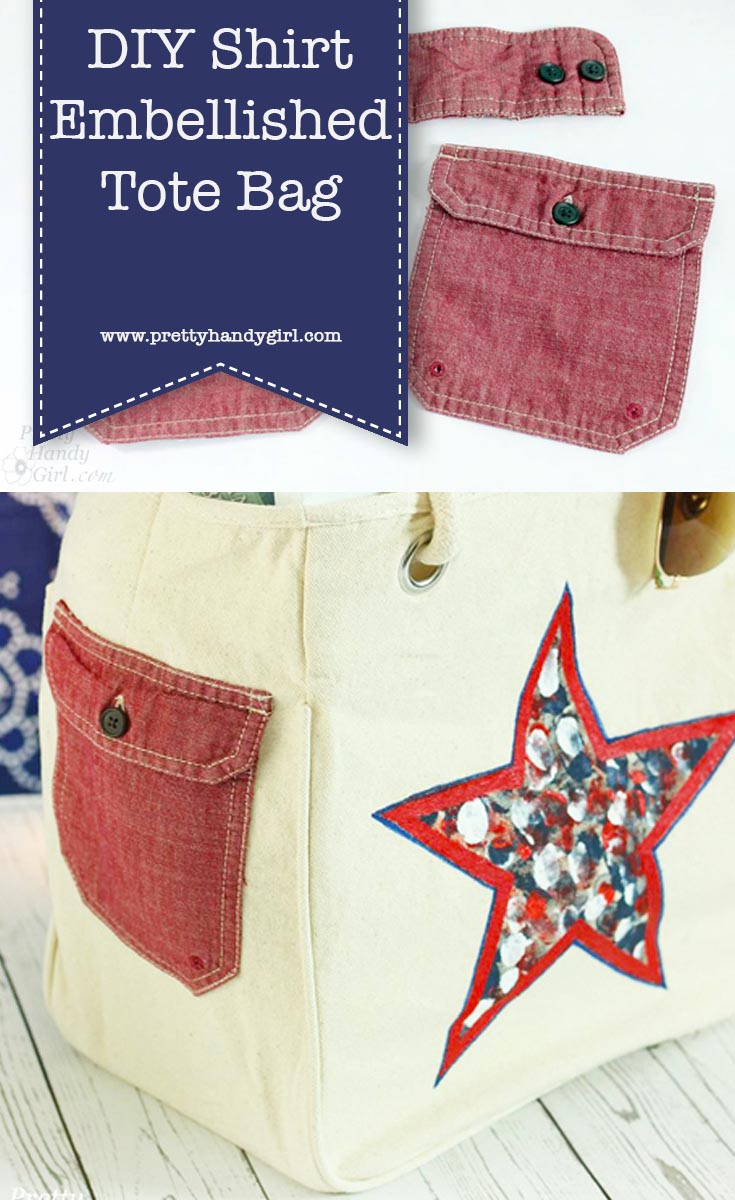
Today I have a fun tutorial for Customizing a Tote Bag with an Old Shirt.
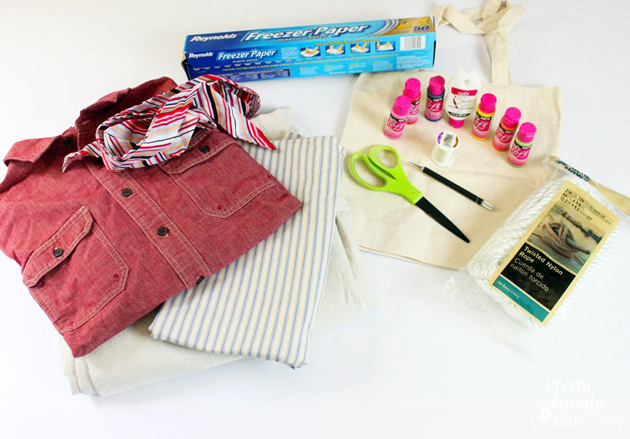
Materials:

  • Canvas tote bag
  • Long-sleeve button shirt
  • Scissors
  • Pins
  • Sewing machine (or needle and thread)

Instructions:

Begin by cutting off the sleeves and cuffs on your shirt. Save the sleeves to use on another project, like Adding Piping to a Tote Bag (or piping on a pillow, an upcoming tutorial.)

Customize a Tote Bag with an Old Shirt | Pretty Handy Girl

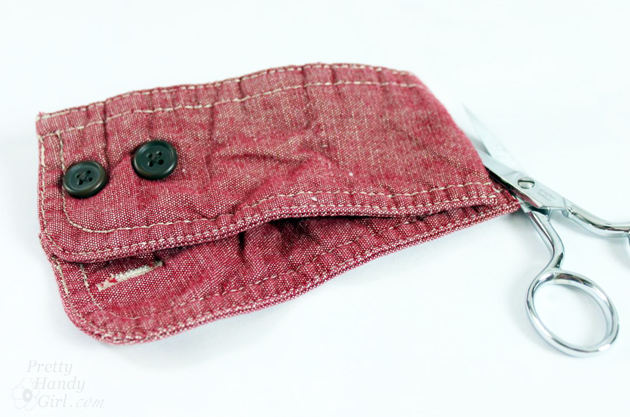
Cut off the pockets (cut as close to the seams as you can.)

Customize a Tote Bag with an Old Shirt | Pretty Handy Girl

For the customized tote bag, we’re going to use the cuff and two pockets.

Customize a Tote Bag with an Old Shirt | Pretty Handy Girl

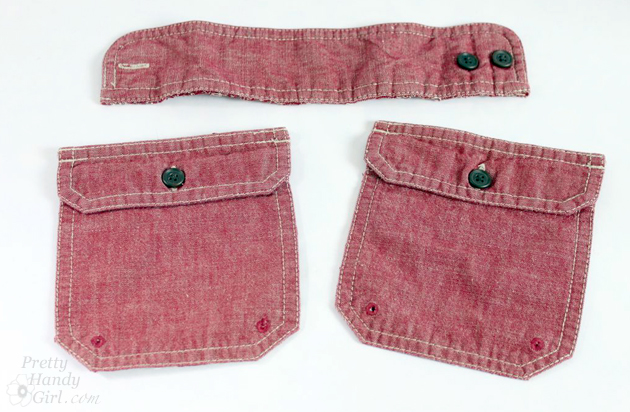
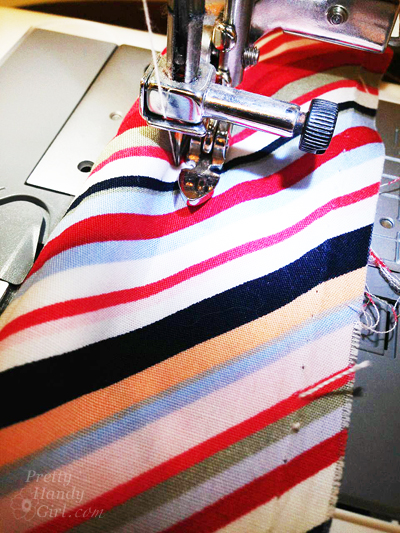
Fold the cuff in half and cut it.

Customize a Tote Bag with an Old Shirt | Pretty Handy Girl

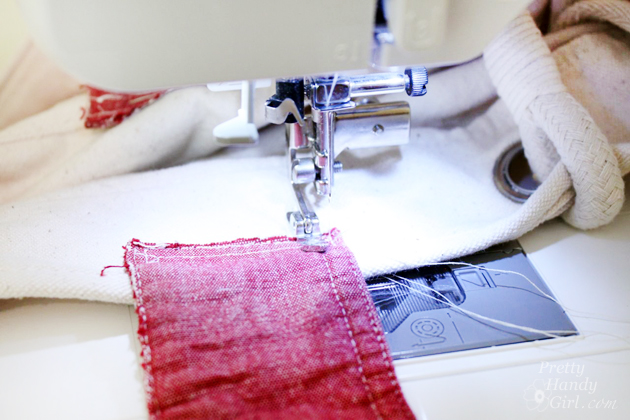
Stitch the end of the raw edges on the cuff closed.

Customize a Tote Bag with an Old Shirt | Pretty Handy Girl

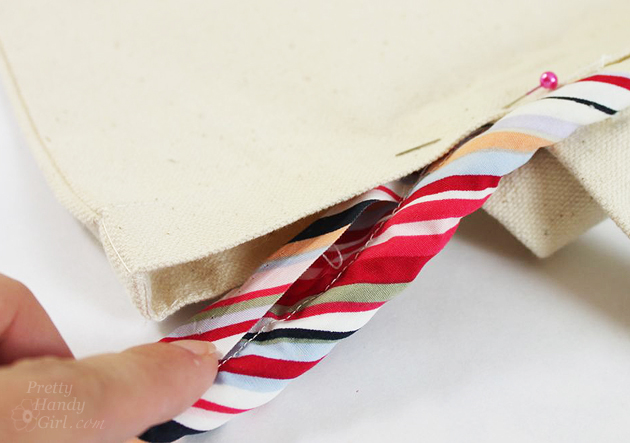
Pin the cuff halves to the inside center of your tote bag (buttons facing out.)

Customize a Tote Bag with an Old Shirt | Pretty Handy Girl

Stitch the cuff end to the tote bag until secure.

Customize a Tote Bag with an Old Shirt | Pretty Handy Girl

Pin the pockets to each side of the tote bag (if your tote bag doesn’t have sides, the pockets would look just as cute on the front and back of the tote bag.)

Customize a Tote Bag with an Old Shirt | Pretty Handy Girl

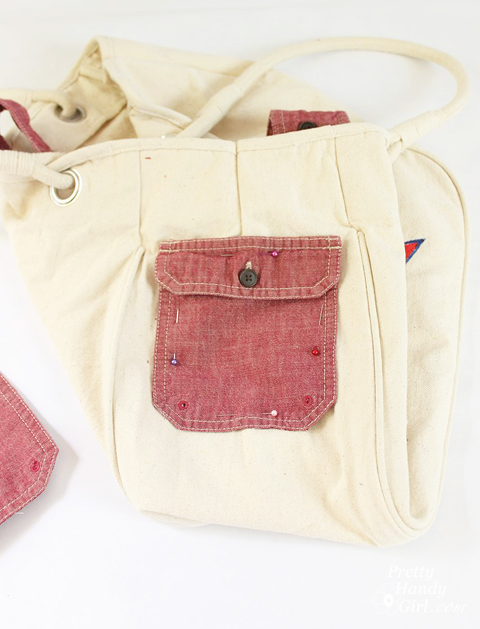
Stitch along the top of the pocket. Then lift the pocket flap up and sew the rest of the pocket to the tote bag.

Customize a Tote Bag with an Old Shirt | Pretty Handy Girl

Feel free to finger print a star on your tote bag (tutorial for finger-printing stars here.)

Customize a Tote Bag with an Old Shirt | Pretty Handy Girl

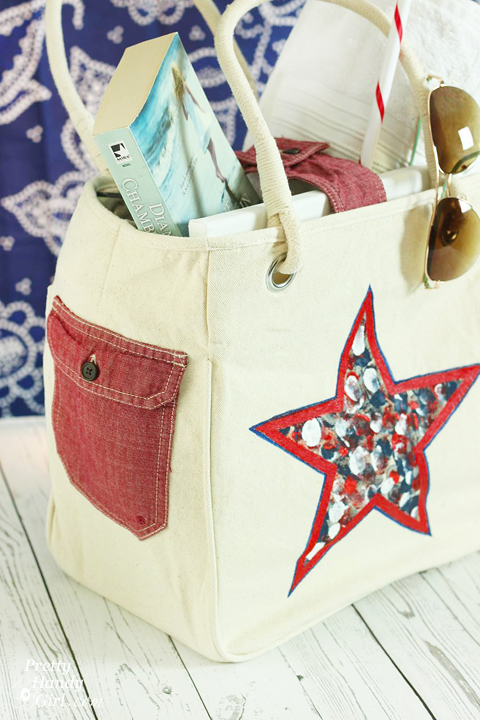
These shirt embellished tote bags are perfect for a day at the beach. Or as a gift for a friend, teacher or grandparent.

Customize a Tote Bag with an Old Shirt | Pretty Handy Girl

Personally, I think I’ll be making many more of these in the future.

Customize a Tote Bag with an Old Shirt | Pretty Handy Girl

I hope you enjoyed this tutorial for customizing a tote bag with an old shirt. Get ready for a grand finale tomorrow!

PHGFancySign


Pin for later!

Reversible Tote Bag Tutorial by Sawdust Girl | Pretty Handy Girl

Are you enjoying Tote Week?!

Tote Week | Pretty Handy Girl

If you’re just joining in here’s the line up:

Today I have one of my closest friends and blogging buddies here. If you don’t know who I’m talking about, she’s the amazing, the incredible and the always vivacious Sandra from SawdustGirl.com. And she’s going to give you a tutorial for sewing those cute reversible and reusable tote bags!

page_break_2

Howdy Handy friends! I’m Sandra of Sawdust Girl – formerly Sawdust and Paper Scraps. I try to reduce, reuse and recycle anyway so this tutorial for reusable, reversible, ruffled totes is fitting. Don’t ya’ think? I like to use my totes as grocery bags and have given a pair of these as gifts along with a few reusable produce bags found at the dollar store.

Reversible Tote Bag Tutorial by Sawdust Girl | Pretty Handy Girl

I used an old sheet and a set of pillowcases to make mine but for a gift item, maybe use new fabric. If you look for sheets on clearance you can get a LOT of fabric for just a few dollars.

Reversible Tote Bag Tutorial by Sawdust Girl | Pretty Handy Girl

This is a really easy pattern that I made from looking at a canvas tote. (It fits perfectly on a standard pillowcase.)

*Seam allowance? I run the fabric along the right side of the foot. I think it’s a waste to take a wide allowance and then trim!

Instructions:

1. Use the same pattern for the bag and the liner. You could use the same fabric for both or mix it up for fun. I like to use 2 different fabrics so I can flip it inside out and have a totally different bag!

Reversible Tote Bag Tutorial by Sawdust Girl | Pretty Handy Girl

2. Sew all 4 pieces (excluding the bottom) together like this: front/side/back/side making one long piece of fabric.

Reversible Tote Bag Tutorial by Sawdust Girl | Pretty Handy Girl

3. If you are going to add any kind of embellishment, now is the time. I’m adding three rows of ruffles! Read more

Make Piping Out of Thrift Store Finds | Pretty Handy Girl

Piped Tote Bag Tutorial | Pretty Handy Girl

Welcome back to Tote Week! If you’re just joining in here’s the line up:


If you’re short on time (or don’t have a sewing machine), there’s nothing wrong with cheating a little.

Tote Week | Pretty Handy Girl

Today I want to show you a great way to add some character to a store bought tote bag. You can dress up a plain tote bag with piping. I purchased canvas tote bags at Michael’s for a few dollars. You can purchase piping or make your own easily (if you have a sewing machine.) If you don’t own a sewing machine, purchase pre-made piping and buy some double stick hem tape or hot glue to secure the piping instead of sewing it on.

Piped Tote Bag Tutorial

Materials:

Piped Tote Bag Tutorial | Pretty Handy Girl

  • Tote bag
  • Scissors
  • Piping (tutorial to make your own piping)
  • Fabric
  • Rope
  • Thread
  • Needle
  • Sewing machine (use hot glue or double stick hem tape if you don’t have a sewing machine)

Instructions:

Start by making your piping. Be sure to make enough to line the rim of your tote bag and overlap by at least 2 inches.

Piped Tote Bag Tutorial | Pretty Handy Girl

If your tote bag handles are sewn to the inside of the bag, rip the top seam off to free the handles from the top edge of the tote bag.

Piped Tote Bag Tutorial | Pretty Handy Girl

Begin pinning your piping around the inside of the top edge of the bag. Fold the raw edge over and between the bag and the piping as shown below:

Piped Tote Bag Tutorial | Pretty Handy Girl

Overlap the edges of the piping in an inconspicuous spot (near a back handle.) Read more