Pen and Ink Sketch Decorative Dessert Plates | Pretty Handy Girl

Pen and Ink Sketch Decorative Dessert Plates | Pretty Handy Girl

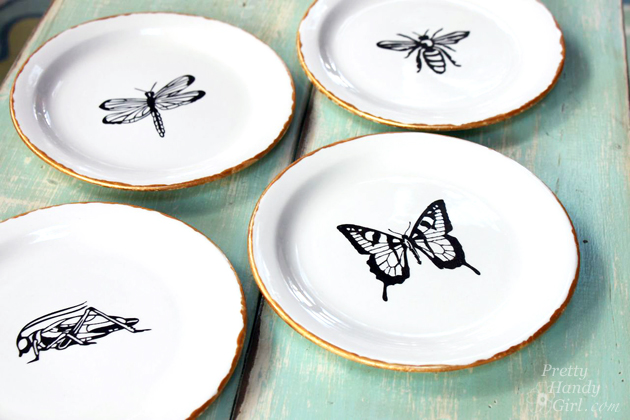
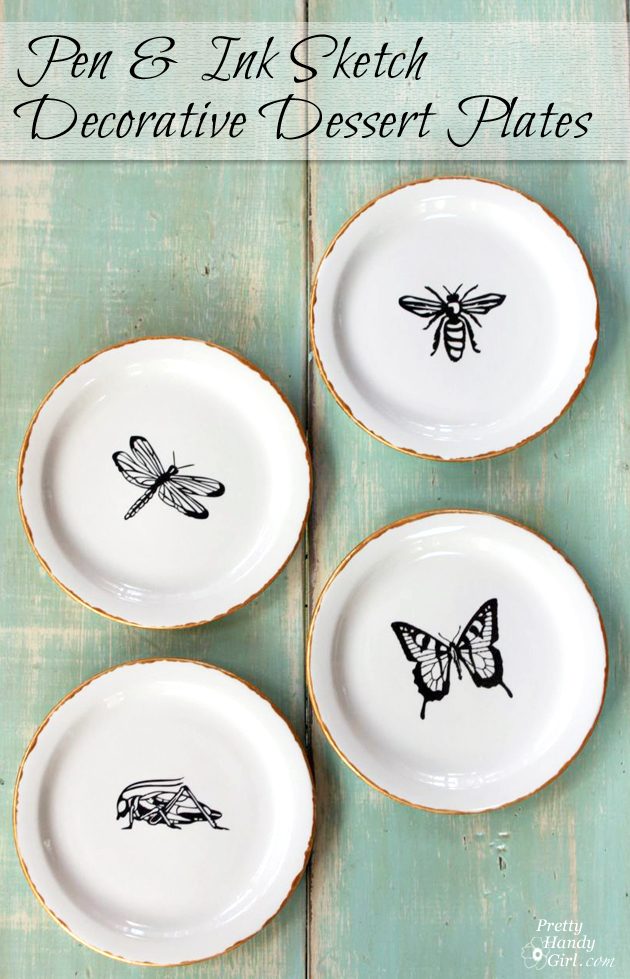
My goodness, November is flying by! Get it…flying…insects. I crack myself up. But seriously, I have been having a blast coming up with new creative gift ideas that you can make. This idea for making pen and ink sketch decorative dessert plates turned out better than I expected! The only downside is that they really are only for decoration. The paint used on the plates can be cured, but the manufacturer states that it technically isn’t food safe.

With that disclaimer out of the way, think about how you could commemorate an event with a personalized plate. Or you could use the same stenciling technique on the outside of a pitcher, mug, glasses or anywhere that the food wouldn’t be in contact with.


(I’ve included affiliate links for your convenience. I earn a small percentage from a purchase using these links. There is no additional cost to you. You can read more about affiliate links here.)

Materials:

Pen and Ink Sketch Decorative Dessert Plates | Pretty Handy Girl

Optional: Porcelaine or glass ink pens for writing


Instructions: Read more

Make a Tray from a Cabinet Door | Pretty Handy Girl

Make a Tray from a Cabinet Door | Pretty Handy Girl

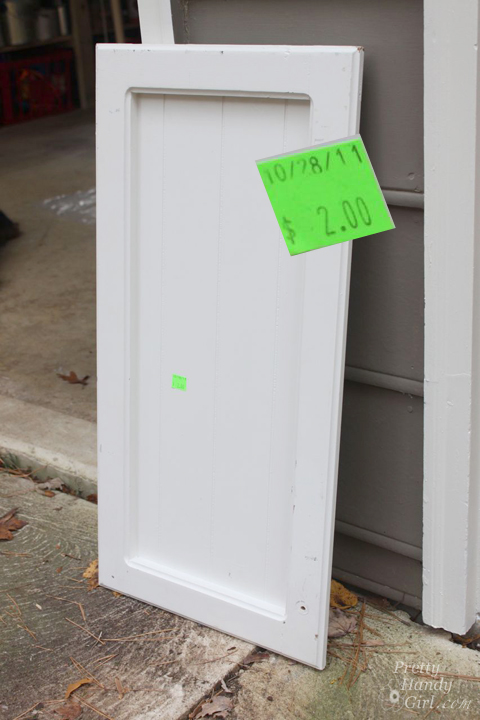
One of my favorite places to thrift shop is the Habitat ReStore. I mean, where else can you find cool $2 cabinet doors?

Make a Tray from a Cabinet Door | Pretty Handy Girl

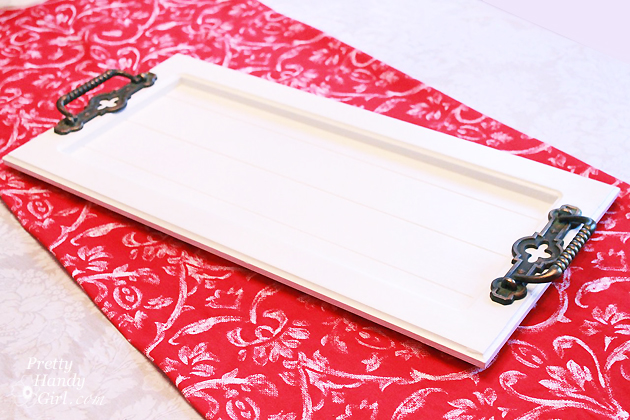
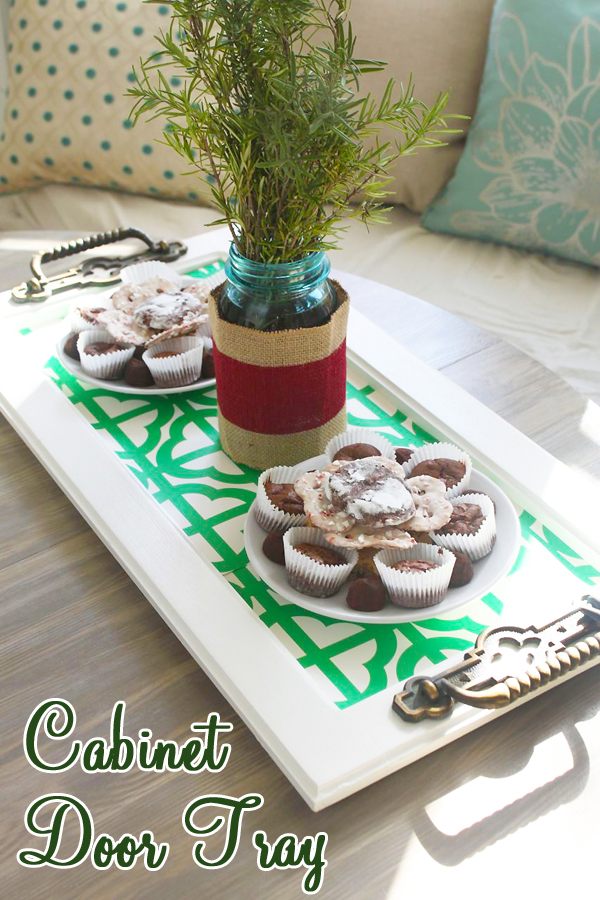
This fine cast off door is just screaming to be upcycled into a beautiful tray. Especially when the same thrifting adventure yielded VERY COOL door hardware! Simply combine the two and you have yourself a unique serving tray to give as a gift (or keep for yourself.)

Make a Tray from a Cabinet Door | Pretty Handy Girl

Materials:

  • Cabinet door
  • Door handle or cabinet handle
  • Wood putty
  • Putty knife
  • Ruler
  • Pencil
  • Drill
  • Drill bits
  • Screwdriver bit
  • Rubber bumpers

Optional: Rub n’ Buff Gold Leaf

The steps are super simple. Read more

counter stools

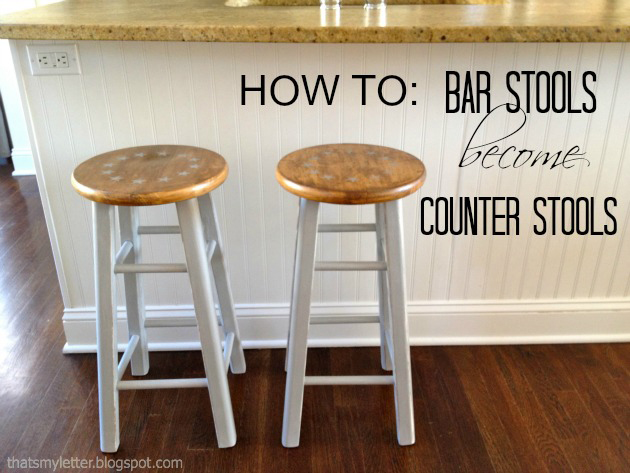
Yes you can make those wood bar stools fit your counter.  Here’s an easy DIY fix to make bar stools into counter stools (and a quick makeover too!).

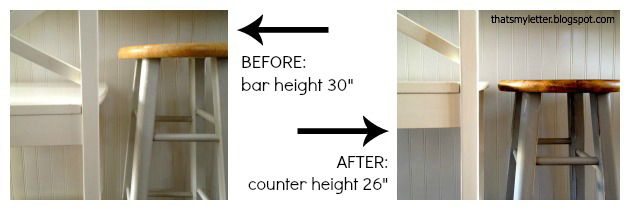
Bar stools typically sit at 30″ high, this is fine and dandy if you have a proper bar where the countertop is elevated higher than the working countertop space.  Kitchen designs are trending now away from the proper bar towards one even countertop surface.  No worries, you can still use those bar stools for your counter by easily cutting off the bottom 4″ to reduce the stools to a counter height of 26″:

counter stools1

(The white stools above are counter height and in the picture for comparison purposes.)

In addition to fixing the height of your stools give them a fresh look with a quick paint job and a new design: Read more

It’s the homestretch before Christmas. With less than a week away, those procrastinators amongst us (ahem, me) need to get crackin’.

These were a few of my favorites from the DIY Gift Idea link party.

DIY Instagram Necklace by Mod Podge Rocks

DIY Photo Ornaments by Making Lemonade Blog

DIY Pocket Hand Warmers by Practically Functional

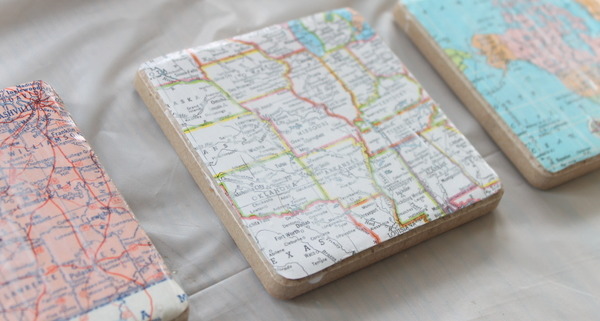
DIY Map Coasters by The Country Chic Cottage

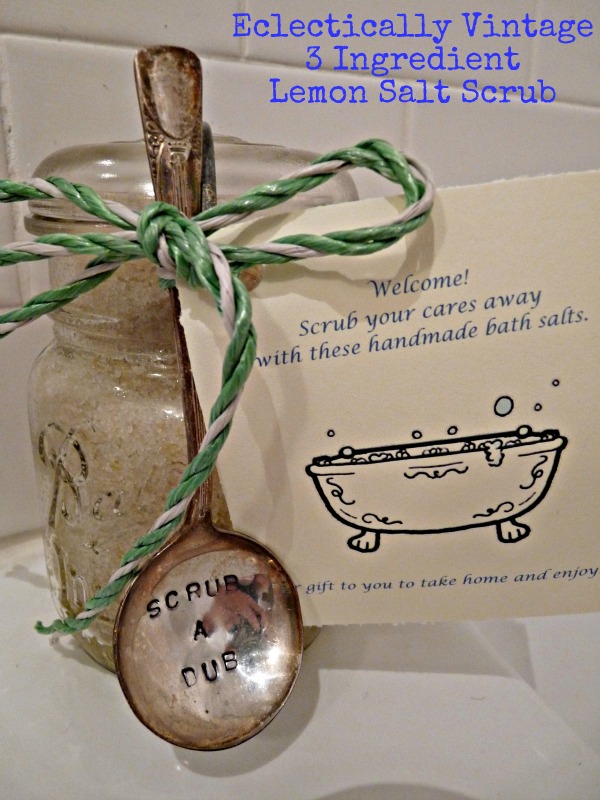
3 Ingredient Lemon Salt Scrub by Eclectically Vintage 

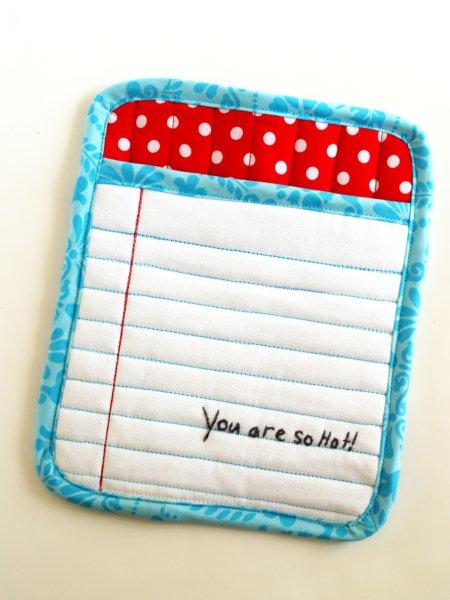
You’re So Hot! DIY Potholder by Flamingo Toes

Christmas Light Canvas by Ask Anna Moseley

DIY Wine Gift Basket by Bonfires and Wine

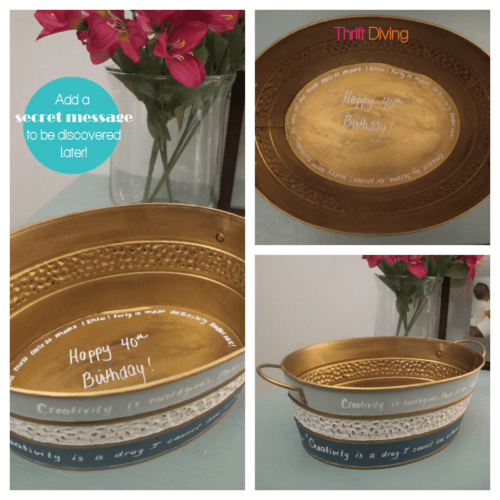
Chalk Painted Thrift Store Bucket to Gift Basket by Thrift Diving

I hope you have some more inspirations for those last minute gift idea! Good luck.


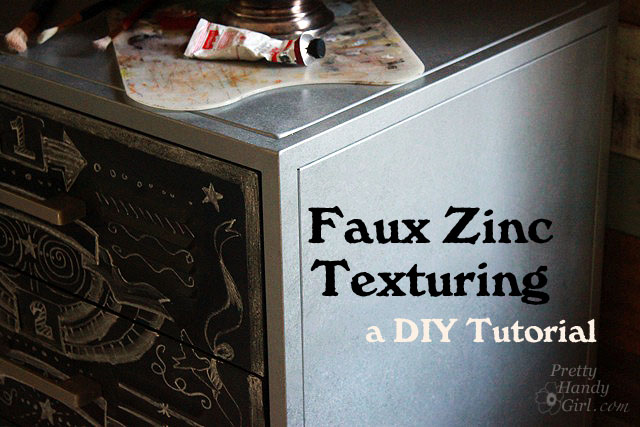
Faux Zinc Painted Chalkboard File Cabinet

This summer I was thrifting with a few friends and stumbled across an ugly cabinet at the Goodwill. The metal chest had extra wide and deep storage, but the worst colors imaginable! The hot pink and mint green were disguising the true potential of the chest, but like a color-blind dog, I was able to see beyond its garish appearance. In my mind, I pictured a vintage metal cabinet with a faux zinc side and chalkboard drawer fronts.
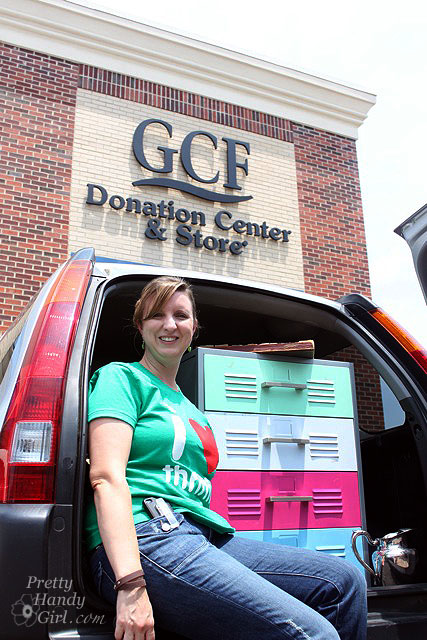
I scooped it up and brought it home. Then the poor chest sat in our garage for months and months until I had a chance to work a little spray paint magic and turned it into….this thing of beauty:
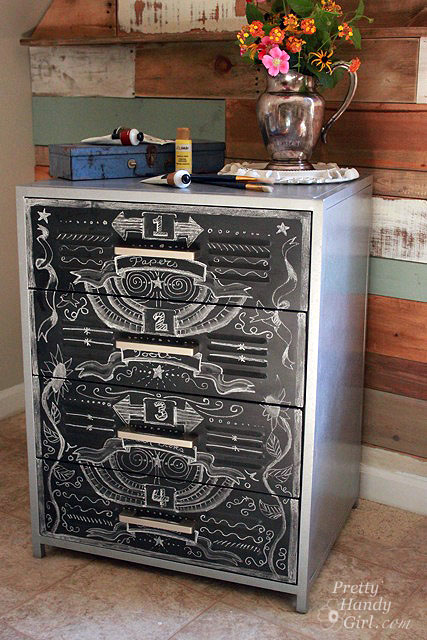
Yes, that is the same chest of drawers! You could do the same transformation.

Materials:

(I’ve included affiliate links for your convenience. I earn a small percentage from a purchase using these links. There is no additional cost to you. You can read more about affiliate links here.)

Instructions:

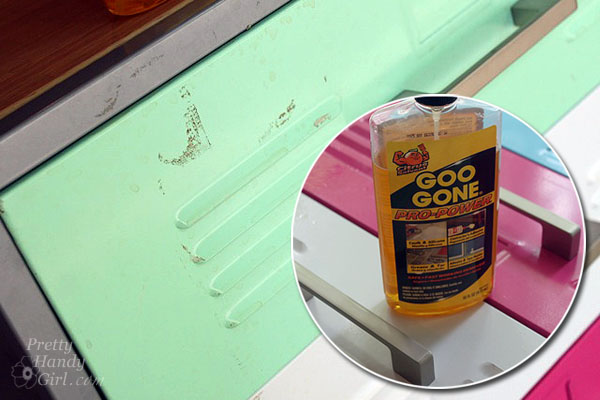
Clean off the drawers. Remove any dirt or debris (I actually had to use a little Goo Gone to get rid of some sticky residue. But, lemon essential oil will also work for this task.)
Remove the drawers from the chest. Tape over the drawer glides and slides. Mask off the drawer sides and insides by covering the drawers with tape and craft paper, leaving only the drawer fronts exposed.
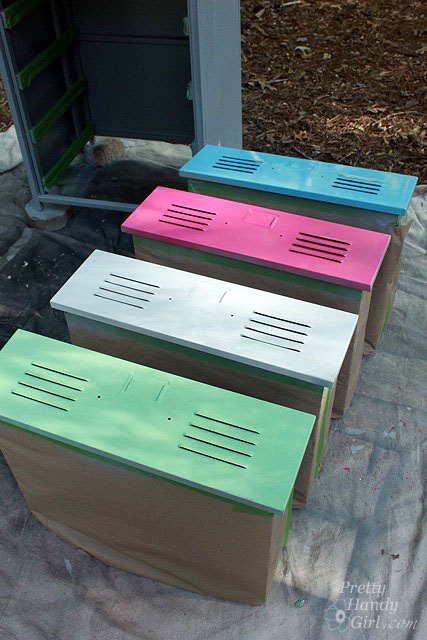
Spray paint the chest and drawers with automotive primer. (I prefer the automotive primer because it sticks to metal and can withstand a lot of abuse.) Let it dry.
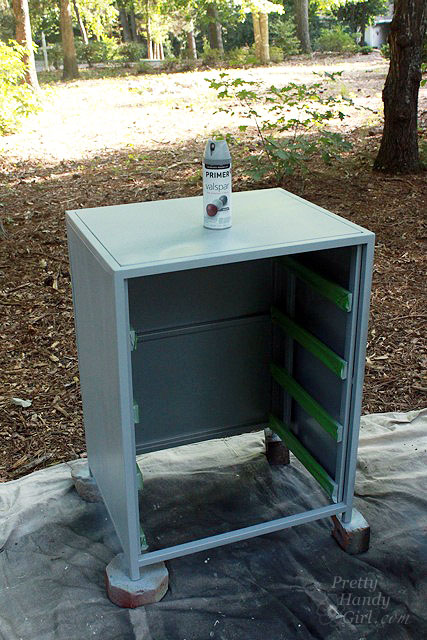
Spray paint the drawers with chalkboard paint. (Use three fine coats of paint instead of one or two heavy coats.) Set them aside to dry.

Adding a Faux Zinc Texture:

This is the most exciting part of the tutorial. I created this technique by trial and error and I’m excited by how well this method works for creating a faux zinc texture.

Getting a faux zinc texture is really easy. Just have some gloves on and use a crumpled up piece of craft paper. (A loose crumple works best.)

Spray paint the chest with a thick coat of the hammered silver spray paint, (but not so thick that it runs). Let the paint get tacky by waiting a few seconds. Then use the crumpled piece of craft paper to blot into the wet paint.
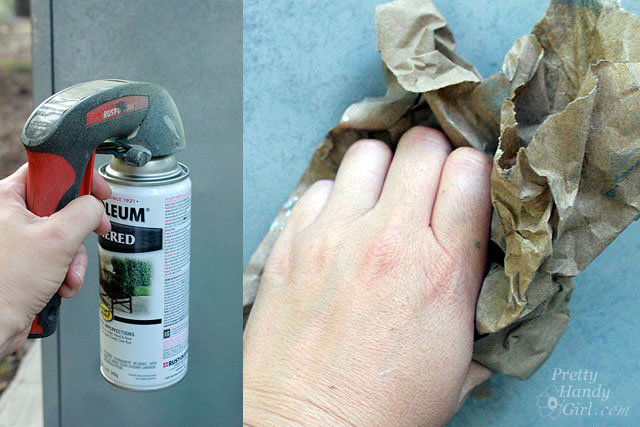
Work in small 1 foot sections and pounce the paper a few times. (Too much pouncing and you’ll lose the large textured pattern.)

Let the cabinet dry thoroughly.

Insert the chalkboard drawers back into the cabinet frame.
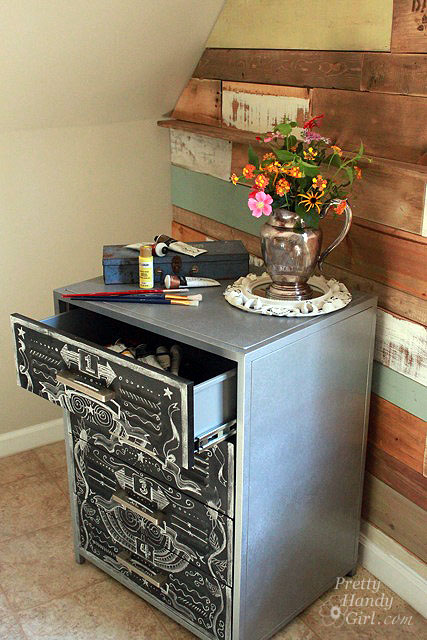
Add chalkboard art to your drawer fronts.
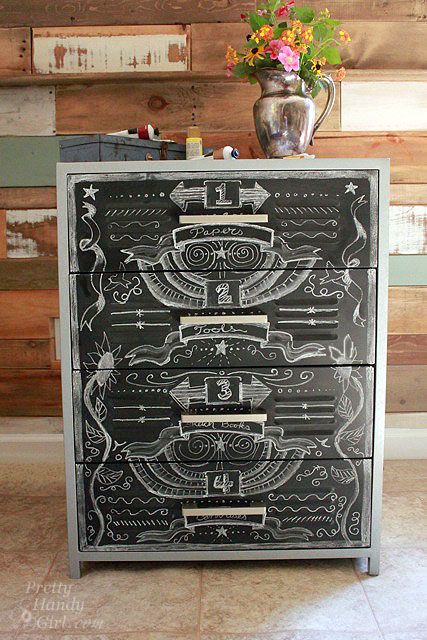
This metal chest of drawers is the perfect size for my large tablets of art paper.
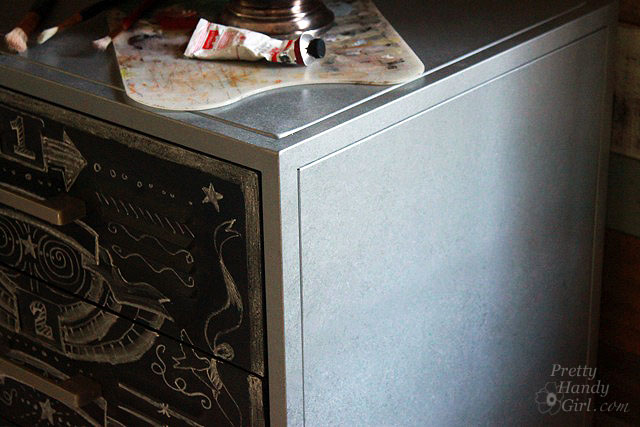
The cabinet has a wonderful texture now.
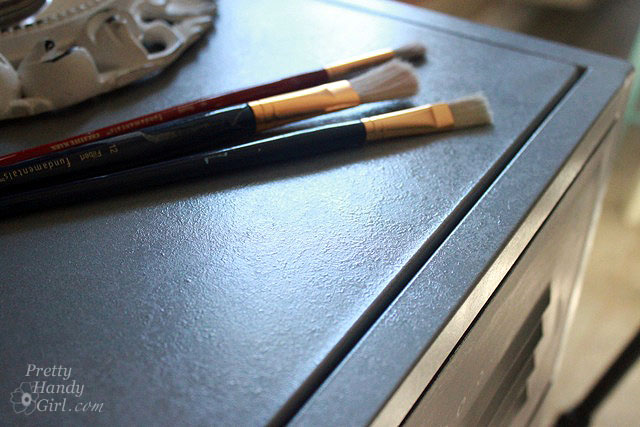
I have the flexibility to move my art supplies around and just change the chalkboard label.

Did I mention this little chest is the perfect height to rest my palette on while painting.

I’m soooo thrilled with the results!