Boy's Red, White & Blue Themed Room | Pretty Handy Girl

Galvanized Tub Storage Bench for Kids | Pretty Handy Girl

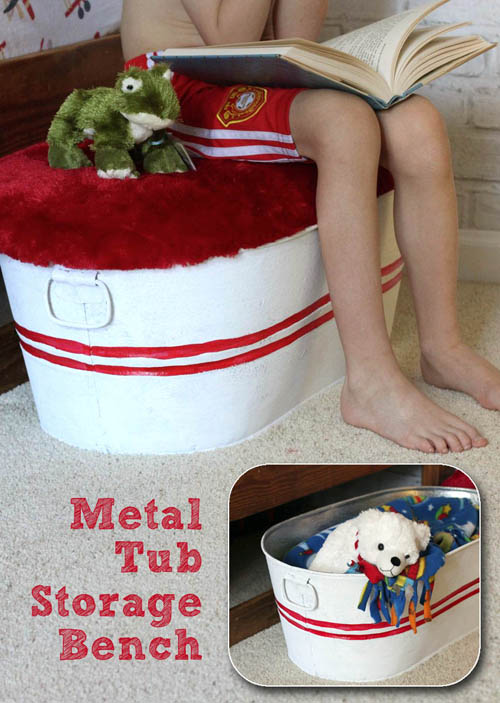
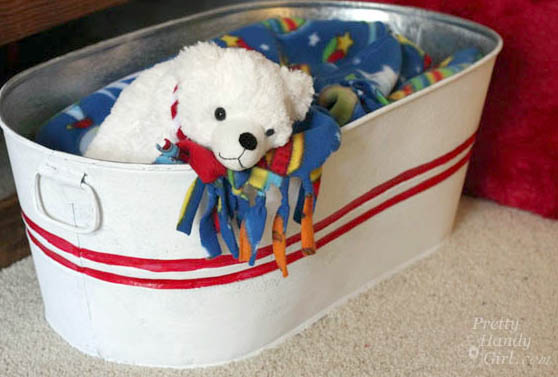
Every month Lowe’s challenges me to create another unique project to share with you. This month’s challenge was creative storage ideas. Have kids? This is a unique storage solution using a galvanized tub and a furry upholstered lid. It’s the perfect place to store and corral all that kid clutter in your child’s bedroom. The storage tub doubles as a bench and a step stool. Don’t be deterred if you don’t have children, the storage bench could be used for magazine storage and much more!

Grab these materials and tools and follow along with me (and my 13 year old assistant.)

Creating the Galvanized Storage Bench and Lid

(I’ve included affiliate links for your convenience. I earn a small percentage from a purchase using these links. There is no additional cost to you. You can read more about affiliate links here.)

Materials for the Galvanized Storage Tub and Lid:

Galvanized Tub Storage Bench for Kids | Pretty Handy Girl


Instructions:

Turn the galvanized tub upside down on the plywood. Use the sharpie to mark approximately 1/2 – 1″ out from the edge of the tub. Read more

scrap-wood-ipad-tray

Today I have the honor of having the Queen of DIY here to show you how to build an iPad tray stand! Beckie from Infarrantly Creative is a triple threat DIYer (she manages three blogs.) I am so excited about this frugal gift idea, I can’t wait to make one!

PostBreakblue

Hello Pretty Handy Girl fans.  My name is Beckie and I blog at Infarrantly Creative, Knock off Decor and Roadkill Rescue.  Besides sharing a “B” name, Britt and I have a love of power tools, doing things on the cheap, and dancing…yep you should see us…we can BREAK IT DOWN! Today I wanted to show you DIY girls, or those with a DIY hubby, a most likely free gift. If you are accustomed to DIY projects, you have probably amassed quite the stockpile of leftover wood.  In August, I made some hanging beds for my son’s room and had leftover 2” x 12” wood that I used for this project.  Pssst…never throw out scraps, right Britt?

Supplies:

  • 2” x at least 6”
  • table saw
  • pre-wood conditioner
  • stain
  • sandpaper

Instructions: Read more


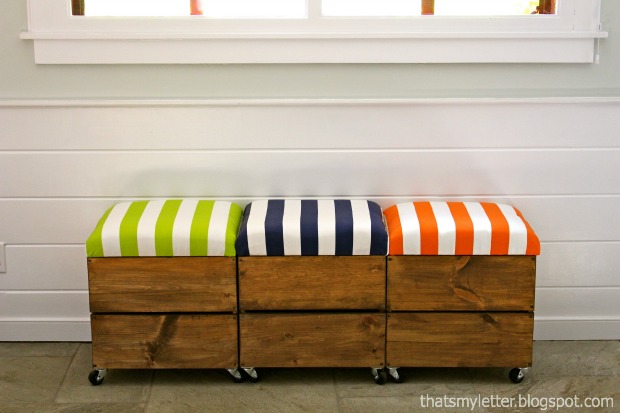
Everyone can always use more hidden storage! What’s better than getting organized with more storage? How about combining it with additional seating!  Jaime here from That’s My Letter sharing with you this easy tutorial for how to build a rolling storage seat.

rolling storage stool final

Of course I couldn’t stop myself at just one seat, I had to make three – they’re just that fast and easy!  The finished size is a generous stool at 19″w x 18″ d x 20″h.

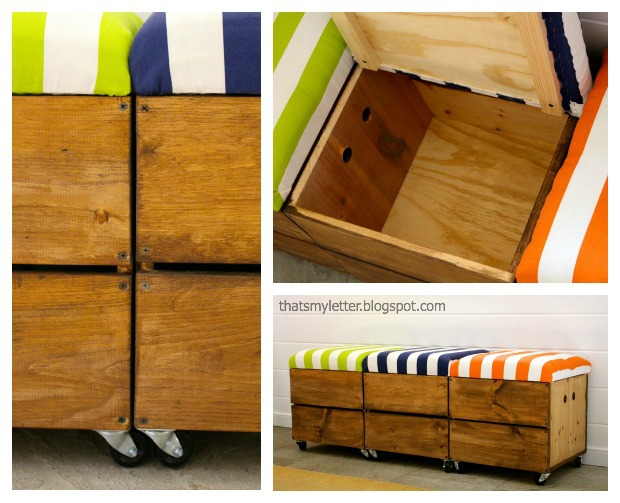
rolling storage stools 2

Lift up that cushioned top and you’ve got tons of storage space:
rolling storage stools 3

To make the rolling storage stool you’ll need the following supplies: Read more

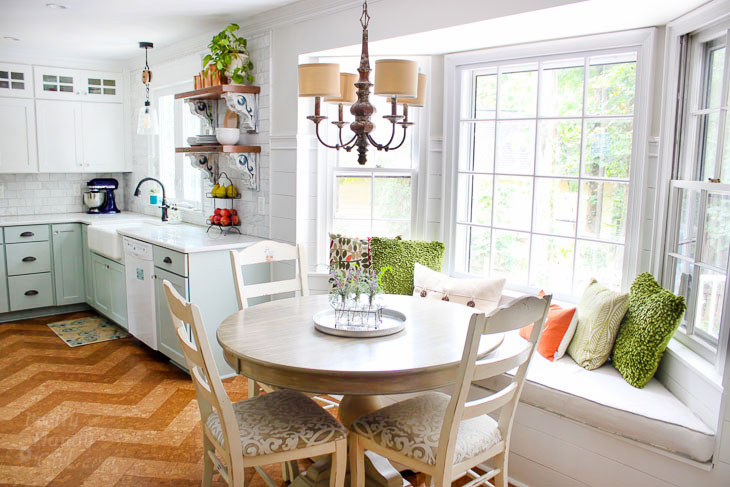
Fall Decor in a Rustic Farmhouse Kitchen | Pretty Handy Girl

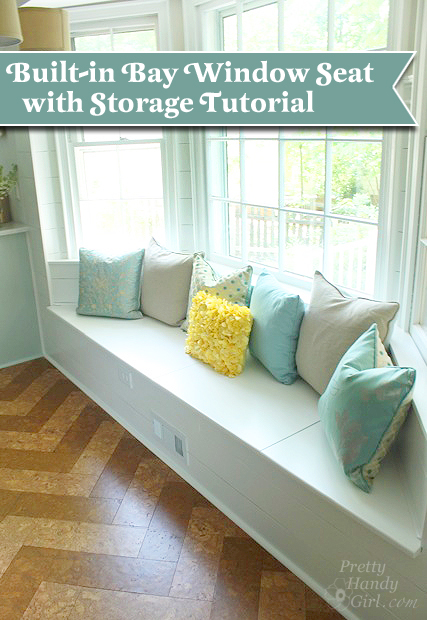
built in bay window seat with storage tutorialBuilding a Window Seat with Storage in a Bay Window

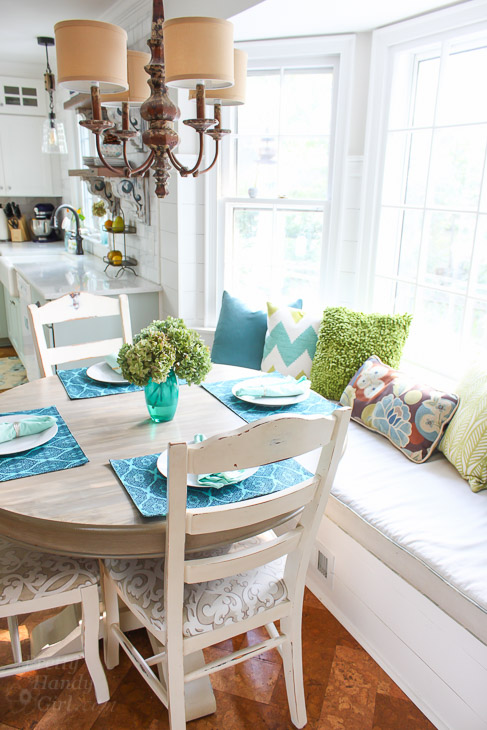
You know when you dream about the finished product on something that you’ve been planning for a long time? And then you finish and your dream becomes a reality? And you think to yourself, am I still dreaming? All those sentiments and more have been going through my head since I finished the building this built-in window seat with storage in our bay window. This window seat is divine! In fact, I’ve begun calling it the Queen’s seat in the hopes that it will deter any male folks from claiming it in our household.

Love this kitchen decorated for fall. You have to see the rest!

Several of you have asked for the tutorial to build the window seat. I have that for you, but I want to mention that this is a slightly more advanced project. Halfway into writing this tutorial, I realized there was no way I could show you each and every cut, step, and trick without this being the world’s longest blog post/tutorial. If you have some basic carpentry skills (you know how to hammer, nail, use some power tools and you know how to attach a 2×4″ securely to a wall), you should be able to handle this. With that being said, I do want to offer any help if you should have any questions during the process of building this bench, please feel free to email me and I will do my best to help you.

I also want to mention that I did have to move the HVAC vent forward so it came out the front of the window seat. Here’s the tutorial to move a floor vent. I do want to caution you against building over a vent. We have a bookcase that was built over the register and the wood inside grew mold because there wasn’t enough force to blow the air and moisture out the front of the bookcase. Just a warning, don’t take the easy way out.

Basics for Building a Built-in Window Seat in a Bay Window: Read more

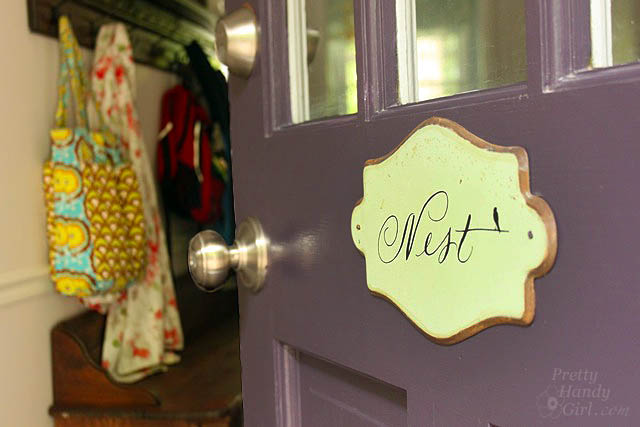
mudroom_tour_door_open

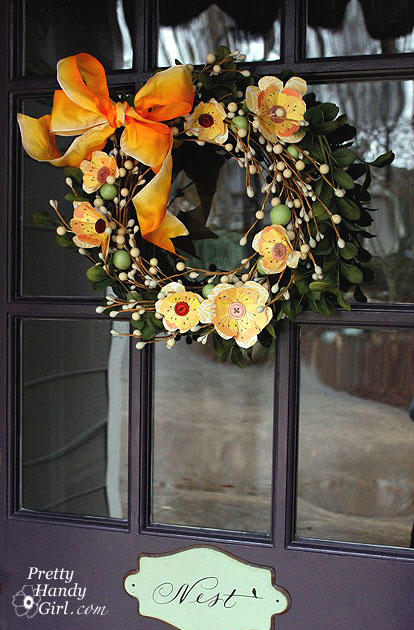
We made some serious progress this past week. Not only did we make a big dent in the “to do” list in the kitchen, but we also finished painting and installing the trim in the mudroom. It’s really nice walking past this little paper flower spring wreath and into a finished room! Check out the mudroom tour below.

Our mudroom is looking so nice that I decided to invite you over for a little mudroom tour.

Read more