Build Your Own Giant Chalkboard | Pretty Handy Girl

Build Your Own Giant Chalkboard | Pretty Handy Girl

Have you scoured antique stores or Craig’s List looking for a big giant vintage chalkboard? Those vintage school green chalkboards are highly sought after. But, hard to find. I have good news for you! You can build a Giant Chalkboard any size you want! (Although, typically you’ll be restricted to 4′ x 8′ if you want to use a sheet of masonite.) And you can mix your own chalkboard paint in any color.

Take out your notebooks, your pencils, and get ready to take notes.

Materials:

  • Masonite sheet cut to desired size (mine is 22″ x 48″)
  • 1×4″ pine boards for frame
  • 1 cup flat latex paint in color you desire
  • 2 tbsp. of unsanded grout
  • Pencil
  • Stain
  • White paint
  • Paint brush
  • Sanding block
  • Container to mix paint in
  • Kreg Jig
  • Drill
  • 1 1/4 inch pocket screws
  • Staplegun
  • 1/2″ staples

Instructions:

Build Your Own Giant Chalkboard | Pretty Handy Girl

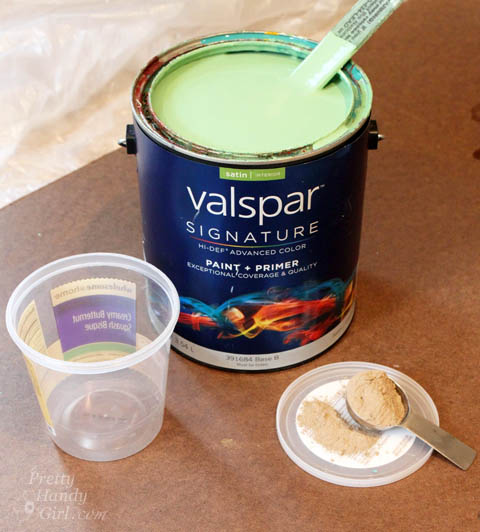
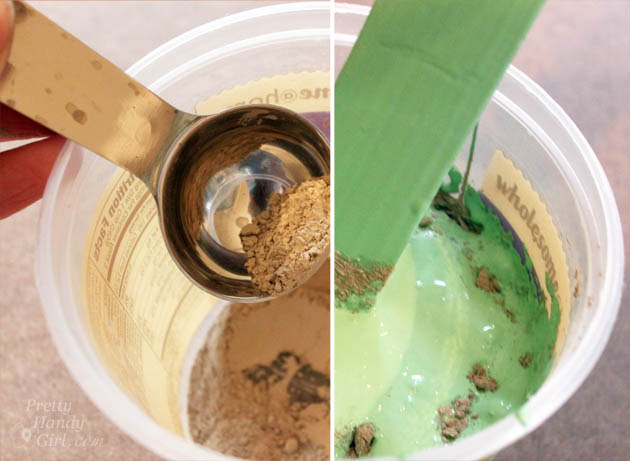
Pour 2 tbsp. of unsanded grout into your empty container. Add 1 cup of flat latex paint and stir well. (Yes, I used satin and it still worked.)
Build Your Own Giant Chalkboard | Pretty Handy Girl

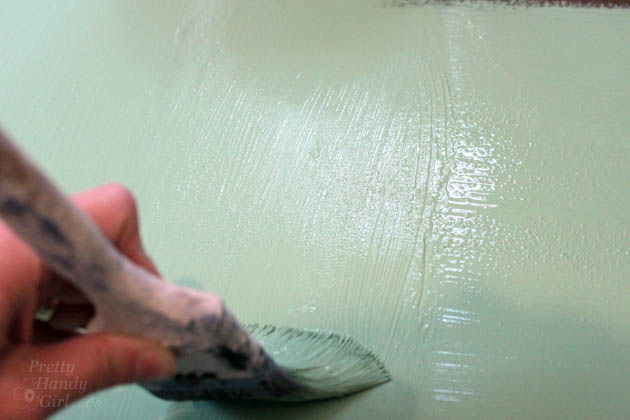
Paint the masonite with the chalkboard paint. Pull your brush in one direction. Then smooth out the paint by dragging the brush in a perpendicular direction.
Build Your Own Giant Chalkboard | Pretty Handy Girl

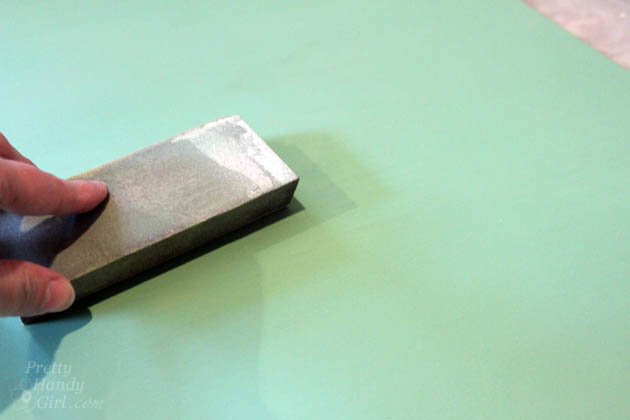
Let the paint dry. Lightly sand and add a second coat of chalkboard paint.
Build Your Own Giant Chalkboard | Pretty Handy Girl

Let that coat dry and sand smooth.

Assembling the chalkboard frame: Read more

Gray Restoration Hardware Stain Recipe | Pretty Handy Girl

Gray Restoration Hardware Stain Recipe | Pretty Handy Girl

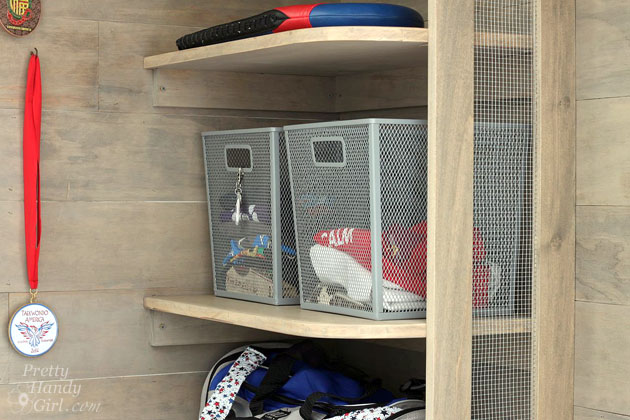
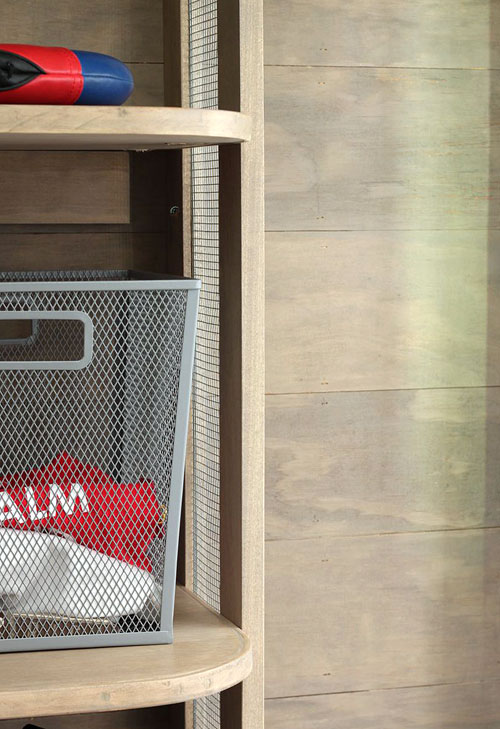
I’ve fallen in love with the Restoration Hardware Salvage Gray wood stain. But, try as I might, I haven’t found a pre-mixed stain that produces the same look. That never deterred me, and I don’t like to give up. Therefore, I created my own recipe for approximating that Restoration Hardware Weathered Gray stain. You may have seen this beautiful gray stain on my Sports Gear Storage Shelves the other day. Because I love you and I love to share, here is the DIY Restoration Hardware Weathered Gray Stain Recipe.

Materials:

Glaze: 

DIY Restoration Hardware Weathered Gray Stain Recipe Instructions:

Premix your glaze in a jar or bottle. 1 Part Valspar Arid Plains with 3 parts Valspar clear glaze.

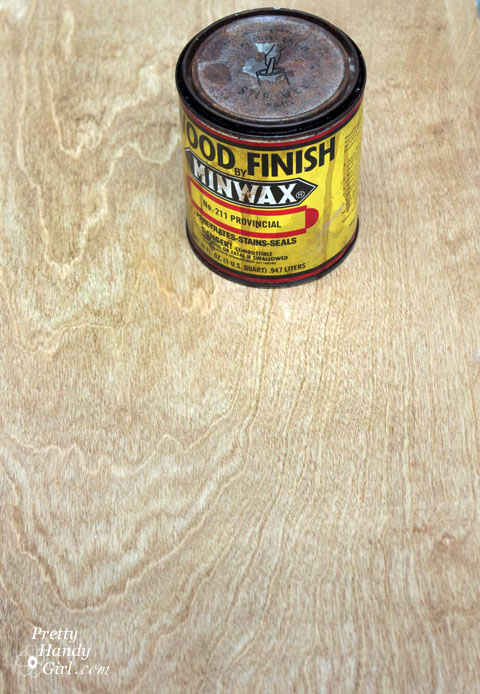
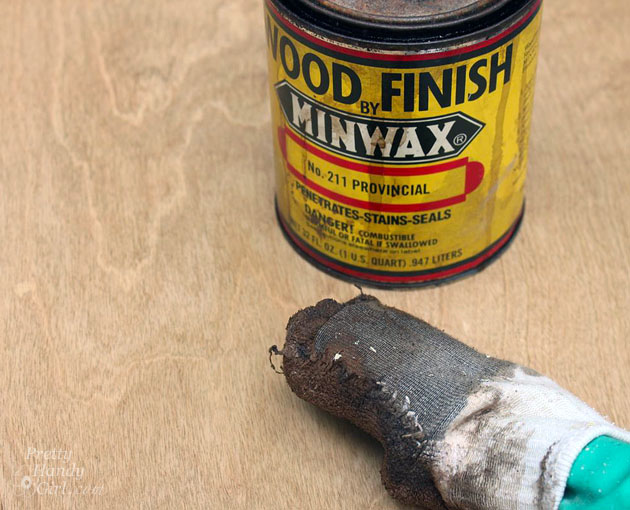
Sand your wood smooth. Put on a rubber glove and slip an old sock over the glove. Dip you hand into the stain and wipe the stain onto your wood. Always wipe on stain with the grain.

Gray Restoration Hardware Stain Recipe | Pretty Handy Girl

After the first coat has dried, repeat by adding a second coat of Minwax Provincial stain. Let the stain dry.

Gray Restoration Hardware Stain Recipe | Pretty Handy Girl

Lightly sand the wood before applying the glaze. Read more

How to Build Custom Rustic Crates | Pretty Handy Girl

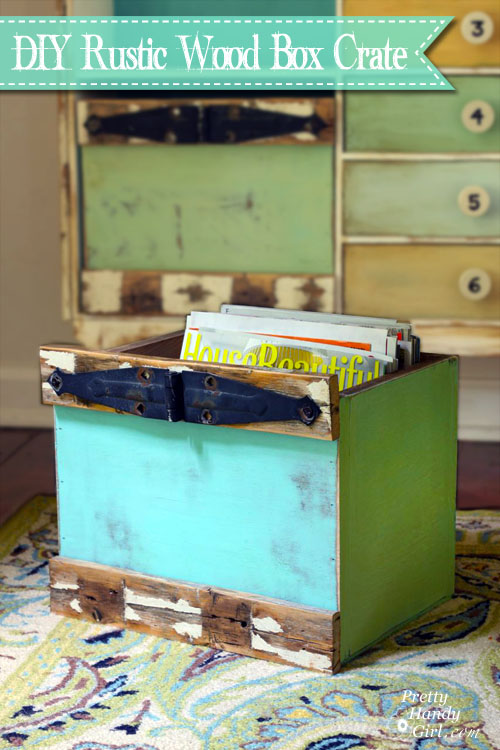
How to Build Custom Rustic Box Crates | Pretty Handy Girl

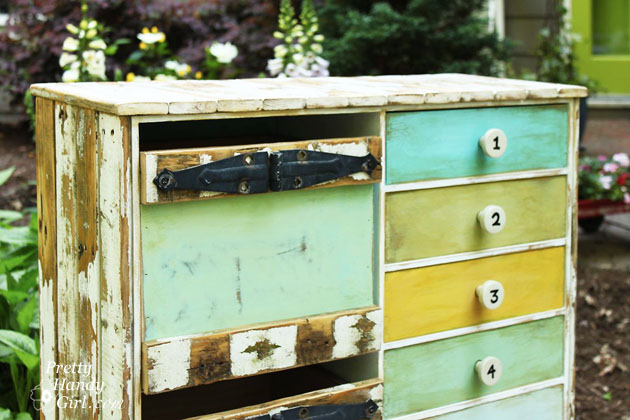
Making custom rustic wooden box crates is super easy. You can build your crates to fit in a book case or use them as drawers in a cabinet. When I was giving my IKEA cabinet a makeover, I chose to remove a door and build custom box drawers instead.

How to Build Custom Rustic Crates | Pretty Handy Girl

Here’s the super easy tutorial so you can build your own:

Materials:
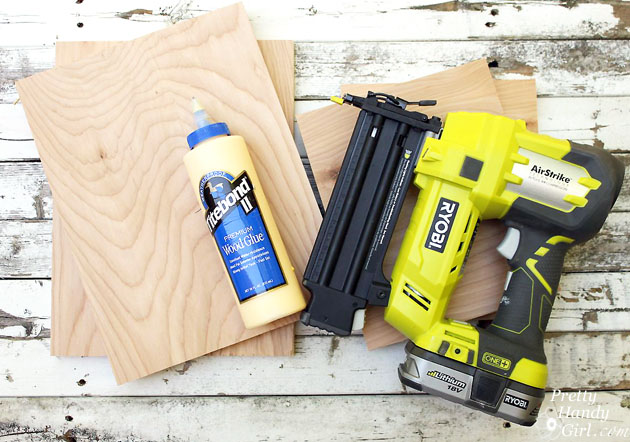
(some links are affiliate links)

Tools:

Instructions:

Begin by cutting the 1/2″ plywood into four pieces the size you want for your crate sides.

How to Build Custom Rustic Crates | Pretty Handy Girl

Test fit the sides together. Add a line of glue to the ends of the plywood. Read more

Rustic IKEA Hack Cabinet Transformation | Pretty Handy Girl

Rustic IKEA Hack Cabinet Transformation | Pretty Handy Girl

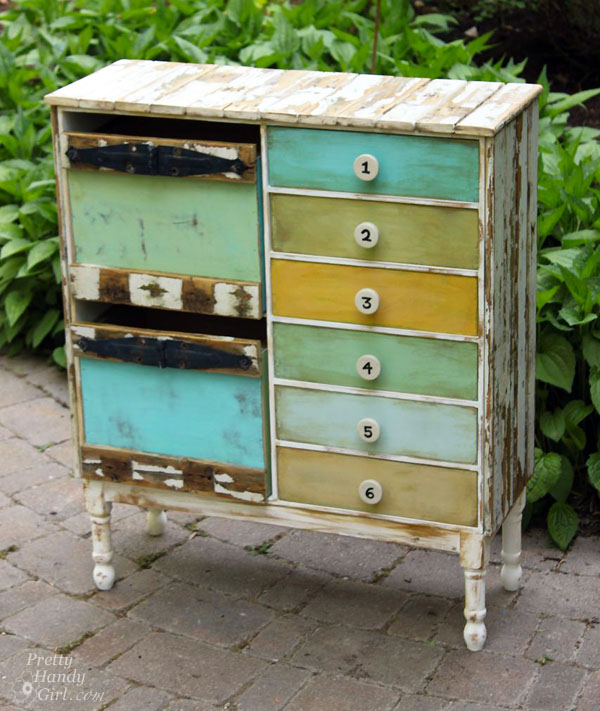
Rustic is not usually a word used to describe IKEA. IKEA is better know for their modern furniture, simple lines, meatballs and funny Swedish words. Today I’m going to change how you perceive IKEA furniture forever! Are you ready for this? Well, hang onto your hästes (Swedish for horses) because you’re going to see a transformation nothing short of amazing! You too can customize your plain jane furniture by adding legs and cladding the exterior with reclaimed picket fence wood.

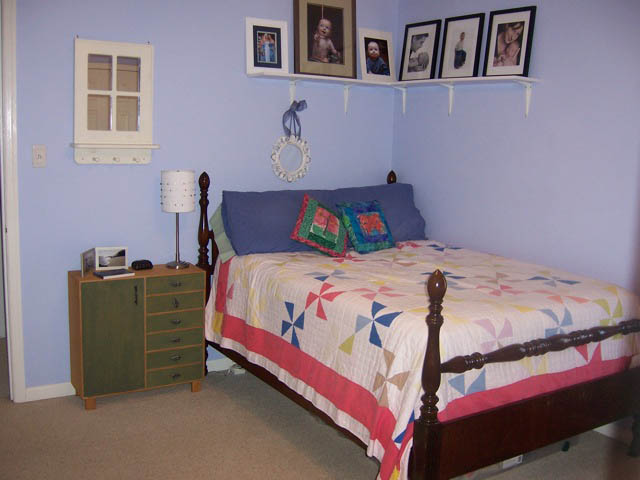
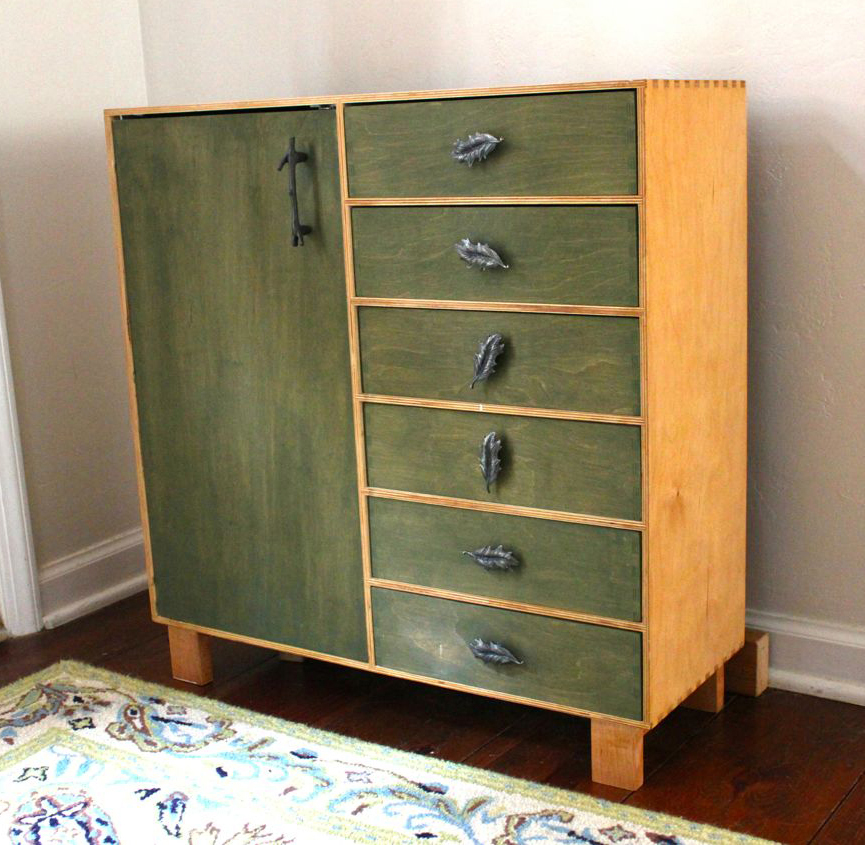
This tale starts with a hunter green stained IKEA storage chest that I bought for our first apartment and stained myself (can you tell what decade it was? Hint: hunter green, honey pine, throw some burgundy in there and I’m sure you’ll be guessing no more.) It moved from room to room each time we settled into a new home. But, it never really fit in.

ikea chest in guest room

The cabinet was short and not very deep. Plus, it bore the mark of the popular 90’s hunter green. It was ugly. Why didn’t I get rid of it years ago? Maybe I was attached to it because it was the first piece of furniture I ever stained myself. And it brought back fond memories of calling the fire department because I smelled gas. Turns out you aren’t supposed to use an oil-based stain indoors, especially if you have a gas stove. Lesson learned.

Rustic IKEA Hack Cabinet Transformation | Pretty Handy Girl

Fast forward two decades and it’s still hanging around. The other day as I was lamented the fact that our foyer is too small to fit a cute dresser, I found myself looking at this sad little IKEA chest. I picked it up and put it in our foyer. The fit was perfect in the small space behind the front door! But, it was short and let’s not mention the hunter green again. Plus, it just wasn’t cute. And it doesn’t reflect my warm and weathered style. But, you know me, I wasn’t deterred.

I did some mental gymnastics and began to hatch a plan to create a marriage that would last longer than two decades.

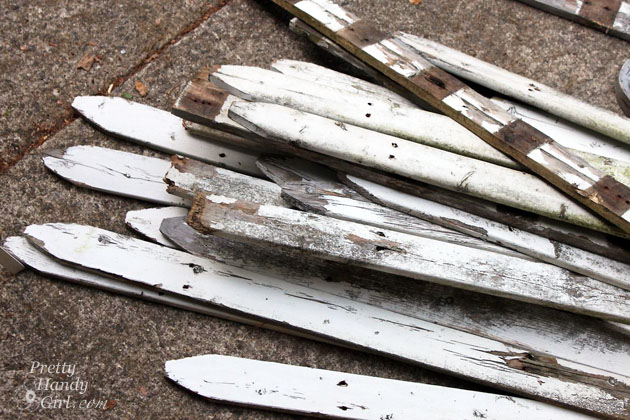
Old picket fence pieces

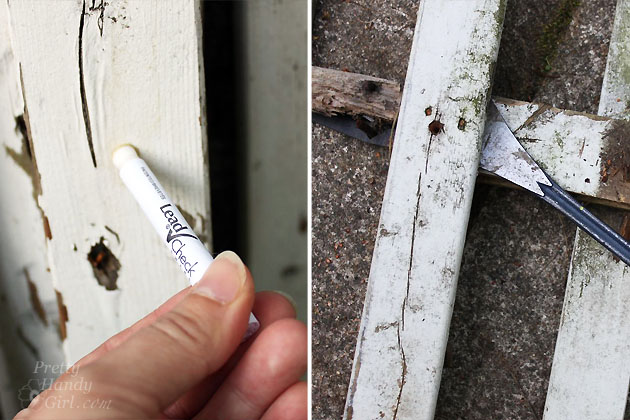
It began with some pieces of old picket fence that I found by a dumpster. They were perfectly chippy and rustic! Luckily the 3M Lead Check results were perfectly negative. I carefully took the fence apart and removed all the nails.

Lead check picket fence paint

Ready to see how I convinced the two polar opposites that they belonged together — rustic and modern — to create a match made in heaven? Let’s explore this couples’ counseling further:

Read more

DIY Loft Bed | Pretty Handy Girl

blue-loft-bed

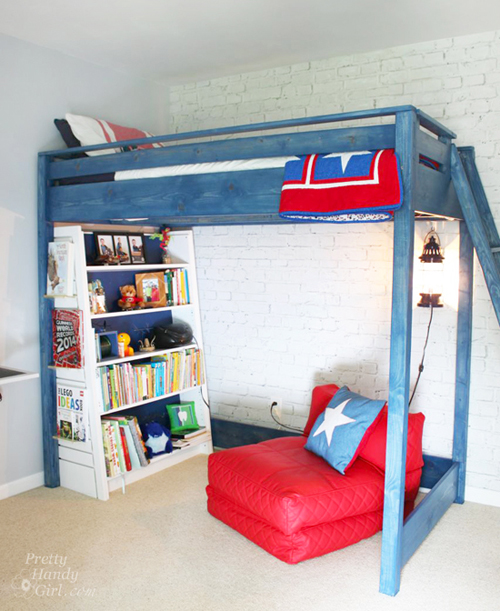
Guys and Gals, I am here today to tell you that you can build a loft bed for your child! However, unlike most of the tutorials you find on my site, building this loft bed is not one of them. Instead, loads of gratitude goes to Ana White and her fabulous plans for building a loft bed. You can follow her plans for the build. I assure you, they are detailed and easy to follow.

DIY Loft Bed | Pretty Handy Girl

The only modification I made to the plans was to move the ladder to the foot of the bed instead of the side. What I will show you is how to color stain the bed blue in two simple steps. I’m absolutely in love with the Minwax Express Color wiping stains. They go on super easily, and clean up is a snap with soap and water. Then you seal it as easily as you stained it. Coolest product EVER!

(I’ve included affiliate links for your convenience. I earn a small percentage from a purchase using these links. There is no additional cost to you. You can read more about affiliate links here.)

Materials:

Read more