Metal-Flashing-Orbs

Metal-Flashing-Orbs

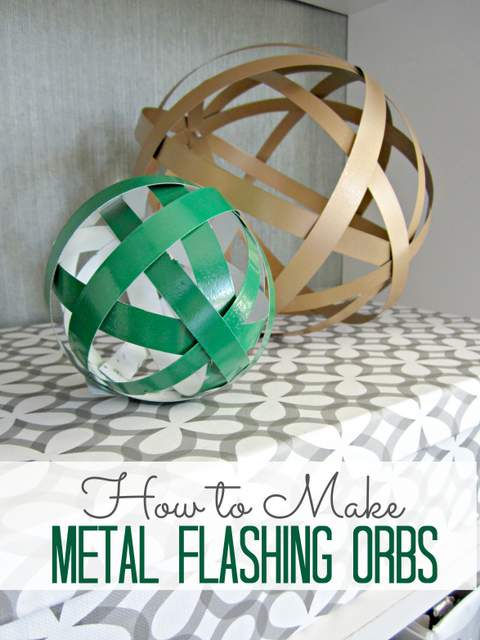
Happy July friends! It’s Jessica from Decor Adventures. I hope you are enjoying all things summer and have a close friend or relative with a pool, if you don’t have one yourself. It is super hot here and I’m glad my sister finally opened hers. Otherwise, to stay cool I hang out in our basement where my craft area is set up. I have an easy project for you this month, it’s how to make metal flashing orbs for your home.

I’ve seen these orbs used in all types of home decor items: from pendant lights to garden decorations. I always thought it would be easy to DIY your own. Here is how to make decorative orbs from metal flashing in five easy steps.

Materials:

Metal-Flashing-Orbs

  • Metal flashing
  • Tin snips
  • Rivet gun
  • Rivets
  • Ruler
  • Gloves
  • Pencil
  • Safety eye glasses
  • Drill and drill bits
  • Clamp
  • Clothespins
  • Glue gun and glue sticks
  • Optional – Spray paint and respirator if you will be painting your metal


Instructions: Read more

milk jug side table

Jaime here from That’s My Letter sharing a DIY repurpose project that works great outside or inside.

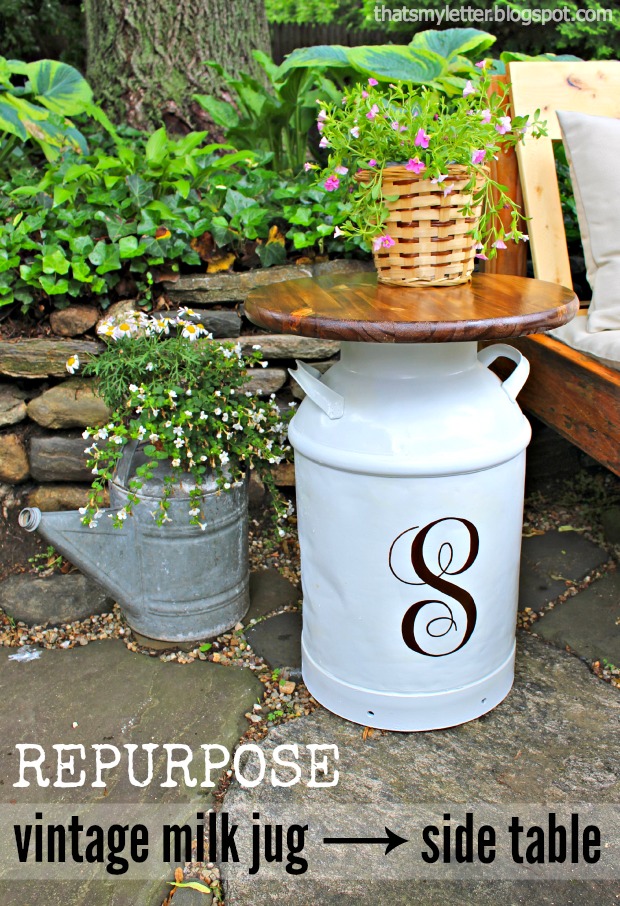
Take a vintage milk jug, add a pre cut circular wood top and you have a functional and stylish side table.  If you want to get fancy I’ll show you how to add the personalization too!

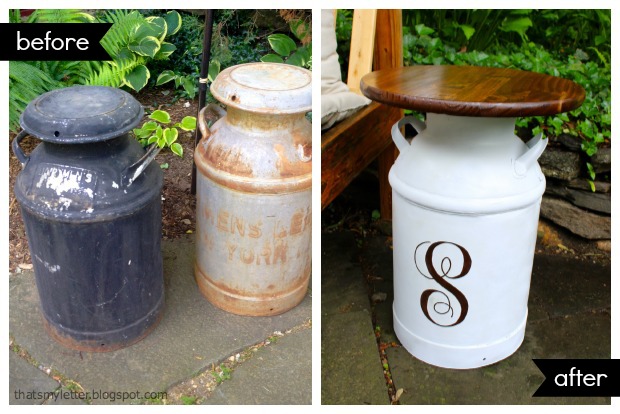
milk jug side table before after

I started this project with some crusty old milk jugs that really serve no purpose these days and after a little paint and adding a wood top we have a beautiful and useful piece of furniture.

milk jug side tables 1

Together the two milk jugs make a great pair on either side of our diy outdoor sofa but ‘S’ is not my last name, these milk jugs will be going to a friend’s home.

milk jug side table 3

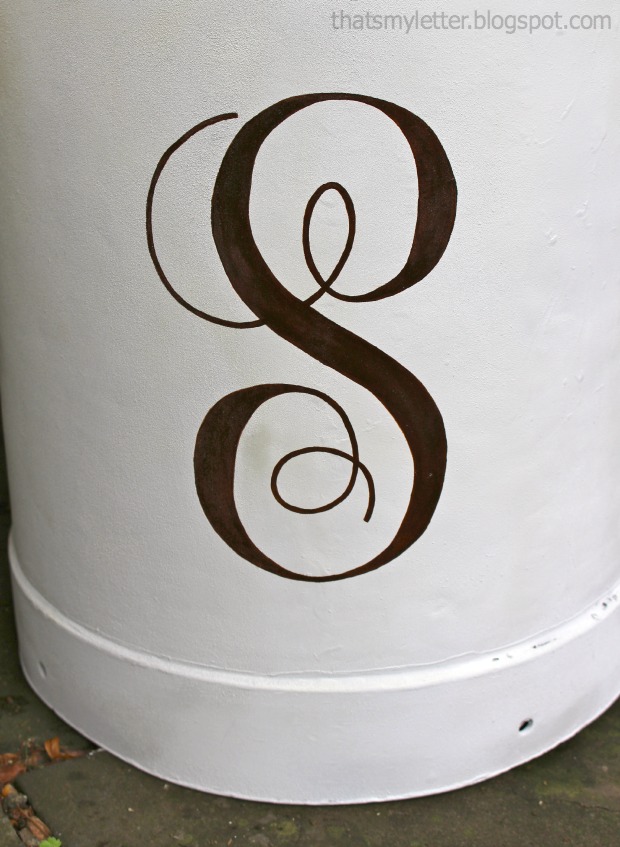
The personalization is icing on the cake, if you have a steady hand you can add any letter in nearly any font you desire. Ready to get started? Read more

Upcycled Metal Rolling Cart Plant Stand | Pretty Handy Girl

Upcycled Metal Rolling Cart Plant Stand | Pretty Handy Girl

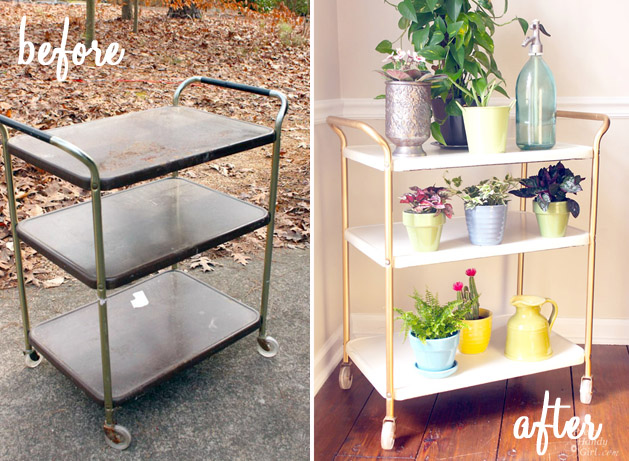
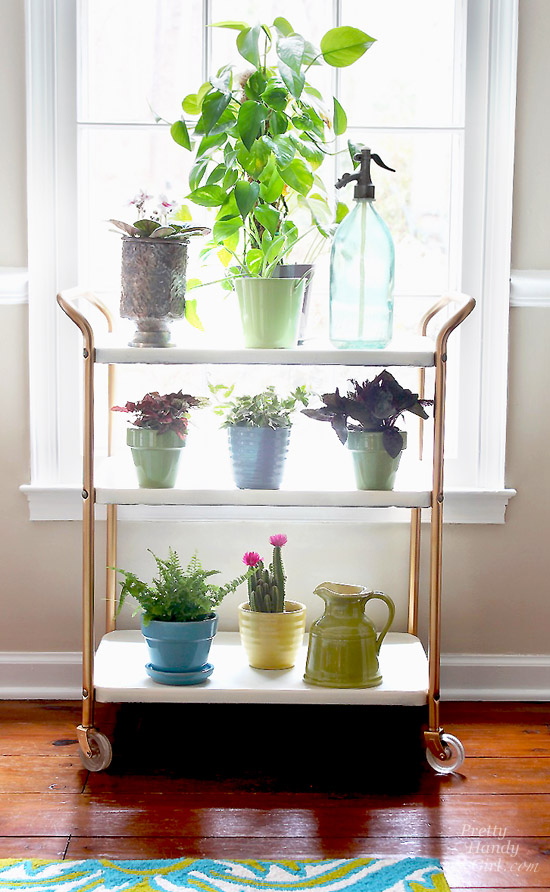
This past summer I spied a metal cart in a dumpster. To be frank, I have never truly actually participated in dumpster diving. The thought of actually climbing inside a dumpster has never been on my acceptable things to do list. But, this metal bar cart was floating on top of the trash pile. It was (to quote a Seinfeld episode) above the rim! And it was begging to be upcycled into a beautiful plant cart.

So, I convinced myself it was okay and wasn’t officially dumpster diving. Feel free to debate this fact in the comment section.

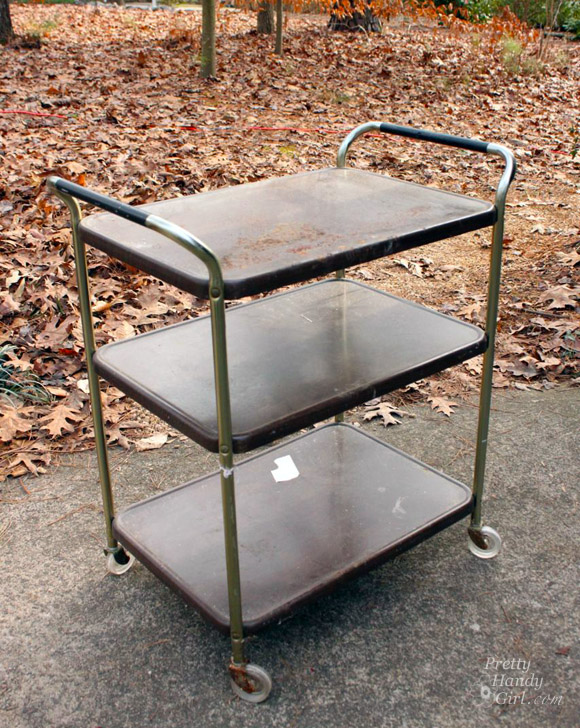
I brought it home and knew I could do a quick makeover with some spray paint. But, first it needed a good cleaning and some prep work. The tops of the shelves were very rusty:

Upcycled Metal Rolling Cart Plant Stand | Pretty Handy Girl

Upcycled Plant Cart Saved from “Above the Rim”

And the undersides were filthy. But, the end product was worth it! Here is how to upcycle your own little metal rusty bar cart into a beautiful plant stand!

Materials:

Upcycled Metal Rolling Cart Plant Stand | Pretty Handy Girl

  • 1 Discarded rusty bar cart (rescued from above the rim)
  • Socket set
  • Hammer for coaxing rusty bolts loose
  • Can of Rustoleum Heirloom White spray paint
  • Can of Krylon Copper Spray paint
  • Sander/sanding block
  • Fine grit sand paper
  • Wire brush
  • Rag and/or damp wipes
  • Painter’s tape
  • Drop cloth
  • Scraps of wood to elevate while painting
  • Optional: Drill

Upcycled Plant Cart Instructions:

Loosen corner bolts with a socket wrench or drill and socket bit. Hammer out any that are too rusty to budge. Read more


Faux Zinc Painted Chalkboard File Cabinet

This summer I was thrifting with a few friends and stumbled across an ugly cabinet at the Goodwill. The metal chest had extra wide and deep storage, but the worst colors imaginable! The hot pink and mint green were disguising the true potential of the chest, but like a color-blind dog, I was able to see beyond its garish appearance. In my mind, I pictured a vintage metal cabinet with a faux zinc side and chalkboard drawer fronts.
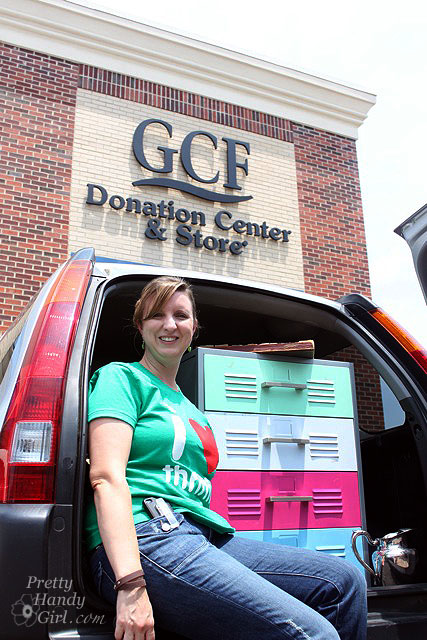
I scooped it up and brought it home. Then the poor chest sat in our garage for months and months until I had a chance to work a little spray paint magic and turned it into….this thing of beauty:
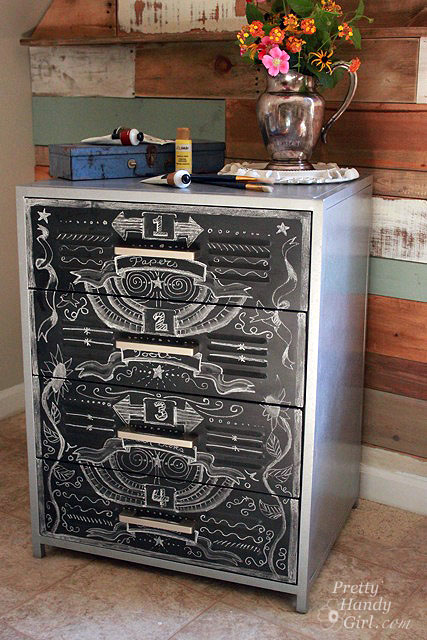
Yes, that is the same chest of drawers! You could do the same transformation.

Materials:

(I’ve included affiliate links for your convenience. I earn a small percentage from a purchase using these links. There is no additional cost to you. You can read more about affiliate links here.)

Instructions:

Clean off the drawers. Remove any dirt or debris (I actually had to use a little Goo Gone to get rid of some sticky residue. But, lemon essential oil will also work for this task.)
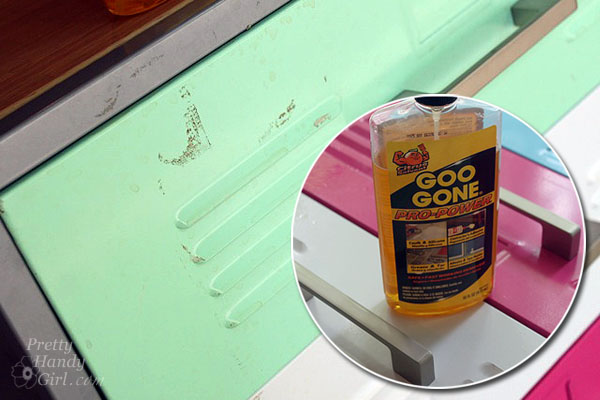
Remove the drawers from the chest. Tape over the drawer glides and slides. Mask off the drawer sides and insides by covering the drawers with tape and craft paper, leaving only the drawer fronts exposed.
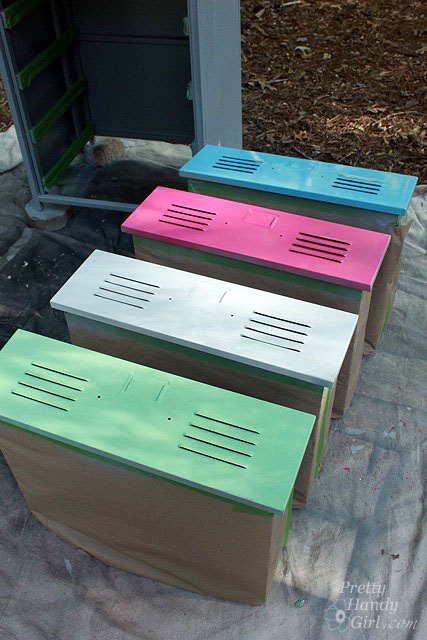
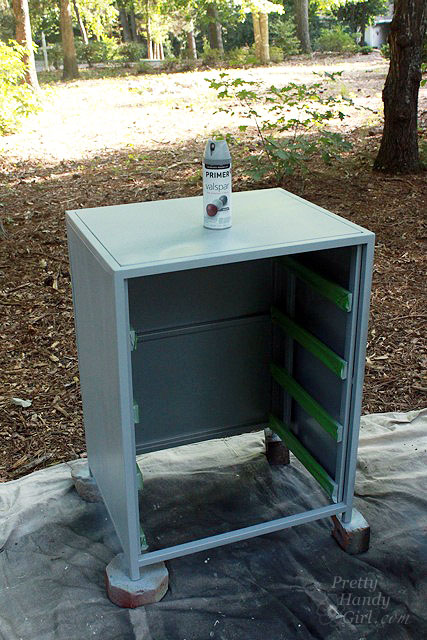
Spray paint the chest and drawers with automotive primer. (I prefer the automotive primer because it sticks to metal and can withstand a lot of abuse.) Let it dry.
Spray paint the drawers with chalkboard paint. (Use three fine coats of paint instead of one or two heavy coats.) Set them aside to dry.

Adding a Faux Zinc Texture:

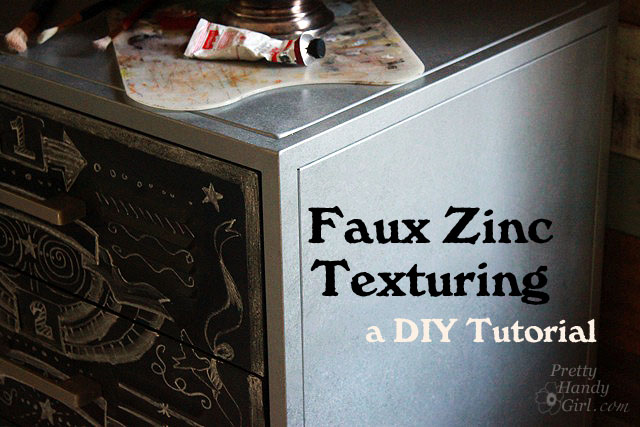
This is the most exciting part of the tutorial. I created this technique by trial and error and I’m excited by how well this method works for creating a faux zinc texture.

Getting a faux zinc texture is really easy. Just have some gloves on and use a crumpled up piece of craft paper. (A loose crumple works best.)

Spray paint the chest with a thick coat of the hammered silver spray paint, (but not so thick that it runs). Let the paint get tacky by waiting a few seconds. Then use the crumpled piece of craft paper to blot into the wet paint.
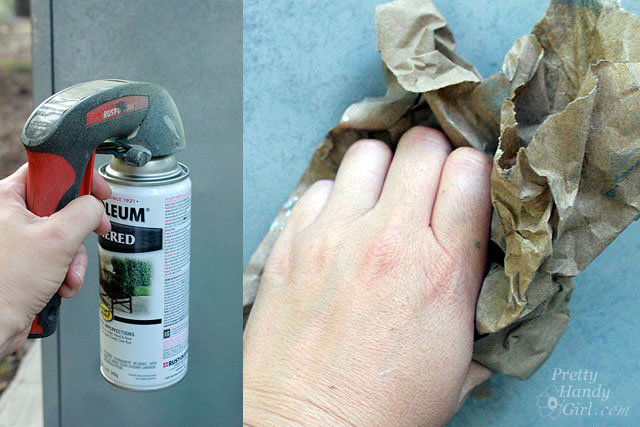
Work in small 1 foot sections and pounce the paper a few times. (Too much pouncing and you’ll lose the large textured pattern.)

Let the cabinet dry thoroughly.

Insert the chalkboard drawers back into the cabinet frame.
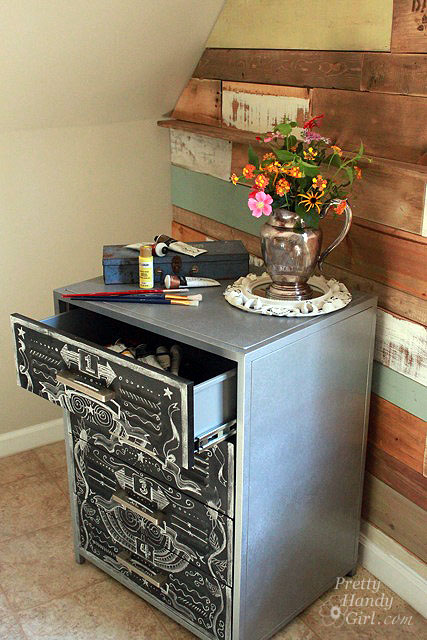
Add chalkboard art to your drawer fronts.
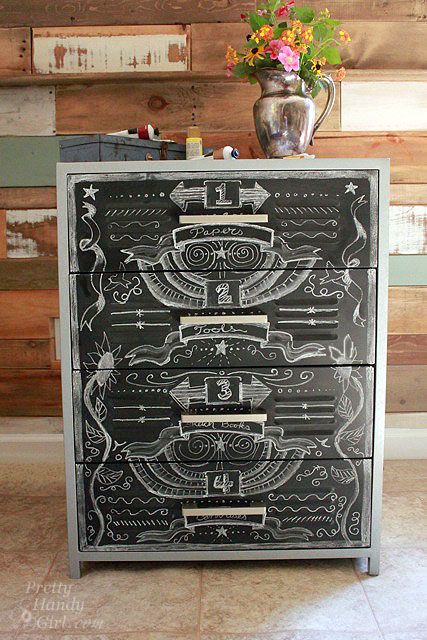
This metal chest of drawers is the perfect size for my large tablets of art paper.
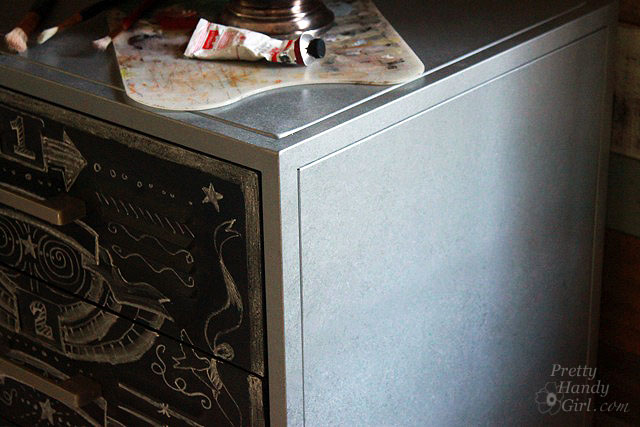
The cabinet has a wonderful texture now.
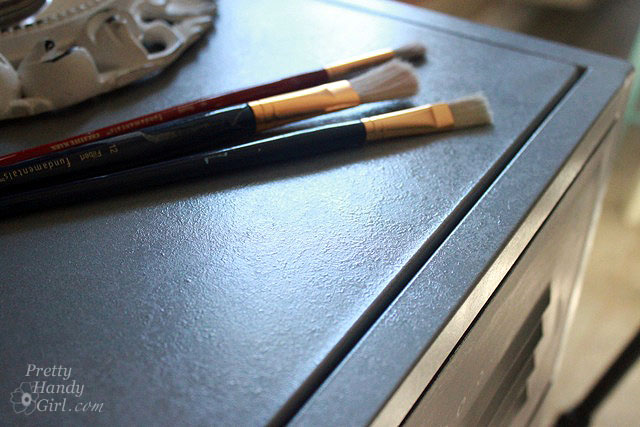
I have the flexibility to move my art supplies around and just change the chalkboard label.

Did I mention this little chest is the perfect height to rest my palette on while painting.

I’m soooo thrilled with the results!

Update Your Ceiling Fan with Paint
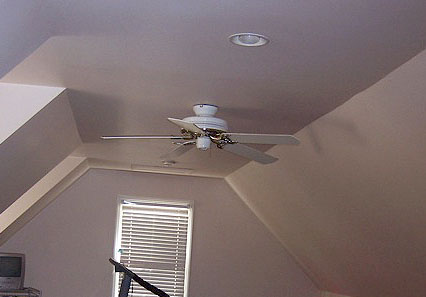
I’m back, but only for a minute  because I’m working hard on transforming our pinky-beige bonus room into an art and craft studio fit for an art show! This is compounded by the fact that the room has many angles and dormers. Who knew that such a small room would take FOREVER to paint! Gah.

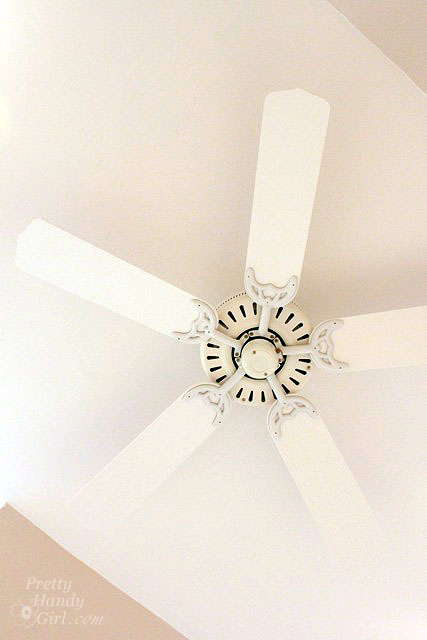
Do you have a brass ceiling fan cluttering the view on your ceiling? It is hard to imagine getting rid of a perfectly good ceiling fan. Especially if you live in a hot climate like we do. Ceiling fans are our salvation in the heat of the summer. But, they aren’t always the most attractive things.

Update Your Ceiling Fan with Paint

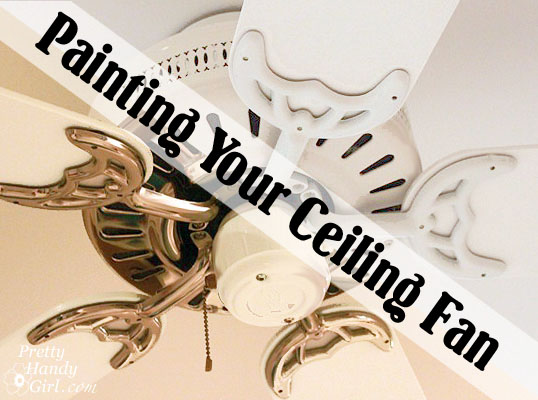
I encourage you not to rid your home of a perfectly good fan if it still works. Instead, why not paint it? AND, even if your blades are white, I’m going to show you a trick that will help make that fan almost disappear on the ceiling. 😉

Update Your Ceiling Fan with Paint Read more