diy-produce-rack

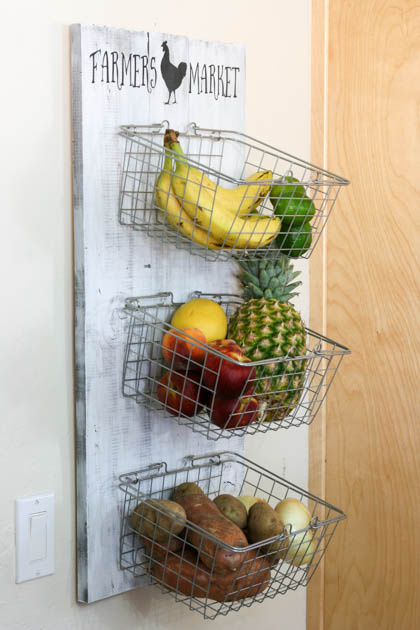
Hey everyone!  It’s Katie from Addicted 2 DIY again!  I’ve got a great project to share with you all to store your summer bounty.  I’ve been looking for a way to store fresh produce for a while.  It was driving me crazy storing everything on my kitchen counter or having it get lost in the pantry.  Forgotten potatoes start to smell pretty bad after a while.  I stumbled across some adorable wire baskets in the Target dollar spot a few months ago for only $3 apiece!  At that price, I bought several and figured I’d find some way to use them.  I thought they would be perfect to store fruit and vegetables, so I built this simple DIY produce rack using some scrap wood in the garage.

Supplies:

  • 1 – 1×6 @ 6′ long
  • 1 – 1×4 @ 8′ long
  • 2 – 5 gallon paint sticks
  • miter saw
  • staple gun
  • 3/4″ staples
  • wood glue
  • wood stain
  • chalk paint
  • adhesive vinyl
  • Farmer’s Market Silhouette cut file
  • wire baskets
  • screw eyes
  • drywall anchors and screws (I used 75lb anchors)
  • D-ring picture hangers

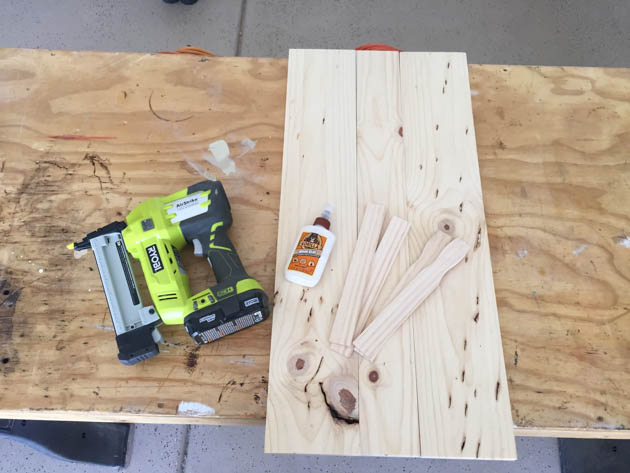
Cut the 1×6 into two 31″ pieces and the 1×4 into one 31″ piece.  Cut the paint sticks in half.

supplies-for-produce-rack

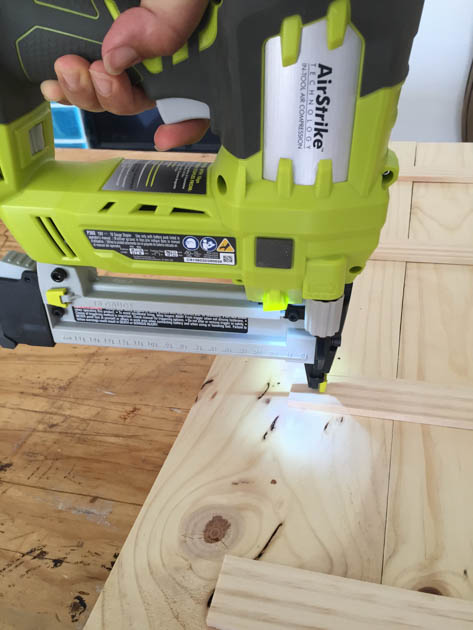
Glue and nail the paint sticks to the back of the boards using 3/4″ staples.  You can also use a brad nailer and 5/8″ brad nails if you don’t have a staple gun.

staple-paint-sticks-to-wood

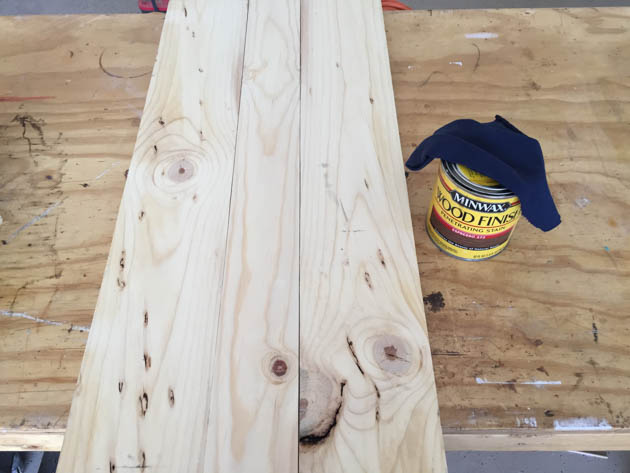
For a weathered finish, stain the boards with a dark stain and then dry brushed chalk paint onto the wood until satisfied with the look. Allow the stain to dry overnight and then you can dry brush it the next day.

stain-produce-rack

To dry brush, add a tiny amount of paint to your paint brush and dab the excess off onto a paper towel, then brush it in even strokes on your wood.  It is a great technique to make your new wood look decades old. Read more

PB Knock Off Monogrammed Bulletin Board

edited-0510

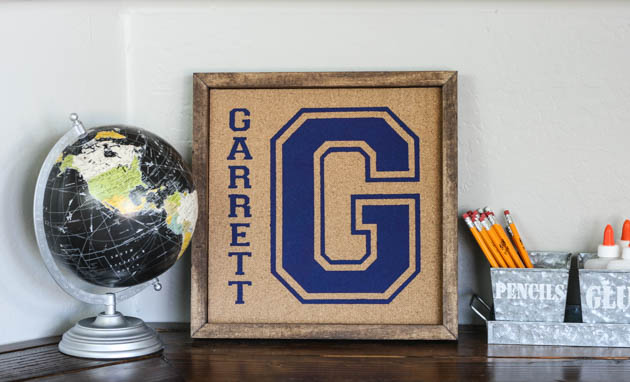
Hey everyone!  If you remember, last month, I shared with you how I updated my boys’ desk in our den with a wood plank desktop.  The den is just about ready for the big reveal and now I’m just working on adding little details.  This includes these fun personalized bulletin boards I made for each of my boys.  I was searching for desk organization ideas one day and saw these personalized pinboards on Pottery Barn Kids.  I knew they would be perfect for my boys and that I could knock them off pretty easily.  I made two of these pinboards, but my supply list will be for one pinboard.

Materials:

  • 12″ x 12″ wrapped canvas (mine was 3/4″ thick)
  • 12″ adhesive backed cork sheet
  • Adhesive vinyl
  • Transfer paper
  • Die-cutting machine
  • Acrylic aint
  • 2 – 1″ foam paintbrushes
  • 1″ x 2″ x 6′ pine board
  • Wood stain
  • Sander w/ 220 grit sandpaper
  • Miter saw
  • Brad nailer
  • 1″ Brad nails
  • 24″ Bar clamps
  • Hot glue gun

Instructions:

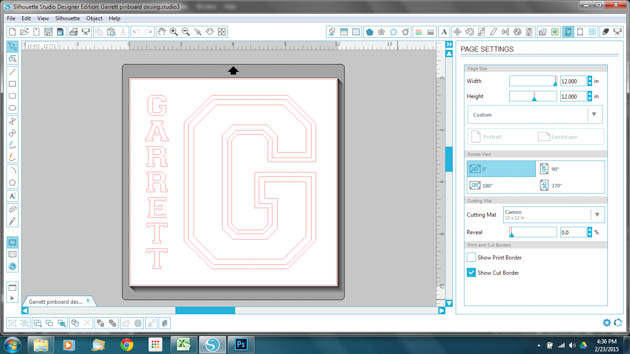
Start by designing your stencil.  To make it look just like the PB Kids version, use the Varsity font.  (FYI, the letters are all capitalized, but when you use the shift key or CAPS lock, it will add the outline.)

Knockoff Personalized Pinboard

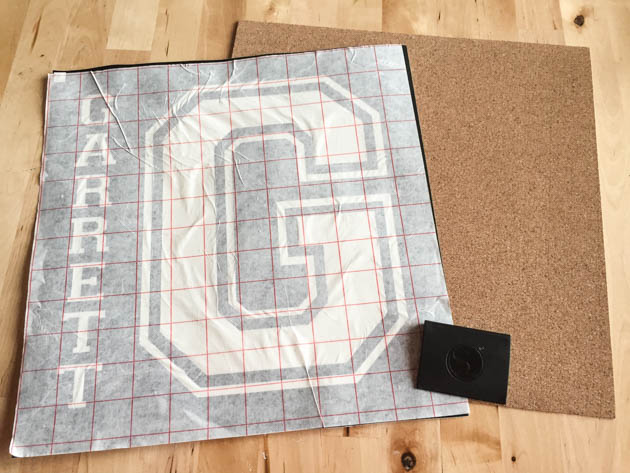
Cut your design out on the 12 x 12″ sheet of vinyl and weed the negative pieces out.  Remember that this is a stencil, so make sure to weed out the correct parts of your design.  Place your transfer paper over the design and use a scraping tool or a credit card to get out any air bubbles.

edited-7687

Peel the backing off of your vinyl and very carefully center it onto your cork sheet.  Use the scraping tool or credit card again to firmly adhere the vinyl to the cork sheet.  Carefully peel the transfer paper off. Stencil your design using the acrylic paint and foam brush. Read more

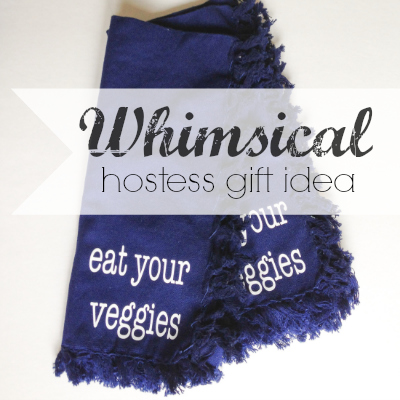
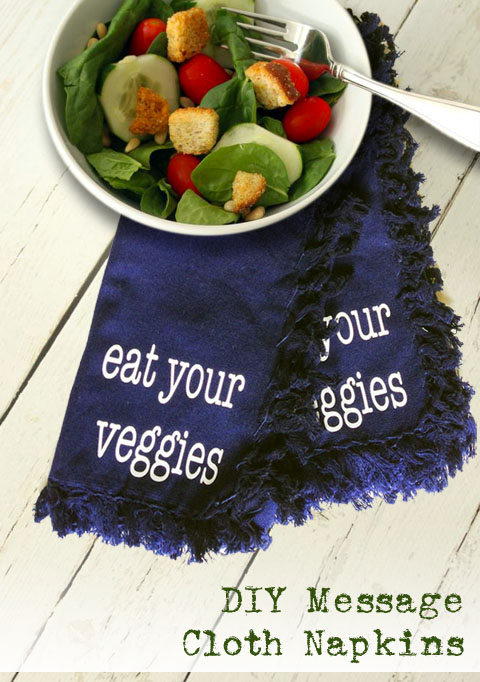
DIY Message Cloth Napkin Gift Idea

Bringing a hostess gift to someone whose home you are staying in is apparently a pretty universal thing.  I had never heard of such a thing until I was in my late 20’s.  It’s not a mind blowing concept but I have come to appreciate the simplicity of the thoughtful gesture.  Granted, if you are a “Real Housewife”, then I’m pretty sure if you don’t show up with a bottle of Cristal you get the stink eye.  Hostess gifts don’t have to be spendy, they just need to be thoughtful.  Today I am going to show you how to create an inexpensive gift for the hostess with a sense of humor. Gather around and learn how to make these “Eat Your Veggies” cloth napkins.

Materials:

  • Silhouette Cutter
  • Computer
  • Iron on Heat Transfer material
  • Napkins
  • Iron
  • Ironing Board
  • Towel
  • Tape Measure

Instructions:

Start by pre-washing the napkins.  Measure how big the lettering should be by folding the napkin (half fold or quarter fold napkins) and measure the printable area.

hostess gift idea

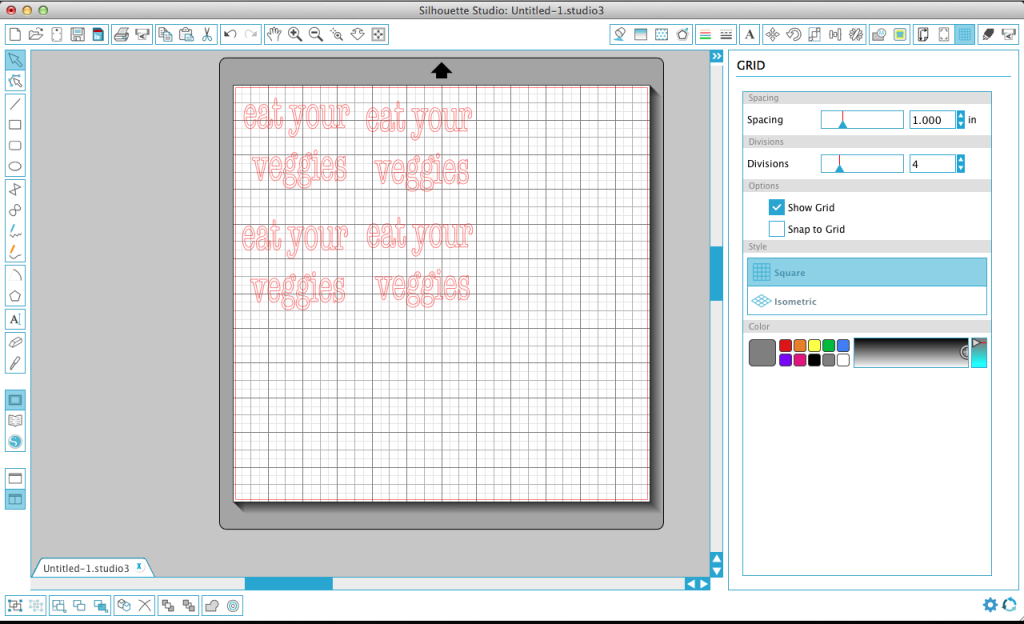
Arrange the words as you would like them to appear on the napkins.  Watch your dimensions!  Duplicate the image as many times as you have napkins.

hostess gift idea

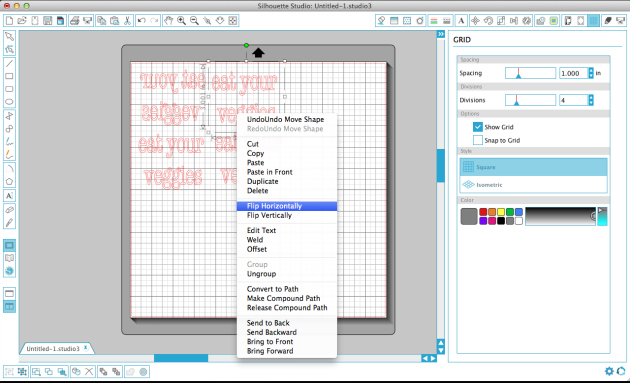
Right click on the image and flip the image horizontally.  This will be the mirror image allowing the words to be read once they are applied to the napkin.

hostess gift idea

Send the wording or images to the Silhouette or other craft cutter.

hostess gift idea

Once the image is cut,  weed out the negative spaces. Read more

Canvas Quote Art Tutorial | Pretty Handy Girl

Canvas Quote Art Tutorial | Pretty Handy Girl

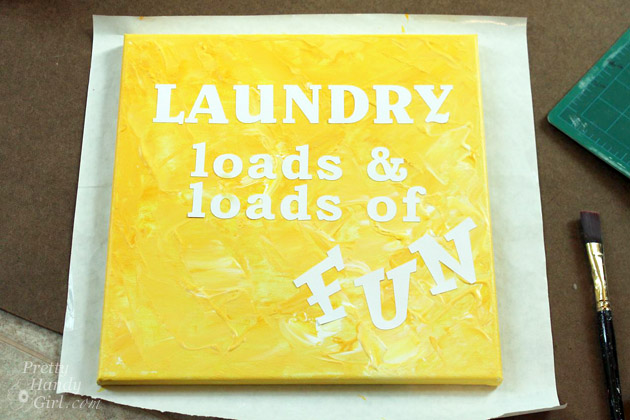
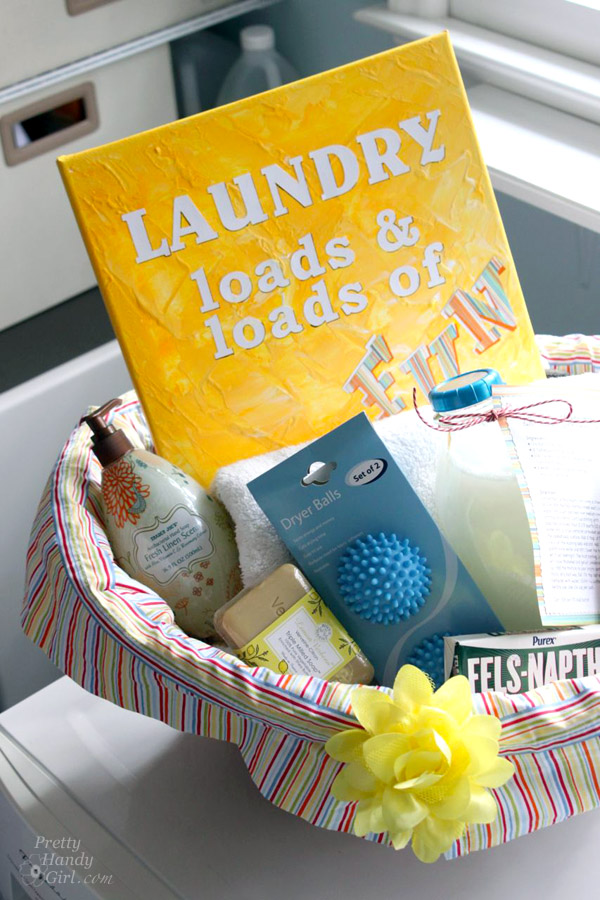
Happy Thanksgiving! I hope you get your fill of food and family time today. I need to give a big congrats to the Silhouette Portrait Giveaway winner, Kelly Crumpler Kelly! Woo Hoo, you’ll be making all your gifts with the Silhouette Portrait this year, won’t you Kelly?! Speaking of making your own gifts, I’m on a bit of a DIY art kick lately. I think creating your own art is creative, frugal and fun! Today I have a tutorial for creating this laundry quote canvas art, but frankly you can use your own favorite quote! Or create personalized name art for one of the kids on your gift list! The easiest way to create quote artwork is using a Silhouette craft cutter to cut your letters out. You can use the Silhouette for so much more than you ever imagined. I use mine a lot for cutting letters like I did for the laundry sign.
Canvas Quote Art Tutorial | Pretty Handy Girl

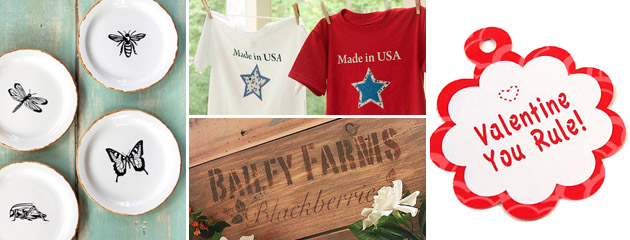
But, you can also use it for creating custom temporary tattoos, fabric and cardstock shape cut outs, flocking iron ons, stenciling on wood, glass etching, faux pen & ink etching, 3-D paper projects, printable foil labels and much much more!
silhouette-projects

Today we’ll focus on the tutorial for creating your own quote canvas art! (I’ve included affiliate links for your convenience. I earn a small percentage from a purchase using these links. There is no additional cost to you. You can read more about affiliate links here.)

Materials:
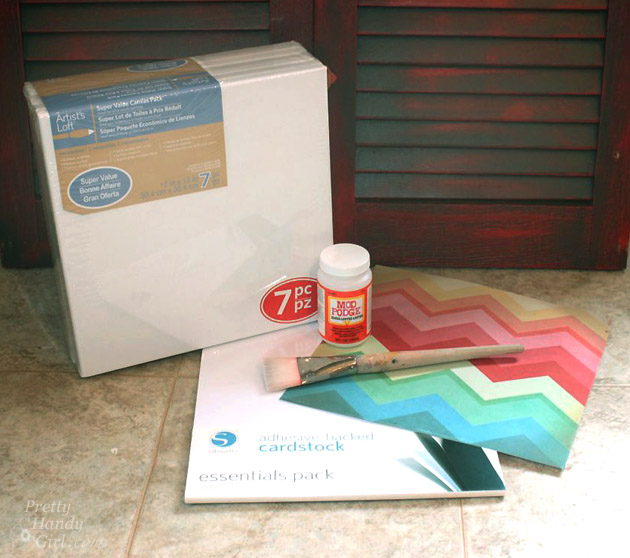
Canvas Quote Art Tutorial | Pretty Handy Girl

Instructions:

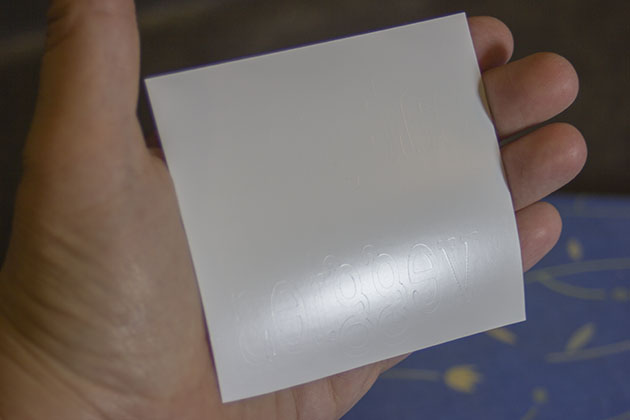
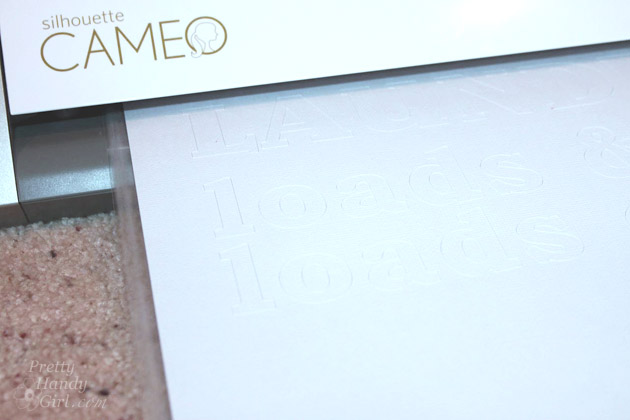
Type out your quote in the Silhouette studio software. Send the art to cut on adhesive backed cardstock using your Silhouette.
Canvas Quote Art Tutorial | Pretty Handy Girl

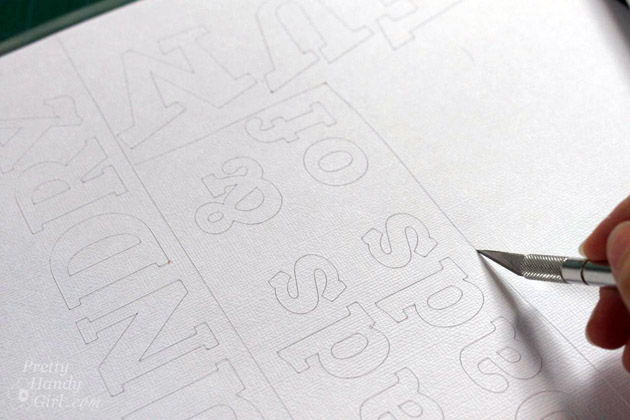
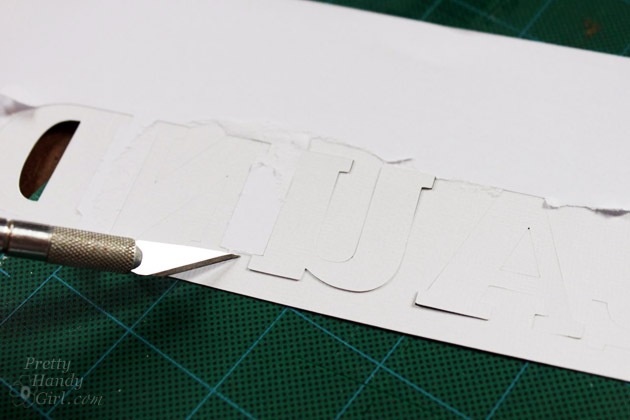
Separate the phrase into sections by scoring around them with an x-acto knife.
Canvas Quote Art Tutorial | Pretty Handy Girl

Flip the cardstock over and remove the backing on just the letters (if you can keep the rest of the backing in tact it will help with positioning.)
Canvas Quote Art Tutorial | Pretty Handy Girl

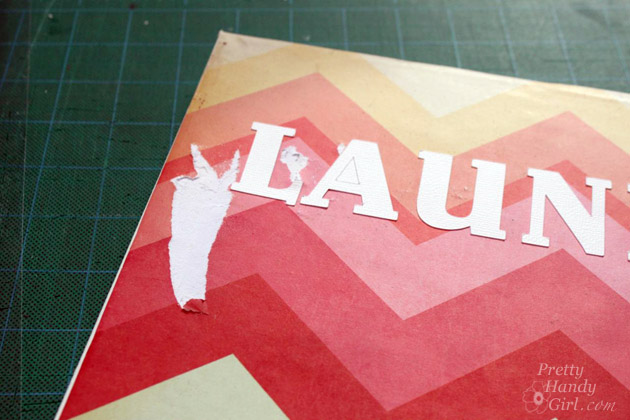
I had big plans to show you how to make your own DIY canvas art using scrapbook paper as the background. Everything was moving along swimmingly after I adhered the scrapbook paper to the canvas using mod podge. But, I neglected to let it dry (too impatient) and this happened. Whomp wah…craft fail!
Canvas Quote Art Tutorial | Pretty Handy Girl

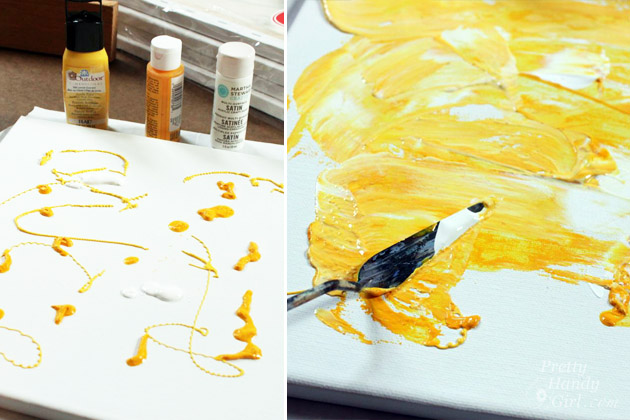
But, I wasn’t about to be deterred. So, I created a fun painted background instead. Drizzle paint onto the canvas. Use a palette knife to spread the paint. Be careful not to overly mix the paint. Streaks in the paint give it texture, dimension and interest.
Canvas Quote Art Tutorial | Pretty Handy Girl

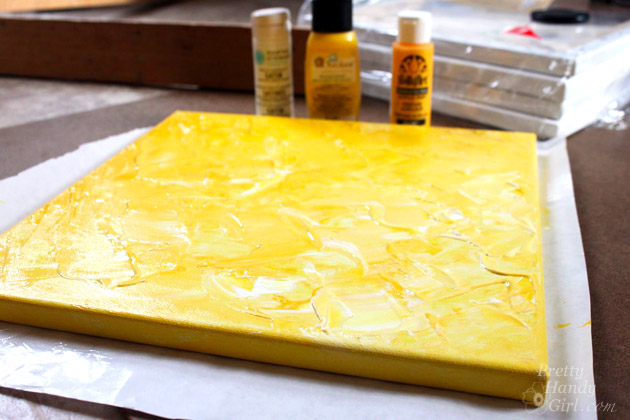
Let the painting thoroughly dry! (Must have patience.)
Canvas Quote Art Tutorial | Pretty Handy Girl

Carefully lay your words onto the canvas one section at a time.
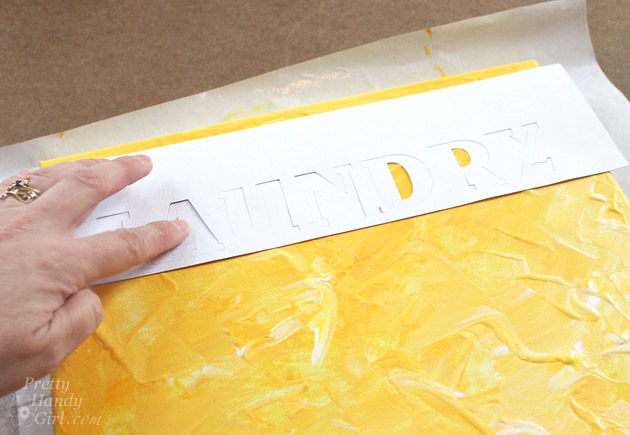
Canvas Quote Art Tutorial | Pretty Handy Girl

Press the letters in place and gently peel up the backing.
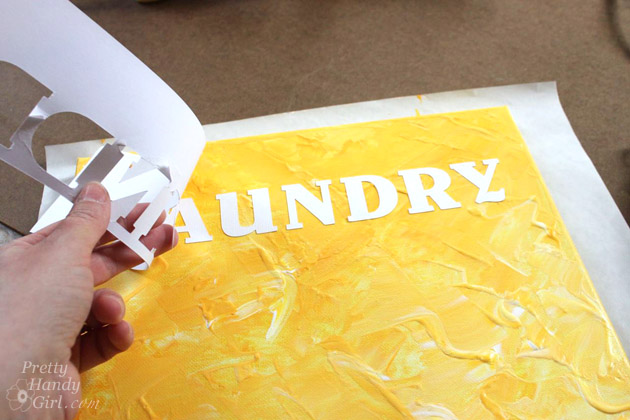
Canvas Quote Art Tutorial | Pretty Handy Girl

Repeat for the rest of your quote.

Canvas Quote Art Tutorial | Pretty Handy Girl

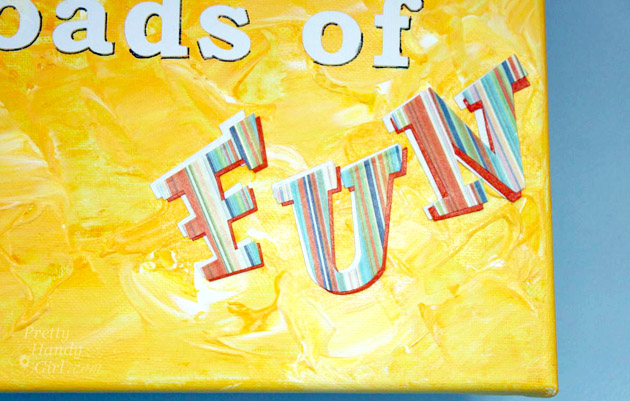
Here’s the FUN part! I used my Silhouette CAMEO to cut out the word “FUN”  in orange card stock and striped scrapbook paper. Then I layered the word FUN to make it stand out. Creating a layered word: 1. Apply a thin coat of mod podge to the back of the orange letters. 2. Lay them slightly offset onto the white letters. Canvas Quote Art Tutorial | Pretty Handy Girl
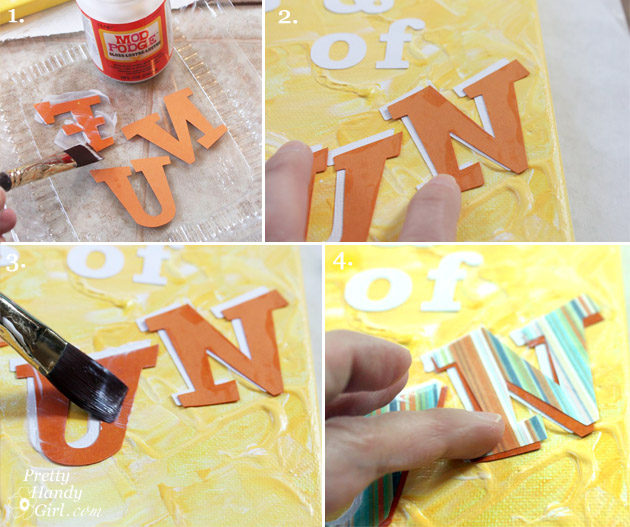
3. Apply more mod podge on top of the yellow letters. 4. Press the striped letters into the wet mod podge, offsetting them from the orange letters. Seal all the letters by brushing mod podge over the letters.
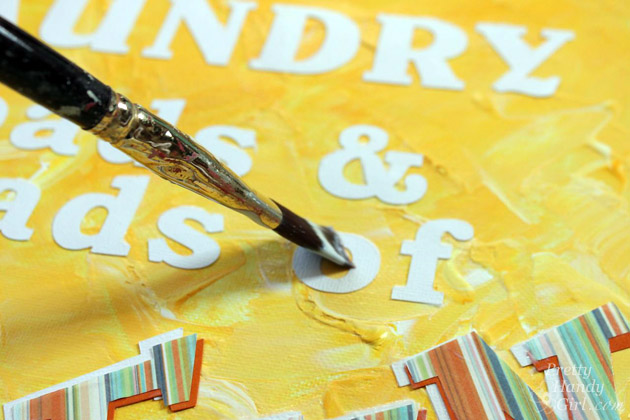
Canvas Quote Art Tutorial | Pretty Handy Girl

To create a shadow, use the fine tipped permanent marker to underline the right and bottom sections of each letter.
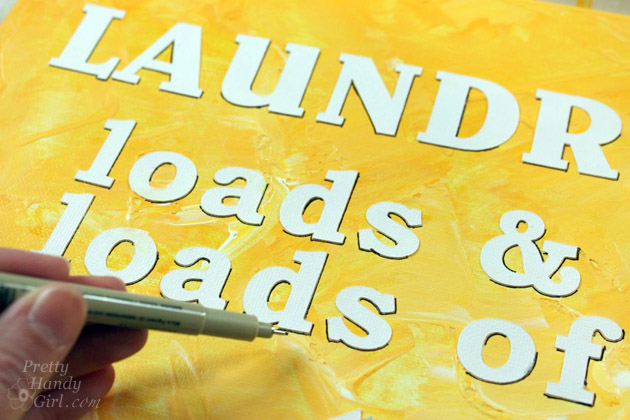
Canvas Quote Art Tutorial | Pretty Handy Girl

And, that’s it! Loads & loads of FUN don’t you think?!
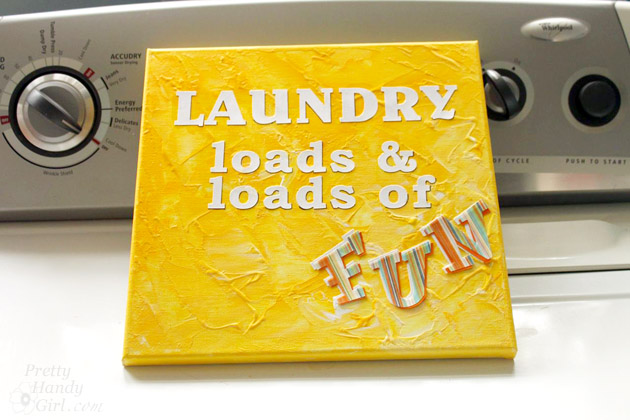
Canvas Quote Art Tutorial | Pretty Handy Girl

I created this artwork to be included in the laundry themed gift basket, but how fun would it be to create personalized art with a child’s name layered like I did with the word “FUN.”
Canvas Quote Art Tutorial | Pretty Handy Girl     PHGFancySign

All the Très Frugal DIY Gift Ideas can be seen here.

Pen and Ink Sketch Decorative Dessert Plates | Pretty Handy Girl

Pen and Ink Sketch Decorative Dessert Plates | Pretty Handy Girl

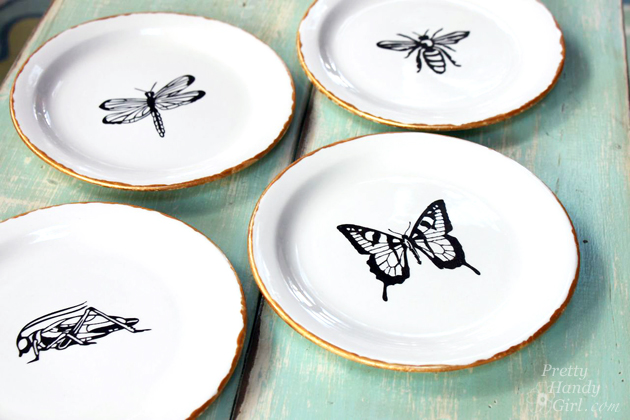
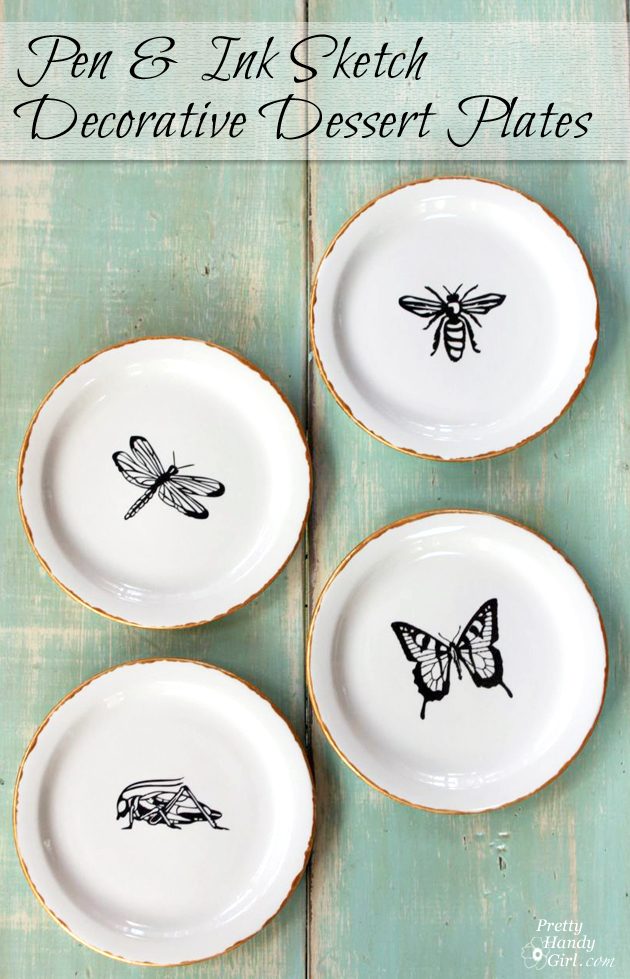
My goodness, November is flying by! Get it…flying…insects. I crack myself up. But seriously, I have been having a blast coming up with new creative gift ideas that you can make. This idea for making pen and ink sketch decorative dessert plates turned out better than I expected! The only downside is that they really are only for decoration. The paint used on the plates can be cured, but the manufacturer states that it technically isn’t food safe.

With that disclaimer out of the way, think about how you could commemorate an event with a personalized plate. Or you could use the same stenciling technique on the outside of a pitcher, mug, glasses or anywhere that the food wouldn’t be in contact with.


(I’ve included affiliate links for your convenience. I earn a small percentage from a purchase using these links. There is no additional cost to you. You can read more about affiliate links here.)

Materials:

Pen and Ink Sketch Decorative Dessert Plates | Pretty Handy Girl

Optional: Porcelaine or glass ink pens for writing


Instructions: Read more