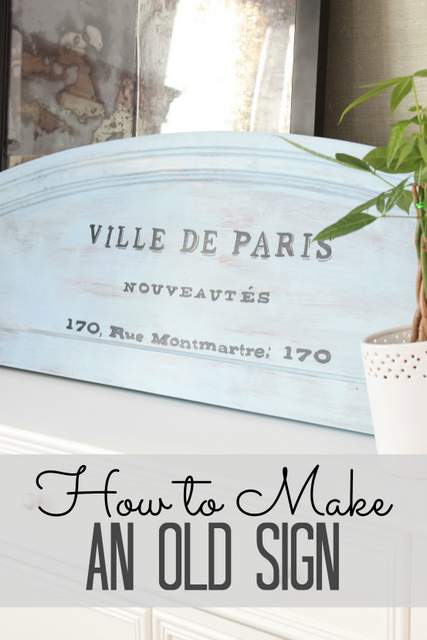
One project I really wanted to make was an old wooden-looking sign. I hoped to stumble upon a salvaged piece or something found. Lucky enough, I happened to find a foot board from a bed right down the street. It was the perfect shape to make into a sign. When someone throws something out, I usually take it for a project! With some paint and lettering, you can make this or any piece into an old sign. Here’s how!
Materials
- Foot board – You could pick one up at a thrift or salvage store for only a few dollars
- Sand paper
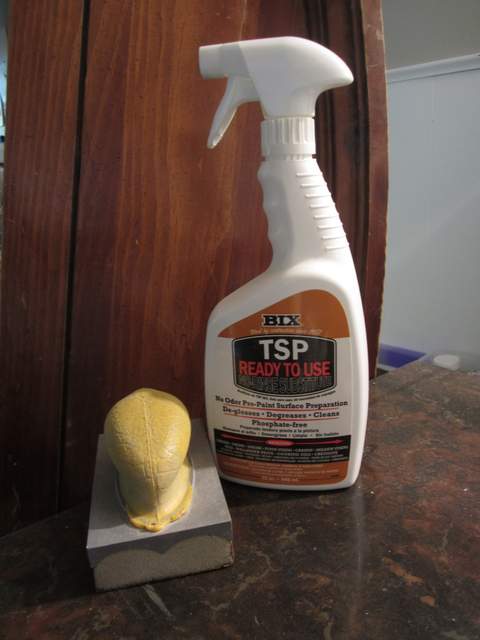
- TSP
- Chalk paint or regular paint
- Paint brush
- Sealant like wax or polycrylic
- Printer and paper
- Scissors, tape, ballpoint pen
Instructions:
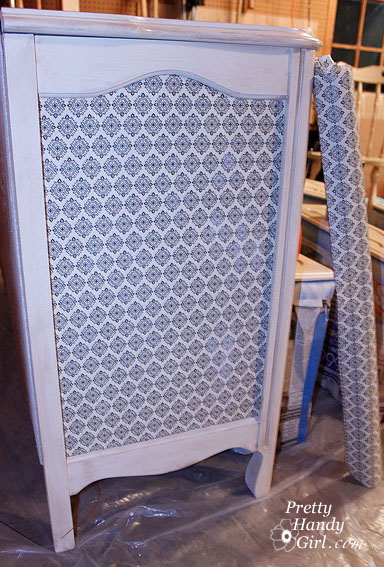
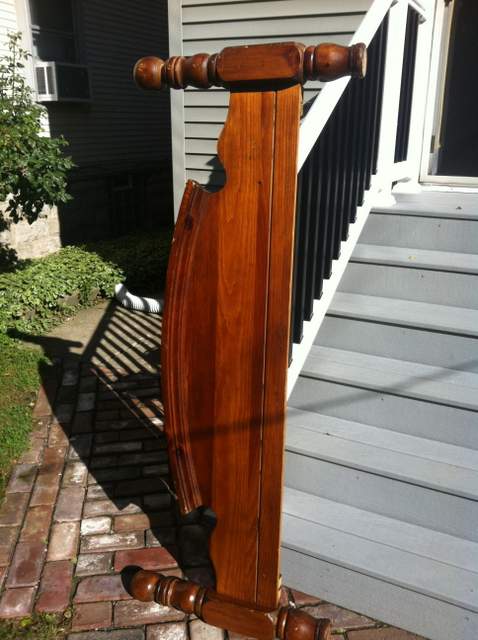
This was the foot board I scored on the curb. It had a perfectly rounded top with molding on it and had the shape of an antique sign. I remember seeing one like this at Ballard Designs that sells for hundreds of dollars. Since I had all the supplies for this, it cost me nothing! The legs were really neat, but we ended up cutting them off to make this a sign. I thought it would look better that way. Who knows, maybe I’ll make something else out of the legs?
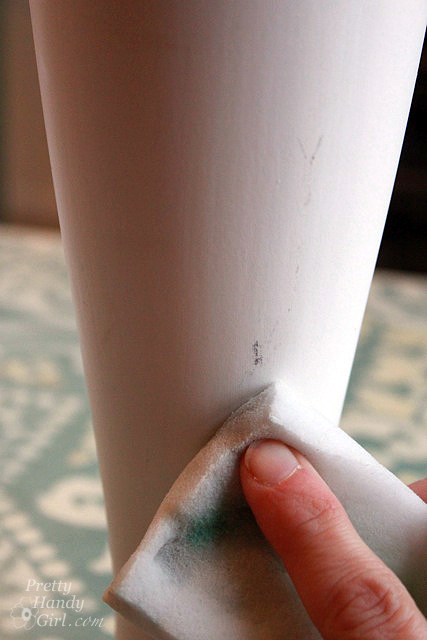
Lightly sand down the foot board and clean it with TSP. This will prep it for painting and take off any dirt.