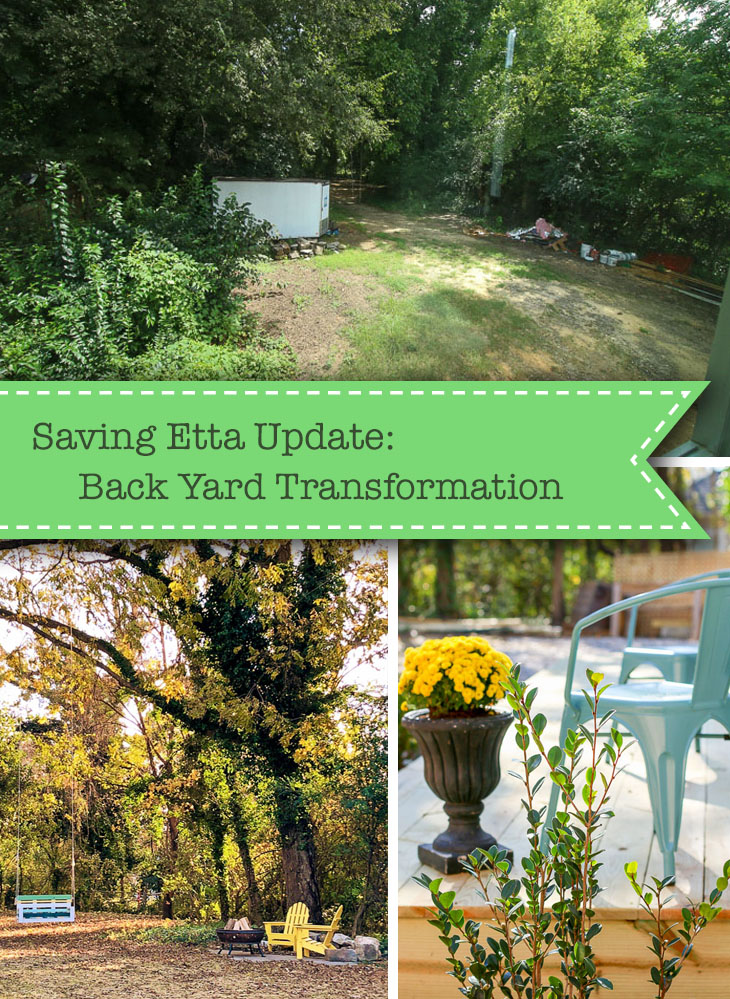
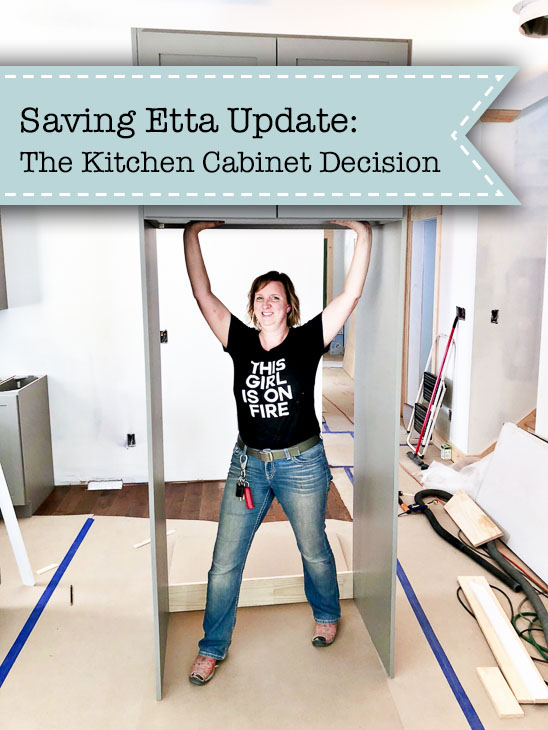
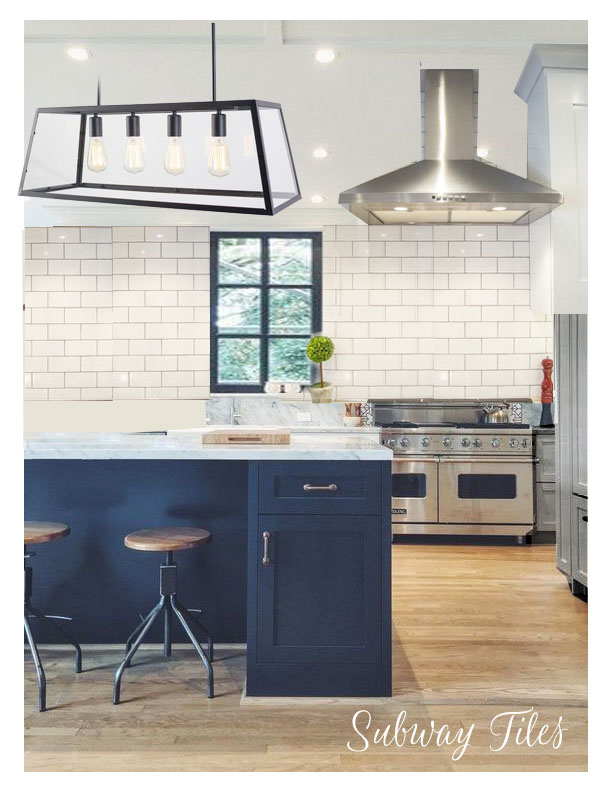
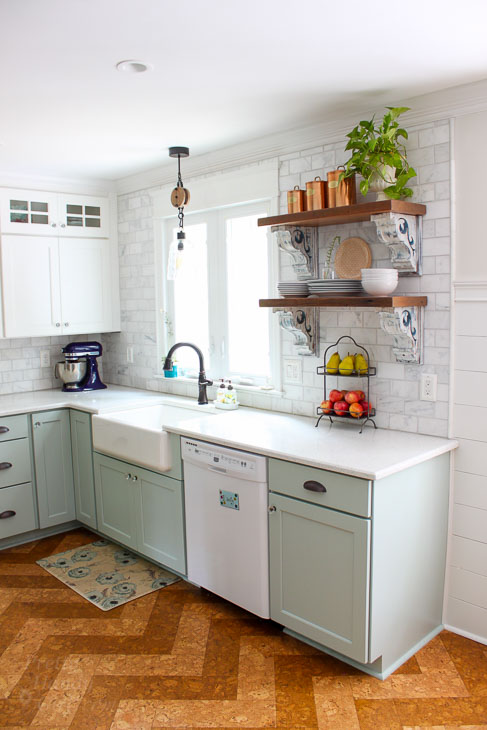
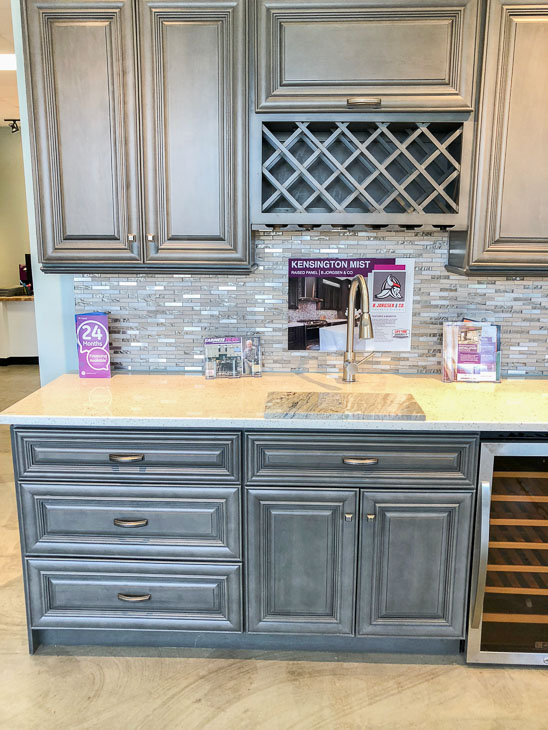
Saving Etta Update: The Backyard Transformation
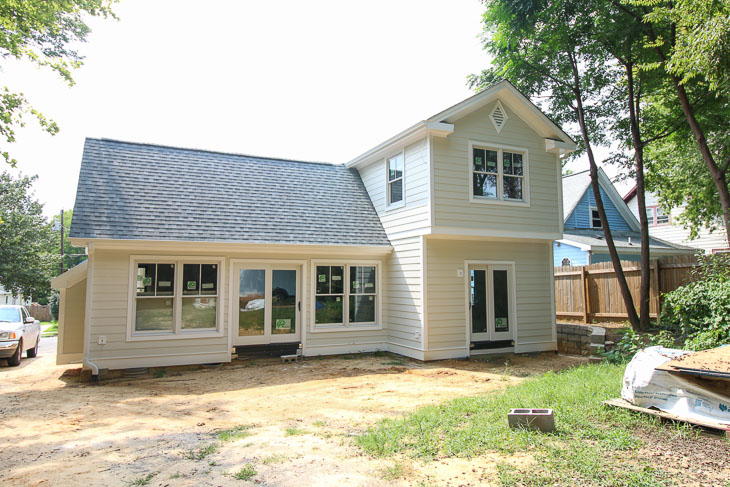
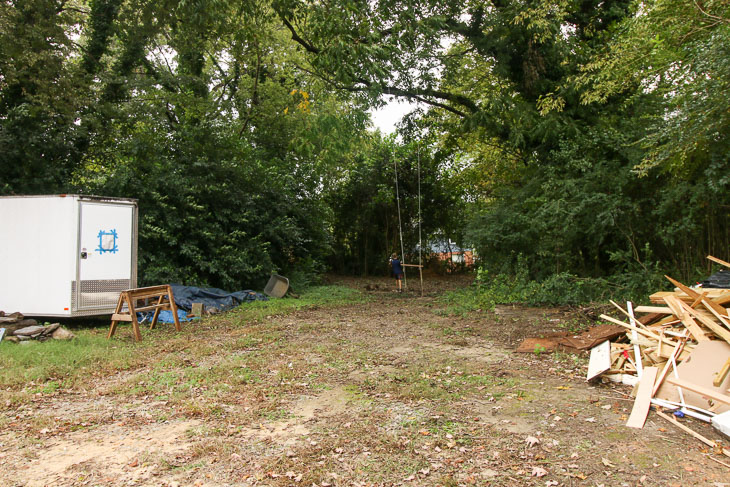
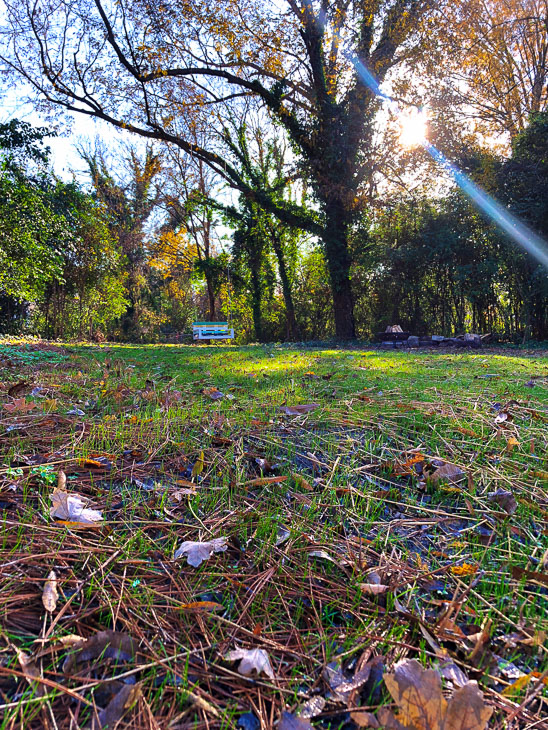
This has to be one of the biggest transformations (besides the demolition and framing) at the Saving Etta project! The backyard was an unruly mess of vines, overgrown shrubs, and weeds. I resisted the urge to do any landscaping until all the crews were finished outside. No sense in spending any time on landscaping when it would get messed up by trucks, equipment, and foot traffic.
While construction was going on, the yard took a beating. One week the demolition guys were pulling the dump truck into the yard to fill up with the debris. The next week an excavator dug the crawlspace and hauled the rest of the dirt to the back of the lot. Then we used the yard as a staging area for building supplies. Plus it doubled as extra parking on days when we had more than one crew on site. Over time most of the grass was gone and I probably picked up 4,532 random nails and screws littered in the yard. Needless to say, it was a mess by the time exterior construction was done.

On a particularly beautiful fall weekend, Pretty Handsome Guy (aka my husband) and I decided to plan a family yard work day at the house. We’ve tried to involve our boys in as much of the process as possible. We agreed to pay them for their time after the house sells. This seems to have been the incentive it took to get two teen boys off their devices and out for a yard work day.
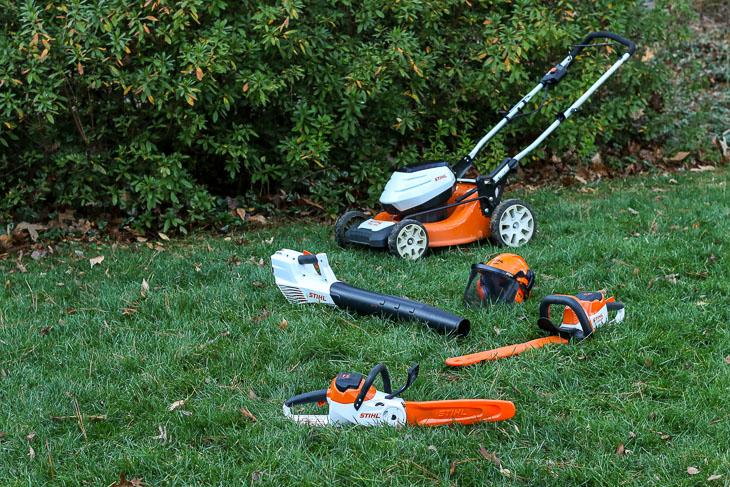
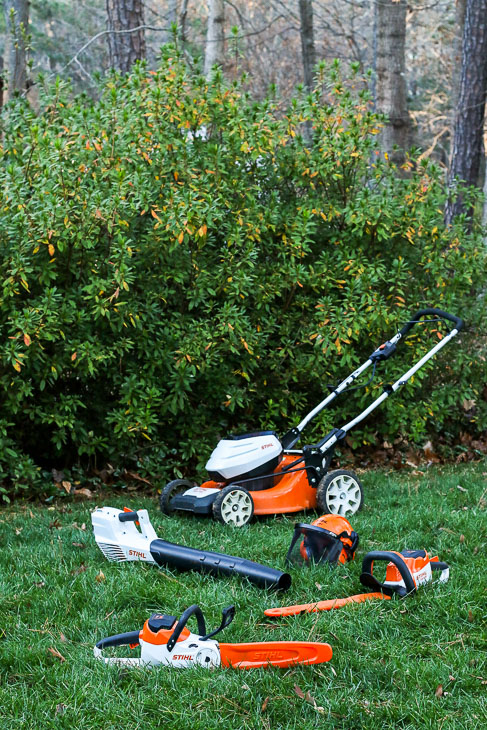
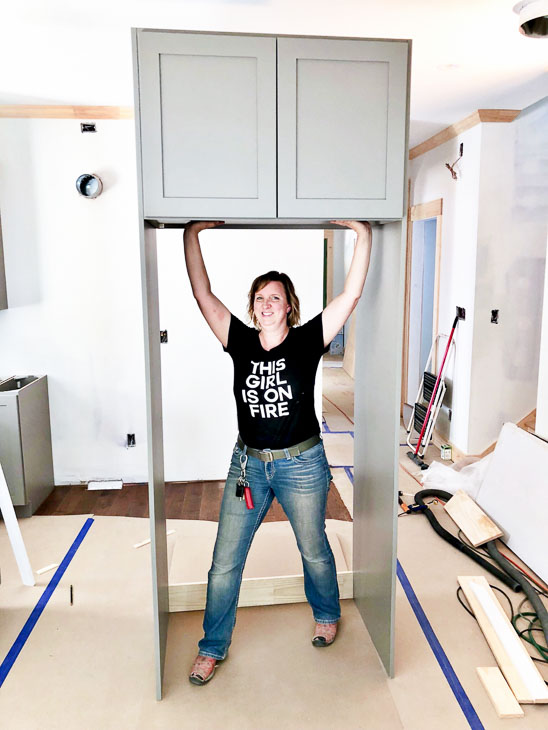
Although there was a lot to do, I felt confident we could knock out a big chunk of work, especially using the power tools my friends at STIHL sent me. When I approached STIHL about being a Saving Etta sponsor, I assured them we’d have plenty of landscaping and yard work to showcase their new battery-powered line of tools. To be completely honest, I was a little skeptical of the power behind battery-powered vs. gas-powered equipment. But after trying the tools, I was thrilled with their performance. These STIHL tools have quickly become my favorite yard tools for the Saving Etta project AND at my own home.
Before they were delivered I had the privilege to try a lot of the STIHL gas and battery tools at the STIHL headquarters in Virginia Beach.
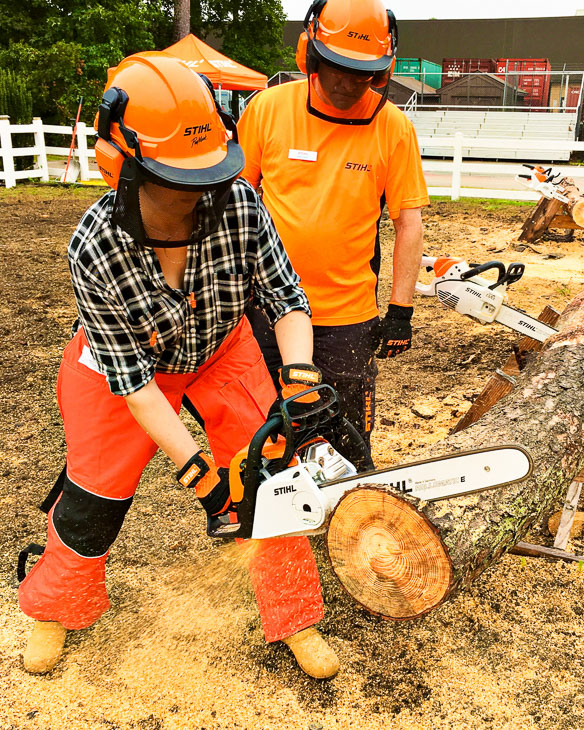
Joining me were a bunch of other badass builders, like April from Wilker Dos and Sarah from Ugly Duckling House. It was invigorating hanging out with other like-minded women who have figured out how to build and DIY their homes one project at a time. (See, you can do it too!)
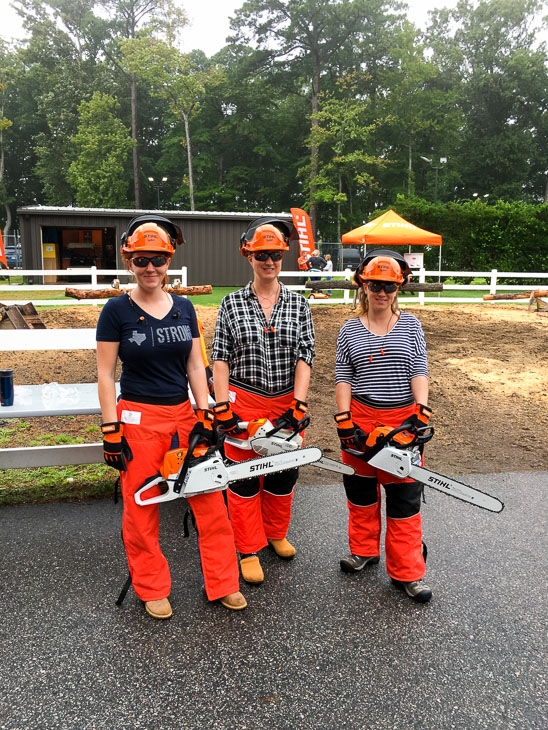
During the event, we got to try all the new STIHL power tools. The STIHL battery-powered yard tools were definitely a hit from the start. Most of the attendees found them less intimidating. Plus, the tools were lighter weight and easier to handle.
Three Series of STIHL tools to meet your yard work needs:
The AP Series is designed for professional landscapers and people that use the tools on a daily basis on a variety of different properties. The battery has a longer run time, but also weighs the most of all the STIHL batteries.
The AK series handles the yard work of a typical suburban homeowner. The batteries have a slightly shorter run time, but the battery isn’t as heavy (a good thing for those of us who don’t lift weights on a daily basis.)
The AI series is perfect for small yards and quick clean up tasks. The AI tools plug in to charge (no external batteries.) The trimmer, leaf blower, and hedge trimmer would work well for small yards or town homes. Because there is no external battery, they are the lightest weight of the battery tools STIHL offers. The trade off is battery life is shorter than the AK or AP series.
Here’s what I love about the STIHL battery-powered AK series yard equipment:
The tools STIHL sent me are all within the AK series, so I’ll share what I love about them specifically. All the AK tools use the same batteries. Which means you don’t have to store a bunch of random batteries for each tool (although the chainsaw and mower need the AK 20 or higher battery to run for any length of time.)
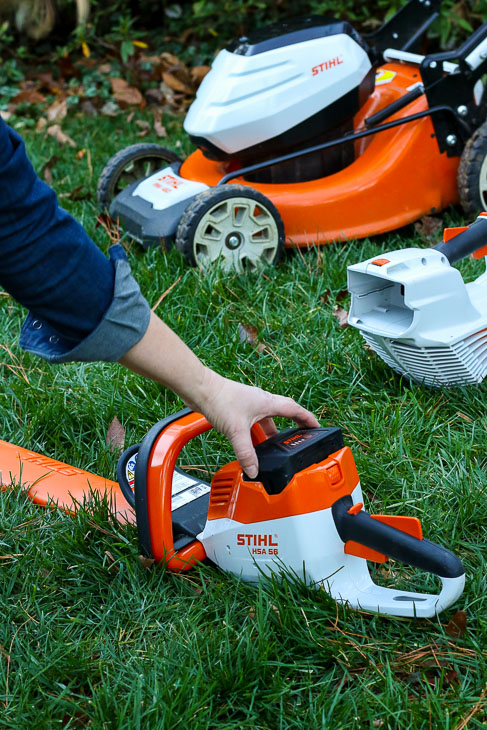
Speaking of longevity, there are three different AK batteries (the AK10, AK20, and AK30), with the 10 having the shortest run time and the 30 the longest run times.
In contrast to the gas-powered tools, the AK battery-powered tools are much quieter. In particular, this appeals to me most when it comes to the leaf blowers. I happen to live in a neighborhood filled with big tree-filled lots. I wish all my neighbors had the BGA 56 battery-powered leaf blower, because my Saturday and Sunday mornings would be a lot more peaceful in the fall. The unmistakable high-pitched leaf blower whine is constant in our ‘hood come September – December (and sometimes well into springtime.)
Despite my dislike of noise, my biggest pet peeve about gas-powered lawn equipment is the odor that sticks to your clothes after doing yard work. Guess what! With battery-powered tools there is no gas or stinky fumes to make you smell bad! Plus, there’s no need to keep a plethora of gas cans around for the tools that require a different ratio of gas to oil (and I can’t ever remember which tool uses which ratio.) Personally, I’d love to get rid of all our gas cans in the garage. (Something about keeping a highly flammable liquid in a room attached to our house has always made me nervous.)
Did you know a battery-powered landscape tool can save you time? It’s true because you don’t need to winterize your battery-powered tools before the cold weather sets in. And if you want to get technical, when your battery runs low, you can charge it while taking a quick little break. This saves time driving to the nearest gas station to fill up your gas can.
Finally, let’s talk about weight. No, not the holiday cookie weight I put on in December! The STIHL battery-powered tools weigh less than their gas-powered relatives. The mower was my personal favorite because it was so lightweight I could lift it into the truck by myself on days I needed to mow Etta’s front lawn. This was such a life saver since most of the time I was working solo at the house.
A little more about the STIHL AK tools I tried:
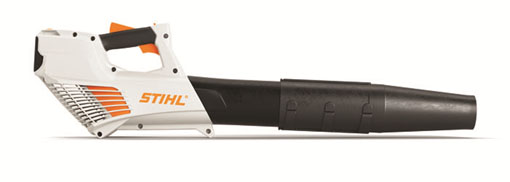
- STIHL BGA 56 Battery-Powered Leaf Blower: This is by far the lightest leaf blower I’ve tried (I’ve used two other brands, one was a gas-powered and one was another battery-powered leaf blower.) The gripping handle is in the perfect spot to automatically keep the blower balanced during use. This blower has plenty of power for moving leaves (both dry and wet.) One thing I noticed recently, is there is no vibration to tire your wrists (I can’t say that about our gas blower.) My teen sons love using this blower too, especially because it is lightweight. And as I mentioned before, the noise is definitely less than a gas-powered blower.
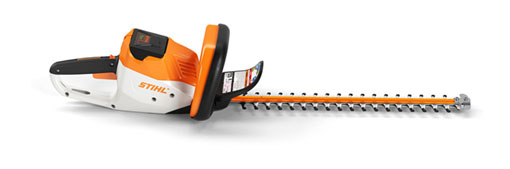
- STIHL HSA 56 Battery-Powered Hedge Trimmer: This trimmer packs quite a punch; in fact most of the skinny tree sprouts and thicker branches were easily cut by it. The HSA 56 made quick work of pruning and tackling the vines growing over the bushes. Noise and weight are both much less than a comparable gas hedge trimmer. And as I mentioned above, no gas, no mixing ratio, and easy to store for the winter!
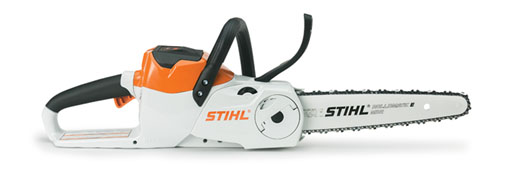
- STIHL MSA 120 C-BQ Battery-Powered Chain Saw: We have a rule in our house that if a tree is too big for a small chainsaw, then we shouldn’t be cutting it down ourselves. The STIHL MSA 120 C-BQ Chain Saw is perfect for the homeowner who wants to take down some spindly trees or low branches. It has enough power to get through some small hardwood trees on our lot. I loved using the chainsaw to break down large limbs to a manageable length for curbside yard waste pick up. It also came in handy when the lumber delivery forklift couldn’t get past a low limb.

- STIHL RMA 460 Battery-Powered Mower: As I mentioned above, this is a surprisingly lightweight mower and yet it doesn’t disappoint when it came to mowing an overgrown jungle. After our summer vacation, I came back to knee high grass at the Saving Etta house. I wasn’t sure the mower would be able to handle it, but it cut through the grass with no problem. My husband has been cutting lawns since he was a teenager, so you can imagine the side-eyed look he gave me when I told him I thought he might like this battery-powered mower. One day I caught him trying it, and he told me he liked it. The one caveat is if you have a yard larger than about 1/3 of an acre, you may need a few extra batteries to replace when the first runs out. Of course it all depends on your lot size and mowing conditions. You might want to talk to your local dealer to find the mower that’s best for you. As a baseline, our lot is 1/2 an acre and mostly wooded, but we do have a fair amount of grass. The mower makes it through our lawn mowing on one AK30 battery charge. If we did run out, it’s not a big deal since we typically have one battery charging while the other is in use.
Although this post is sponsored by STIHL, I have to be totally honest when I tell you: We are in love with the STIHL battery-powered yard and lawn tools! If you were my neighbor, you’d see this to be true. We are frequently out in our yard using these pretty orange and white tools.
Now that you know a bit more about the STIHL tools I was using at the Saving Etta project (trying to SAVE the backyard); let me show you the transformation!
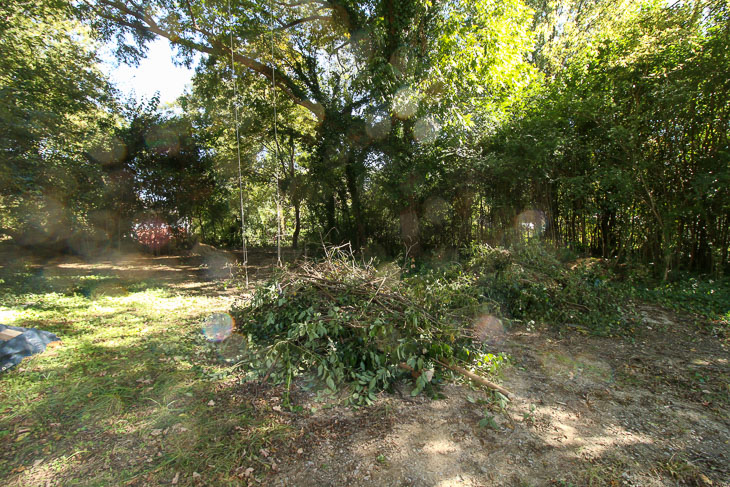
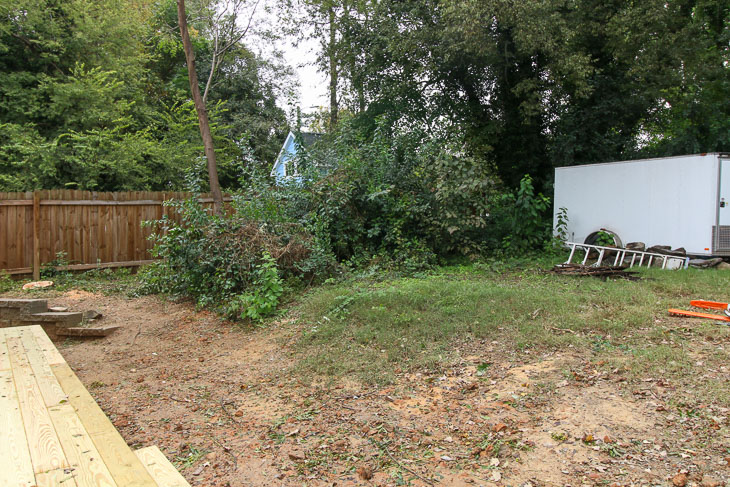
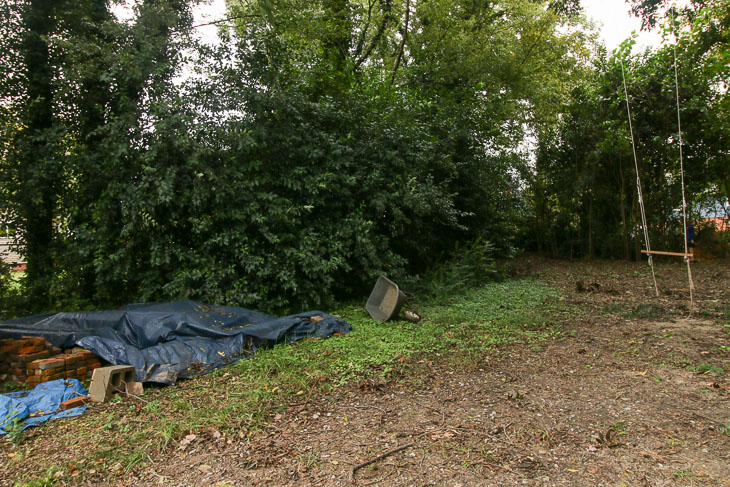
The Overgrown Mess of a Backyard:
Over the summer a healthy crop of weeds and brush took over most of the yard. After exterior construction was done, my husband and I loaded the boys into my truck and headed downtown. Luckily the weather was sunny and cool because it was a full day affair. Here’s the video of our work day:
By the end of the day we had cleared back at least 10 feet from each side of the yard and created three huge piles of yard waste.
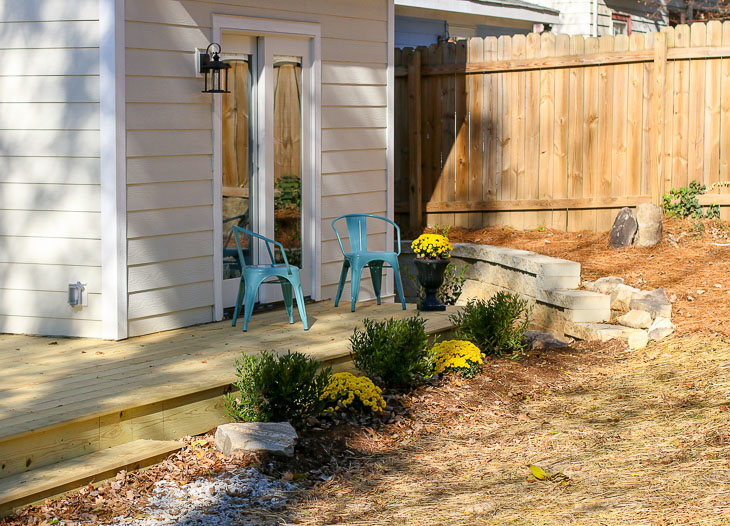
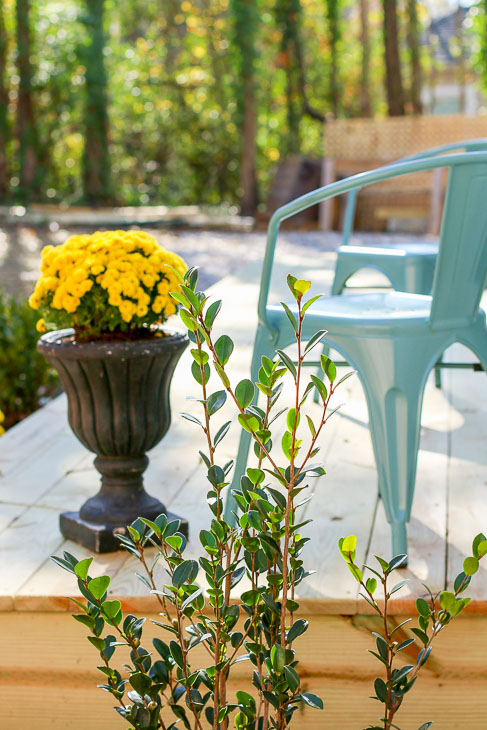
After removing the brush piles, the trailer, and leftover construction materials, we added some adirondack chairs and hung the porch swing I built using pallet wood. Isn’t this a peaceful scene? I could sit out on the swing for hours and take in the scenery.
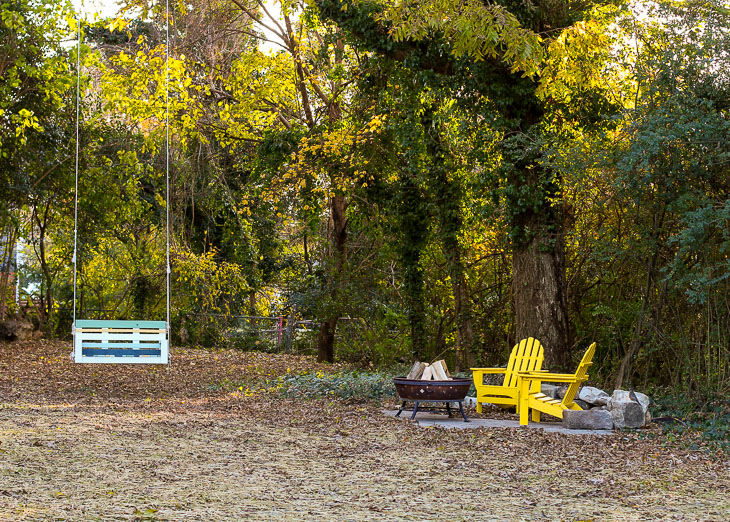
We staged the fire pit area on top of the old shed concrete pad. I decided to leave the pad should the homeowners want to build a shed in the future. Without a garage, a shed would be a good place to store additional yard equipment.
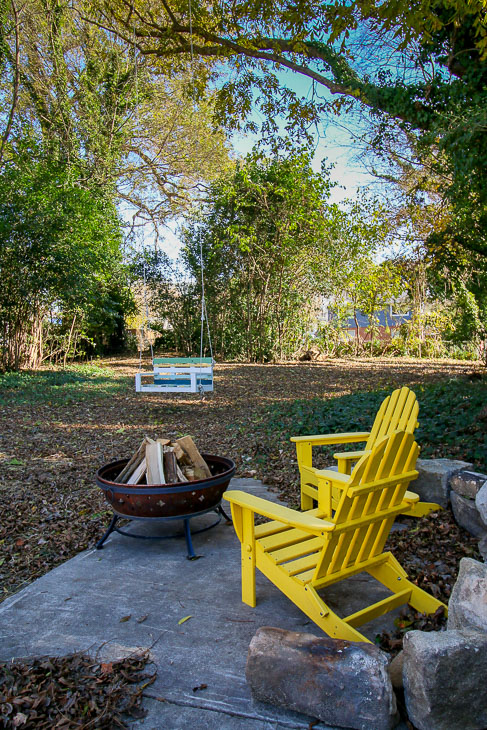
Or they might continue to enjoy it as a little patio and fire pit.
Hope you enjoy the rest of the before and after photos.
Before:
After:

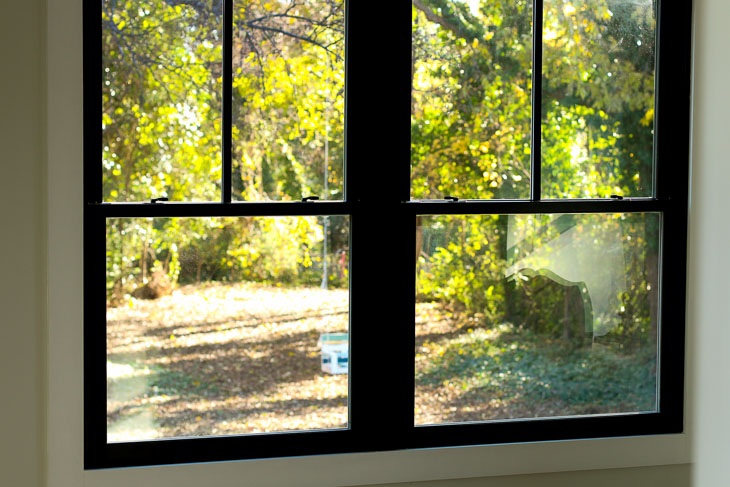
My favorite view of the backyard can be seen from the upstairs bedroom window.
It helps when the black Plygem Mira windows frame the view so nicely!
Before:

After:

Before:
After:

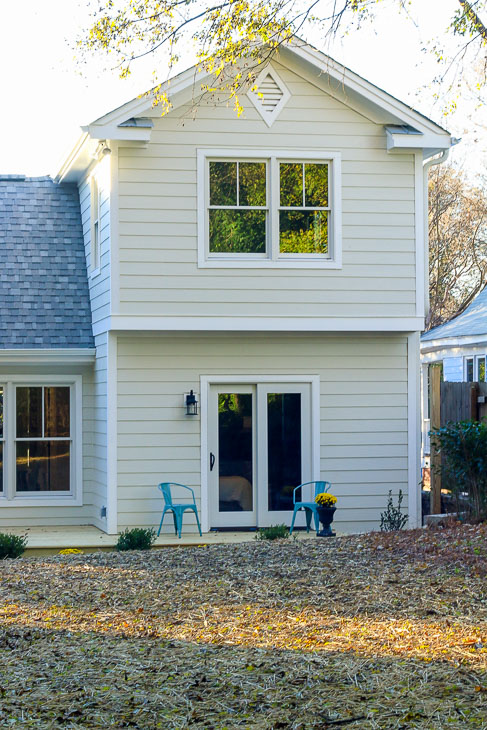
Adding a deck off the back of the house really extended the living area. I had always envisioned a little bistro set outside the master bedroom.

If I lived here I’d spend mornings sitting out there with a cup of coffee enjoying the view.
Before:
After:
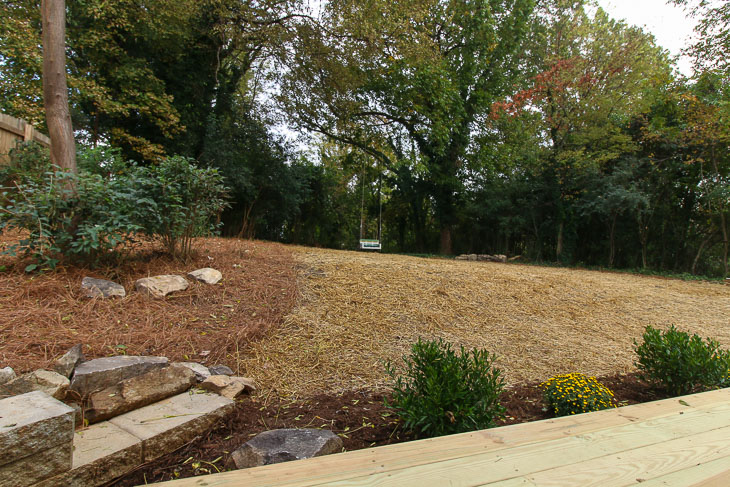
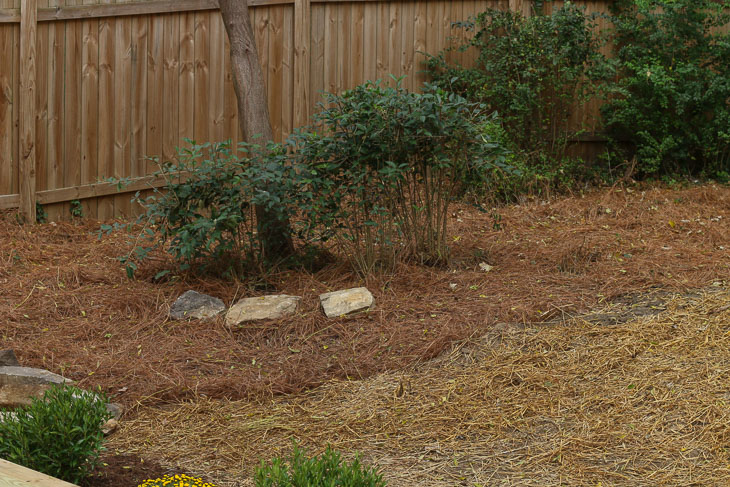
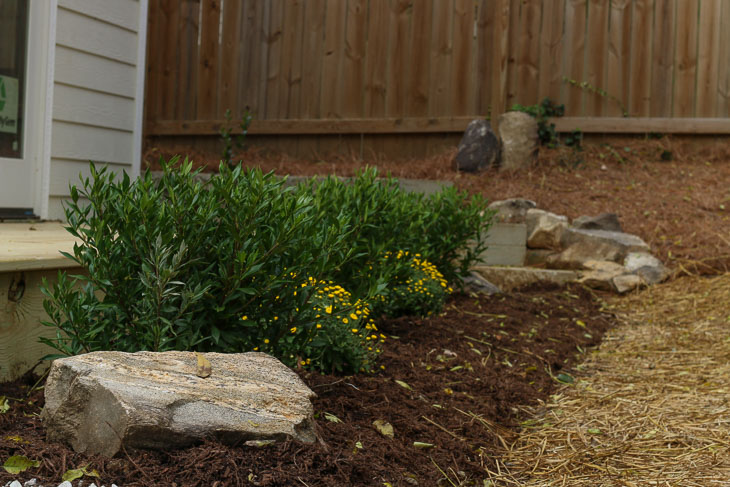
If you have a keen eye, you may have noticed all the big rocks in the landscaping.
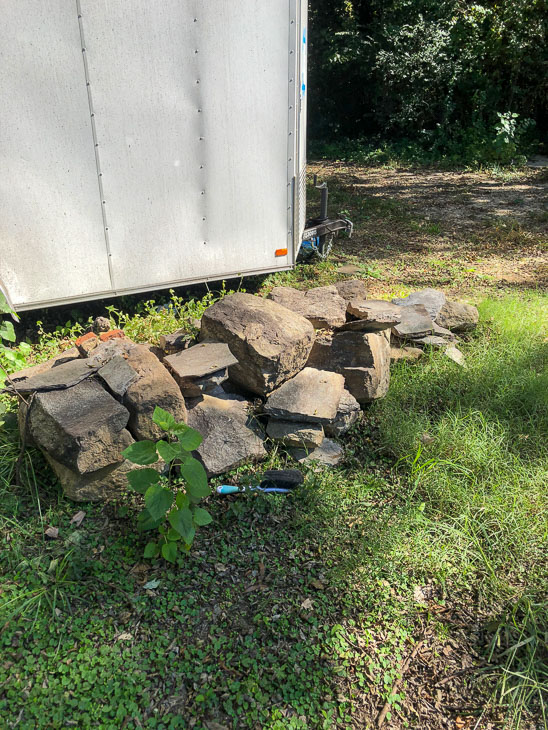
These were the pier stones from under the original 1900 portion of the house. The mortar between them had crumbled to dust and some weren’t offering any stable support to the house. Instead of hauling them away, I decided to keep them to incorporate into the landscaping.
This one with the stripe on it is my favorite. If I lived here I’d have to give it a name, like “spot!”
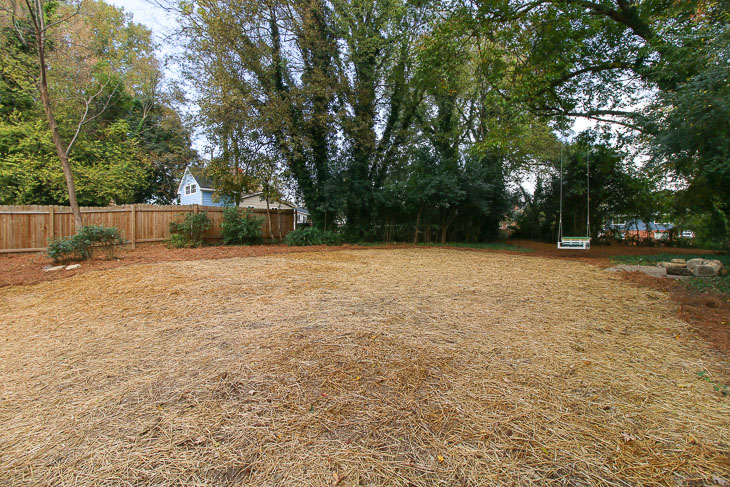
Isn’t it amazing how much this yard has been transformed? It feels so private and secluded despite being within walking distance to downtown Raleigh.

A few weeks later, with the help of lots of rain in North Carolina, the grass blades started coming up!
I hope you enjoyed seeing the backyard transformation. What do you think? Do you dream of a yard this big and beautiful?
I can’t thank the folks at STIHL enough for helping make this construction site into a dream yard. If you need to upgrade yard equipment (or buy your first yard tools), I highly recommend the STIHL battery-powered yard equipment. They are a joy to use and more environmentally friendly than gas-powered tools. You should check out the STIHL equipment at a retailer near you.

Disclosure: STIHL is a Saving Etta (and Pretty Handy Girl) sponsor. I was provided with STIHL tools and safety equipment to makeover the Saving Etta yard. In addition, I was provided with an expense paid trip to visit STIHL headquarters. I was not told what to write. All opinions and words are my own. I will always let you know if you are reading a sponsored post.
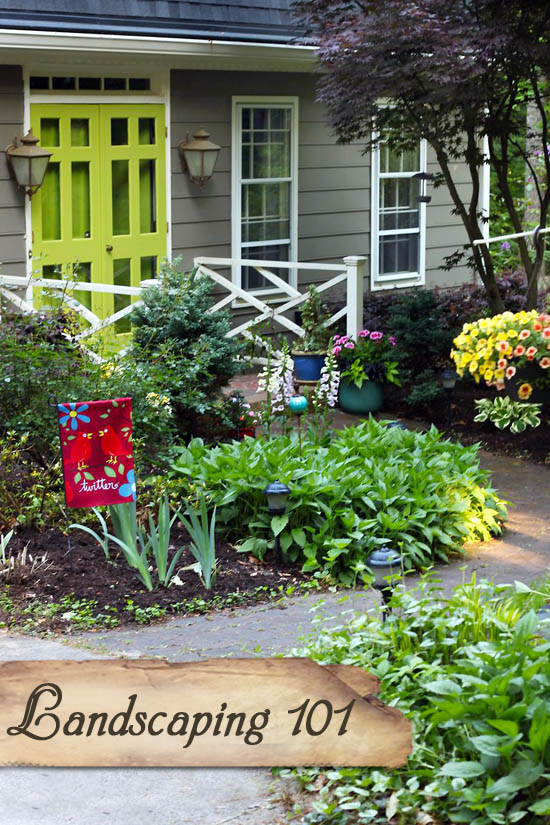
Want to know the basics principles for landscaping? Read this article I wrote to learn how to give your yard a mini (or mega) makeover yourself:
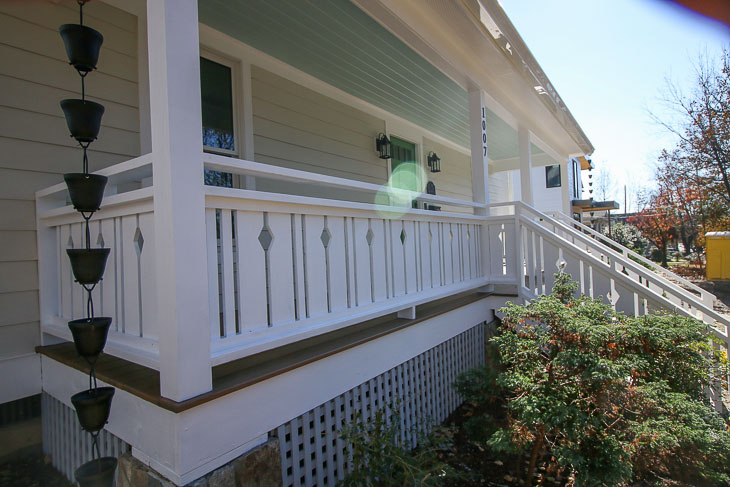
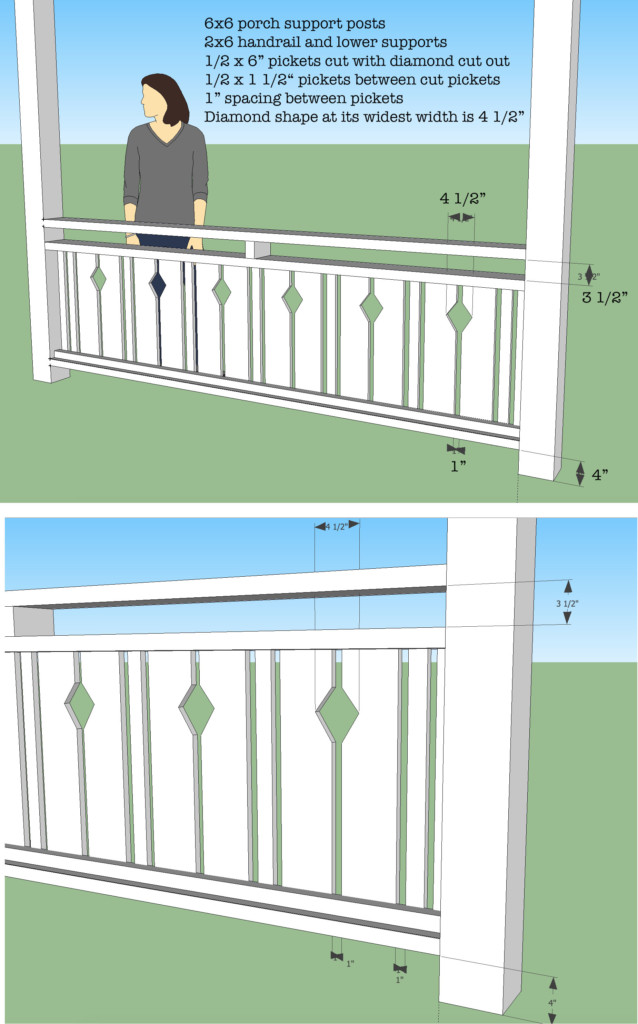
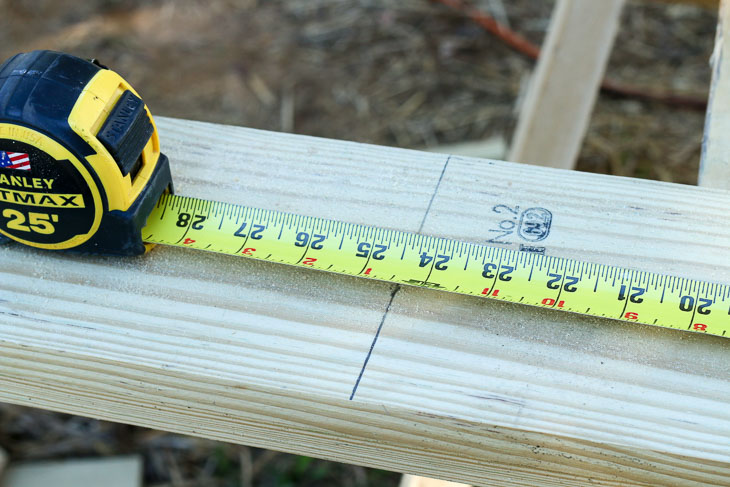
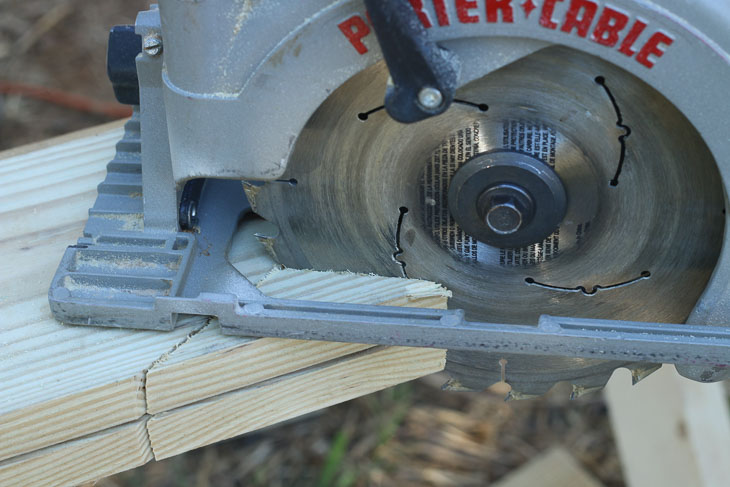
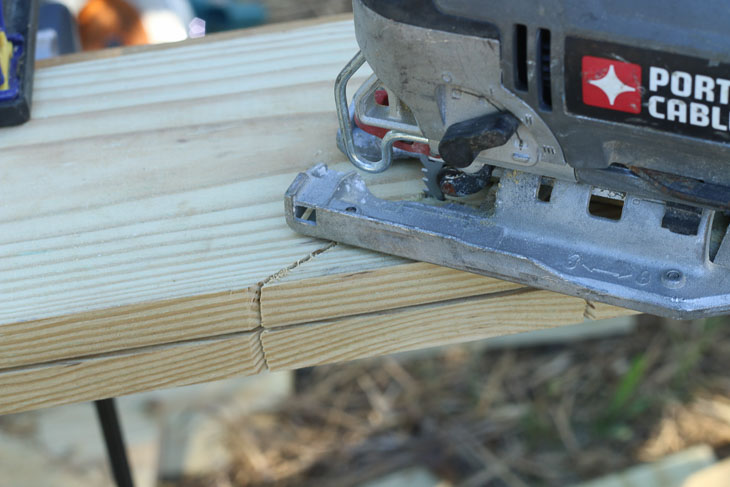
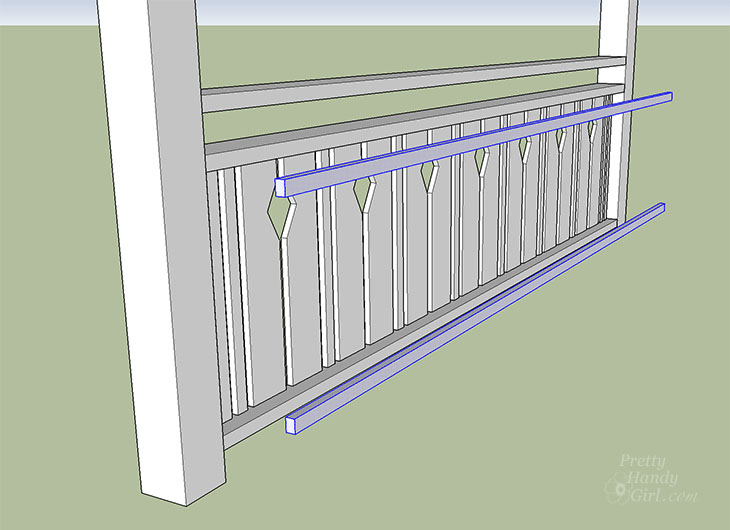
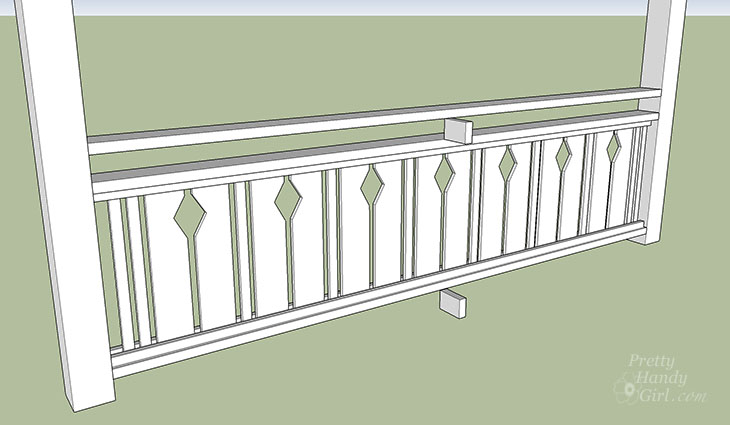
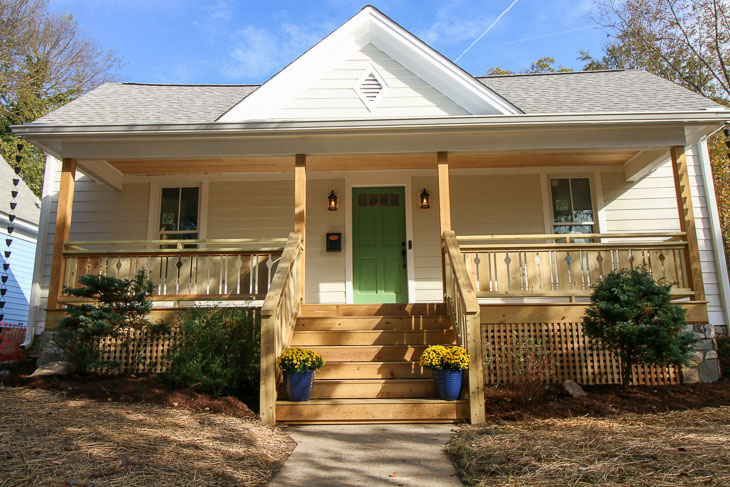
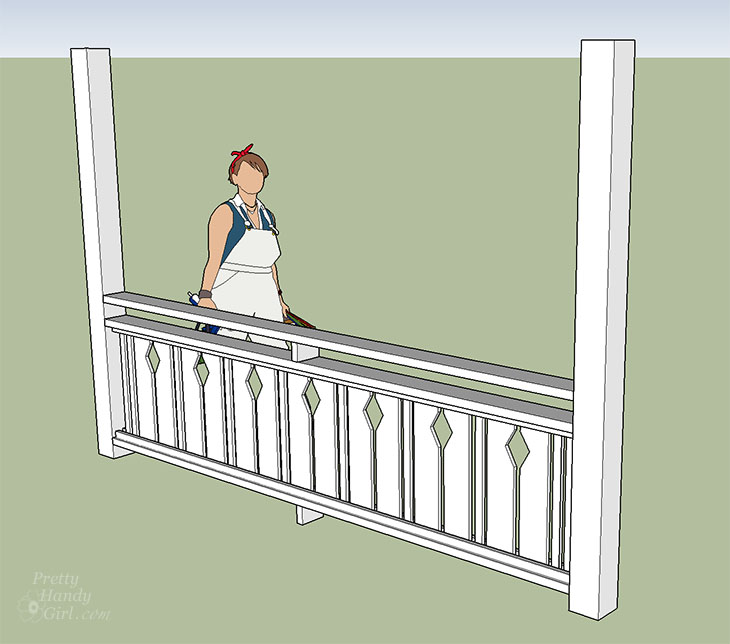
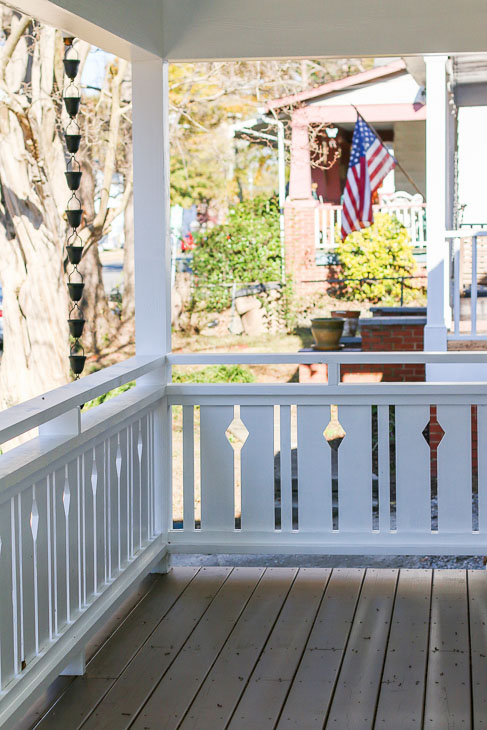
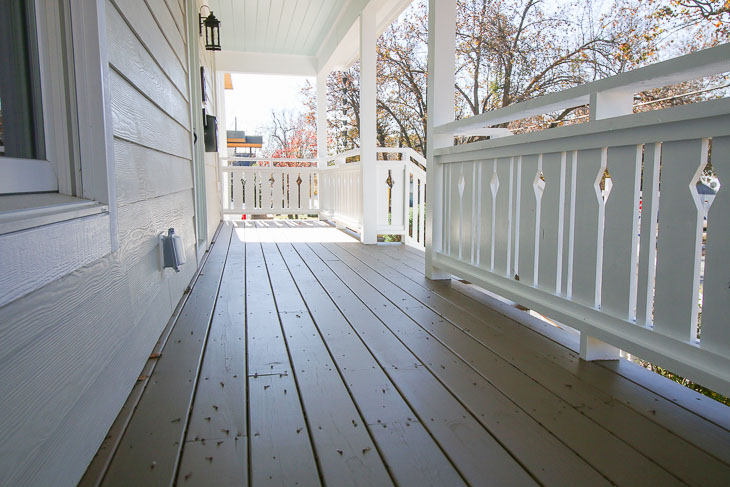
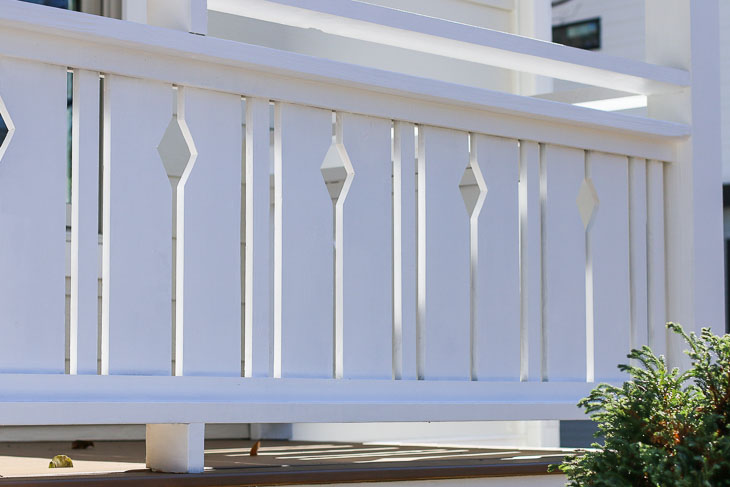
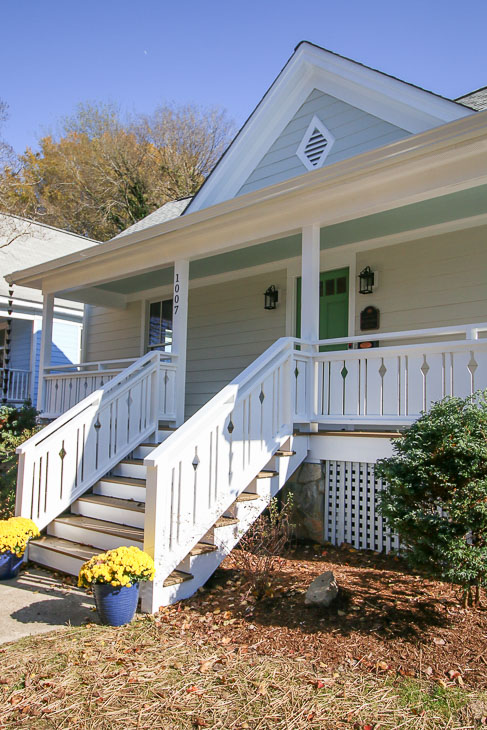
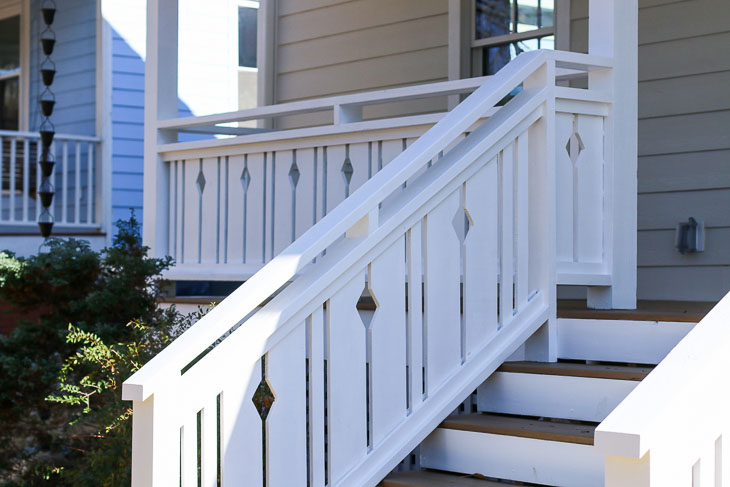
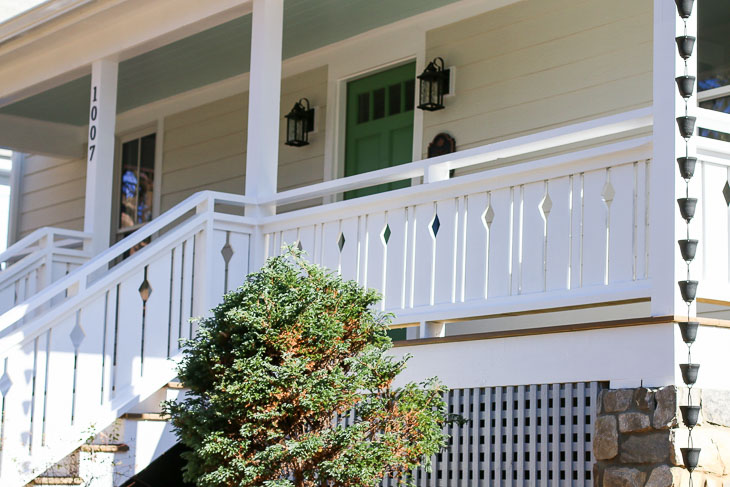
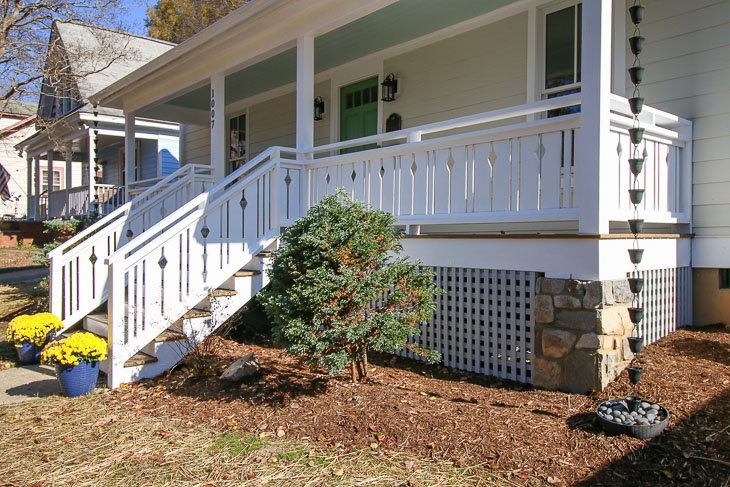
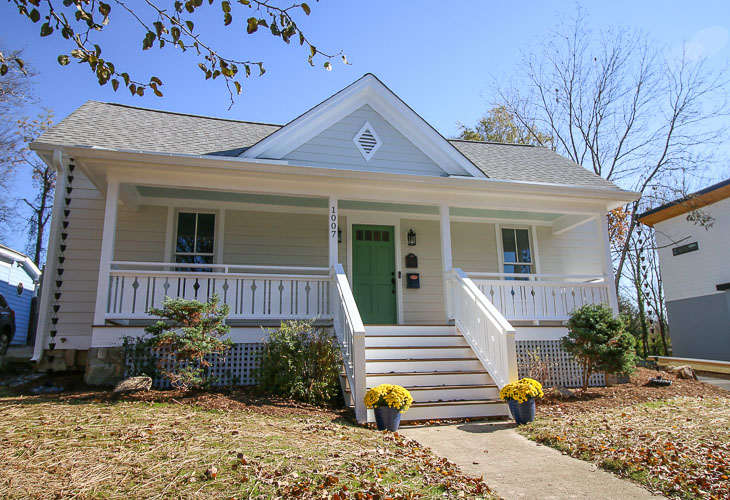
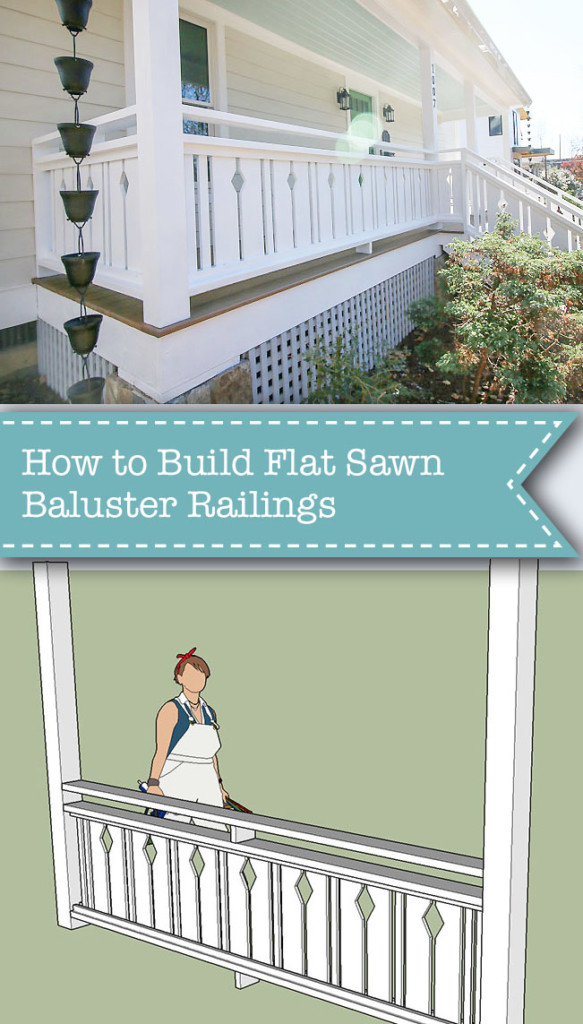 How to Build Flat Sawn Baluster Railings
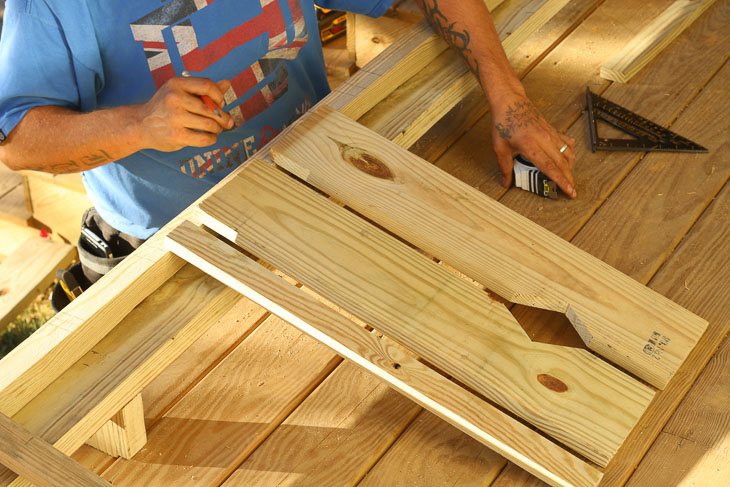
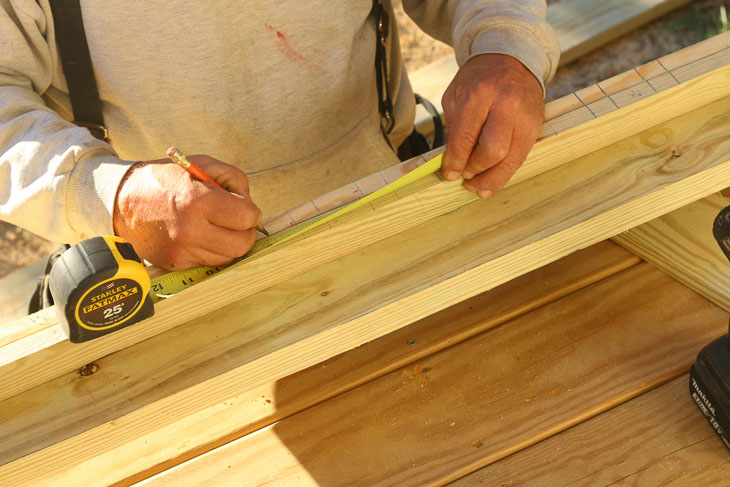
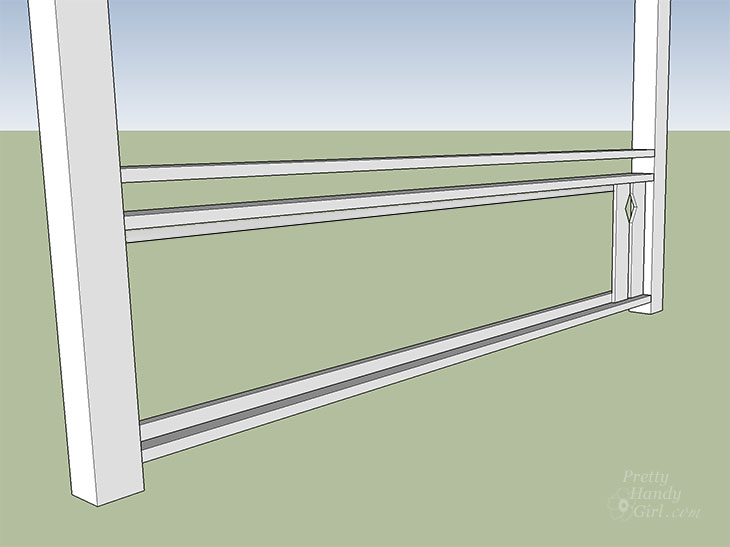
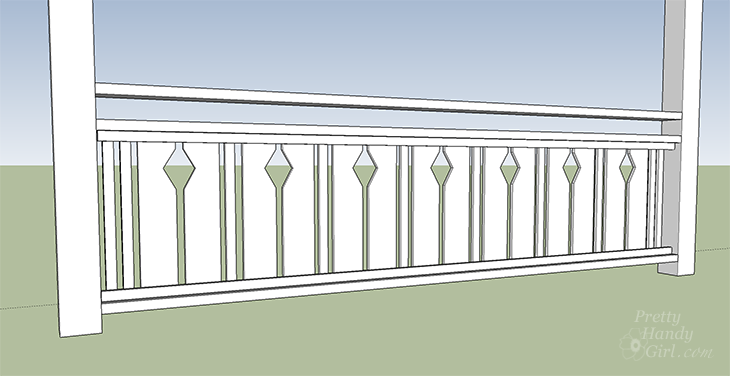
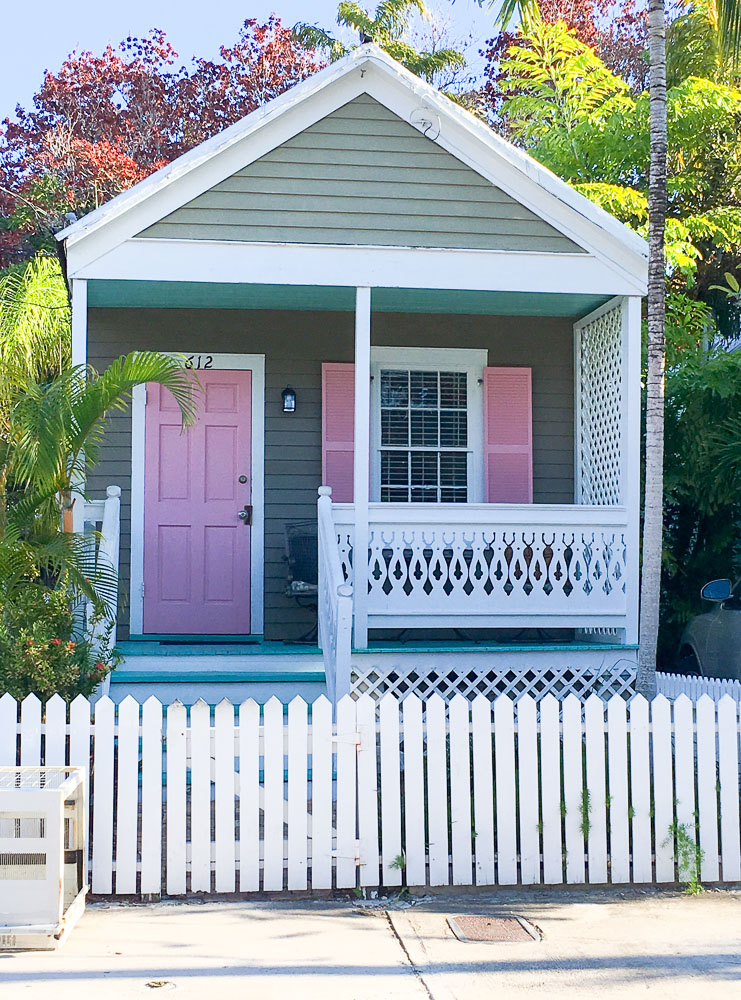 This is one of those beautiful architectural features I knew I wanted to use for the front porch at the Saving Etta house. Downtown Raleigh is filled with historic houses that have beautiful old flat sawn balusters. From the moment I laid eyes on the Saving Etta house, I knew the old metal railing would have to go.
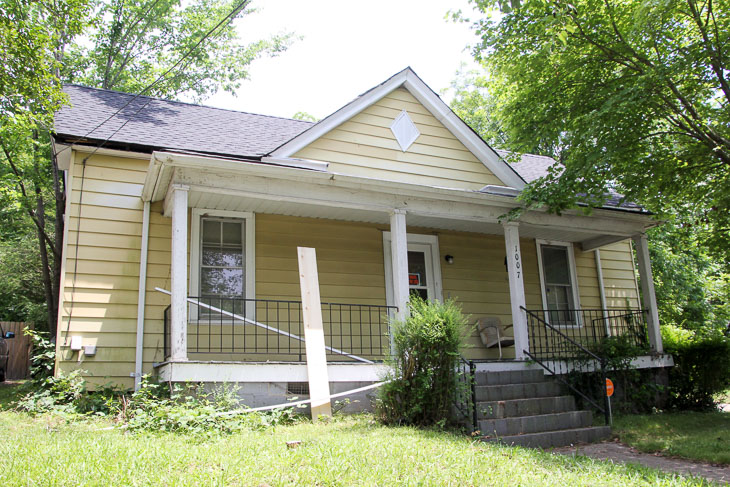
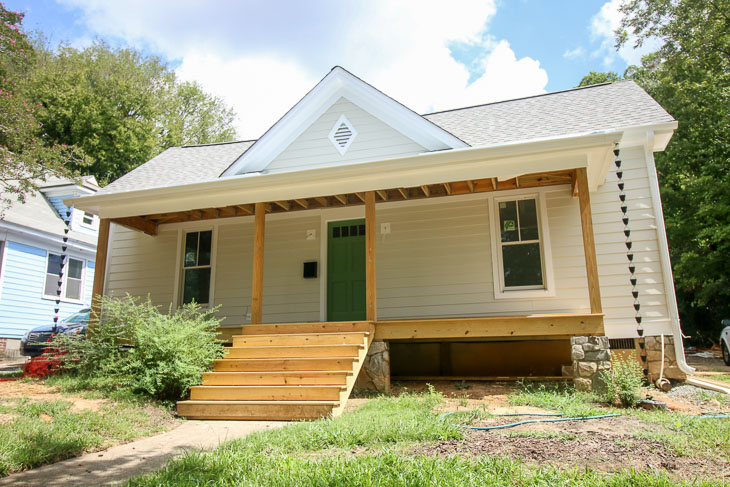


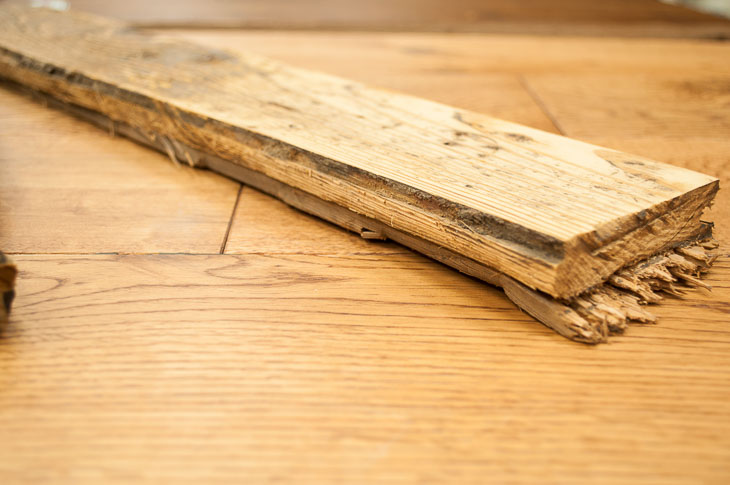
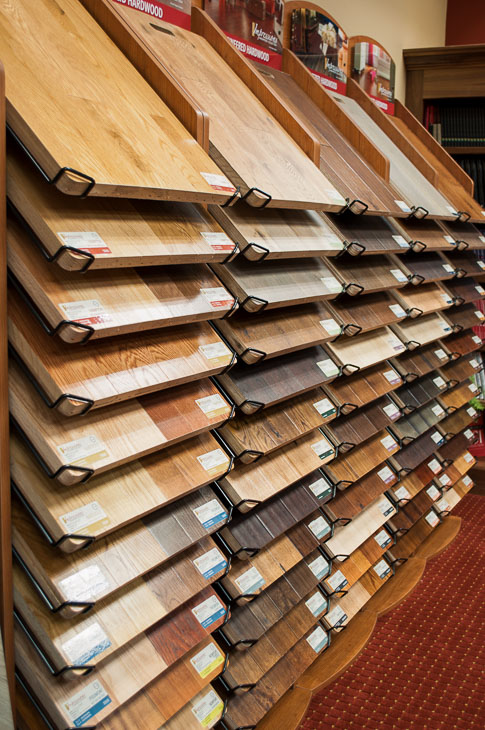
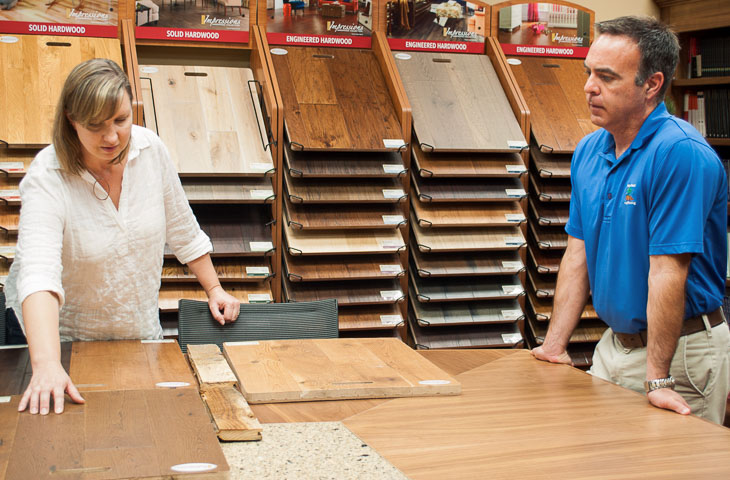
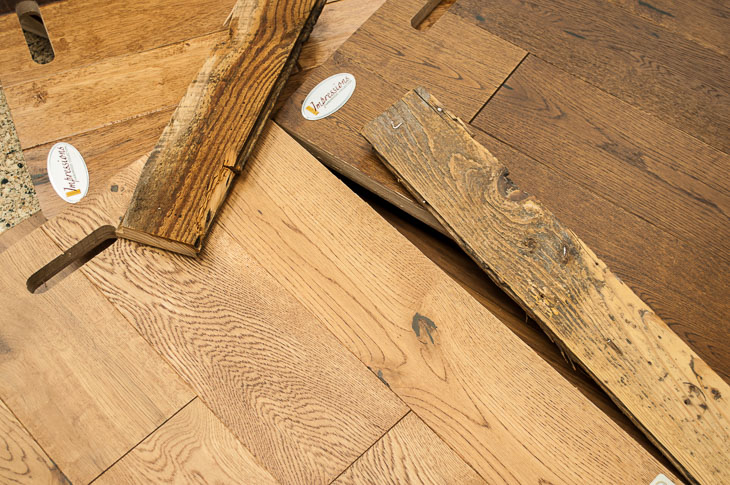
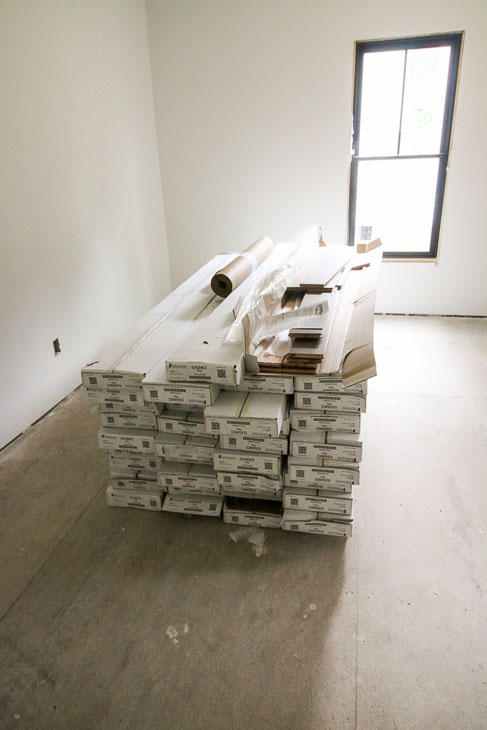
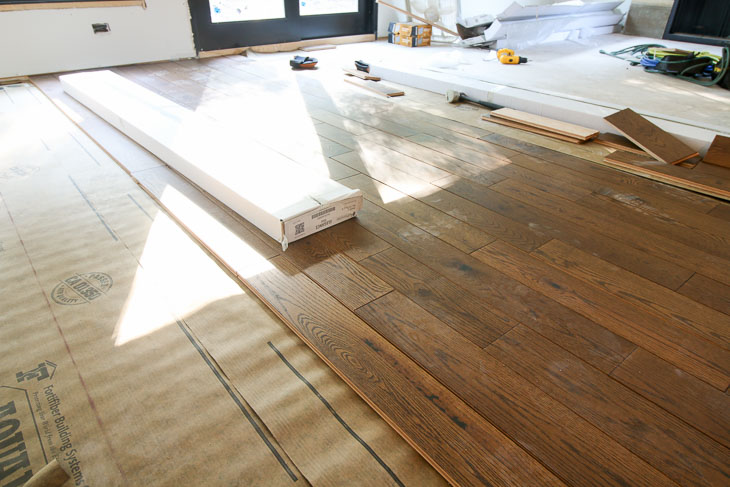
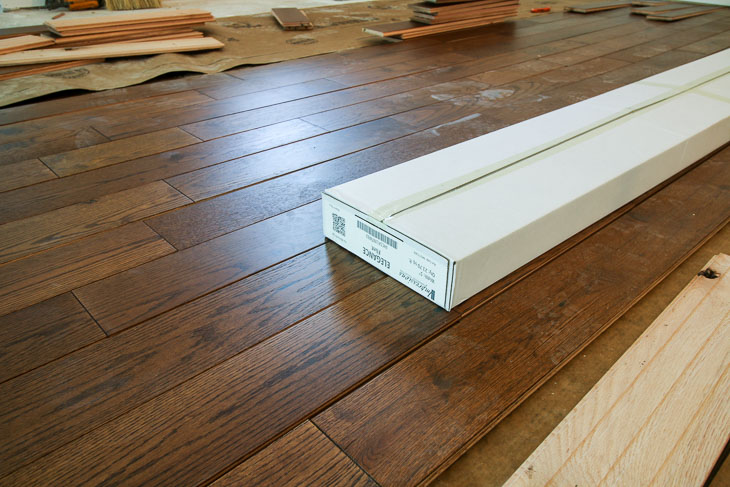
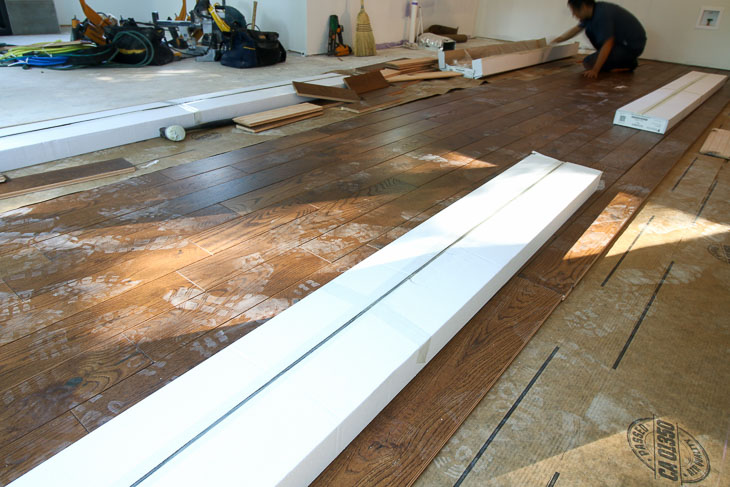
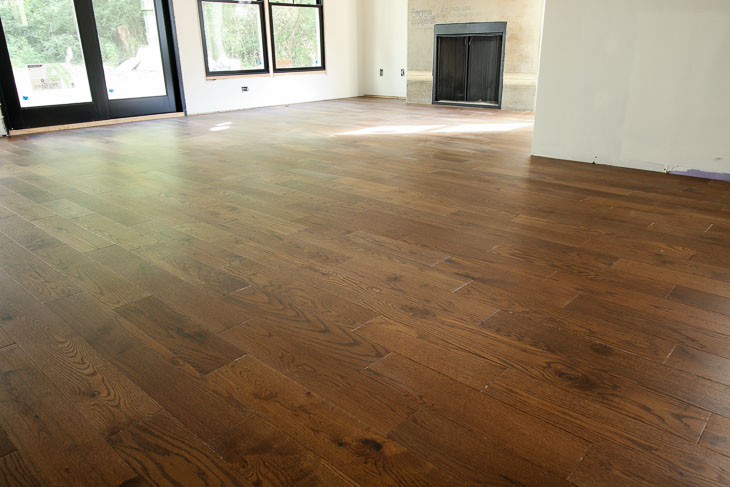
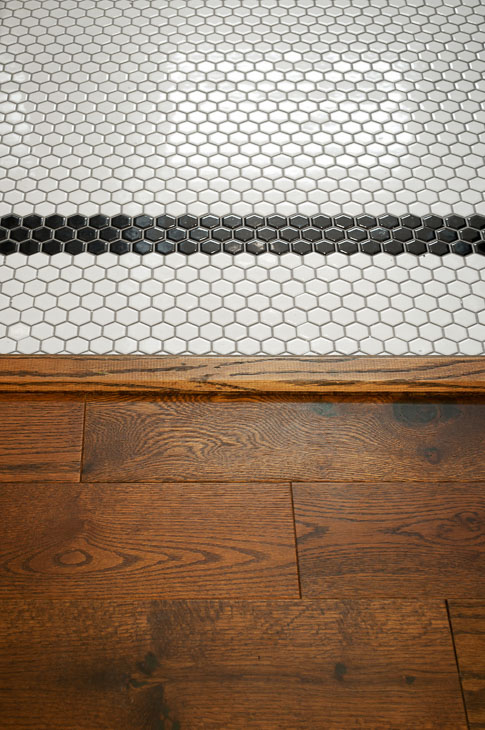
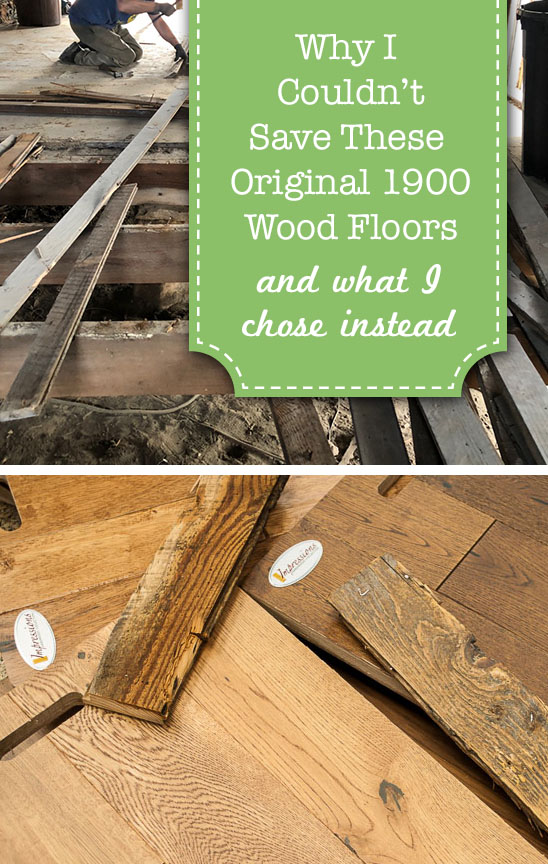 Saving Etta: Why I Couldn’t Save the Original 1900 Wood Floors