Easy! How to Install a New Showerhead | Pretty Handy Girl

Easy! How to Install a New Showerhead | Pretty Handy Girl

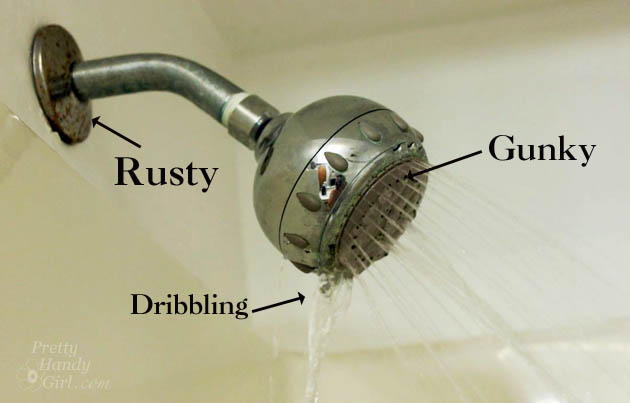
Raise your hand if you have a sad excuse for a shower head! Is it drippy, rusty or clogged? If you answered yes to any of those questions, I’m about to show you why there is no excuse for you being able to install a new shower head yourself! It’s super easy.

Easy! How to Install a New Showerhead | Pretty Handy Girl

Materials:

(I’ve included affiliate links for your convenience. I earn a small percentage from a purchase using these links. There is no additional cost to you. You can read more about affiliate links here.)

Easy! How to Install a New Showerhead | Pretty Handy Girl

Easy! How to Install a New Showerhead | Pretty Handy Girl

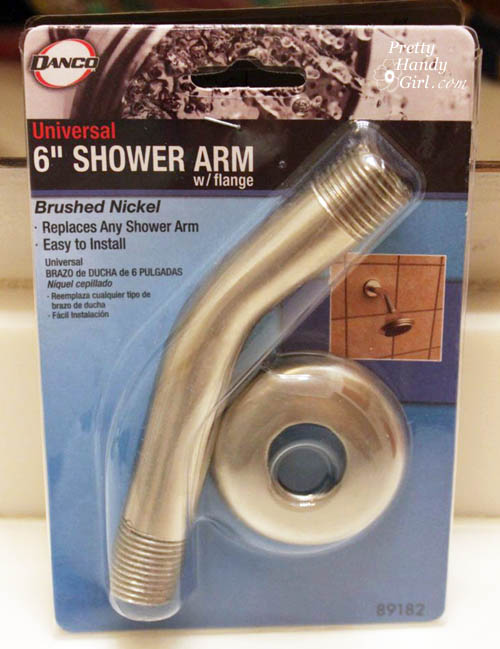
  • Optional: Shower arm & flange, rag to protect new shower arm

Instructions:

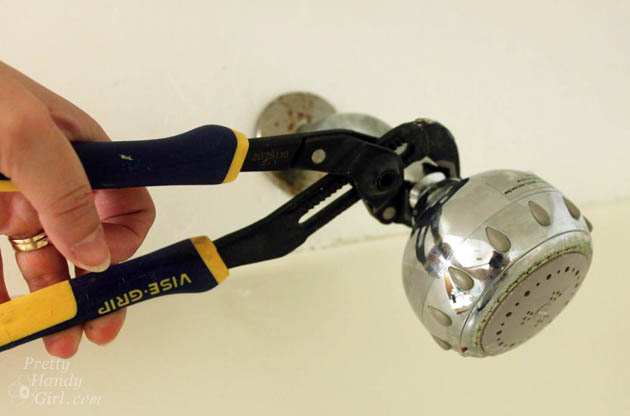
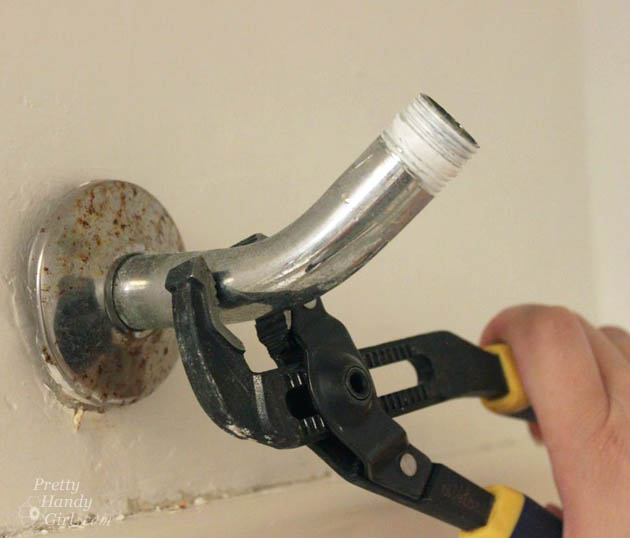
1. Remove the old shower head by unscrewing it from the pipe arm. Use pliers to help get it started.

Easy! How to Install a New Showerhead | Pretty Handy Girl

2. Unscrew the old shower arm if it is rusty or won’t match the new shower head. Remove that rusty flange (now is the time to do it! Don’t put it off any longer.)

unscreEasy! How to Install a New Showerhead | Pretty Handy Girlw-old-shower-arm

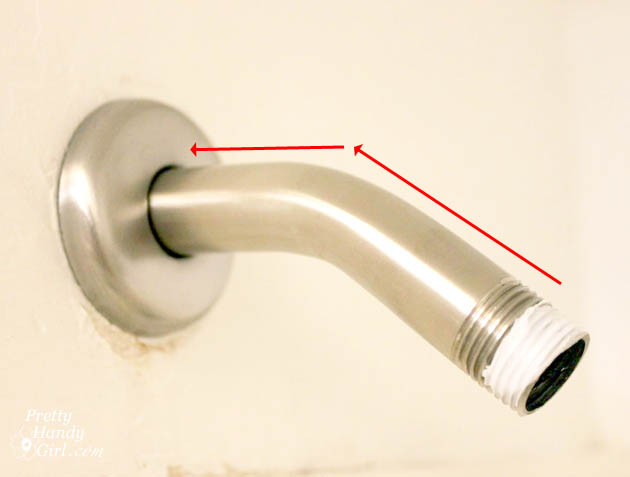
3. Replace the old shower arm with new one by screwing it into the plumbing pipe in the wall. Then slide the new flange over the arm.

Easy! How to Install a New Showerhead | Pretty Handy Girl

Wrap the end of the shower arm with plumber’s tape (wrap it clockwise to keep it from bunching up when you attach the new shower head.)

Easy! How to Install a New Showerhead | Pretty Handy Girl

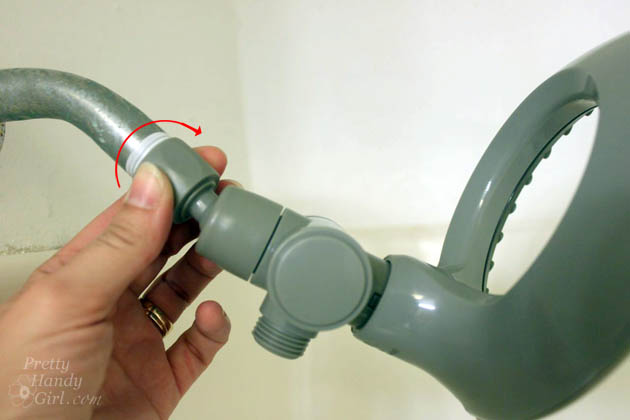
4. Screw the new shower head onto the end of the shower arm. Hand tighten the head. Then put the rag over the spot base of the shower head and use the pliers to tighten it 1/4 turn.

Easy! How to Install a New Showerhead | Pretty Handy Girl

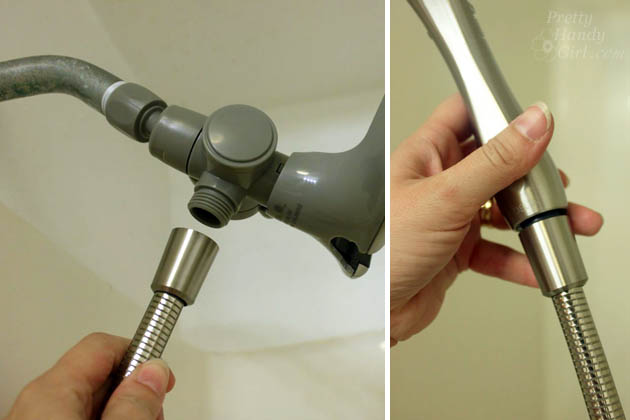
5. If your shower head has an extension hose, attach that at this time by screwing it onto the shower head and attaching the other end to the body sprayer.

Easy! How to Install a New Showerhead | Pretty Handy Girl

Turn on the water and test the spray! Beautiful! No drips or clogs? If you have some leaks anywhere, give an extra 1/4 to 1/2 turn to tighten it the shower head or hose.

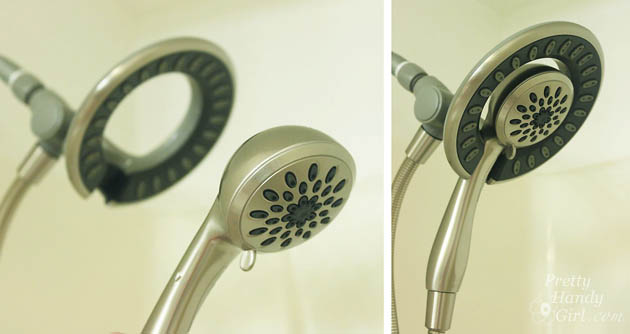
I installed the Delta In2ition shower head in the Topsail Beach Condo we renovated. I’ve been intrigued by this shower head and after trying it out, I love it!!!

Easy! How to Install a New Showerhead | Pretty Handy Girl

Because who wouldn’t love a shower head that sprays from the top even when you want a body spray too?

The interior head is fully removable and nests back into the outer ring when done body spraying.

Easy! How to Install a New Showerhead | Pretty Handy Girl        

The only initial drawback I found was getting used to setting the body sprayer back into the ring. Once I realized you have to push it in and down firmly, there was no problem.

Wasn’t that easy? Go on and replace your shower head today if you’ve been putting it off!

PHGFancySign

Disclosure: No disclosure necessary. I wasn’t paid or provided with the Delta In2ition shower head. My stepmom paid for it to be installed in the beach condo. I chose this shower head because I wanted to try it out.  


Pin for later!

How to Easily Install a New Shower Head

DIY Headlight Restoration | Pretty Handy Girl

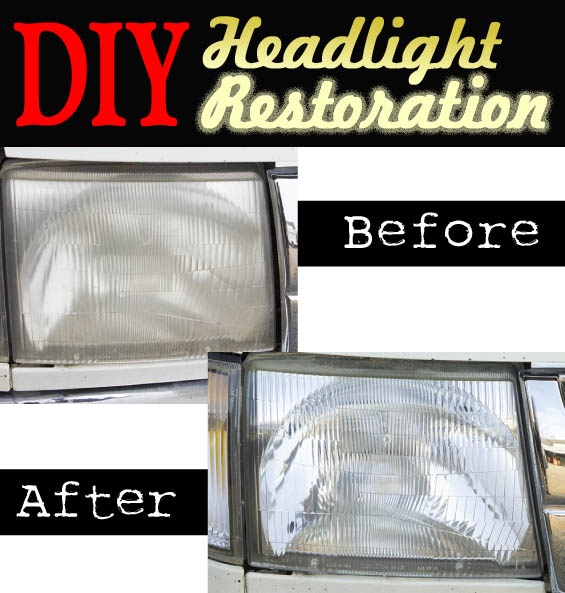
I have found that most of my driving is done when it’s dark outside.  I get up pretty early to go into the firehouse and on my drive in I tend to notice things around me, things like how bright my headlights are compared to other vehicles on the road. What surprises me is how many vehicles have cruddy looking headlights.  Nowadays most headlights are made from plastic.  It’s cheaper and more durable than it’s glass predecessor, but the disadvantage is that it’s prone to oxidation.  In simpler terms,  over time, ultraviolet light from the sun, breaks down the plastic, causing a hazy or yellow film to appear.  It lessens the effectiveness of your headlights and during the day, makes your car look bad.  Luckily, 3M Car Care makes a DIY Headlight Restoration Kit to get your headlights looking as good as new!

Materials:
(contains affiliate links)

The Kit contains:

  • 1- Disc Pad Holder
  • 1- 3Mâ„¢ Automotive Masking Tape
  • 1- 3Mâ„¢ Soft Interface Pad
  • 6- 3Mâ„¢ Sanding Discs (depending on your headlight condition, you may need more than 6)
  • 4- 3Mâ„¢ Finishing Discs
  • 1- 3Mâ„¢ Trizactâ„¢ Disc
  • 1- 3Mâ„¢ Headlight Lens Polish
  • 1-Buffing Pad
  • Headlight Protectant (not shown in this tutorial)

What Else You’ll Need:

  • Drill
  • Spray Bottle and Water
  • Several clean rags
  • Safety Glasses

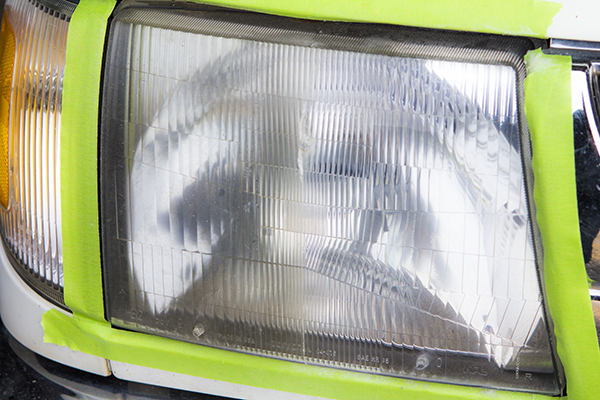
Here’s the condition of the headlight that I’ll be using in my restoration.

Read more

Curbside Vintage Step Stool Makeover

Curbside Vintage Step Stool Makeover

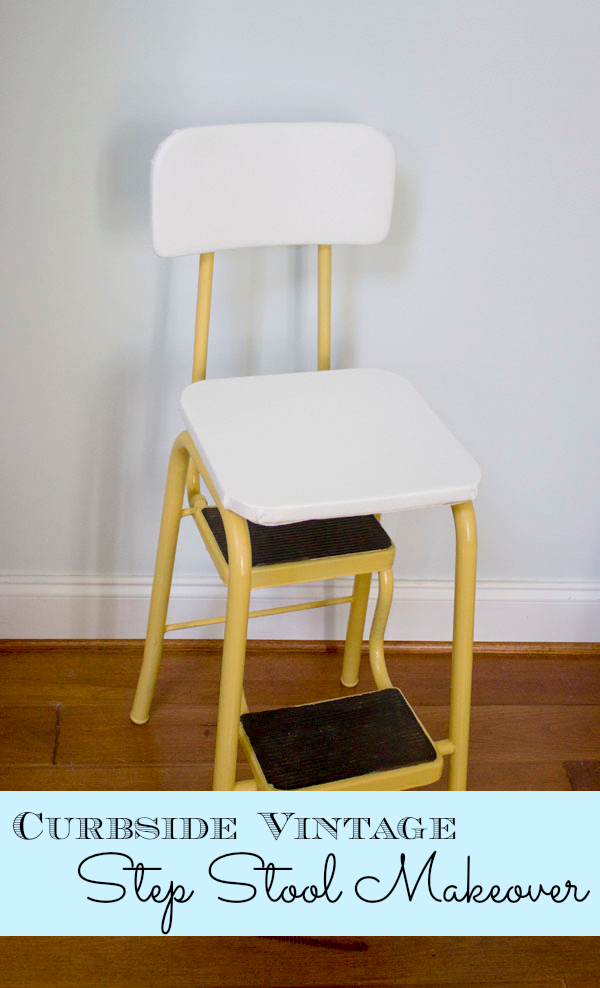
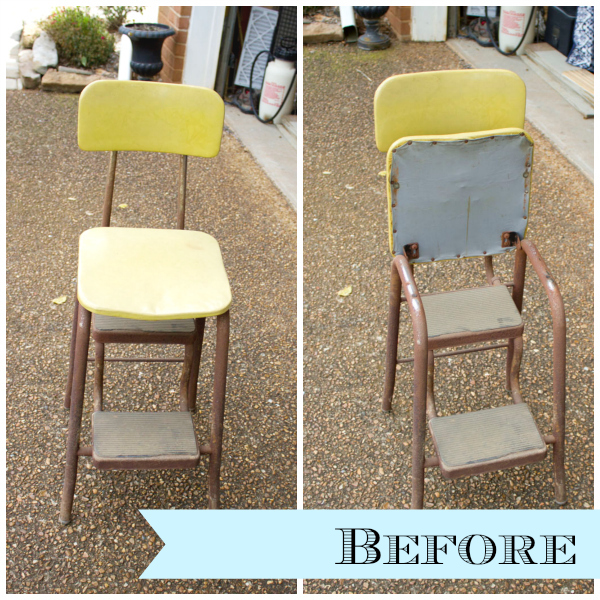
A few years ago, while driving back to work from my lunch break, I spied a very cool but sad looking vintage step stool sitting at the end of someone’s driveway next to their trash.  I passed by, but it didn’t take me long to circle around the block and come back to pick up the stool.  Unfortunately the step stool stayed untouched for at least 4 years.  This time it wasn’t in my garage, I left the sad step stool in the back room of my office. Good thing I’m the only one who goes back there!  I finally decided it was time to show this little vintage step stool some love. Check out this step stool makeover.

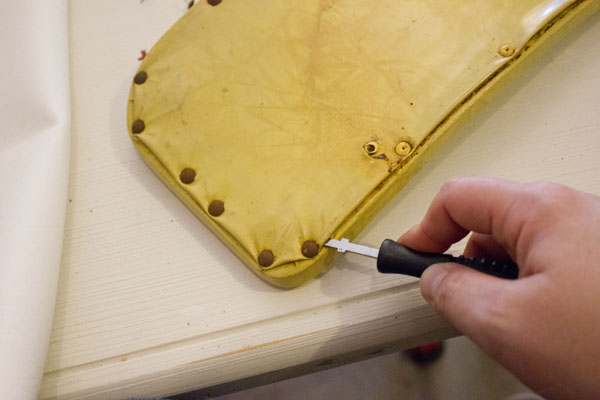
Curbside Step Stool MakeoverThe structure of the step stool was in fairly good condition, but COVERED in rust.  In some areas thicker than others.  I thought about using the old school method and hand sanding the stool like Jeff talked about a few weeks ago (Painting Metal Patio Chairs ) but decided if I tried this avenue I would be sanding for a few months.  I also considered using a sand blaster to remove the rust.  And while it is a fast effective method, it is not practical for everyone.  After much thought I finally decided on a 3M sanding disk that attaches to any drill. Let’s get to it shall we? Read more

Enjoy Your Newly Painted Patio Chairs

Painting Metal Patio Chairs

What’s worse than a rusted, faded, and drab looking patio chair?

Not being able to enjoy your outdoor space because of them!!

We all want to be proud of our homes and be able to have friends or family over. Don’t let a little paint get in the way of having fun with your loved ones. I’ve made the mistake of thinking that repainting a metal chair will take forever and isn’t worth the time or effort. But I’m here to tell you that if my wife thinks the chairs in this post look good then you will, too.

By the end of this short tutorial you’ll transform your chairs from looking worn out to AWESOME in 5 easy steps. I did make a few blunders though, so please read on so you don’t fall victim to the same mistakes.

Here are the supplies you’ll need: Read more

how_to_move_floor_vent

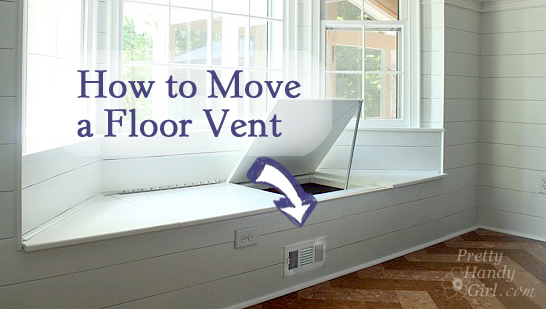
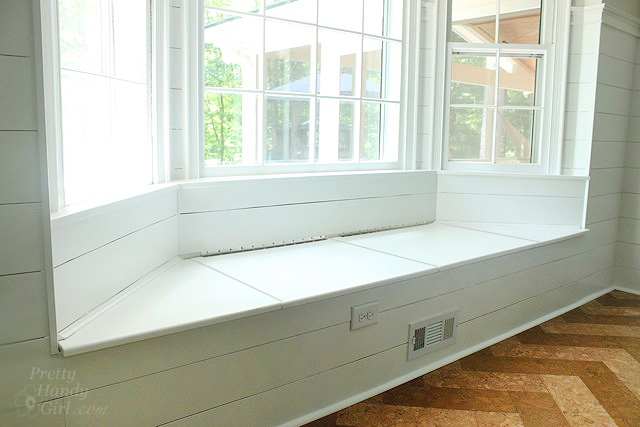
Remember last month when I showed you how to build a window seat in a bay window? I had promised to share with you how to move the floor register. I’m true to my word and am back with the tutorial today.

window_seat_bay_window_storage

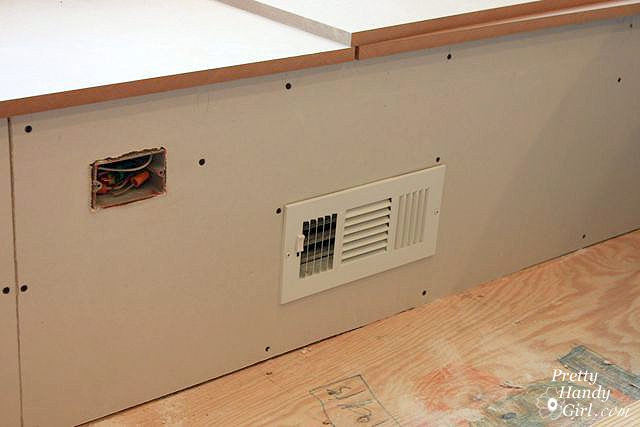
When I built our kitchen window seat, I had two obstacles in my path. The first was moving the wiring for the outlet, the electrician and I simply pulled the wiring down from the outlet on the wall and re-routed it into the new outlet box in the front of the window seat. A relatively easy task. Moving the HVAC vent wasn’t very difficult, it just involved a little more cutting and measuring. But, this is a task you can handle!

I have seen some other methods for re-routing the floor vent. One such method involved building a wooden box to channel the air out the front. I caution you from doing this if you live in a humid climate. Mold can grow inside the wooden box. You could build a channel with HVAC rigid ductwork, but you’d be adding an extra turn which can cut down on the airflow. Another alternative would be to move the register to another location in the floor. I chose to move it to the front of the window seat.

How to Move a Floor Register Materials:

  • Carpenter’s Square
  • Pencil
  • 90 degree Ductwork (if you can’t use the existing)
  • Wall register
  • Small level
  • Roofing nails
  • Zip tie
  • Foil duct tape
  • Dremel Multi-Max
  • Drill with bits

Instructions: Read more