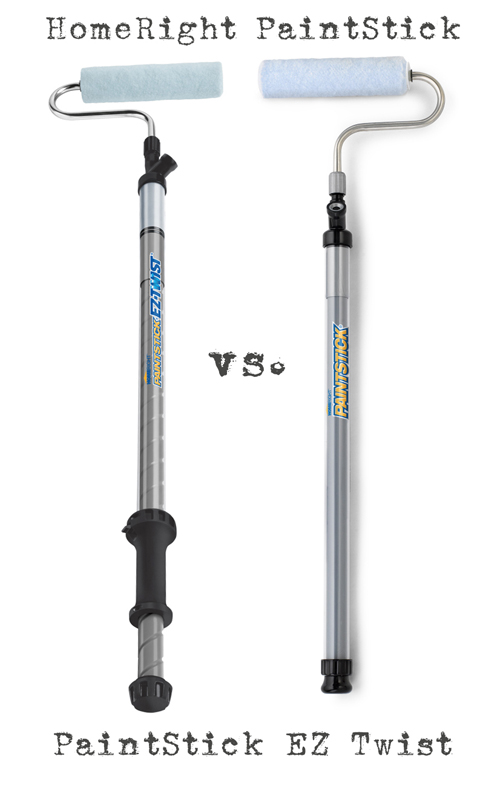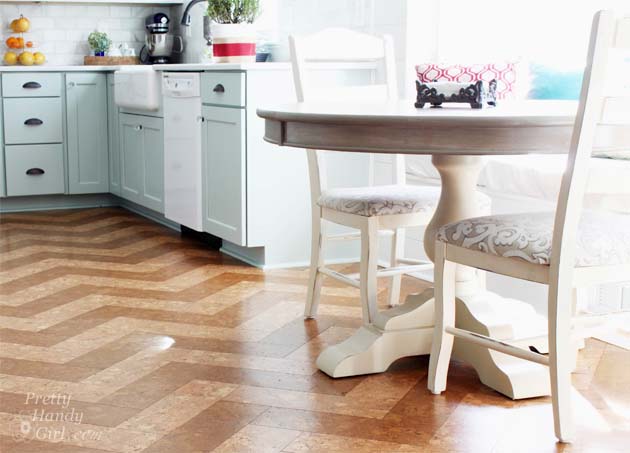
My home is protected by ninjas! Well, actually Tae Kwon Do athletes, but they are ninjas in training. So, don’t even think about breaking into our house or they will open up a can of whoop ass on you! 😉
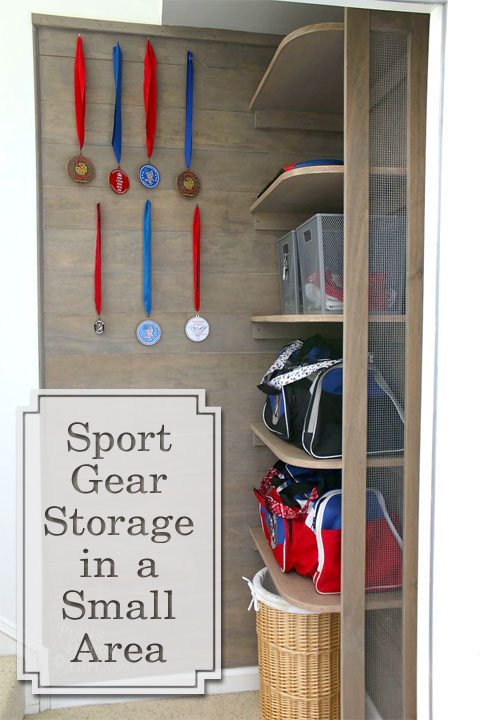
Unfortunately, where my boys are plentiful in kicking and punching skills they lack in the picking up your stuff department. Which means that the bottom of the stairway to our bonus room is usually the dumping ground for their gear bags, clothing and gear.
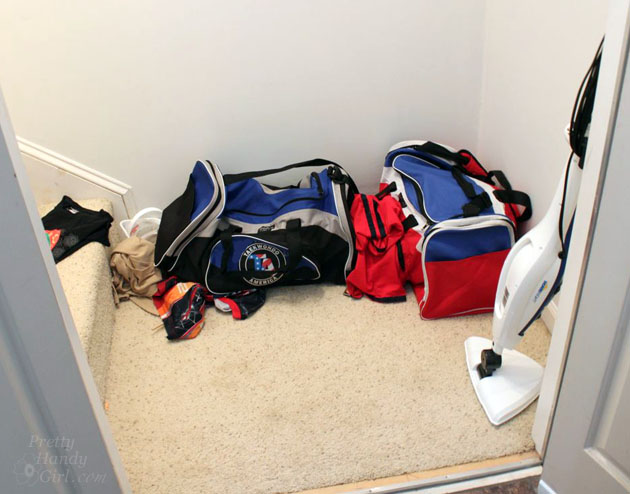
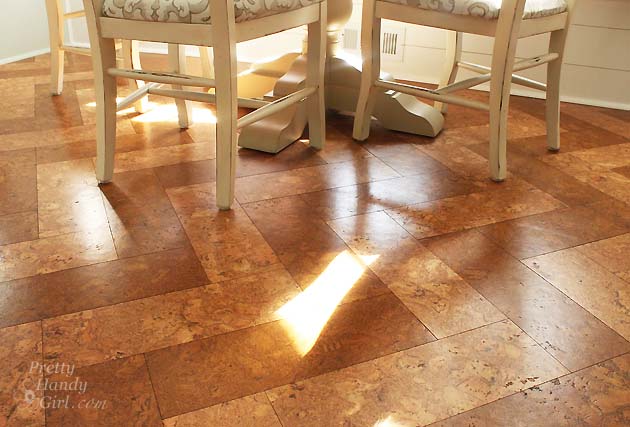
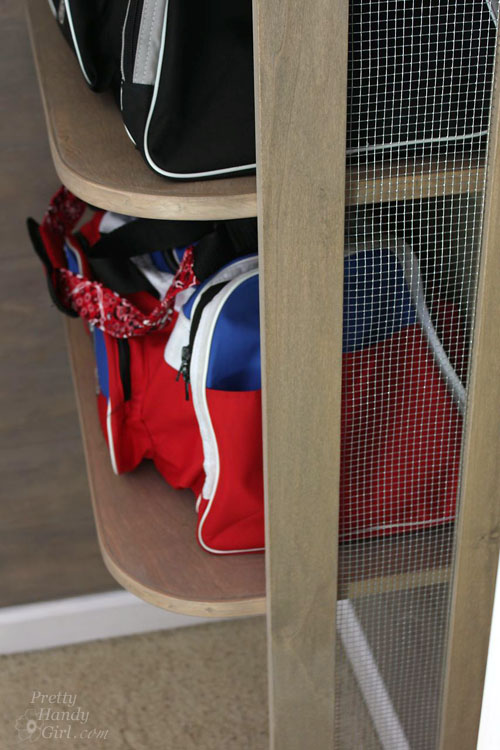
I knew I could “up” the amount of storage we had in this small unused space by going vertical. I designed and created Sports Gear Storage Shelves in the small space at the base of our bonus room stairs. Adding mesh siding gives the storage system a locker vibe and allowed for better air flow around stinky sports gear.
Want to know how to build your own Sport Gear Storage Shelves? Hang out for a while and I’ll walk you through the step-by-step tutorial.
Materials:
- 6 – 1 x 3 x 8′ poplar boards
- 1 – 4′ x 4′ x 3/4″ finish grade plywood
- 2 1/2″ wood screws
- 1 1/2″ cabinet screws
- 1 1/4″ pocket hole screws
- Wood shims
- Wire mesh
- Stain (or paint)
- Wood glue
- Finish nails
- Wood putty
- Putty knife
- Kreg Jig
- Hand saw or coping saw
- Power sander and sandpaper
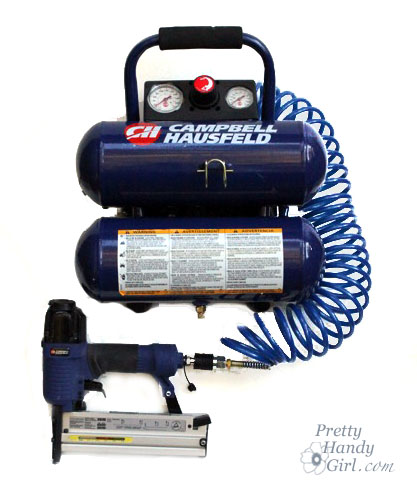
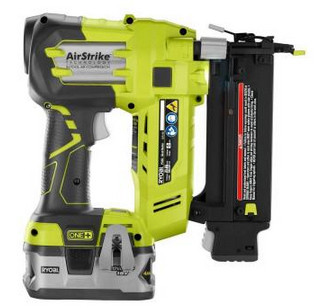
- Nailgun
- 1 1/4″ finish nails
- Tape measure
- Level
- Pencil
- Painter’s Tape
- GRR-RIPPER 3D Pushblocks
Cut List:
- 5 – 15″ x 24″ plywood (shelves)*
- 5 – 1 x 3 x 15″ (shelf cleats)
- 5 – 1 x 3 x 23″ (shelf cleats)
- 2 – 1 x 3 x 88″ (sides of support frame)
- 2 – 1 x 3 x 4.5″ (top & bottom of support frame)
- 1 – 5.5″ x 84″ piece of wire mesh
- Rip edge banding 1/4″ thickness from one 1 x 3″ board
* You should be able to get a sixth shelf cut from your plywood if you wish to use it for a base.
Instructions:
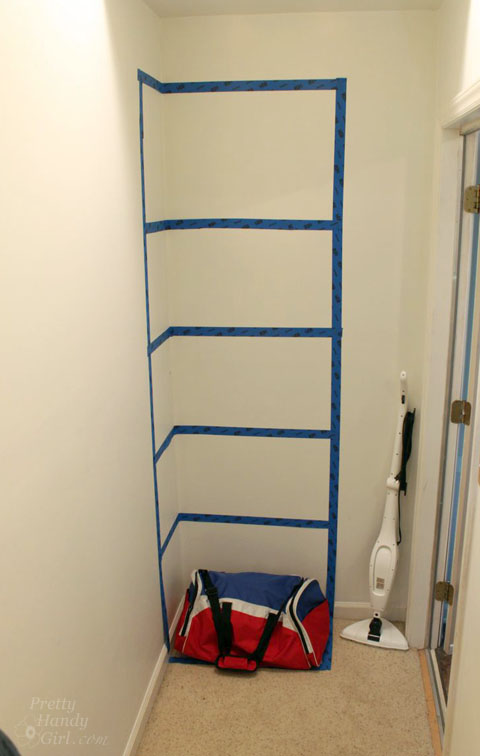
Before beginning to build, sketch out your design with painter’s tape. Take note of the height of any baskets or gear bags you will store on the shelves. This should give you the ability to visualize the storage shelves and make any alterations to your design before you build. Once you are happy with the layout, write down your shelf heights.
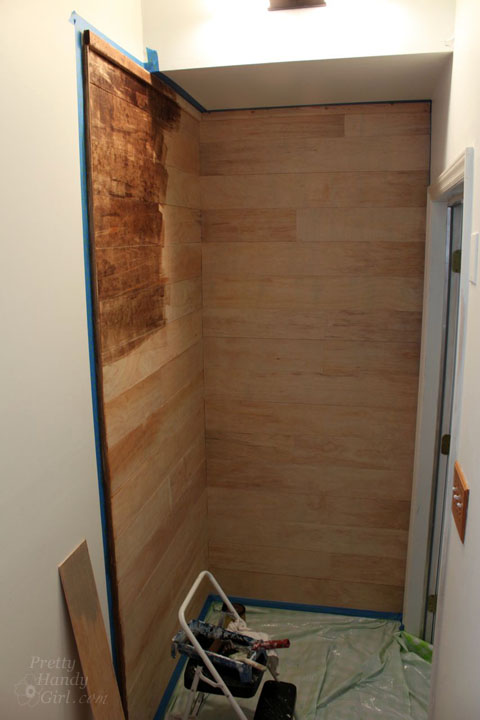
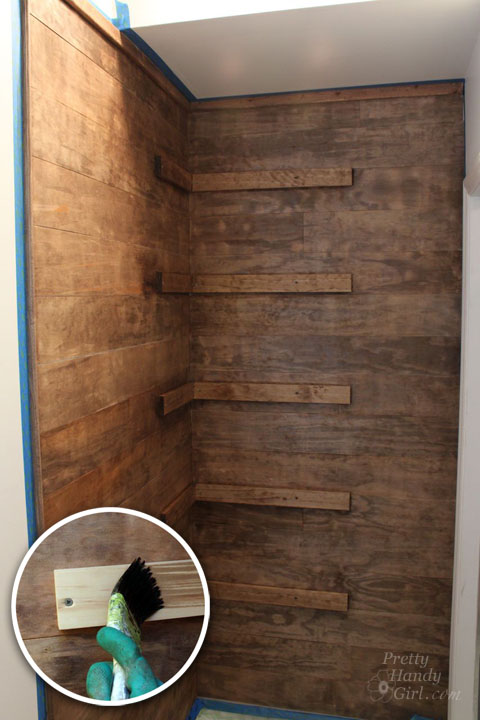
You may wish to clad the walls in wood planks like I did before you build the shelving. If you decide to add the planks, here’s the tutorial for planking your walls.
Measure and mark the heights of your shelves.

Using a level, draw a pencil line where the shelves will rest.

Secure the 1×3″ cleats below the pencil line using 2 1/2″ wood screws into studs.
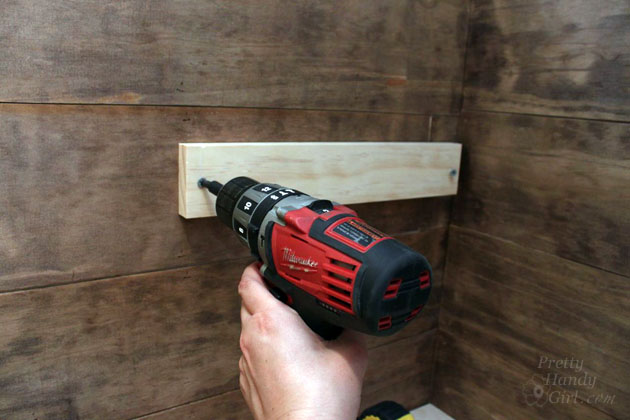
Continue securing shelf cleats to the wall with screws into available studs.
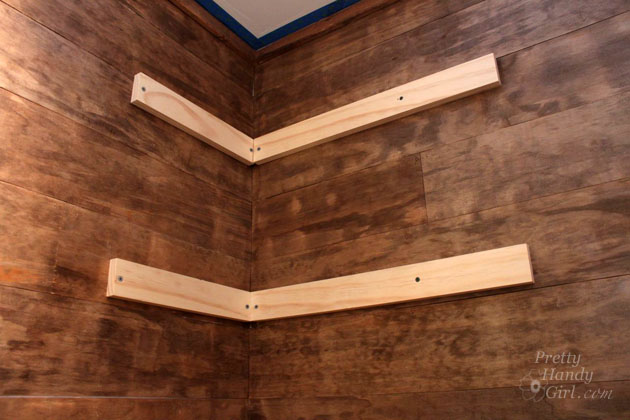
Paint or stain the cleats to match the wall color.
Building Curved Shelves with Edge Banding: Read more