Faux Zinc Painted Chalkboard File Cabinet

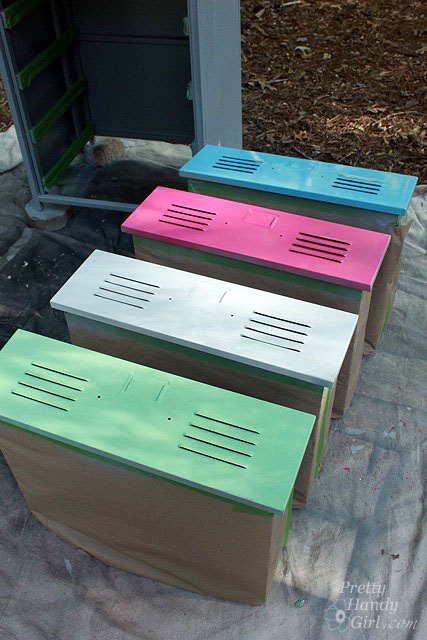
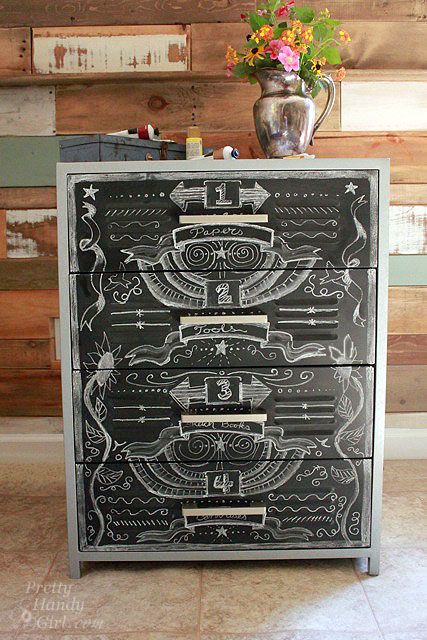
This summer I was thrifting with a few friends and stumbled across an ugly cabinet at the Goodwill. The metal chest had extra wide and deep storage, but the worst colors imaginable! The hot pink and mint green were disguising the true potential of the chest, but like a color-blind dog, I was able to see beyond its garish appearance. In my mind, I pictured a vintage metal cabinet with a faux zinc side and chalkboard drawer fronts.

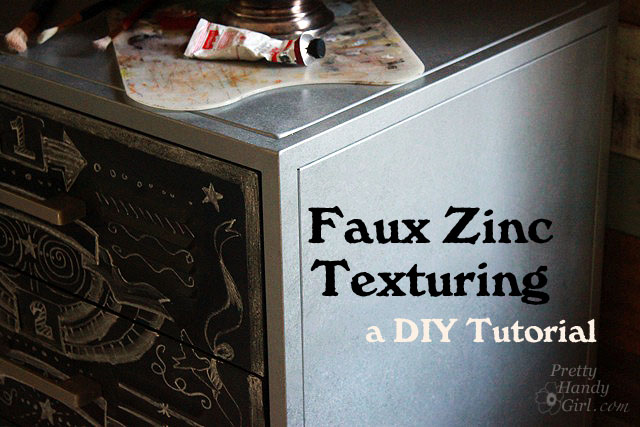
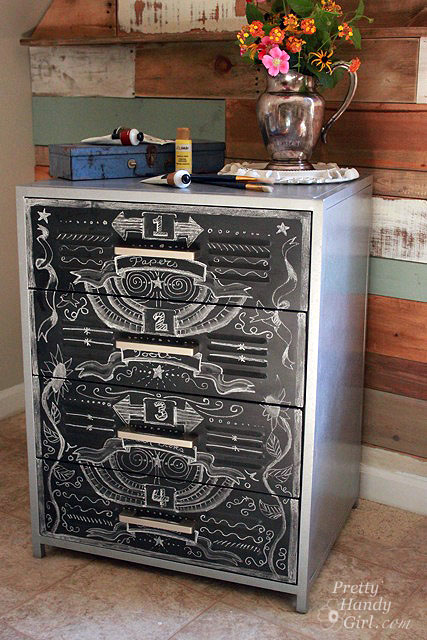
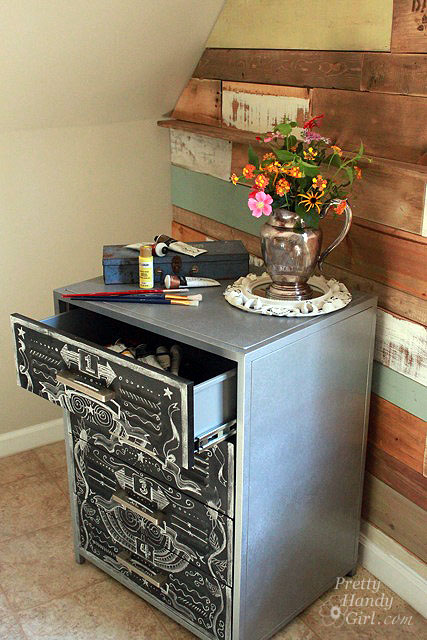
I scooped it up and brought it home. Then the poor chest sat in our garage for months and months until I had a chance to work a little spray paint magic and turned it into….this thing of beauty:

Yes, that is the same chest of drawers! You could do the same transformation.

Materials:

(I’ve included affiliate links for your convenience. I earn a small percentage from a purchase using these links. There is no additional cost to you. You can read more about affiliate links here.)

Instructions:

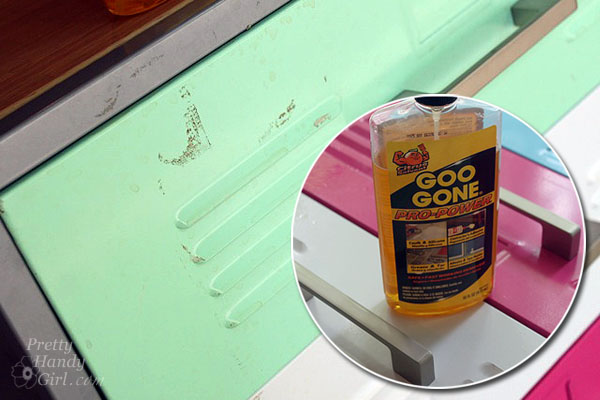
Clean off the drawers. Remove any dirt or debris (I actually had to use a little Goo Gone to get rid of some sticky residue. But, lemon essential oil will also work for this task.)

Remove the drawers from the chest. Tape over the drawer glides and slides. Mask off the drawer sides and insides by covering the drawers with tape and craft paper, leaving only the drawer fronts exposed.

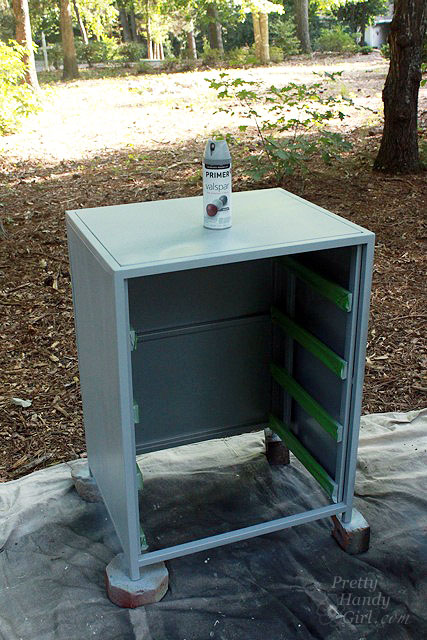
Spray paint the chest and drawers with automotive primer. (I prefer the automotive primer because it sticks to metal and can withstand a lot of abuse.) Let it dry.

Spray paint the drawers with chalkboard paint. (Use three fine coats of paint instead of one or two heavy coats.) Set them aside to dry.

Adding a Faux Zinc Texture:

This is the most exciting part of the tutorial. I created this technique by trial and error and I’m excited by how well this method works for creating a faux zinc texture.

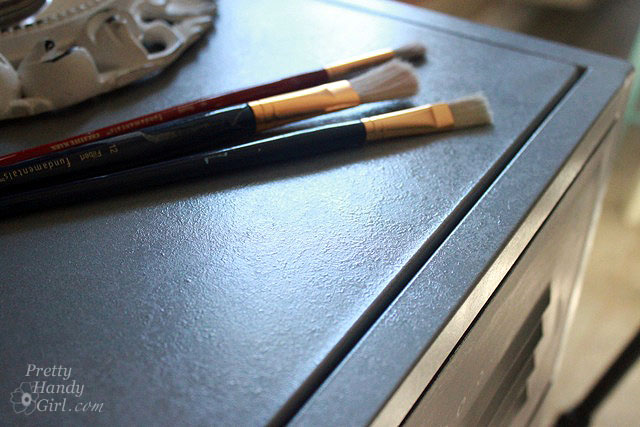
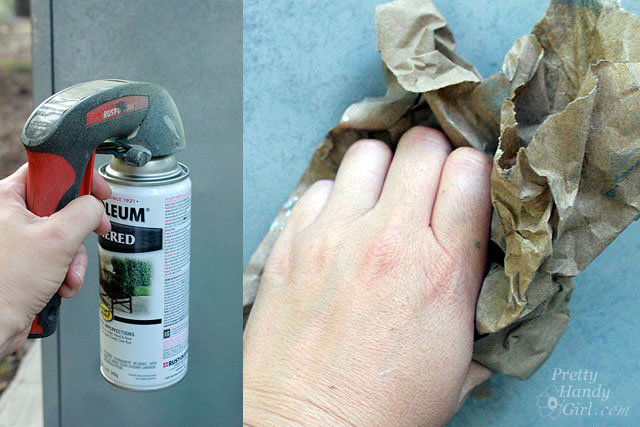
Getting a faux zinc texture is really easy. Just have some gloves on and use a crumpled up piece of craft paper. (A loose crumple works best.)

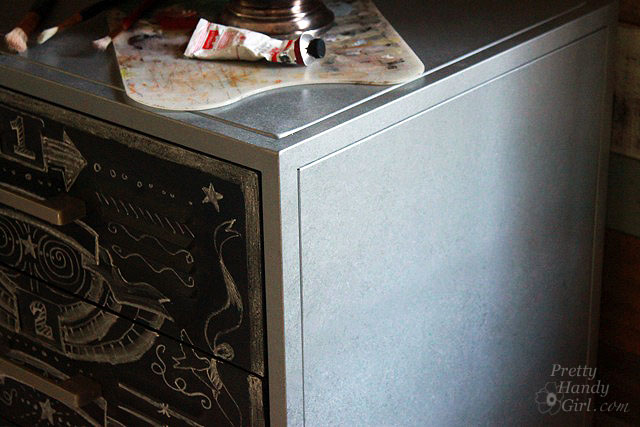
Spray paint the chest with a thick coat of the hammered silver spray paint, (but not so thick that it runs). Let the paint get tacky by waiting a few seconds. Then use the crumpled piece of craft paper to blot into the wet paint.

Work in small 1 foot sections and pounce the paper a few times. (Too much pouncing and you’ll lose the large textured pattern.)

Let the cabinet dry thoroughly.

Insert the chalkboard drawers back into the cabinet frame.

Add chalkboard art to your drawer fronts.

This metal chest of drawers is the perfect size for my large tablets of art paper.

The cabinet has a wonderful texture now.

I have the flexibility to move my art supplies around and just change the chalkboard label.

Did I mention this little chest is the perfect height to rest my palette on while painting.

I’m soooo thrilled with the results!

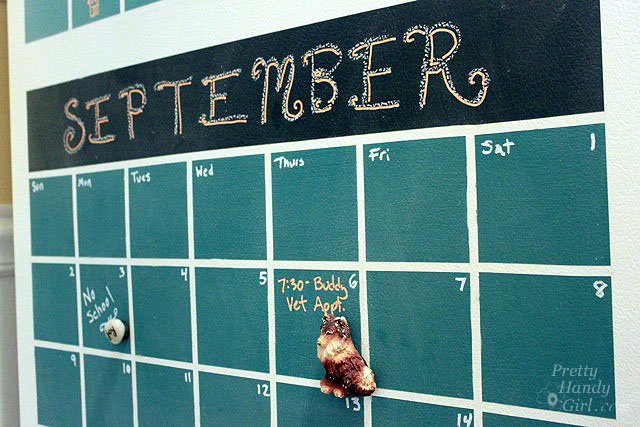
You may remember when we created our Summer calendar and bucket list. The boys really responded well to being able to see what was coming up on the calendar. And I enjoyed not having to pull up my Google Calendar on the computer whenever I was put on the spot for a play date. So, continuing to use a calendar in the kitchen was a no brainer. But, creating new calendars on poster board each month — although fun — seemed a bit tedious.

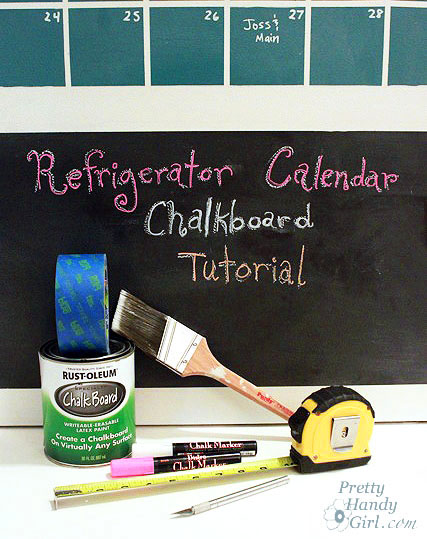
In a sheer stroke of genius suggested by Pretty Handsome Guy I decided to paint a chalkboard calendar on our fridge: Read more

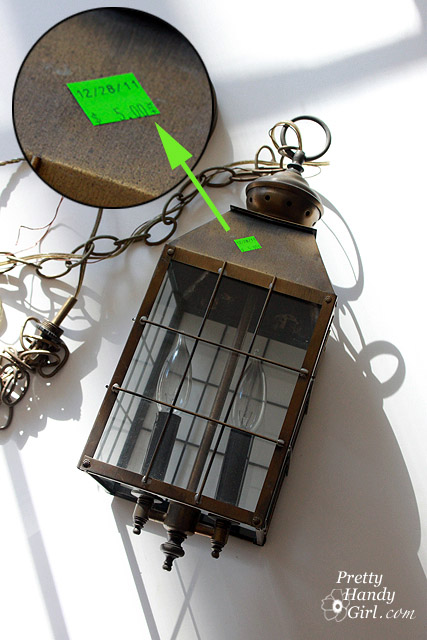
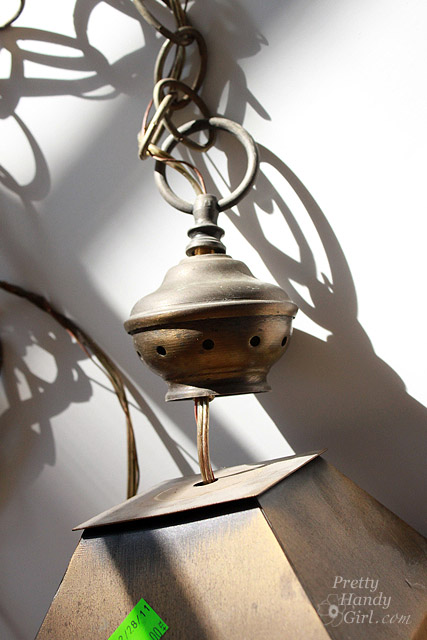
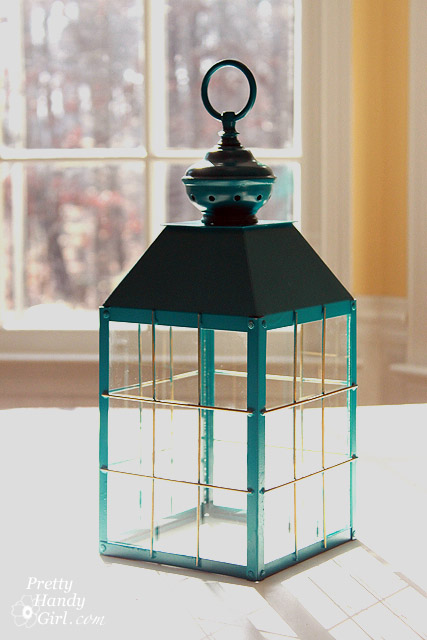
Thanks to my Facebook fan, Heather H., for the ultimate compliment on this lantern. She asked if I got it at Pier 1! Nope Heather, I got it at the Habitat ReStore and it found its way into my hands in this condition:

After a Women Build meeting at the Habitat ReStore a month ago, I spied that dusty relic. An old discarded hanging light fixture. I grabbed it and promptly paid $5 for it. Then I got to chatting with the clerk at the ReStore and absentmindedly walked out without my lantern. By the time I remembered, the ReStore had already closed. It was sad… it was tragic… I didn’t know when I’d be reunited with my light fixture because the ReStore is about 25 minutes away from my home. But, there is a happy ending to my story, my mother-in-law (who gives a good name to all MILs out there) offered to swing by the ReStore the following day to pick up my lantern for me. Hugs to her for reuniting us. But, I had to laugh at the look of skepticism she gave me as she handed over the dusty light. She couldn’t see its true potential, but I could.

How about you? Would you have passed this light fixture by? Or would you have seen the potential?

Well, next time you see a light fixture like that, grab it and I’ll show you how to transform it.

Materials:

  • Old lantern style light fixture
  • Pliers
  • Wire cutters
  • Two screwdrivers (at least one needs to be flat head)
  • Damp rag
  • Sandpaper
  • Plastic drop cloth
  • Kilz spray primer
  • Rustoleum Lagoon spray paint
  • Rub n’ Buff Gold Color
  • Paper towels
Difficulty: Easy
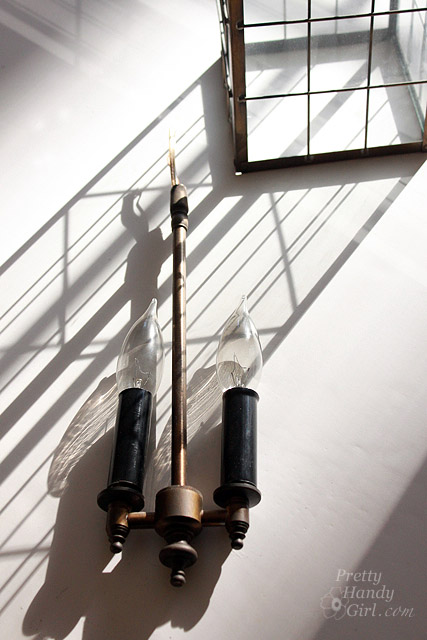
Step 1. Disassemble the lantern by unscrewing all the parts.

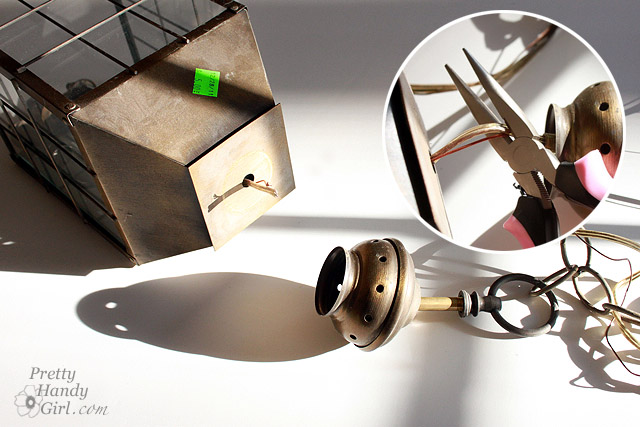
Step 2. Use wire cutters to cut the wire to the light housings.

Step 3. Pull the light sockets, bulbs and lighting out of the lantern.

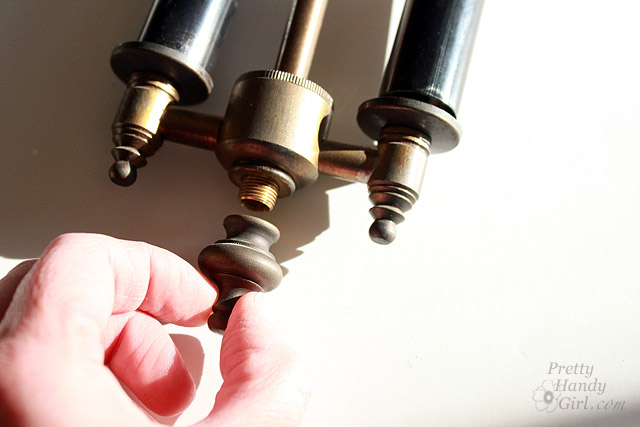
Step 4. Remove the finial from the bottom of the lighting and set it aside with the lantern. Discard or keep the lighting parts for some other project.

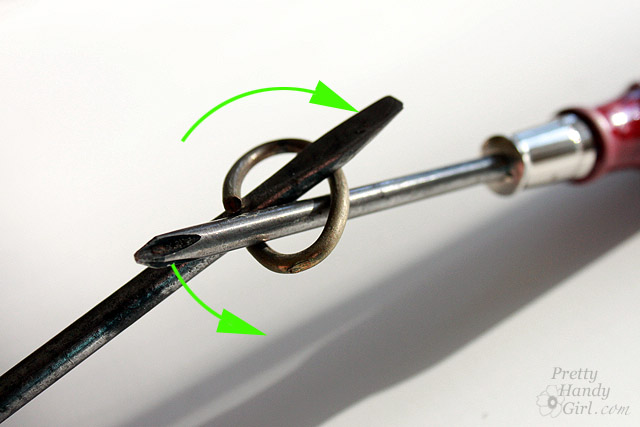
Step 5. If there is a chain attached to the lantern, insert the two screwdrivers into the link attaching it to the lantern. Rotate the two screwdrivers in opposite directions as shown to pry the chain link apart.

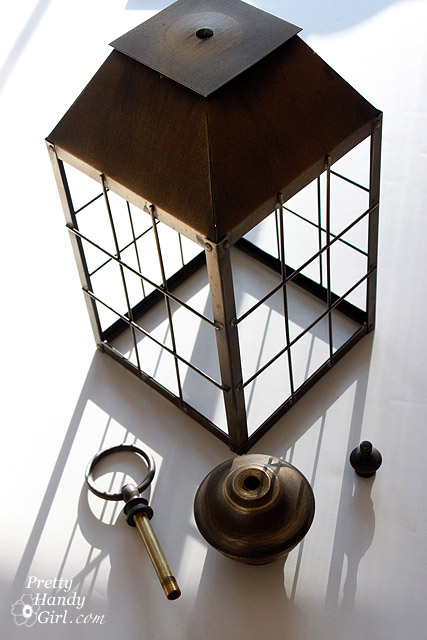
Step 6. Pry up the tabs on the lantern that are holding the glass in place. Remove the glass panels and set them aside.

These are the parts that I kept for the lantern:

Step 7. Wipe all the parts with the damp rag to remove any dust and debris. Then scuff the lantern parts with sandpaper and wipe off any remaining dust.

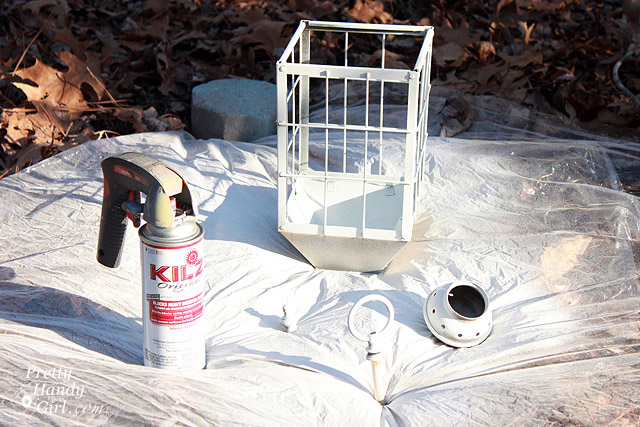
Step 8. Set the lantern and parts outside on the drop cloth.  Spray them with Kilz primer, flip the pieces over and spray again.

Step 9. When the primer has dried, inspect the lantern for any paint drips that need to be sanded smooth.

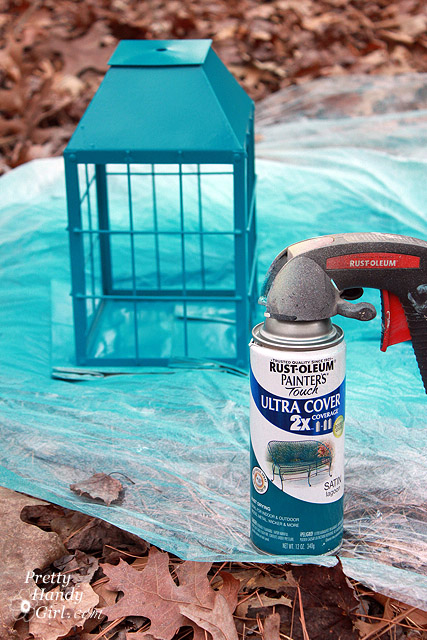
Step 10. Spray paint the lantern and parts with Rustoleum Lagoon. Flip everything after the first coat is dry and spray a second coat of paint.

Step 11. After the lantern has dried thoroughly, reassemble the lantern.

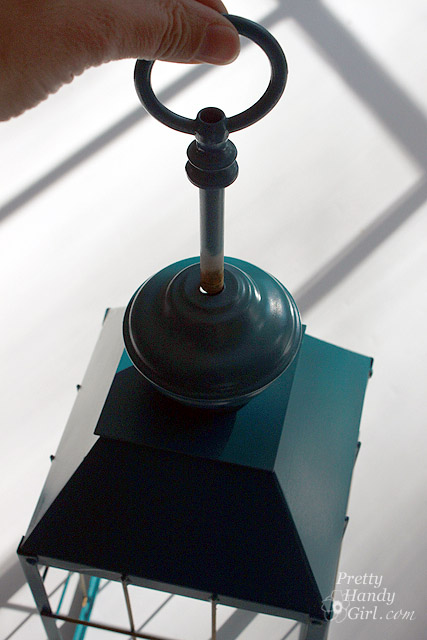
Screw the finial onto the inside of the lantern where the lighting used to attach.

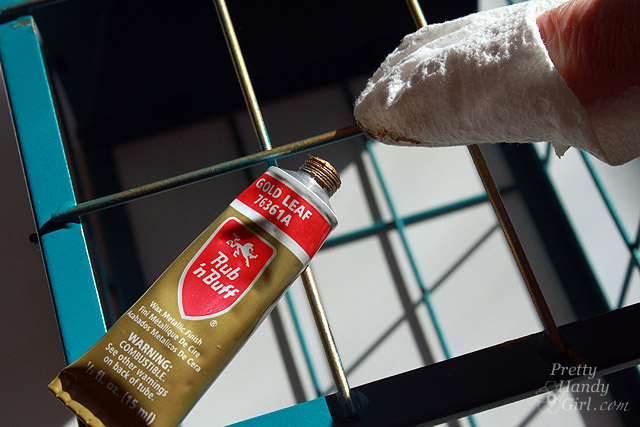
Step 11. Wipe a small amount of rub n’ buff on a dry paper towel. Rub it on the cross bars of the lantern.

Step 12. Clean the lantern glass with windex and a clean rag. Then insert the glass panels back into the lantern.

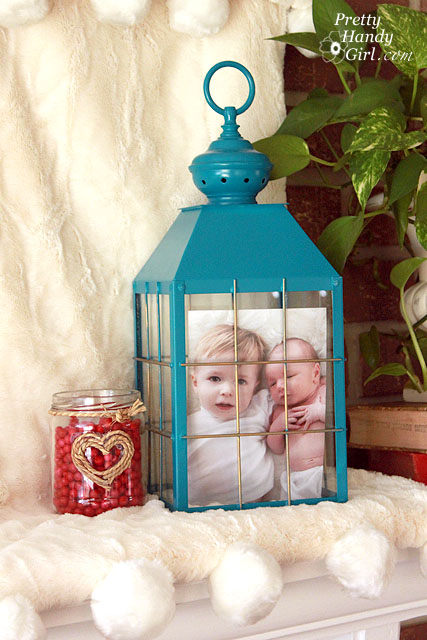
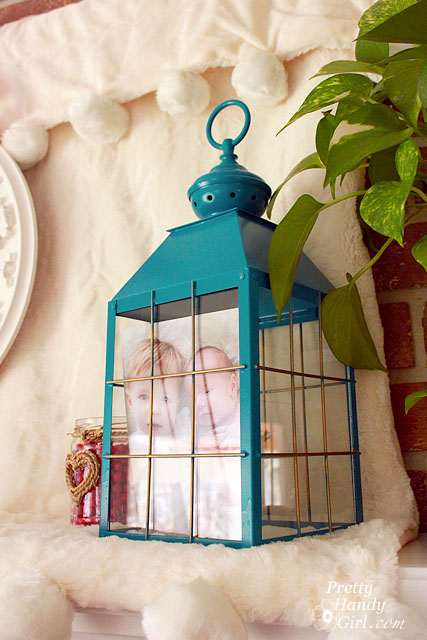
Admire your new aqua beauty!

The hardest part of this project was trying to decide where to display my lantern. I could see it in every room of our home!

But, ultimately I gave it a place of prominence on our mantle. And included an old picture inside it.

Have you seen these old light fixtures? Could you ever guess that they could be turned into beautiful decorating gems?
Have a great weekend y’all. I hope you make a trip to your local Habitat ReStore and search for your own lantern.

I hope you’ll join Heather and some other friends on Facebook so you can see what I’m up to next!

Sharing with Tater Tots and Jello Weekend Wrap Up Party


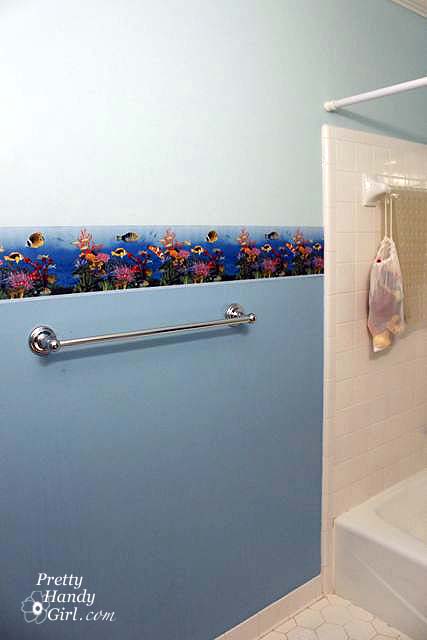
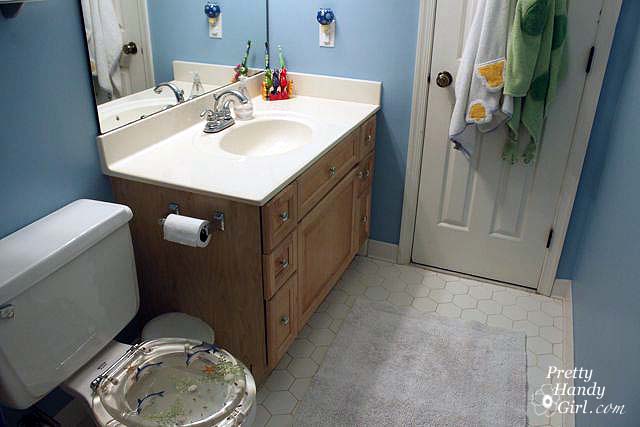
Last week I started to give my boys’ bathroom a facelift. The room was…well…a little fishy.

Removing Wallpaper Borders

Complete with fishy wallpaper border…

Removing Wallpaper Borders

And a fishy toilet seat!

Removing Wallpaper Borders

The room was cute and I didn’t mind it so much. But, the border had started to peel. And the toilet seat was rusting. DO NOT, I repeat, DO NOT buy any cheap toilet seats that have metal hinges. They may look cool, but the nature of moisture collecting around the toilet makes them rust in no time. This was our third seat to do this. Why I didn’t learn after the second? I’m optimistic by nature I guess.

Anyway, I had wanted to help this bathroom grow up a little. And I’d been anxious to try another moulding project after doing my son’s closet last year.

Before delving into the wonderful world of mouldings, I had to remove that wallpaper border. When wallpaper starts to peel, you think, “Oh cool! That means it will be easy to remove.” So you start picking and tearing at it. Well, resist the urge, it is just a funny joke wallpaper likes to play. You really need to be well stocked and prepared with the appropriate supplies for stripping wallpaper.

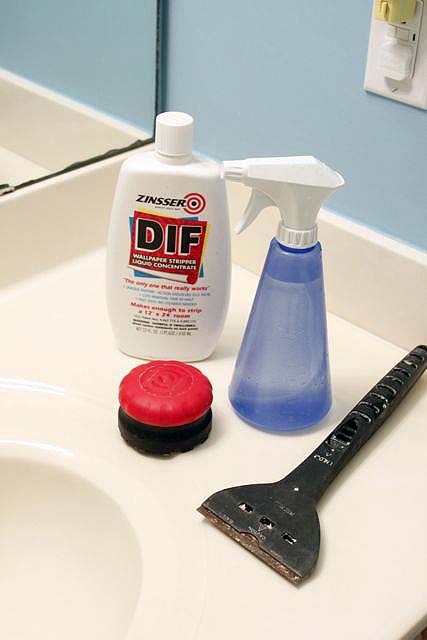
Removing Wallpaper Borders Materials:

Removing Wallpaper Borders

Wallpaper stripper (DIF or a cheaper alternative is to use 1:1 concentration of cheap pink fabric softener and water)

  • Scoring tool (aka Paper Tiger)
  • Scraper or spackle knife
  • Spray bottle
  • Lots and lots of rags
  • Sponge
  • Bucket of water

Removing Wallpaper Borders Instructions:

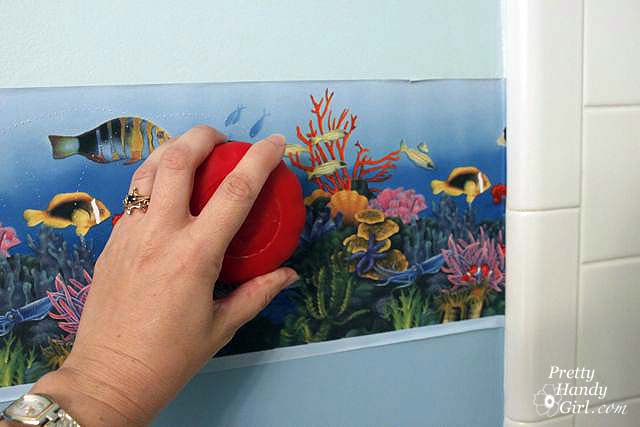
Start by using the scoring tool. Make lots and lots of holes until you just can’t lift your arm anymore.

Removing Wallpaper Borders

The more holes the easier it will be for the stripper to soak into the wallpaper glue.

Removing Wallpaper Borders

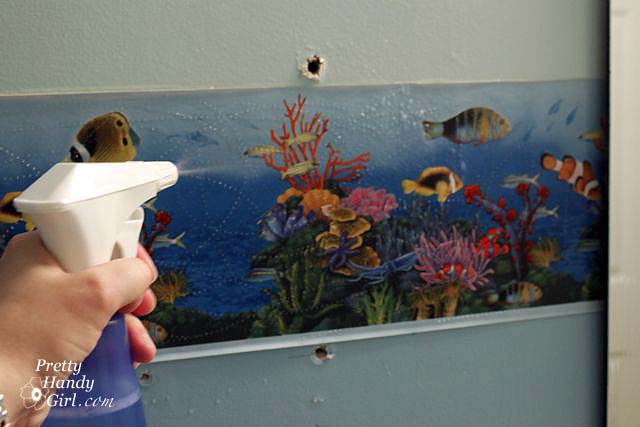
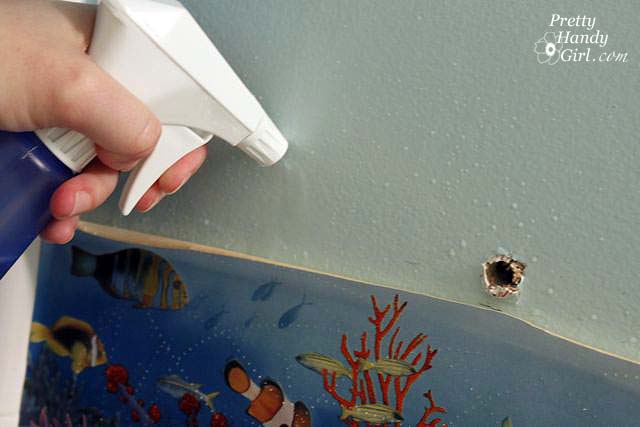
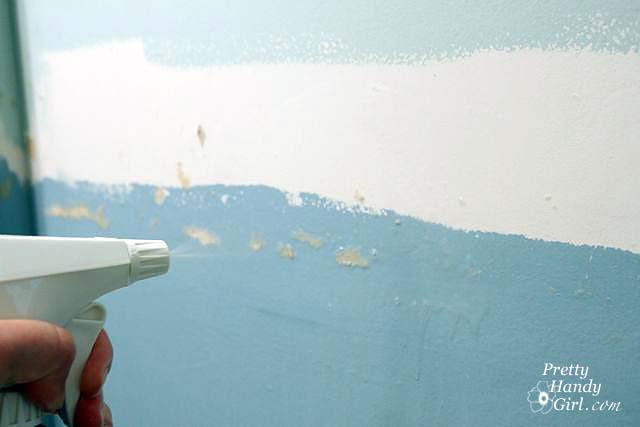
Spray on the wallpaper stripper and let it sit for 15 minutes.

Removing Wallpaper Borders

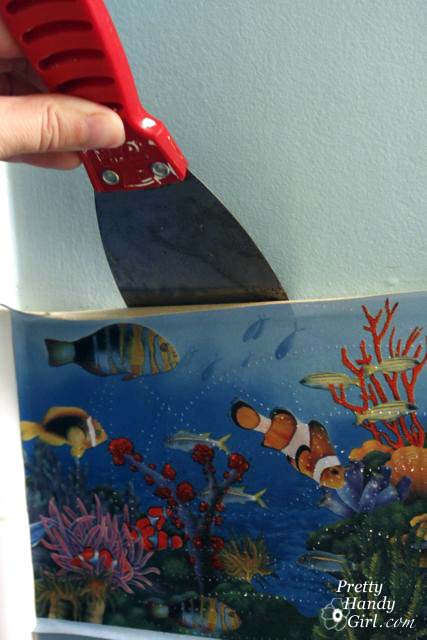
Repeat spraying the wallpaper (really soak it), and then gently try to slide your scraper behind the edge of the wallpaper.

Removing Wallpaper Borders

If you can remove the whole strip easily, go for it. In true stubborn form, my border was hanging onto the walls with a death grip. So, I sprayed more stripper behind the border and let it sit for about 5-10 minutes. (Please ignore the giant gaping hole in the drywall! I patched it later.)

Removing Wallpaper Borders

Hopefully by now, it has loosened it’s grip.

Removing Wallpaper Borders

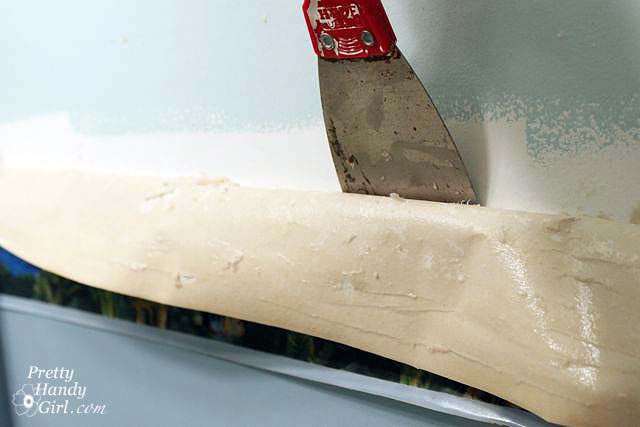
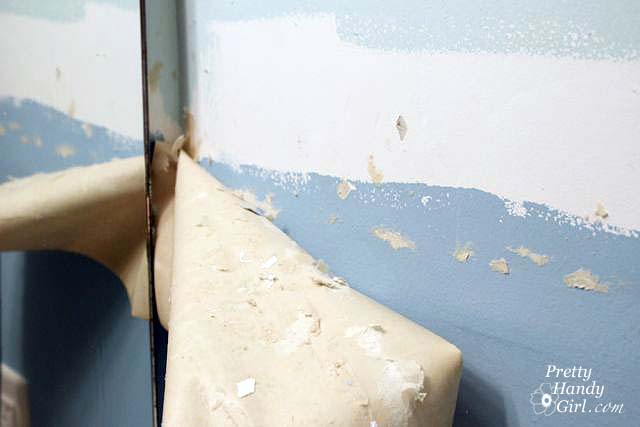
Gently pull the strip off while using the knife to help separate the border from the wall.

Removing Wallpaper Borders

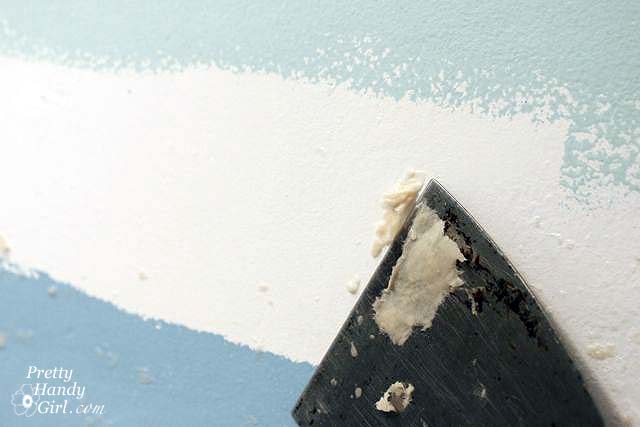
Remove any pieces that are left behind.

Removing Wallpaper Borders

Spray down the walls again with the stripper.

Removing Wallpaper Borders

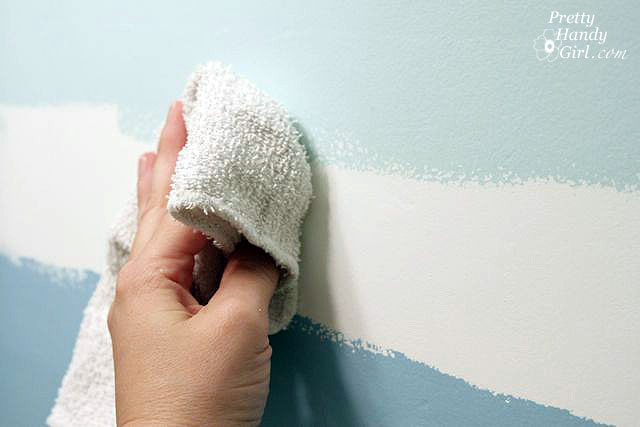
Wipe it off with water and a sponge or rag.

Removing Wallpaper Borders
This should get rid of all the wallpaper glue residue. But, it is still a good idea to use a primer on walls that previously had wallpaper on them. This will protect your paint job from doing something alien like bubbling up, flaking or who knows what!

Removing Wallpaper Borders If you follow me on Facebook, you were privy to my post over at Parentables. I gave them a special all accesses pass to my brain on a recent trip to the Habitat for Humanity ReStore on THIS day.

Removing Wallpaper Borders

You can view this and more transformations over there! Be sure to leave me a comment. It seems those Parentables readers are a bit more shy than y’all!

And, one last note. I finally delivered my promised Pretty Handy Girl in a box to Cheri (pronounced like Sherry), who writes Dragonfliez Creationz. She is such a sweet person and she didn’t even complain that it took me a month to deliver her box. Cheri and I like the same burritos from Tijuana Flats (thanks to Courtney for introducing me to this Raleigh gem.) But, unlike me, Cheri has a tough side too (luckily I didn’t get to see it.) She’s giving me assertiveness training because I’m too nice.

Removing Wallpaper Borders

That’s all for today. See you next week with some more bathroom updates.

Removing Wallpaper Borders


I hope you will take a moment to view how I test drove my Dremel Trio. This is seriously a really fun power tool! Just be sure you are safe so as not to ruin the fun. Eye protection, face mask, and ear plugs. Check.

For those of you who like to skip to the end of the book and see the ending, here you go:
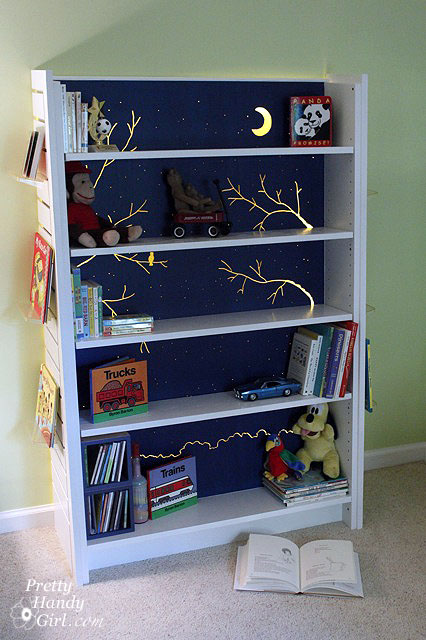

For the rest of you, here is how I created this cut out/back lit bookshelf that started life as a bookshelf from a closing Borders bookstore.


Tutorial for creating a cut out bookcase:
Almost any bookcase will work for this project, but the ones that have a thin wood (can be masonite) backing will work best. Set up a work area that you don’t mind getting dusty and dirty. Remove the shelves from your bookcase.

Cutting the endcap:

Materials:

  • circular saw
  • level
  • clamp
  • scrap wood
  • screws
  • drill

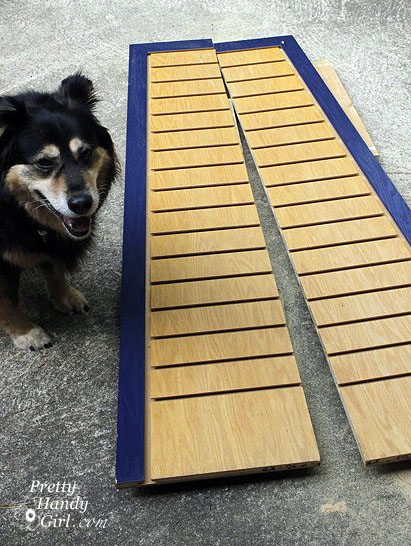
I cut the endcap in half lengthwise so I could use half for each end of my bookshelf, and to position it flush against the wall. To cut a straight line using a circular saw, I clamped one end of a level to the endcap. My level wasn’t long enough, so I drilled a scrap piece of wood on top of the level and into the end cap to support the other end.


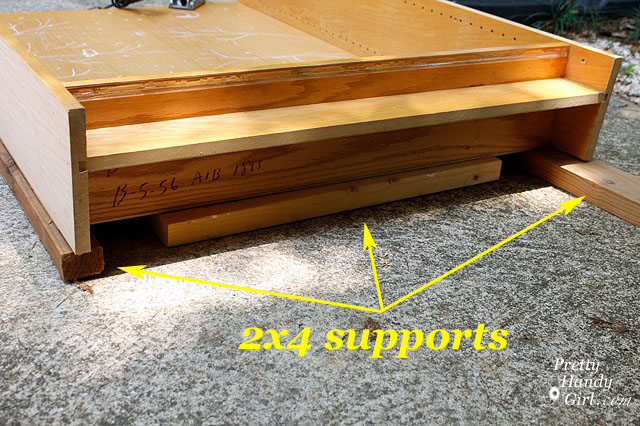
I set the circular saw blade just below the depth of the endcap. By resting the endcap on two 2×4″ boards, I was able to creative a gap below the endcap for the sawblade to pass through.Then I ran the circular saw along the level for a straight cut. Straight as an arrow, and it met Pretty Handy Dog’s approval.
Cutting out the backing design and painting:

Materials:

  • Dremel Trio
  • Palm sander
  • Sandpaper (100 grit & 220 grit)
  • Scrap 2×4 lumber
  • Chalk or pencil
  • Wood putty
  • Putty knife
  • Primer
  • Paint (white and navy blue)
  • 3M Clean Edge technology painter’s tape
  • Newspapers
  • 2″ paint brush
  • Small paint roller and tray

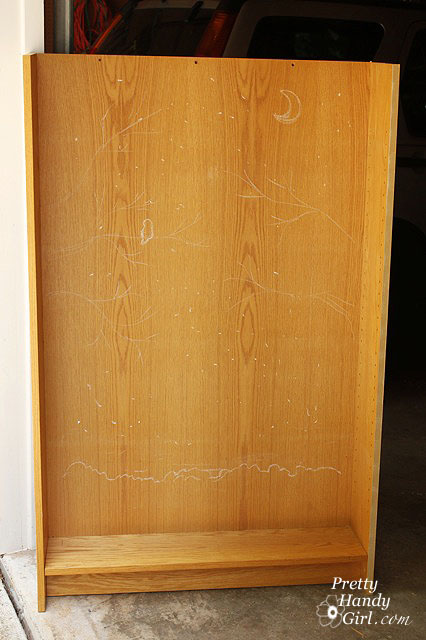
Sketch out the design on your bookshelf (using chalk or pencil) before beginning.
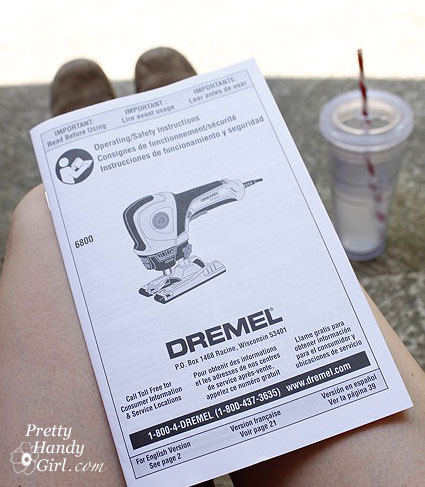
Before using any new power tool, take some time to read through the manual.
To insert a bit into the Dremel Trio, you push in the blue (shaft lock) button on the front and use the enclosed wrench to loosen the collet nut on the tool.
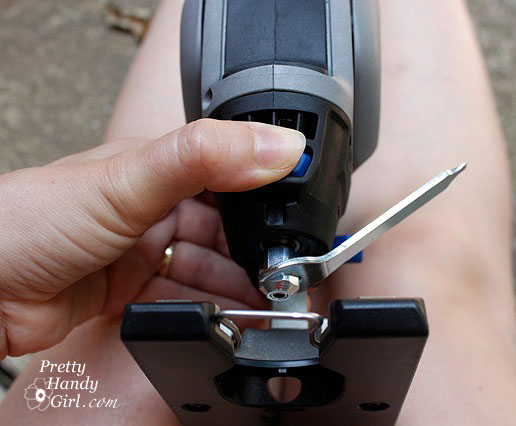
Insert the cutting bit into the Trio. (The trio also comes with a sanding drum bit and a routing bit!)

Tighten the collet nut with the wrench.

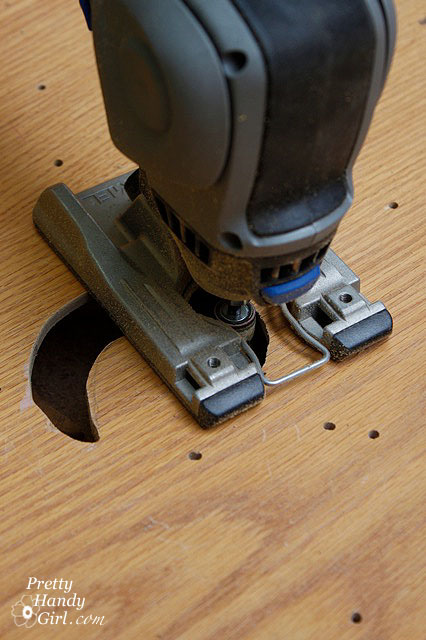
Turn the blue handle on the side of the TRIO to raise or lower the base plate.
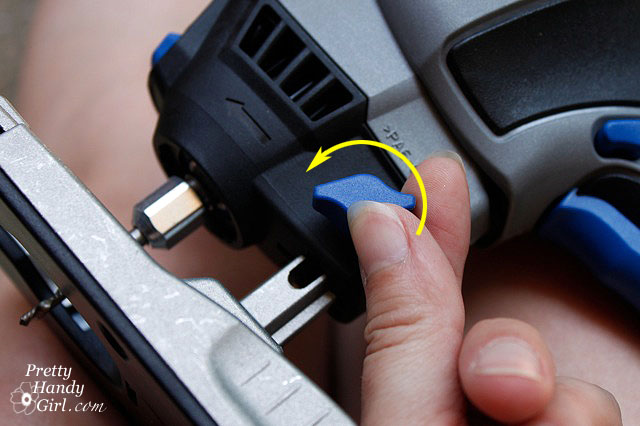
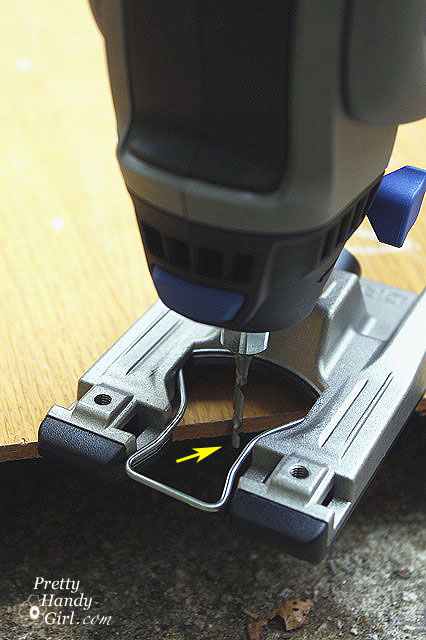
Adjust the base plate until the cutting bit extends slightly below the wood backing of your bookcase.
Lay the bookcase down on its back. Position 2×4 boards under the edges of the bookcase (or you will be cutting into concrete. I’m pretty sure the TRIO is not capable of that, but I could be wrong.)
Plug in your Trio and get ready to have some FUN! You may want to practice on a scrap piece of wood before working on your bookcase. The TRIO allows you to change directions quickly and easily. Creating fanciful cuts is a breeze!
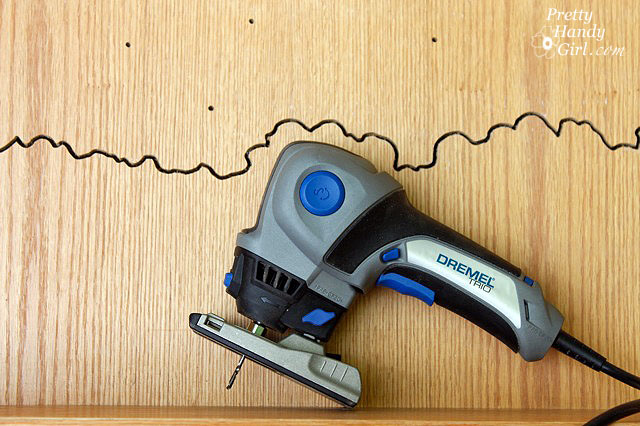
Squeeze the trigger and when the bit reaches full speed you can plunge it into the workpiece. For the pin holes hold the Trio steady, insert the bit and then lift it back out of the same hole.

To cut trees and other designs, plunge the TRIO into the wood and then slowly move the tool through the wood to carve your design. Be wary of long “V” shape cuts as they will make the backing weaker.
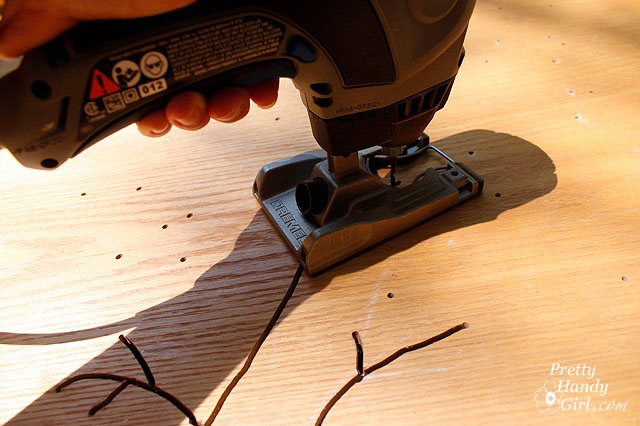
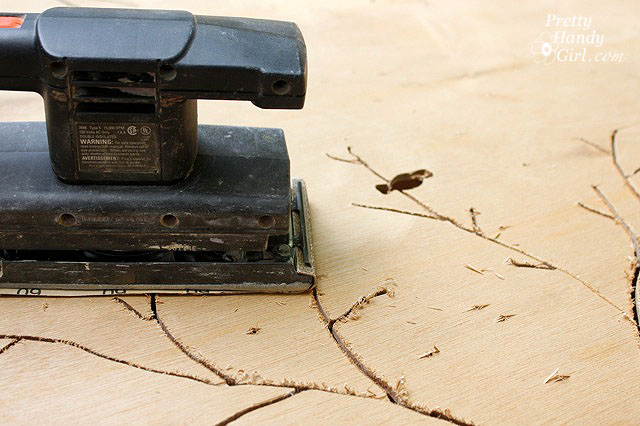
When your design has been completed, use the power sander to sand the back of the bookcase (where the majority of the splintering will have occurred.)
Insert the sanding drum bit into the TRIO and sand any large cut out areas.
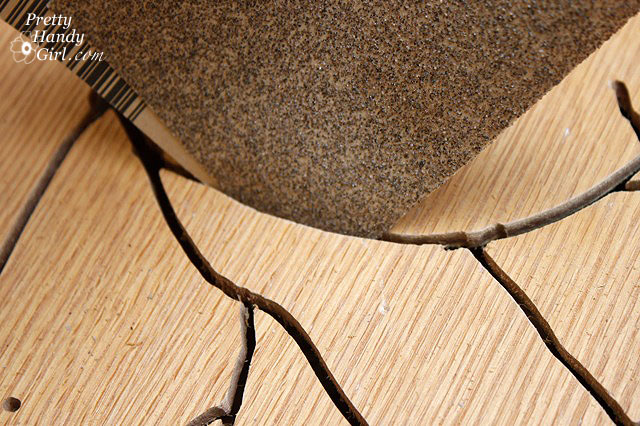
Fold a piece of sandpaper in half and feed it through the thin lines of the branches to sand any rough edges that can’t be reached with the sanding bit.
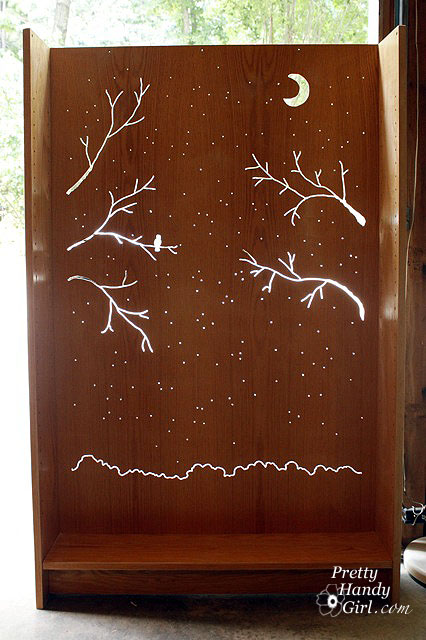
Set the bookcase upright and inspect the cuts for more splinters. You can preview what your design will look like when lit up. Lookin’ good, huh?!
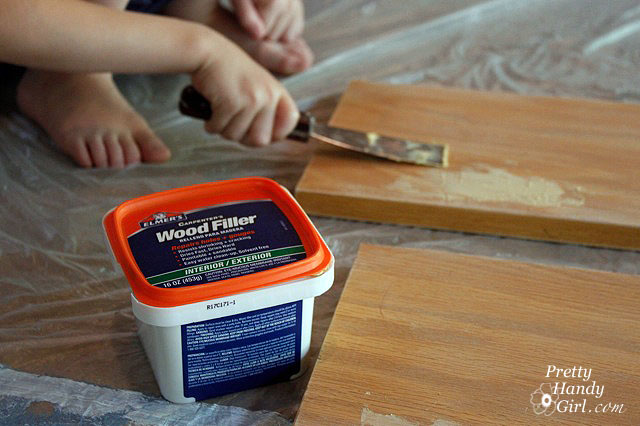
Before sanding the rest of the bookshelf, repair any dents or holes with wood putty. (This is a post I wrote about repairing all types of holes if you need help.)
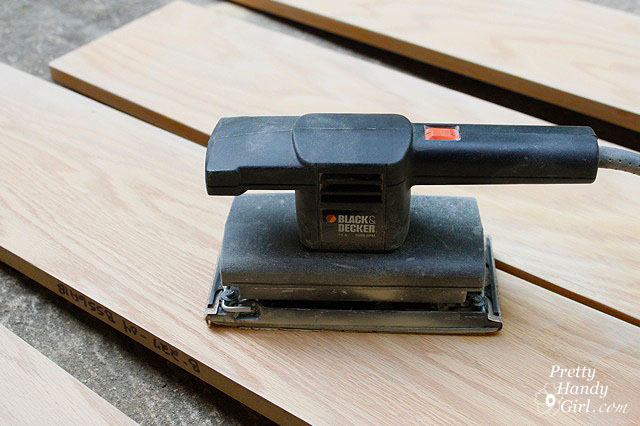
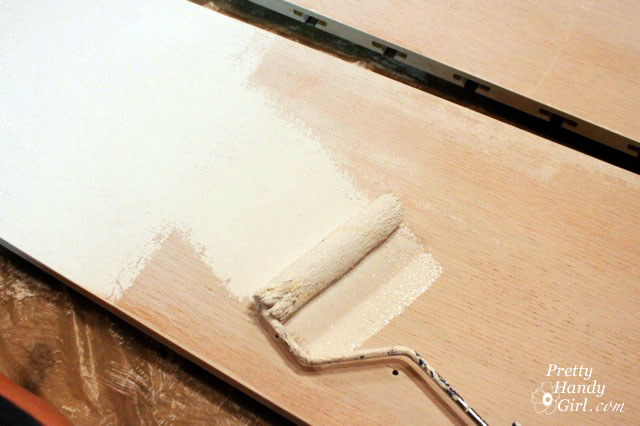
Use the palm sander and a fine grit (220 grit) sandpaper to rough up the rest of the bookshelf.
Apply a coat of primer to the bookcase, shelves and sides. (Still working on emptying that can of KILZ Clean Start primer! Love that stuff.
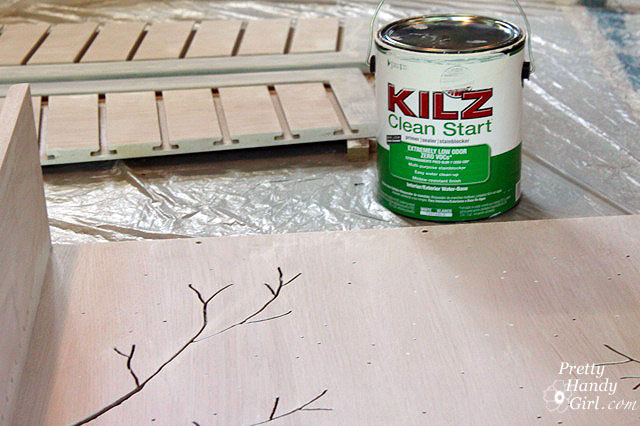
When the primer has dried, mask off the sides of the bookcase where they meet the back.
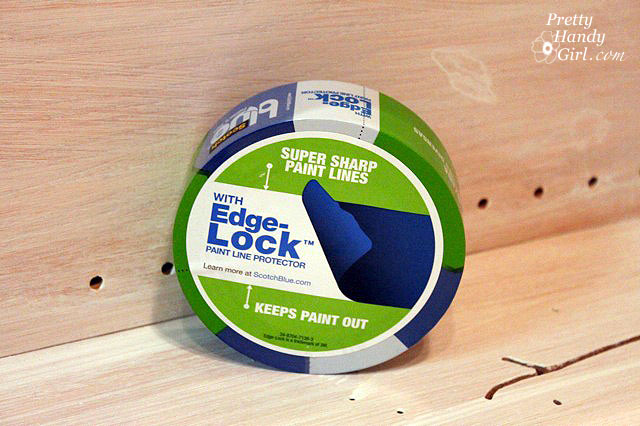
3M sent me this Scotch Blue Painter’s tape with Edge-Lock protector to try. I was skeptical, but when I pulled the tape off it did give me a clean edge. The only place I had a little bit of seepage was in the corners where I didn’t press the tape tightly into the corner. The key to using this tape is to firmly press the edges with your finger to engage the “Edge-Lock” seal. I haven’t tried it for painting walls, but you better believe I have a wall project coming up that I can try it on.
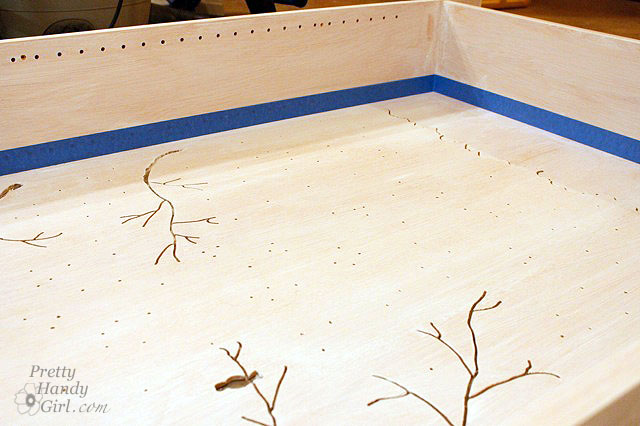
Paint the back of your bookcase. I chose a very dark navy blue. To save paint, I used a medium blue paint for my first coat to darken the back and hopefully save paint.

Then paint one coat of the navy blue.
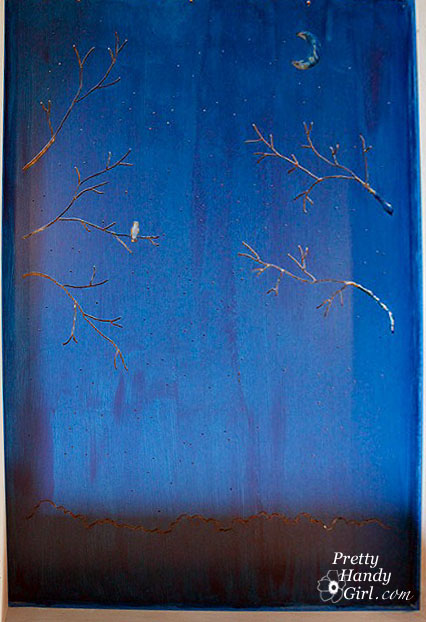
Follow up with a second coat to eliminate any streaking.

When the navy paint has dried, tape along the edges of the navy blue backing, where it meets the sides. Slip pieces of newspaper underneath to catch any paint splashes. (Will you get a load of my lazy supervisor! You think he’s been working hard in the heat? Uh no, that would be me doing all the work and him snoozing away the day.)

Paint the rest of the bookcase, the sides and the shelves white. I used two coats of Benjamin Moore Impervo Semi-gloss white.

Once the paint has dried completely, re-assemble the bookcase. And screw the end cap halves onto either side of the bookcase.

I installed a light rope behind the bookcase (tutorial to come at a later date) and set the lights on a timer. The rope light comes on at dusk and illuminates all the cut outs.
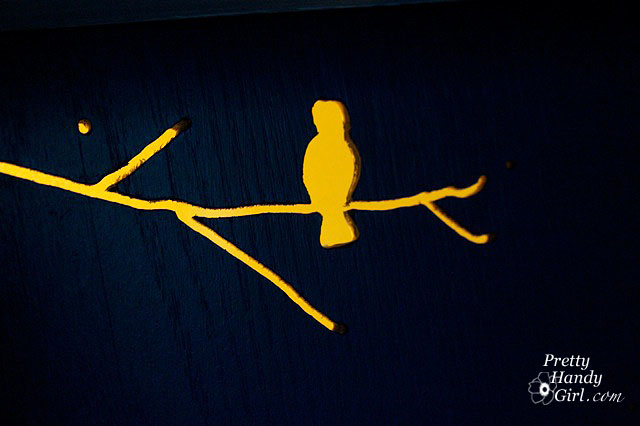
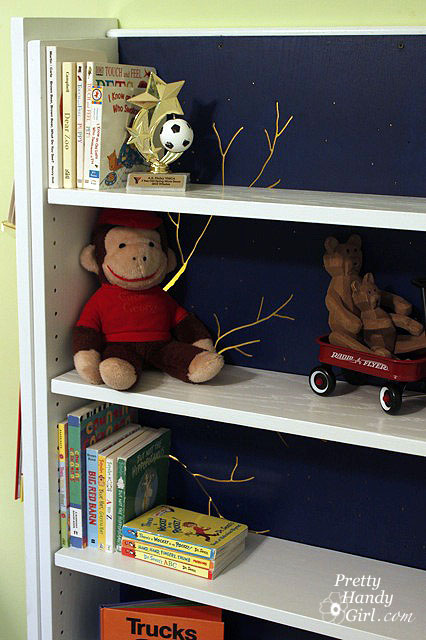
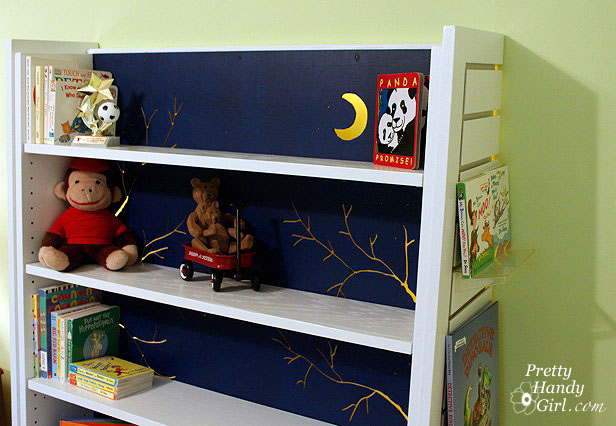
There is a very soft glow emitted from the back of the bookcase.
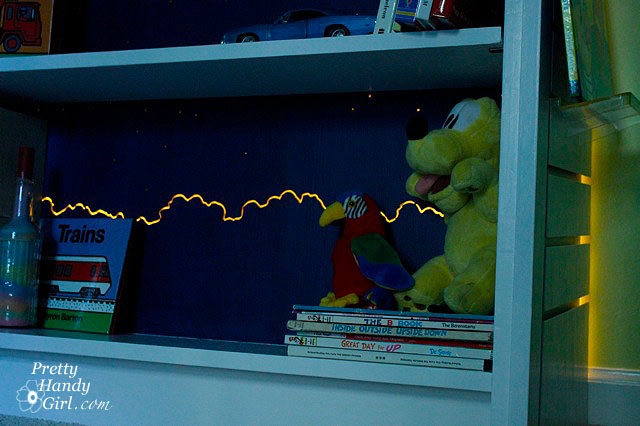
It provides the perfect amount of light for my son who HAS to have a light on at night.
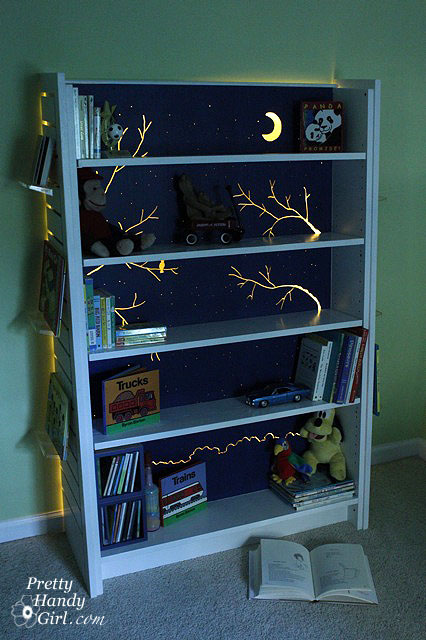
My only complaint about the rope lights is that they give off a strong plastic odor. But, after a week the smell has dissipated.

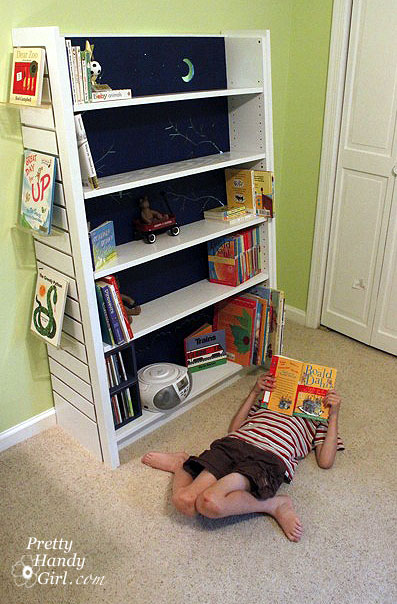
I had the foresight to purchase a few of the clear display stands that slide into the end caps of the bookcase. It makes it easy to display books to pique my son’s reading interests.
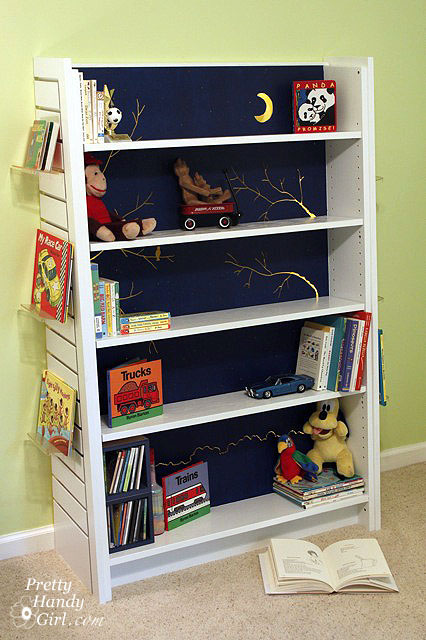
Oh look! There he is now! Mission accomplished, reading interest piqued. Yes, I think he is double-jointed and a teacher pointed out that both my son’s sit like that. Must be in the genes.
A few more detailed pictures of the bookshelf. This has to be one of my favorite projects I’ve created recently. And it wasn’t very difficult to complete.



Â