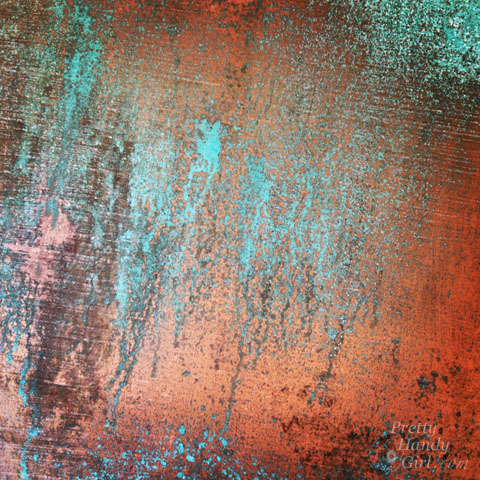
Do you love the look of copper, but the price makes your head whip the other way? Have no fear my dear! You can create inexpensive faux copper and patina for a fraction of the cost.
I was introduced to Modern Masters Metal Effects at Haven last year and the finish definitely fooled me. I honestly thought it was real copper. When I read up on the product, I realized that there are real copper particles in the paint which allows it to react and patina with the Metal Effects Green Patina Solution. (affiliate link)
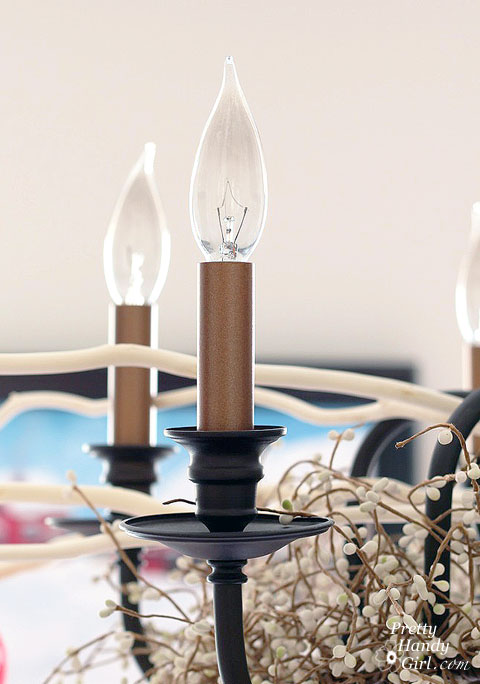
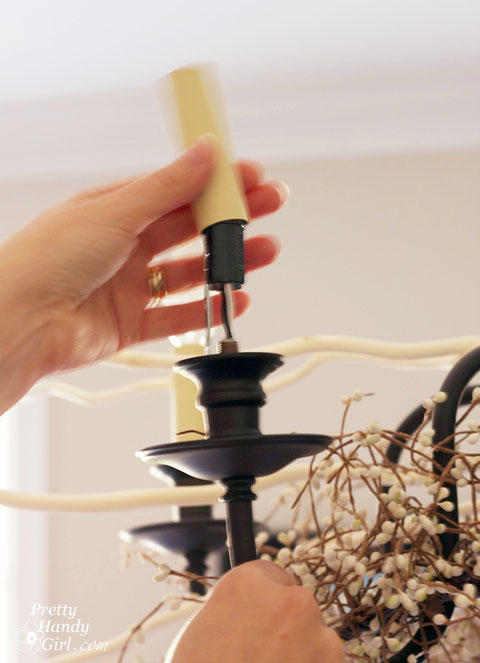
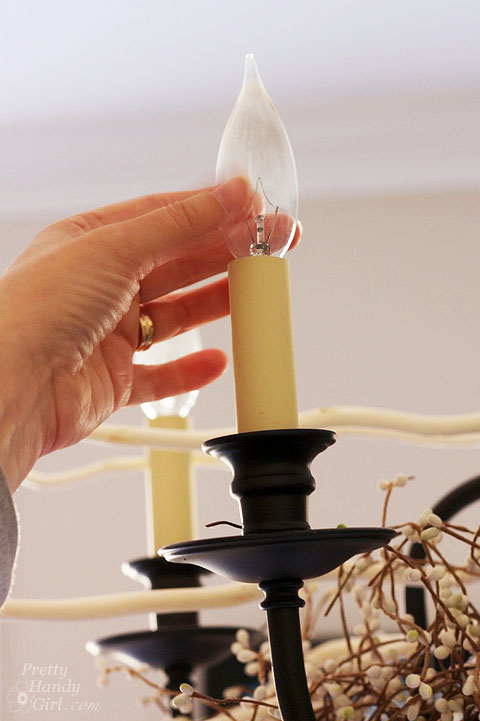
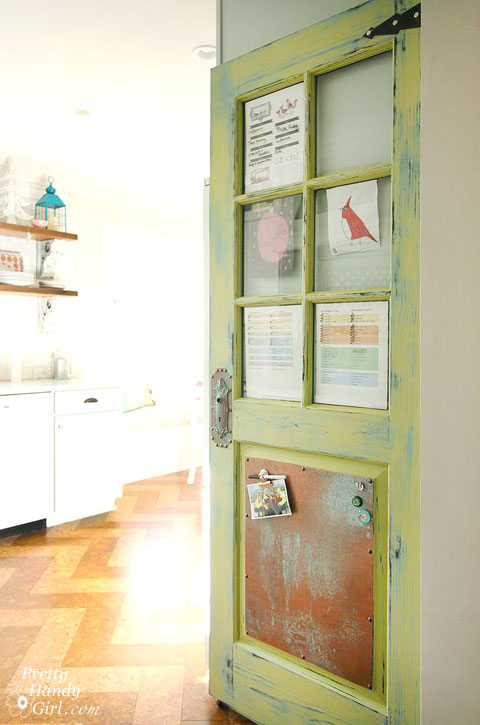
The uses for this paint are limitless! Discount light fixtures can be transformed into luxury copper versions with a little paint and patina spray. Paint inexpensive statues to look like real metal. Even Virgin Records and Ceasar’s Palace have used the paint and patina on exterior roof surfaces to fake the look. You may have seen the copper panel on our family organization center door. Today I want to show you how to create Inexpensive Copper Metal and Patina using Metal Effects!
Materials:
(I’ve included affiliate links for your convenience. I earn a small percentage from a purchase using these links. There is no additional cost to you. You can read more about affiliate links here.)
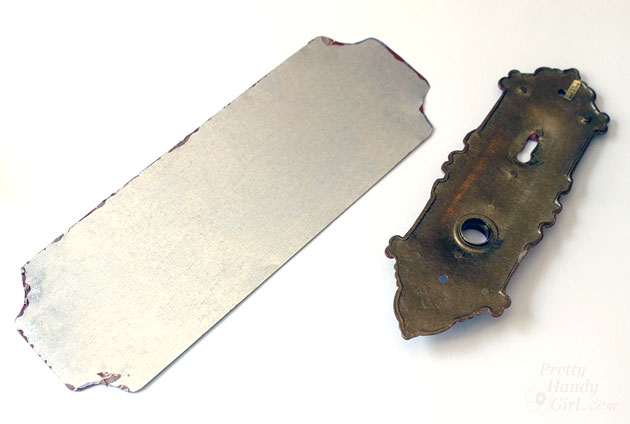
- Sheet Metal
- Tin Snips
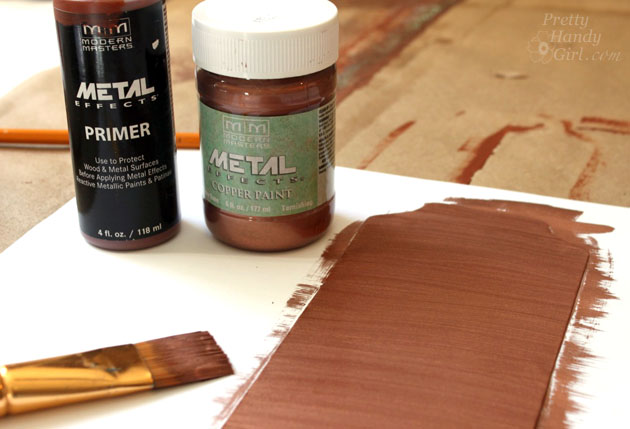
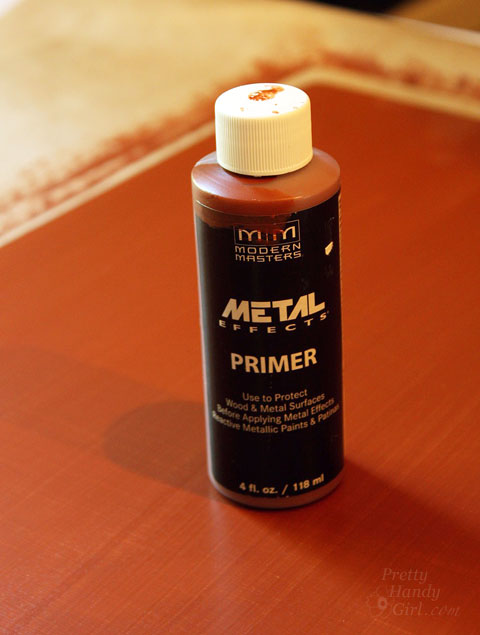
- Modern Masters Acid Blocking Primer
- Modern Masters Aging Solution Green Patina
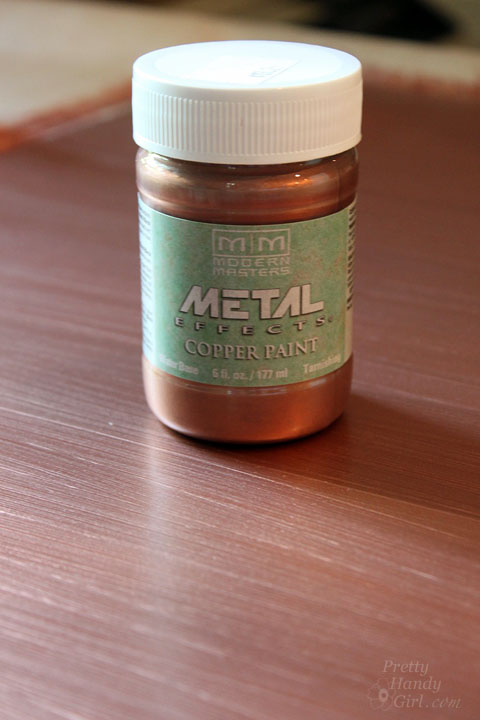
- Modern Masters Metallic Copper Paint
- Paint brush
- Work gloves
- Latex gloves
Optional: Sea sponge
Instructions:
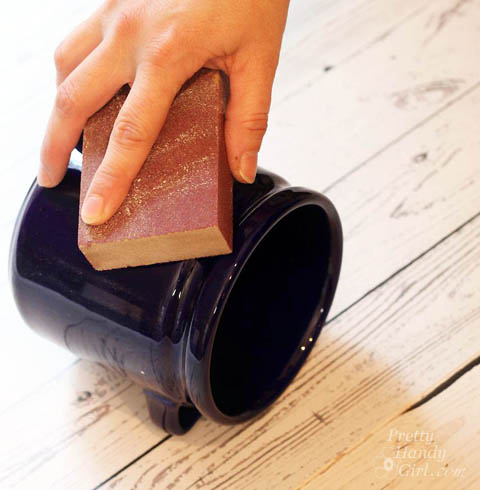
Cut your piece of sheet metal to size using tin snips. Be sure to wear work gloves to avoid cutting yourself on the metal. Wipe off any dirt or grease.
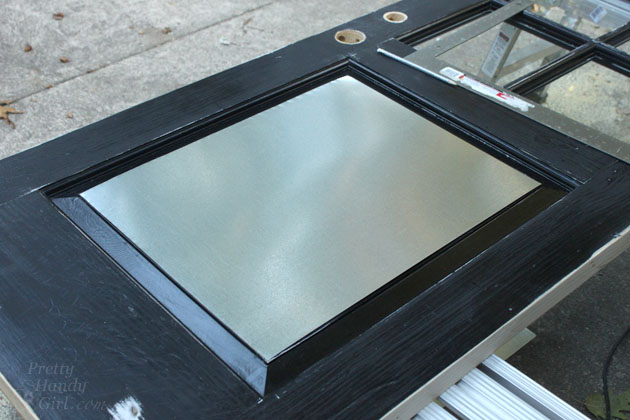
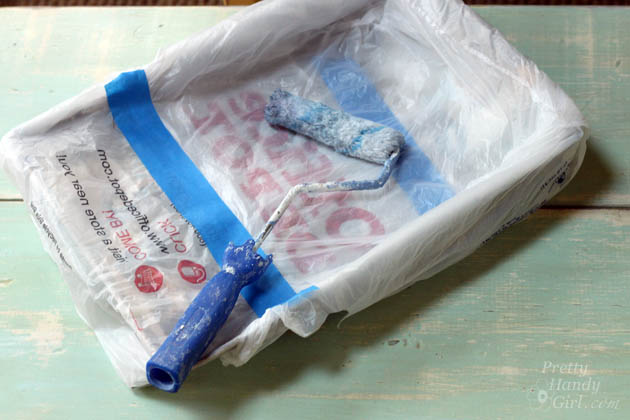
Coat the metal with one coat of primer. Let it dry and apply a second coat of primer.
After the primer has dried, add one coat of the Metal Effects copper paint. After that dries, add a second coat. Read more