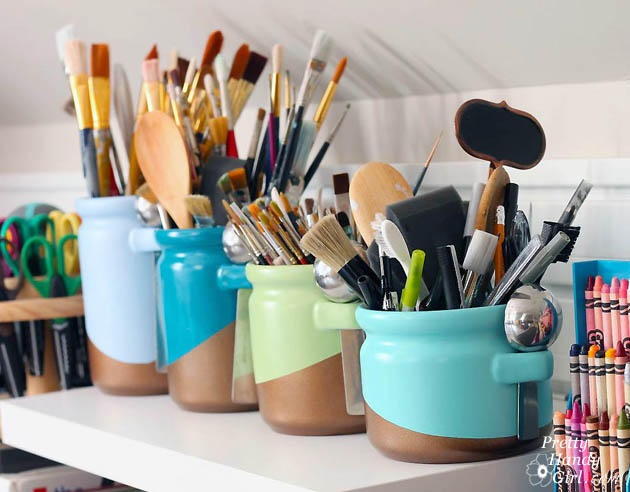
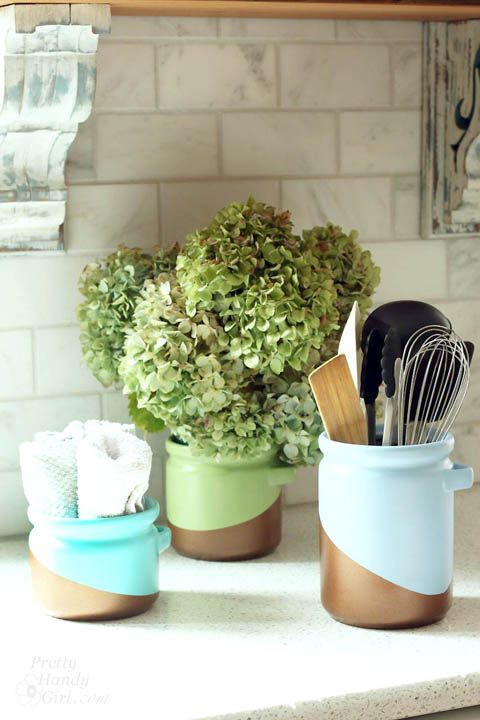
I’m back with another easy Lowe’s Creative Idea this month. When you get tired of your cobalt blue canisters you can easily spray paint them with a metallic color block pattern. That’s exactly what I decided to do with my thrift store canisters.
I’ve been on a major mission to purge things I no longer use or love from my house. I have almost completely filled our dining room with things to donate. I had contemplated donating my cobalt kitchen canisters because the color wasn’t making me happy anymore. But, then I realized that I could give them an entirely new look with some spray paint.
Materials:
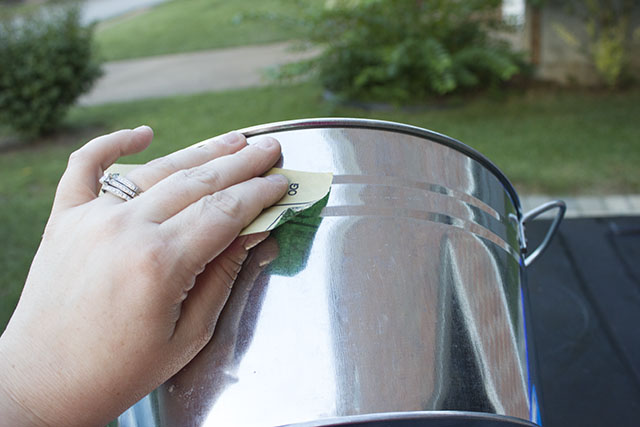
- Sanding sponge
- Valspar Gray Primer Spray Paint (no longer available)
- Valspar Satin Encounter Spray Paint (no longer available)
- Valspar Tropical Oasis Spray Paint (no longer available)
- Valspar Pistachio Spray Paint (no longer available)
- Valspar Exotic Sea Spray Paint(no longer available)
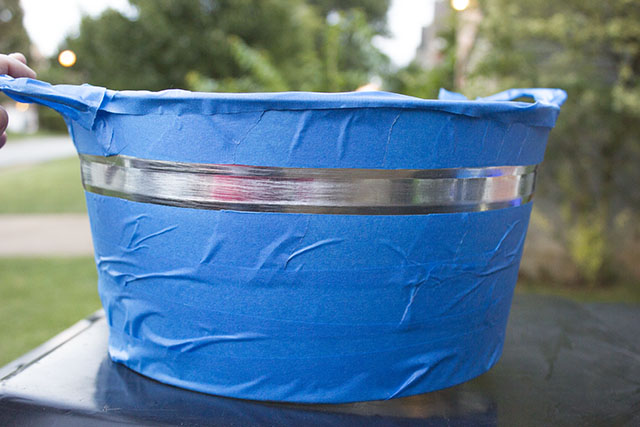
- ScotchBlue Painter’s Tape for Delicate Surfaces
- Rustoleum Metallic Copper Spray Paint
Instructions:
Remove the lids, the metal ring, and spoons from your canisters.
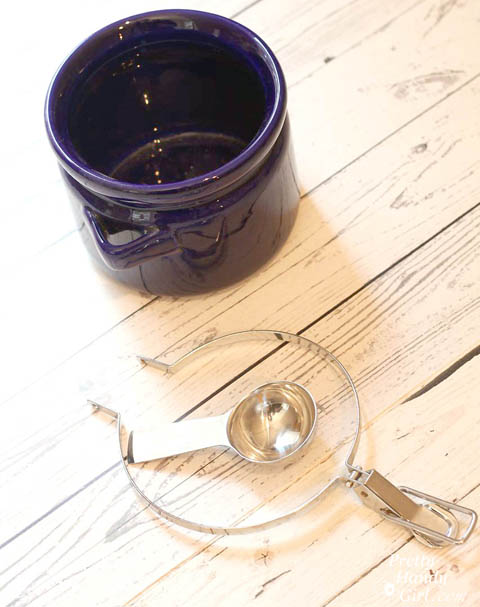
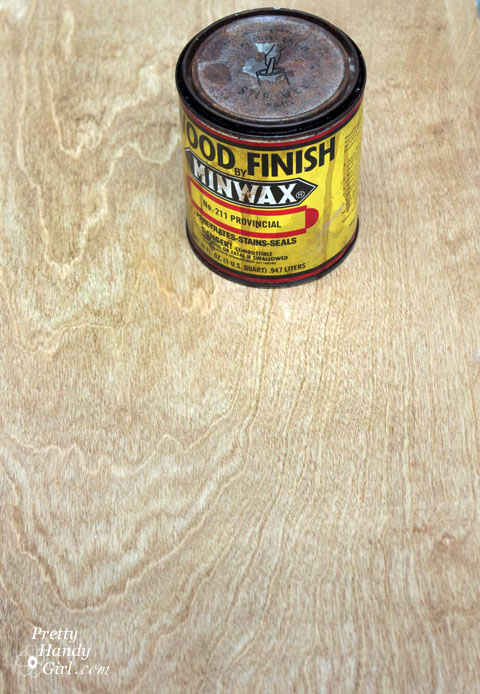
(Wood plank photo backdrop courtesy of Leen the Graphics Queen.)
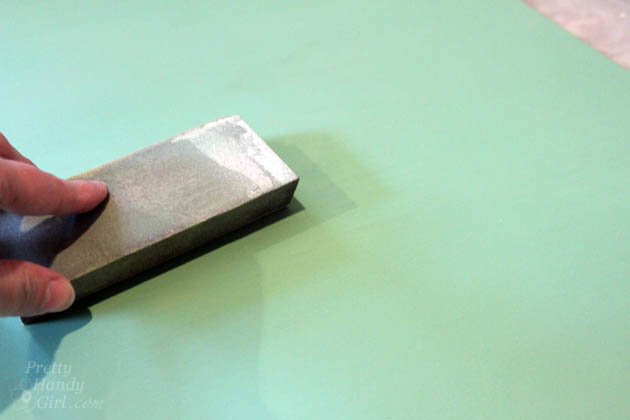
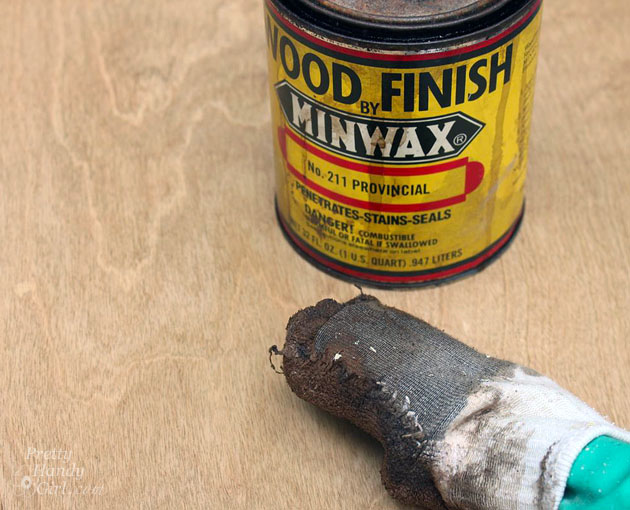
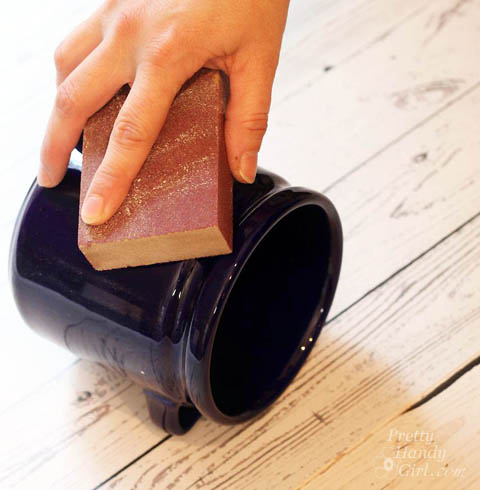
Use a sanding block to lightly rough up the surface of the canisters. Wipe all the sanding dust off with a damp rag.
Spray the outside and base of the canisters with Valspar Premium Primer. Read more